
I started out today finalizing my research on relief tube installs. I was checking out other builders’ sites to ensure I didn’t miss any good tips for installing the relief tube.
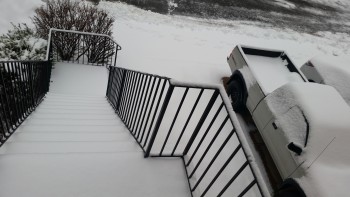
Although my class was canceled tonight due to the storm (as you can see in the pic below!), I then spent a few hours working on my course work. I then spent another good hour+ shoveling snow.
After I got the snow cleared off my truck, I ran to the Aviation Department at Home Depot to pick up some 1/4″ OD for the relief tube and some 7/16″ OD tubing to embed in the gear fairing channel. I found the 1/4″ OD tubing but they didn’t have any thin-walled 7/16″ OD tubing, so I ended up buying 1/2″ OD and I’ll see if I can make it work.
After getting back home, I mocked up the 1/4″ tubing on the left gear leg. For the record, I did check out using Nylaflow for the relief tube but I didn’t like it since it’s just so darn stiff & unwieldy. I’m glad I picked up the 1/4″ polyethylene tubing at Home Depot since it’s much more flexible than Nylaflow.
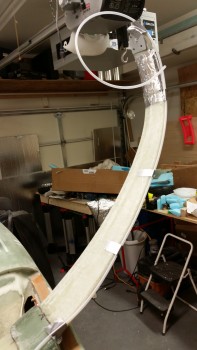
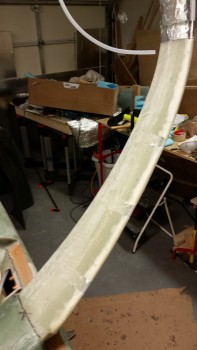
After a few more tweaks of the tubing on the left side gear TE, I then micro’d & glassed the relief tube in place using 1 ply of BID. I then peel plied the layup. Since this layup will be covered with micro and the gear fairing foam pieces, I went ahead and use some old MGS 335 epoxy & hardener that I had on hand.
Here’s a shot of the top side of the gear showing the relief tube glassed in place.
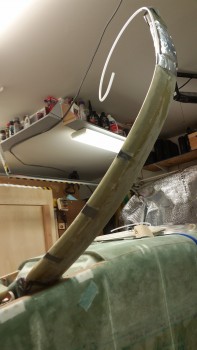
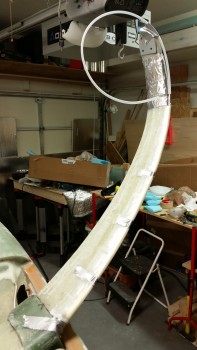
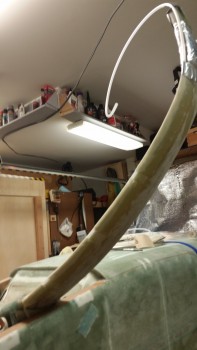
After a few hours under the heat lamp, the layup to attach the relief tube to the main gear TE was pretty much cured. Here’s a couple pics of the cured layup.
Tomorrow will be all about installing the gear fairings, possibly. I say possibly because my fellow Long-EZ builder and Uber good friend Marco is planning on stopping by, weather & time permitting. Still, I I do have time tomorrow I plan on getting the gear fairing foam pieces micro’d in place on the gear legs with the 1/2″ tubing in place, if it will fit. Once the gear fairing foam micro cures, I’ll lightly sand & shape the BOTTOM of the gear fairing and then glass with 2 plies of UNI at a 30° bias in each direction. Once I flip the fuselage back upright I’ll glass the top of the gear fairings.