I finally spent a few hours today getting “Bob” (my 3D printer) back on his feet after his major brain/heart/liver/lung etc. transplant…. ha!
I had received the new Extruder motor driver chip in the mail while on this last trip down to NC so I finally got around to installing it. I then tweaked the power setting (Vref) to finally get the proper amount of filament going through the extruder (E-steps), but still had to do a minor hack in the firmware settings to get it close to spot on.
Not perfect in what should be normal ops (now the extruder is a bit louder than it should be… will slowly get some feedback via forums and do some further diagnostics), but the outcome was very good.
I did a test print of the little #6 nut tolerance checker (no pic here) I made up –which was majorly failing due to major under-extrusion before I installed this latest extruder motor driver chip. After dialing in the filament extrusion I finally got my first good print after my massive overhaul of the printer.
Since Bob’s been a bit lazy lately (offline) . . . I took the opportunity to get something printed while I worked on the house to prep it for sale [the main reason I wanted to get the 3D printer back operational!].
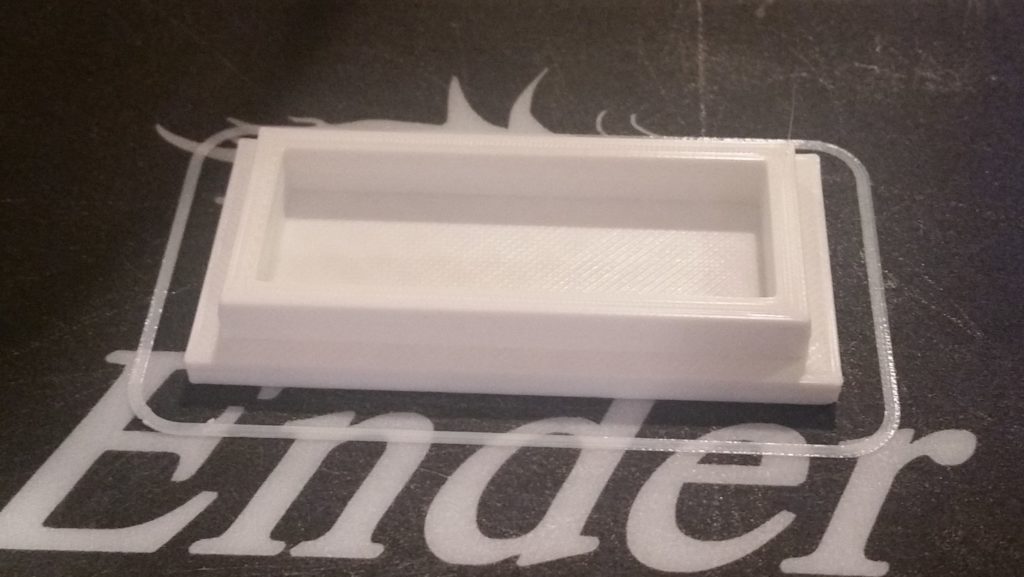
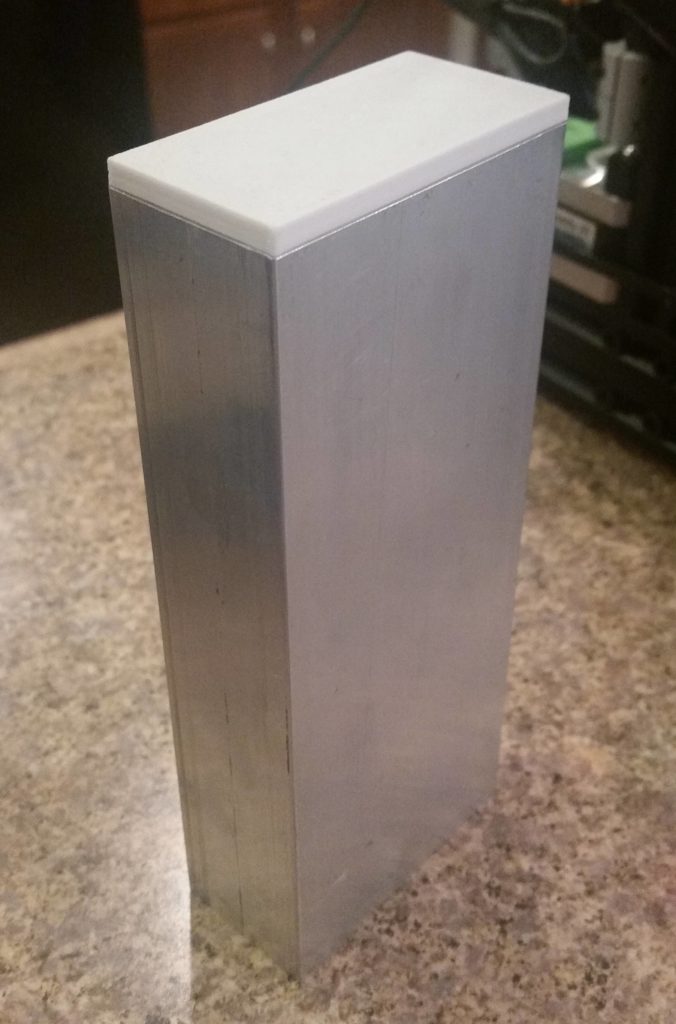
I cleaned up one end of the rectangular tube that will make up the X-axis motor mount/housing on the CNC’d lathe (I snagged it from the hangar this last trip). I then took measurements on the clean end and in about 10 minutes had a CAD drawing sketched up in Fusion 360 for a top cap that will help keep the dust, chips and swarf out of the pulley assembly and belt that will be internal to this mount.
Here’s the cap just after it finished printing:

And here we have the cap installed inside the rectangular motor mount/housing tube. It fit so well that I won’t print another one until I get bored with the white color!

I’m happy to have Bob back to work so that I can kick off prints and have them going while I’m working on the house!
