
Or, as they say in France, “Le canard, oui?”
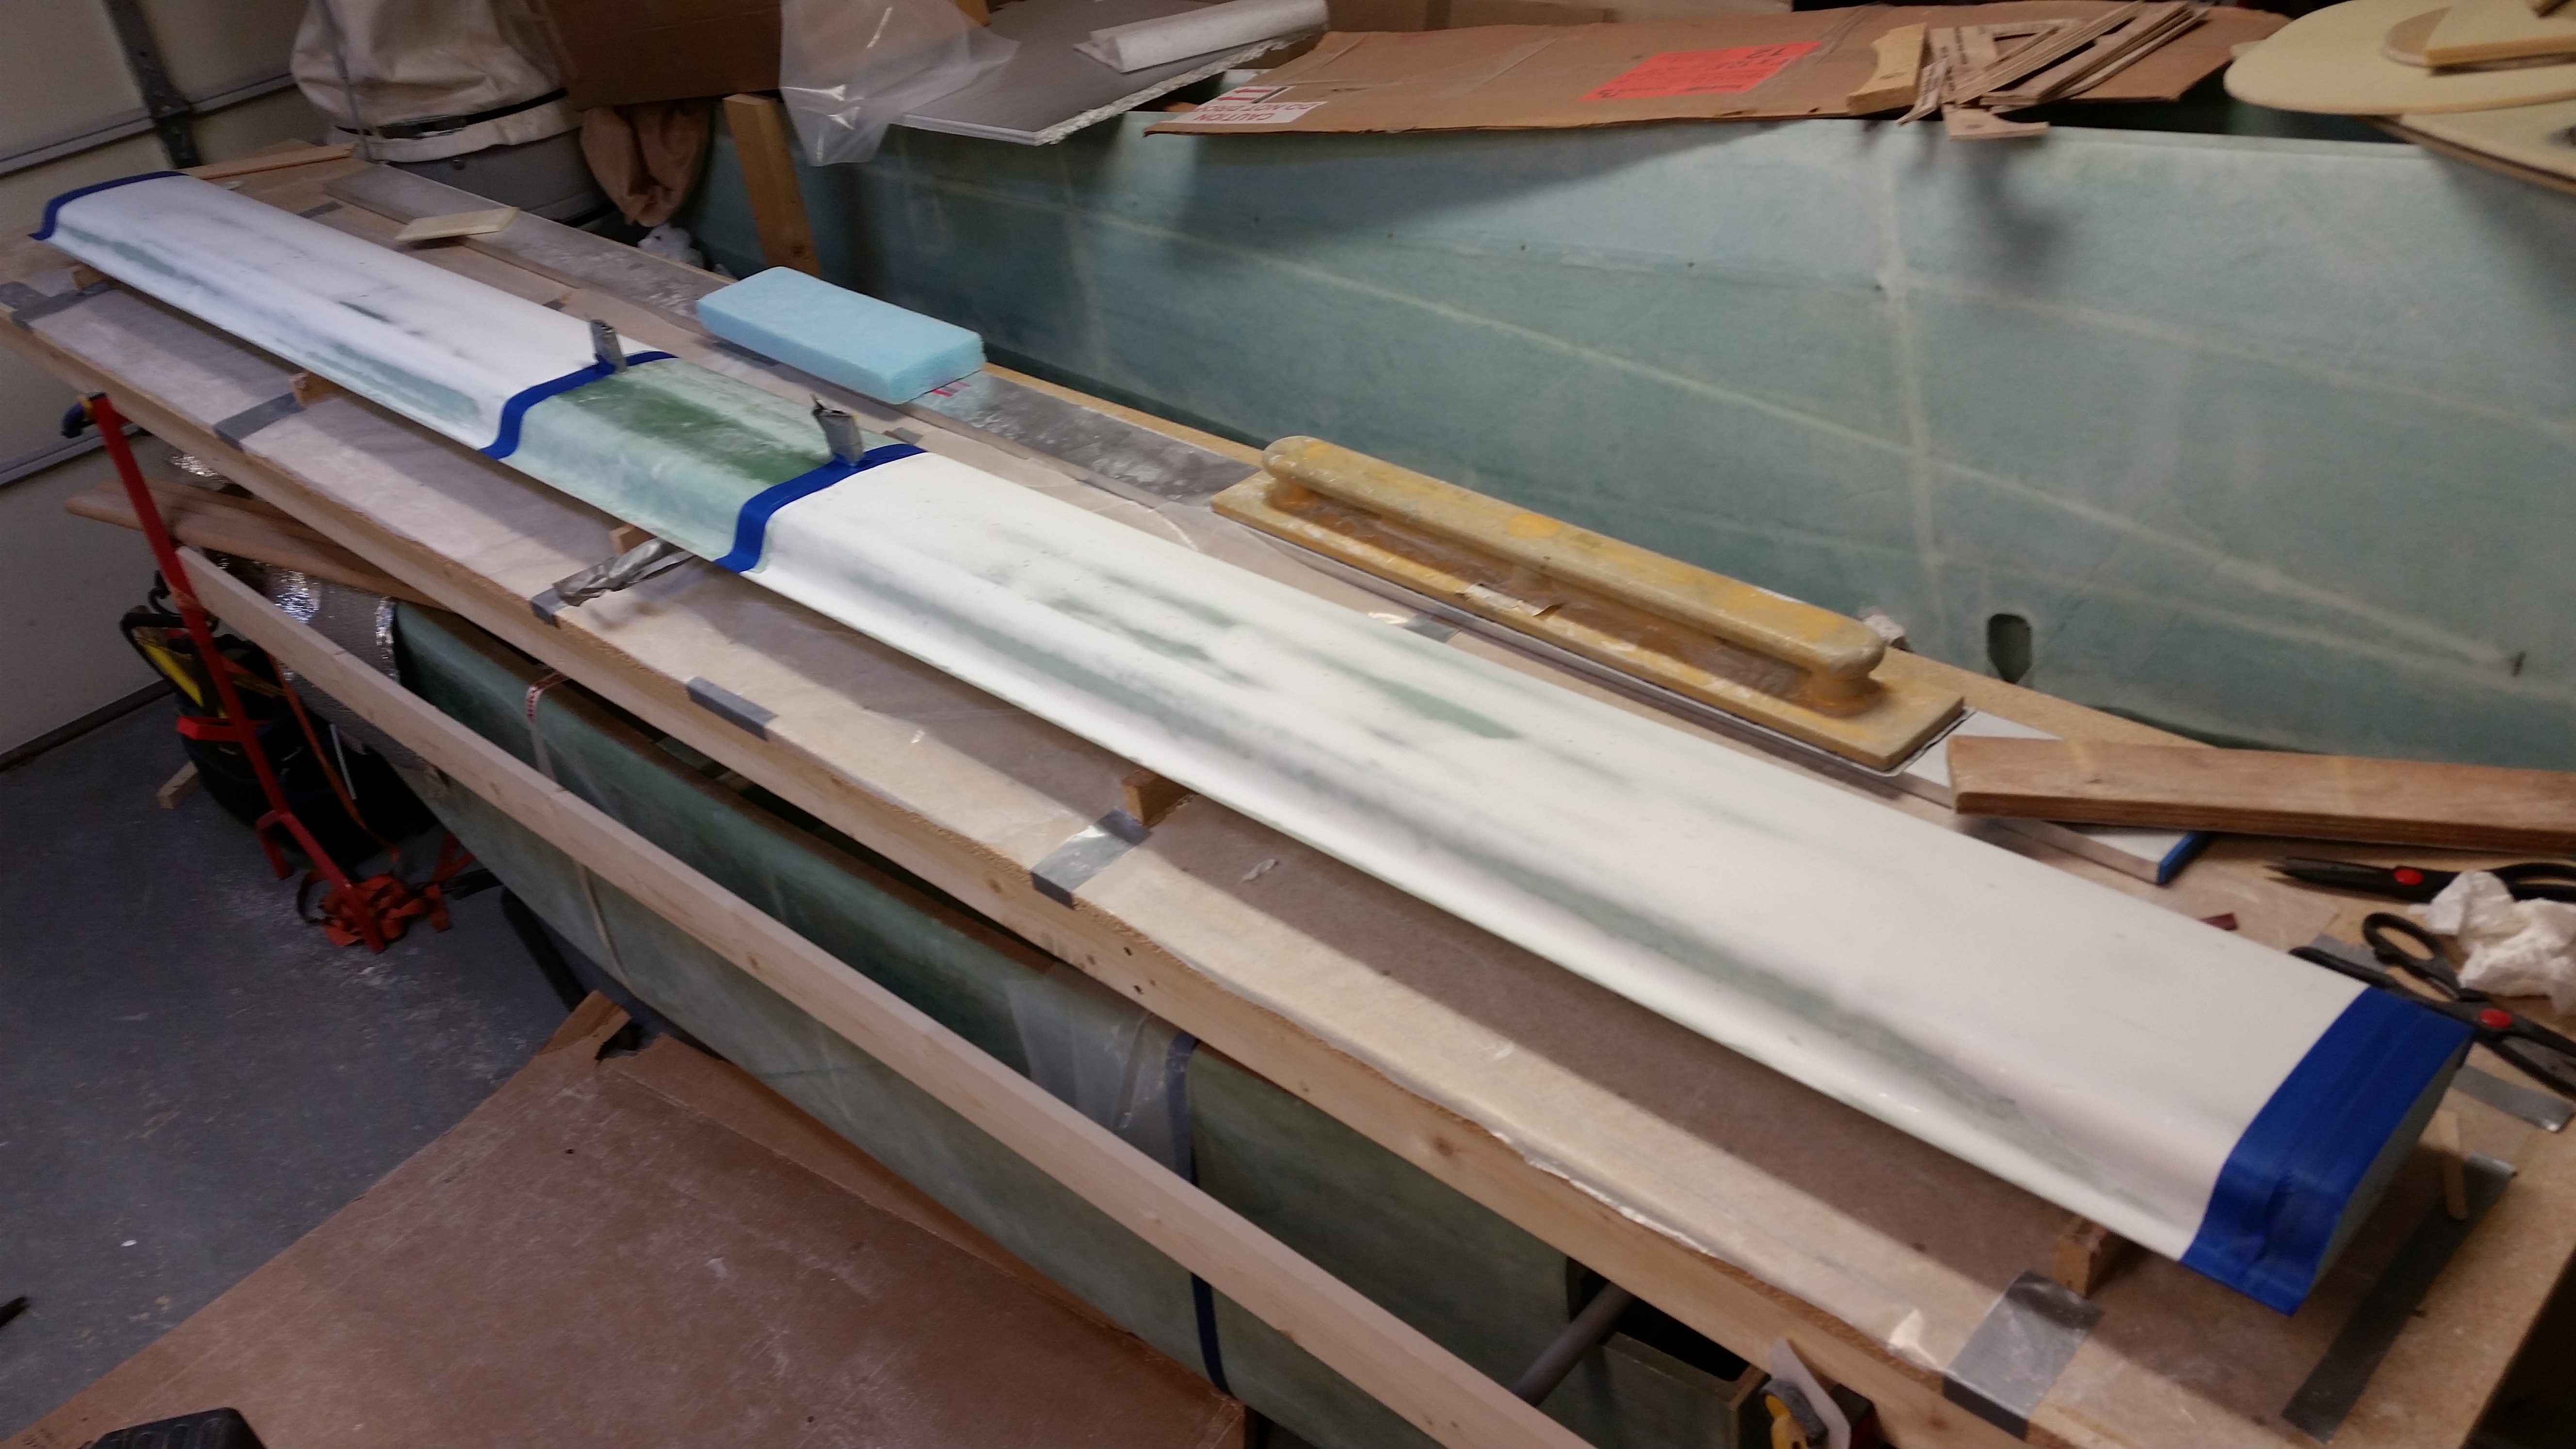
I started out today by giving the epoxy skimmed canard a thorough sanding. First off, I was checking out the surface in the light and realized it was still just a tad too lumpy across the board to my liking. So I backed up one step and grabbed the marine long board with 80 grit paper to knock off some of those surface irregularities. I did a pass 45° to the right and then 45° to left on each side. After knocking down the surface significantly with the 80 grit paper, I hit the canard with 100 grit sandpaper two complete passes on each side and then I finished up with a couple of passes using 150 grit paper.
After the final sanding down of the epoxy skim coat & Micro Skim I vacuumed the canard and the surrounding area, cleaned the canard and let it dry before taping it in preparation to prime it.
As I posted earlier this year, I made a decision to use boat paint for the final finish on this Long-EZ. Unless it proves unsatisfactory I’m keeping with that decision due to low cost & ease of application. Here’s a shot of the opened can right before I started priming the canard.
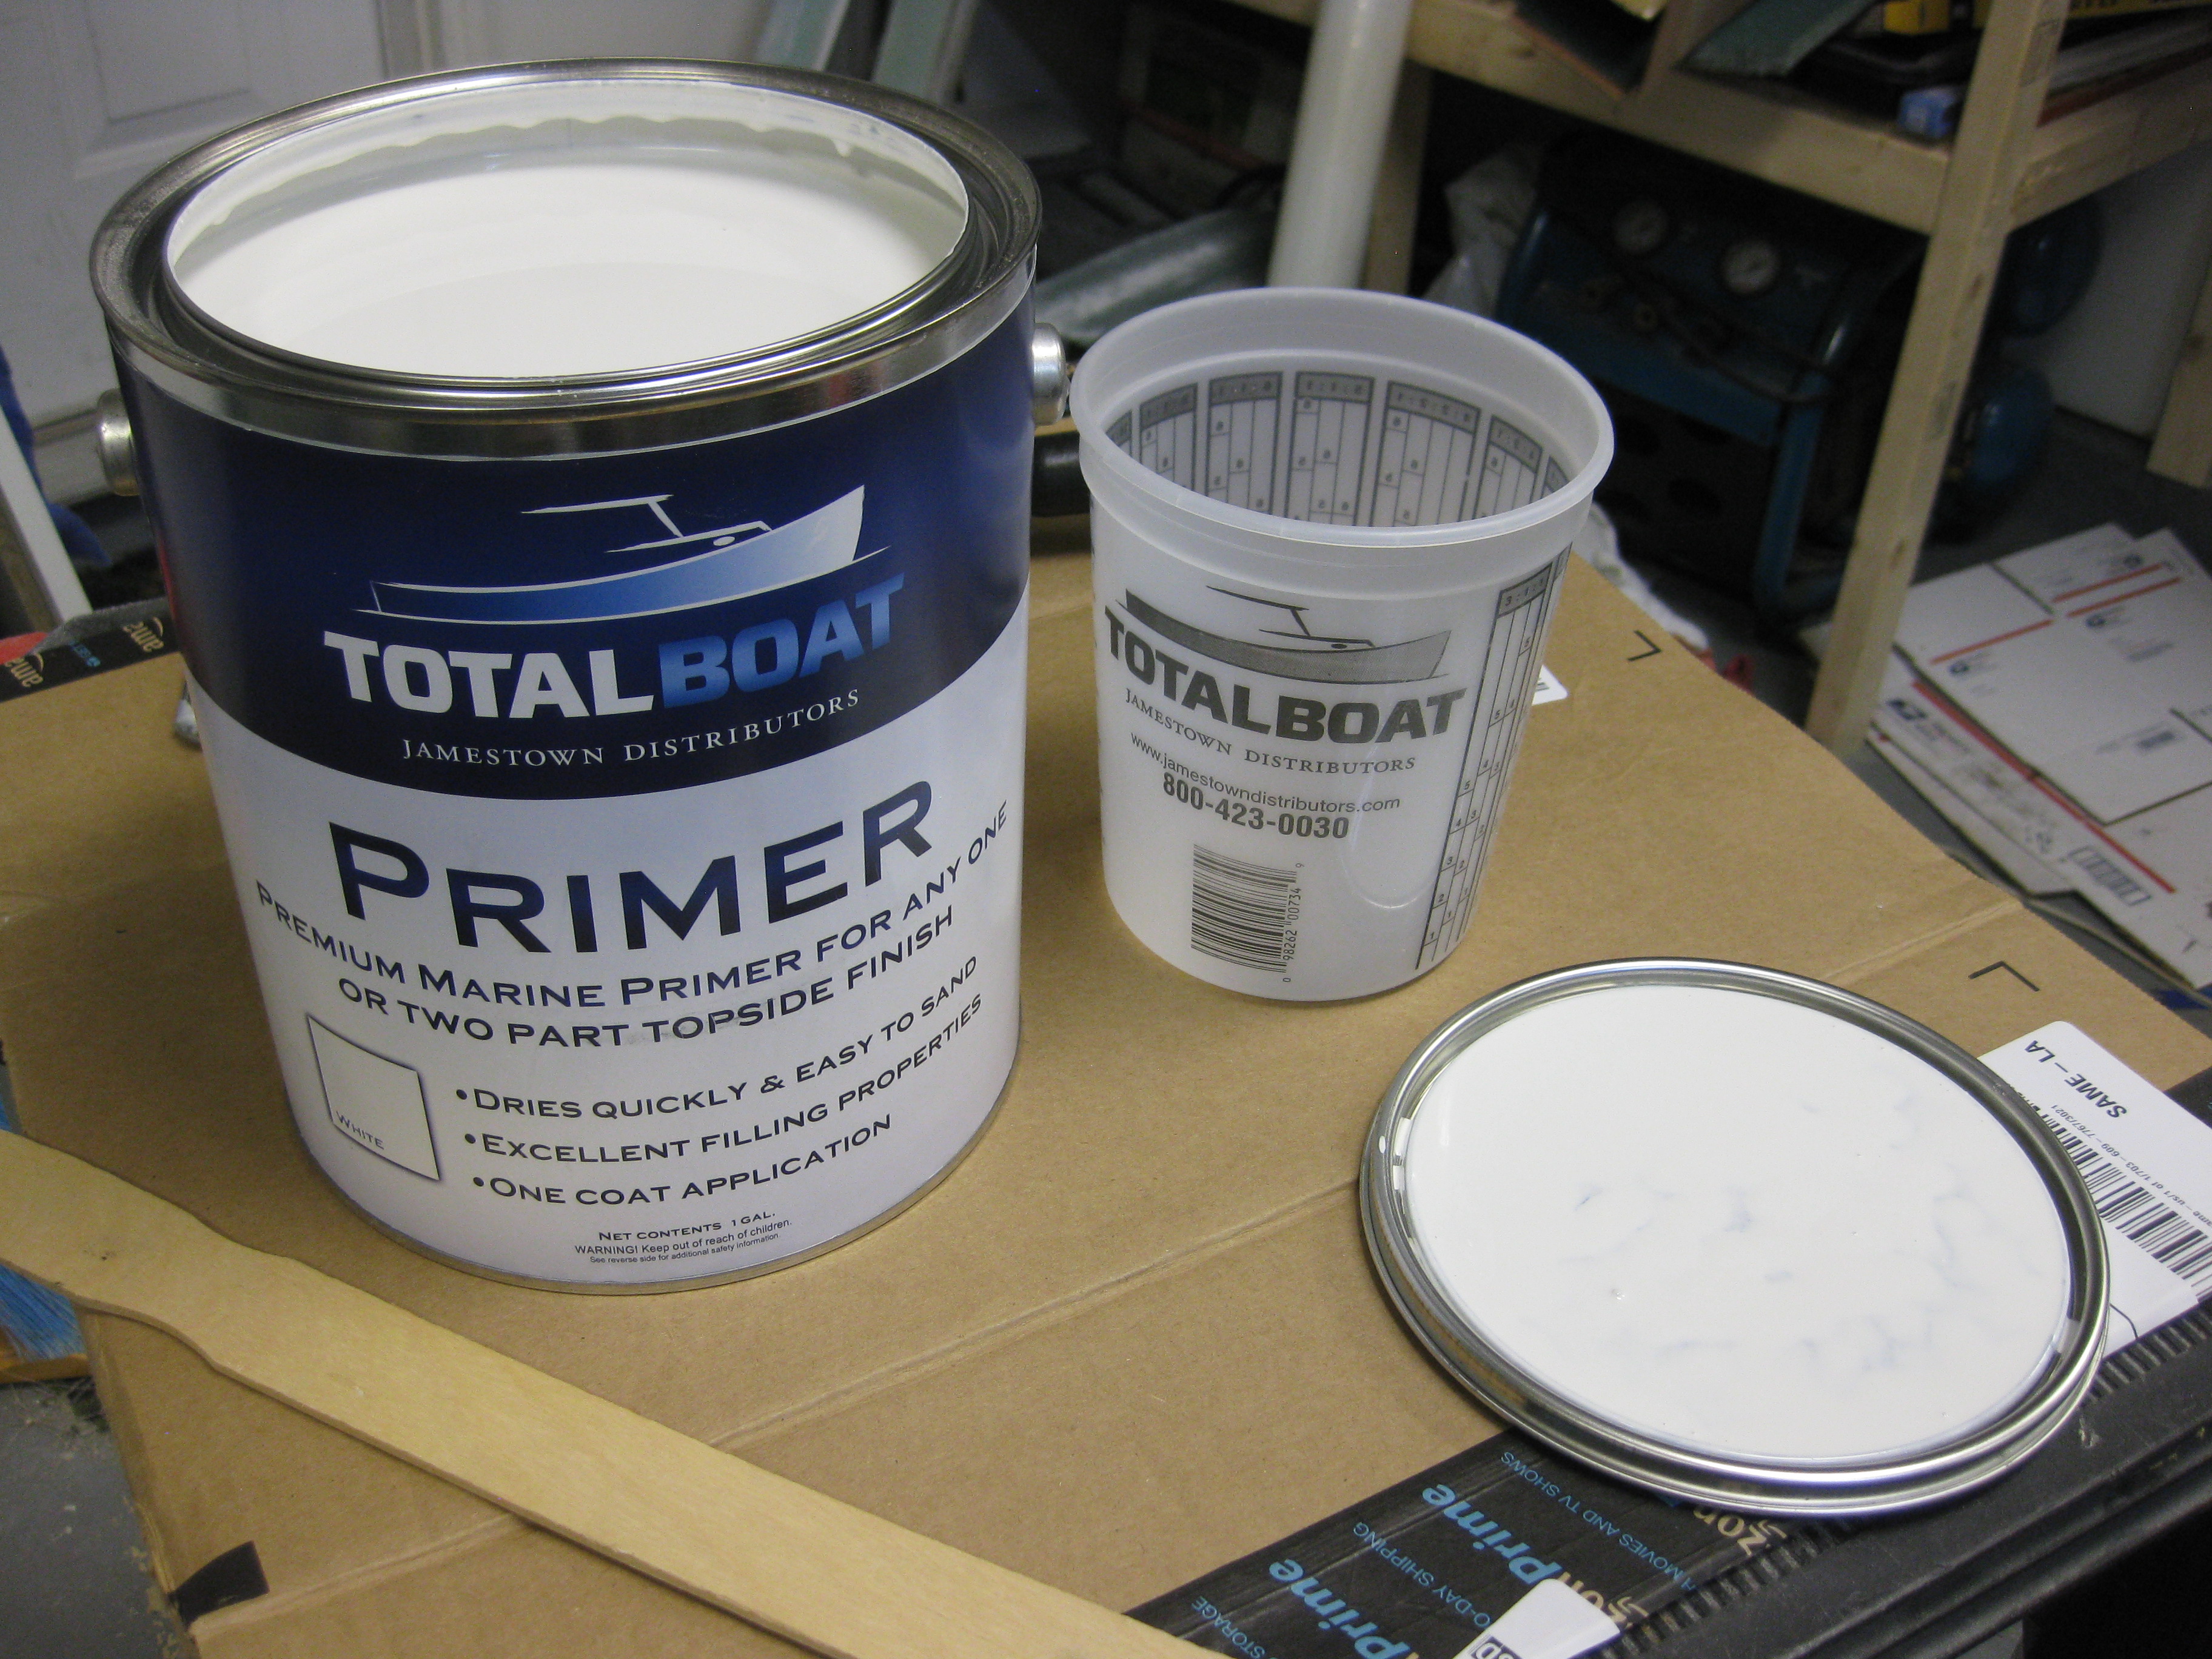
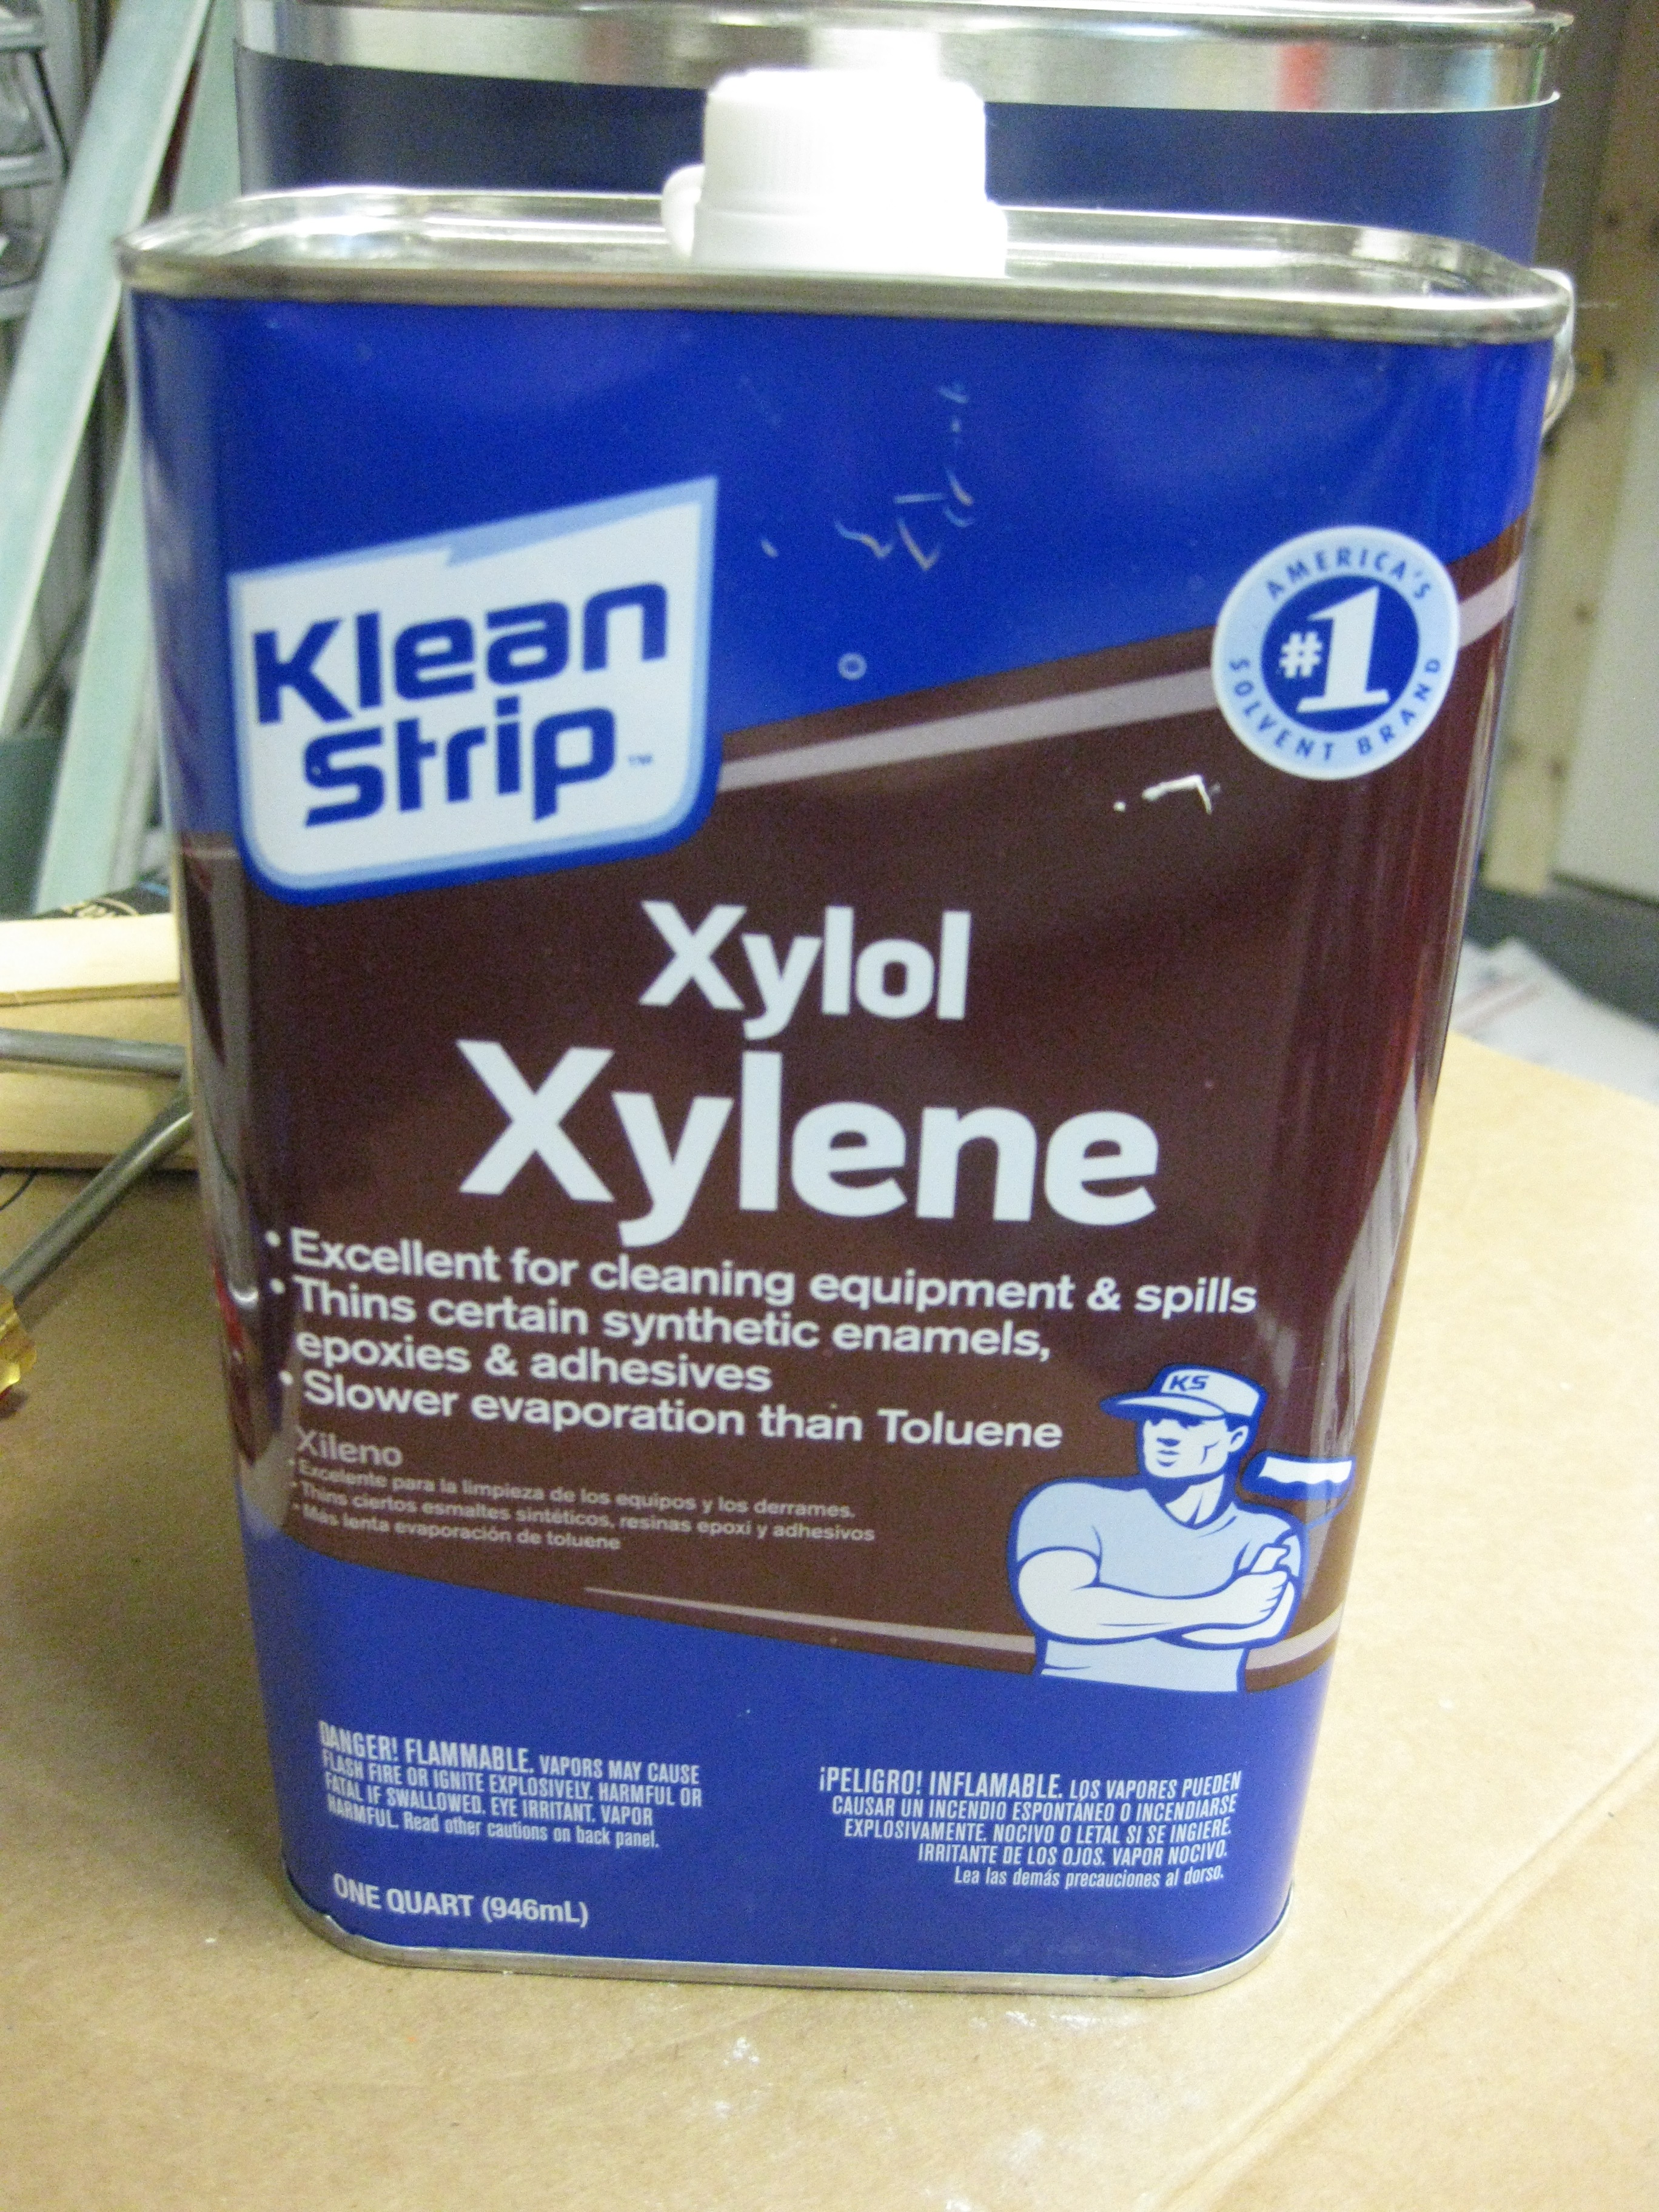
Jamestown Distributors, the company who sells Total Boat paint products, recommends using Xylol/Xylene to thin the primer. Since I didn’t have any Xylene on hand, and only just learned about it by watching the how-to video on Jamestown Distributor’s website, I decided to make a lunch/Home Depot run. I carted the above pictured gallon of boat primer down to Home Depot and as I was shopping for various paint supplies had them shake up the can for me in their Über-duber mixing machine.
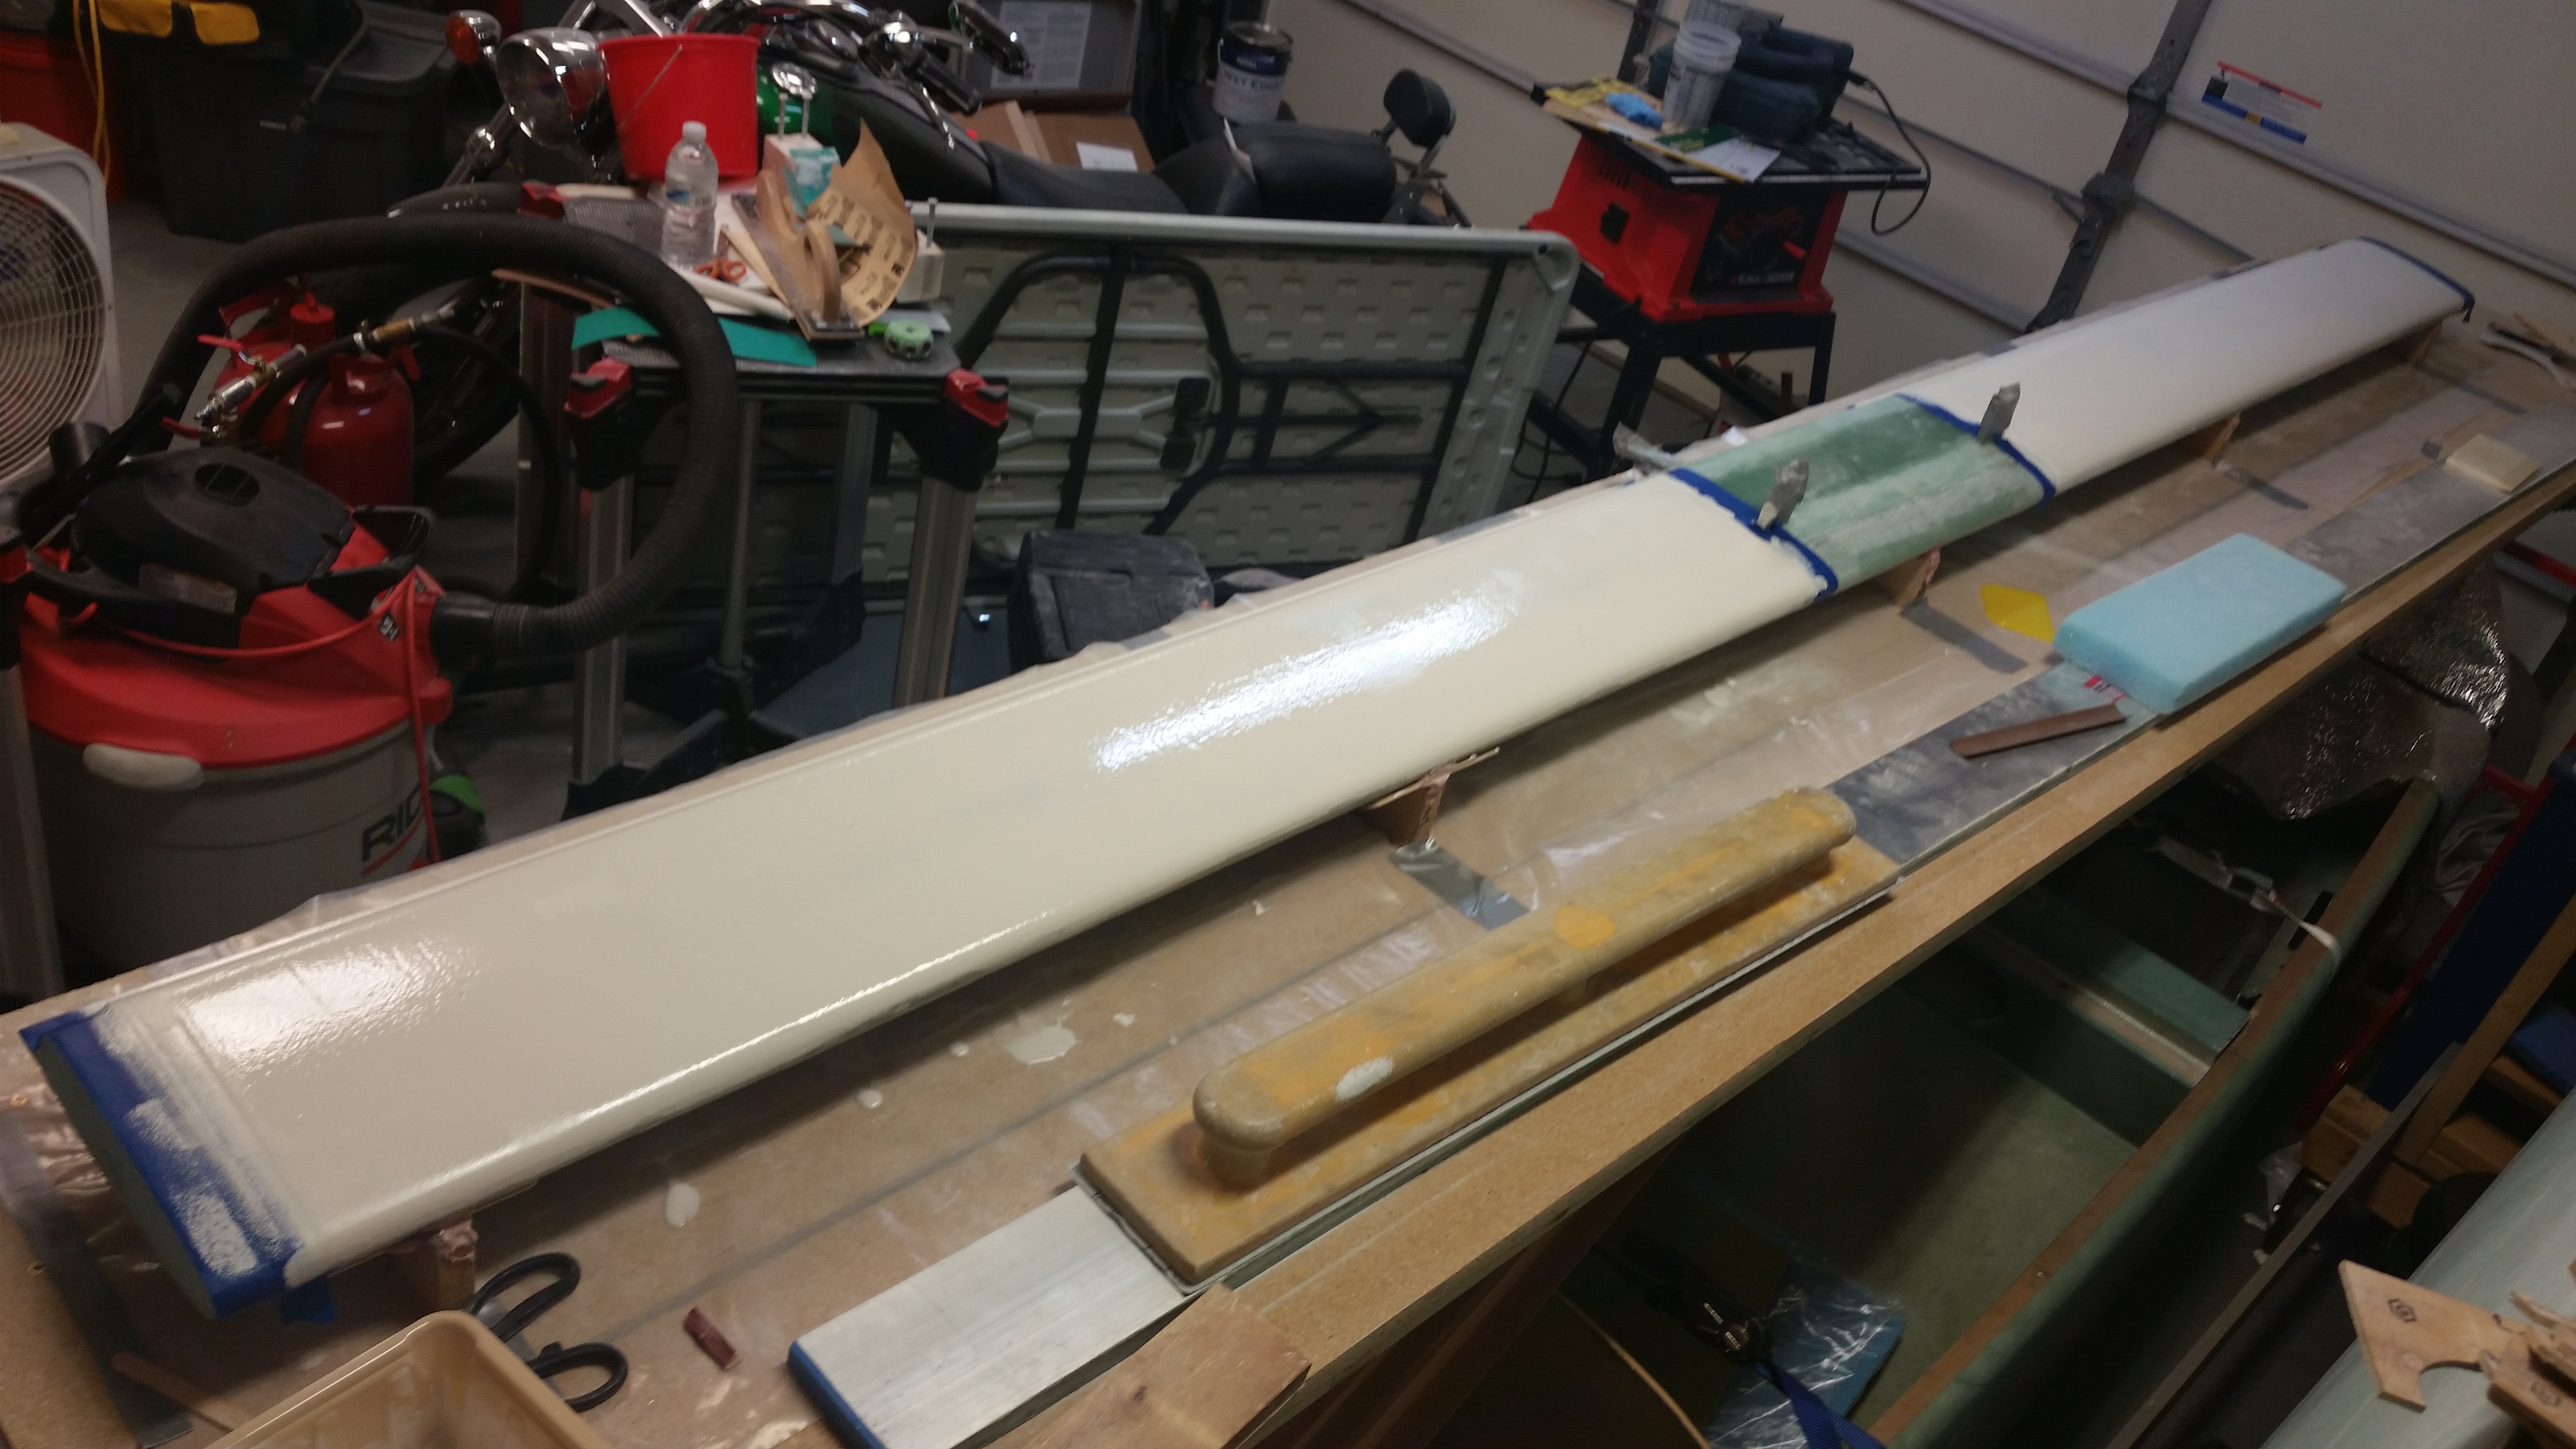
After grabbing a quick lunch & returning back to the shop, I thoroughly stirred the primer, mixed it with 10% Xylene and applied the primer to the canard with a foam roller.
Some of you may wonder why I’m priming the canard at this stage. Well, it seems there is a common difficulty in getting the gap between the elevators and the canard just right. Thus, I want the gap to be a known quantity before I start. I don’t want to declare that a 0.2″ gap is in hand only to find that when I finish the canard and elevators that it’s only a 0.18″ gap, just as an example. Also, as I mentioned before, I believe Randi from the Cozy Girrrls when she says it’s infinitely easier to sand & finish the canard bottom when there are not 6 protruding elevator hinge tabs sticking out of the bottom of the canard. And since I want to get the canard as smooth and as prepped as possible for paint, then the primer needs to go on before the elevators get mounted.
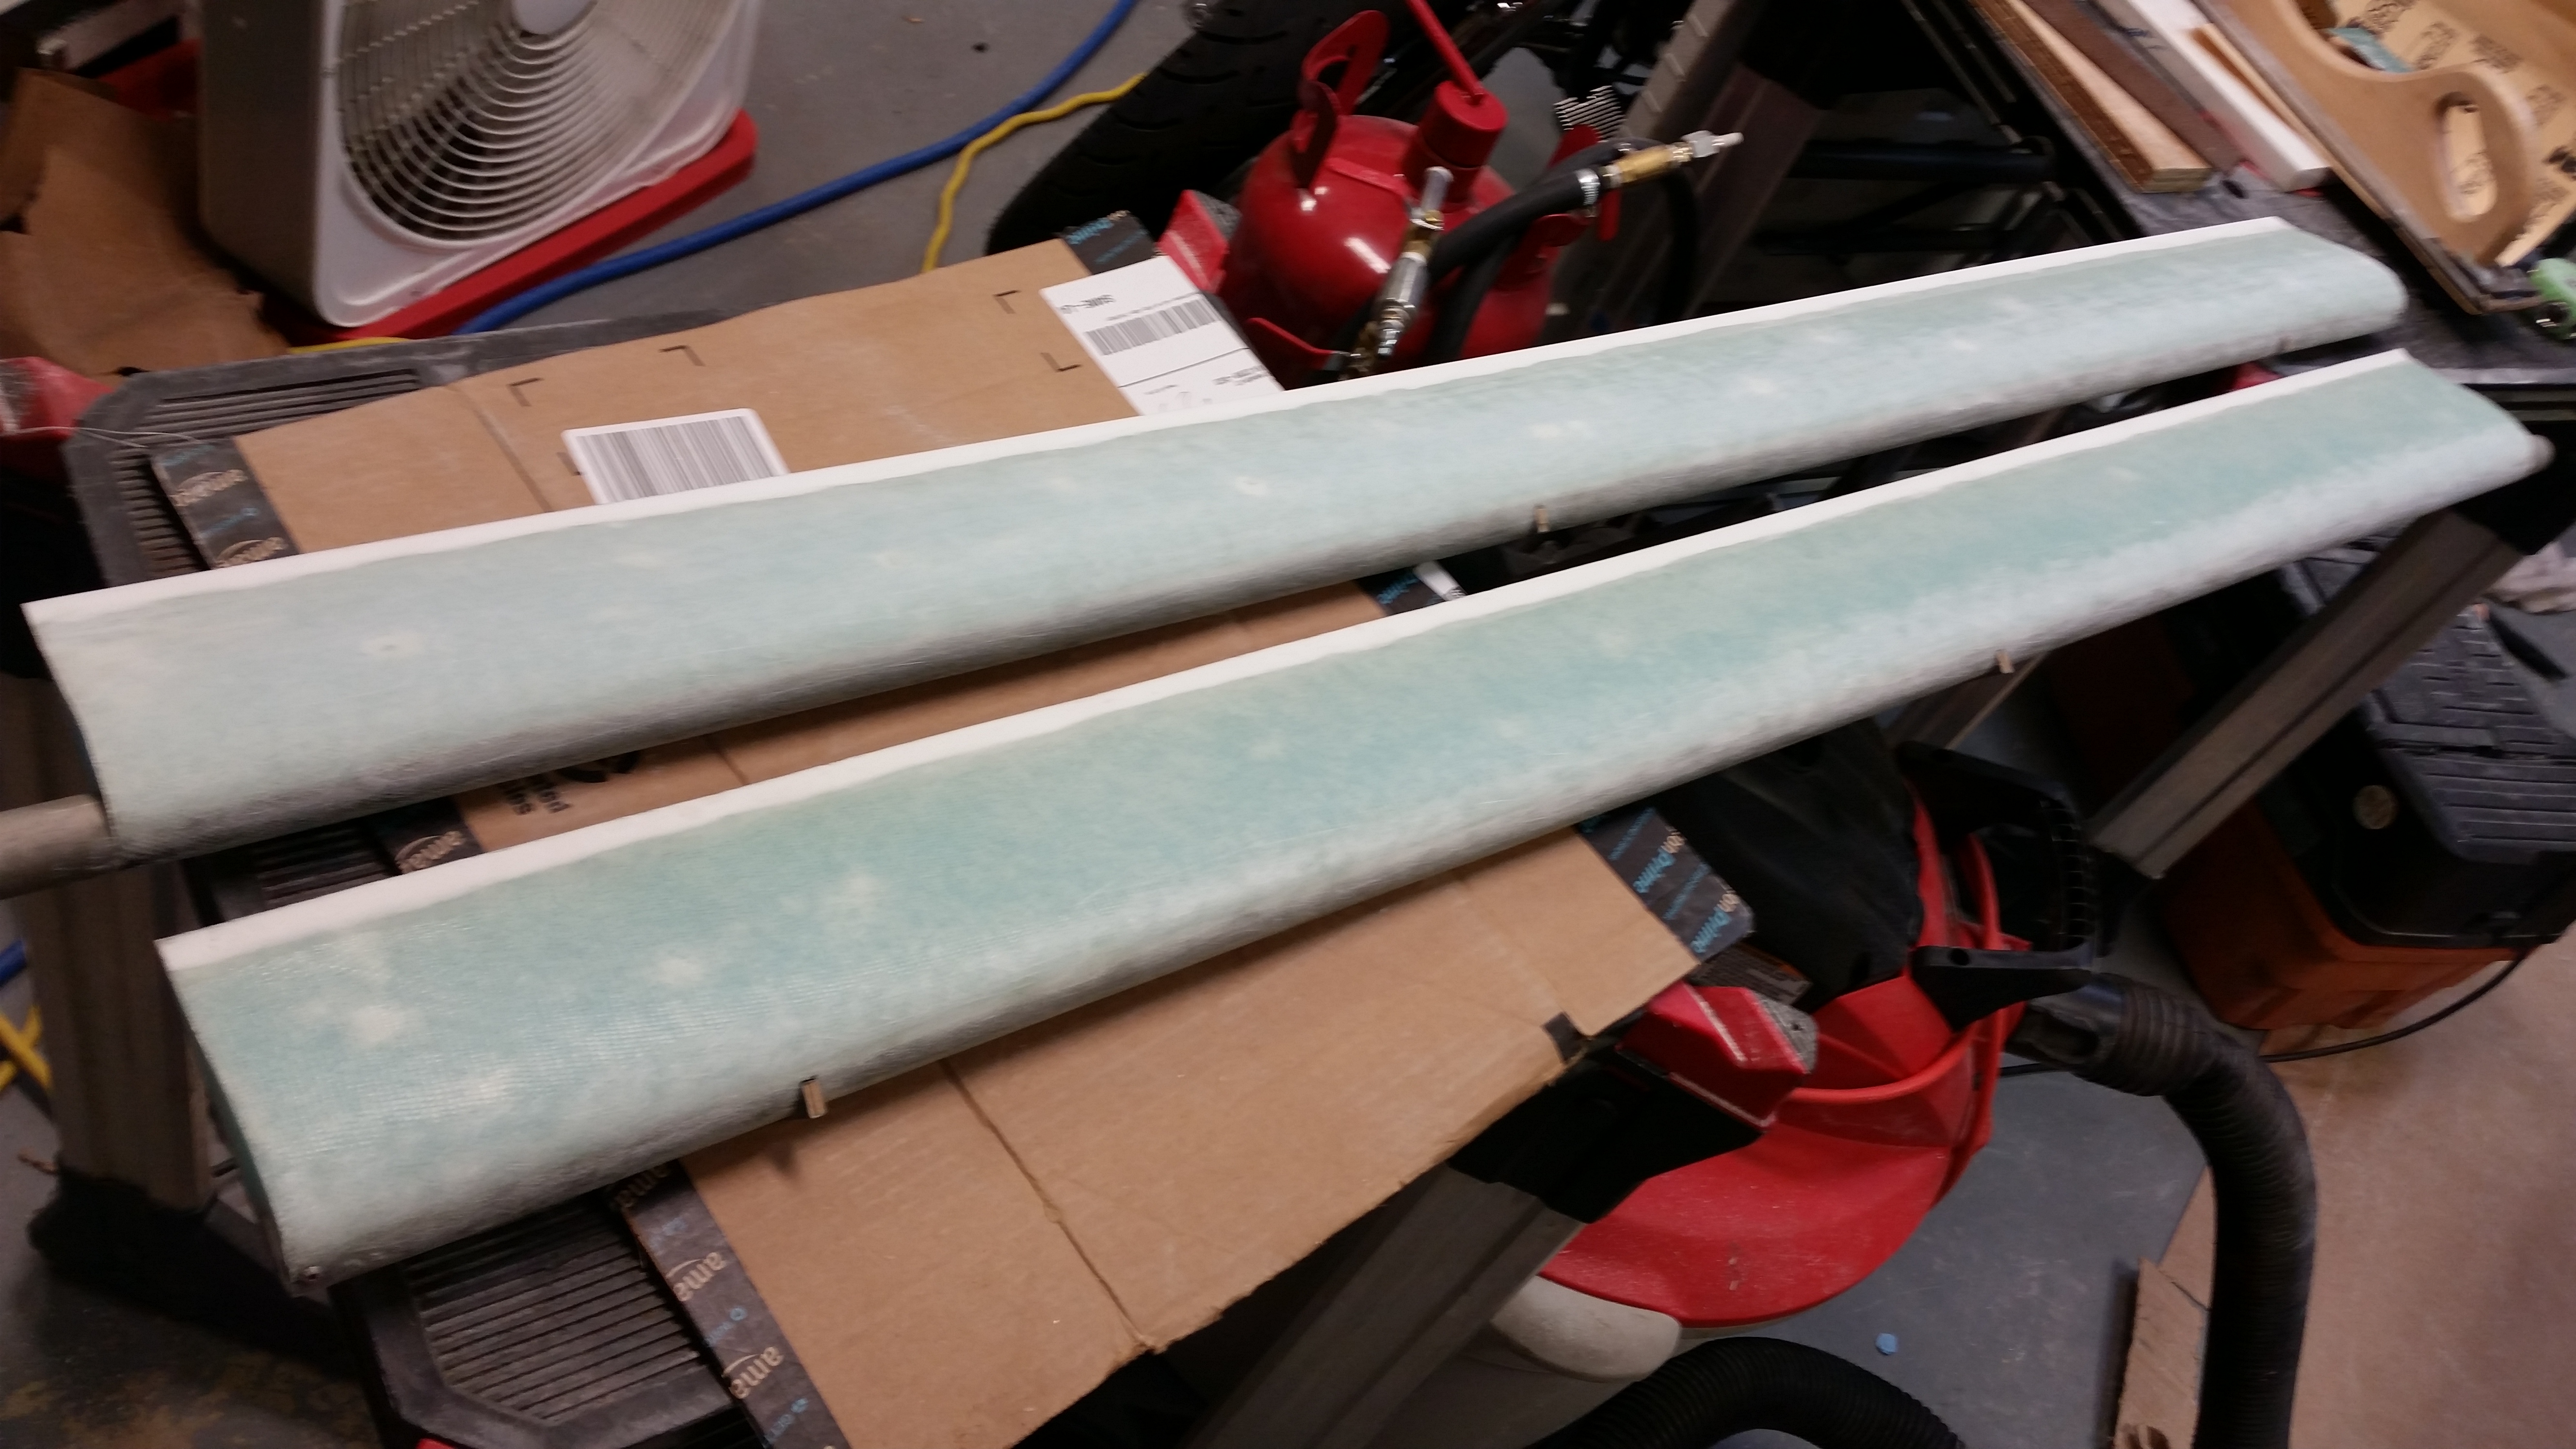
Below are two shots of the canard after the primer was applied.
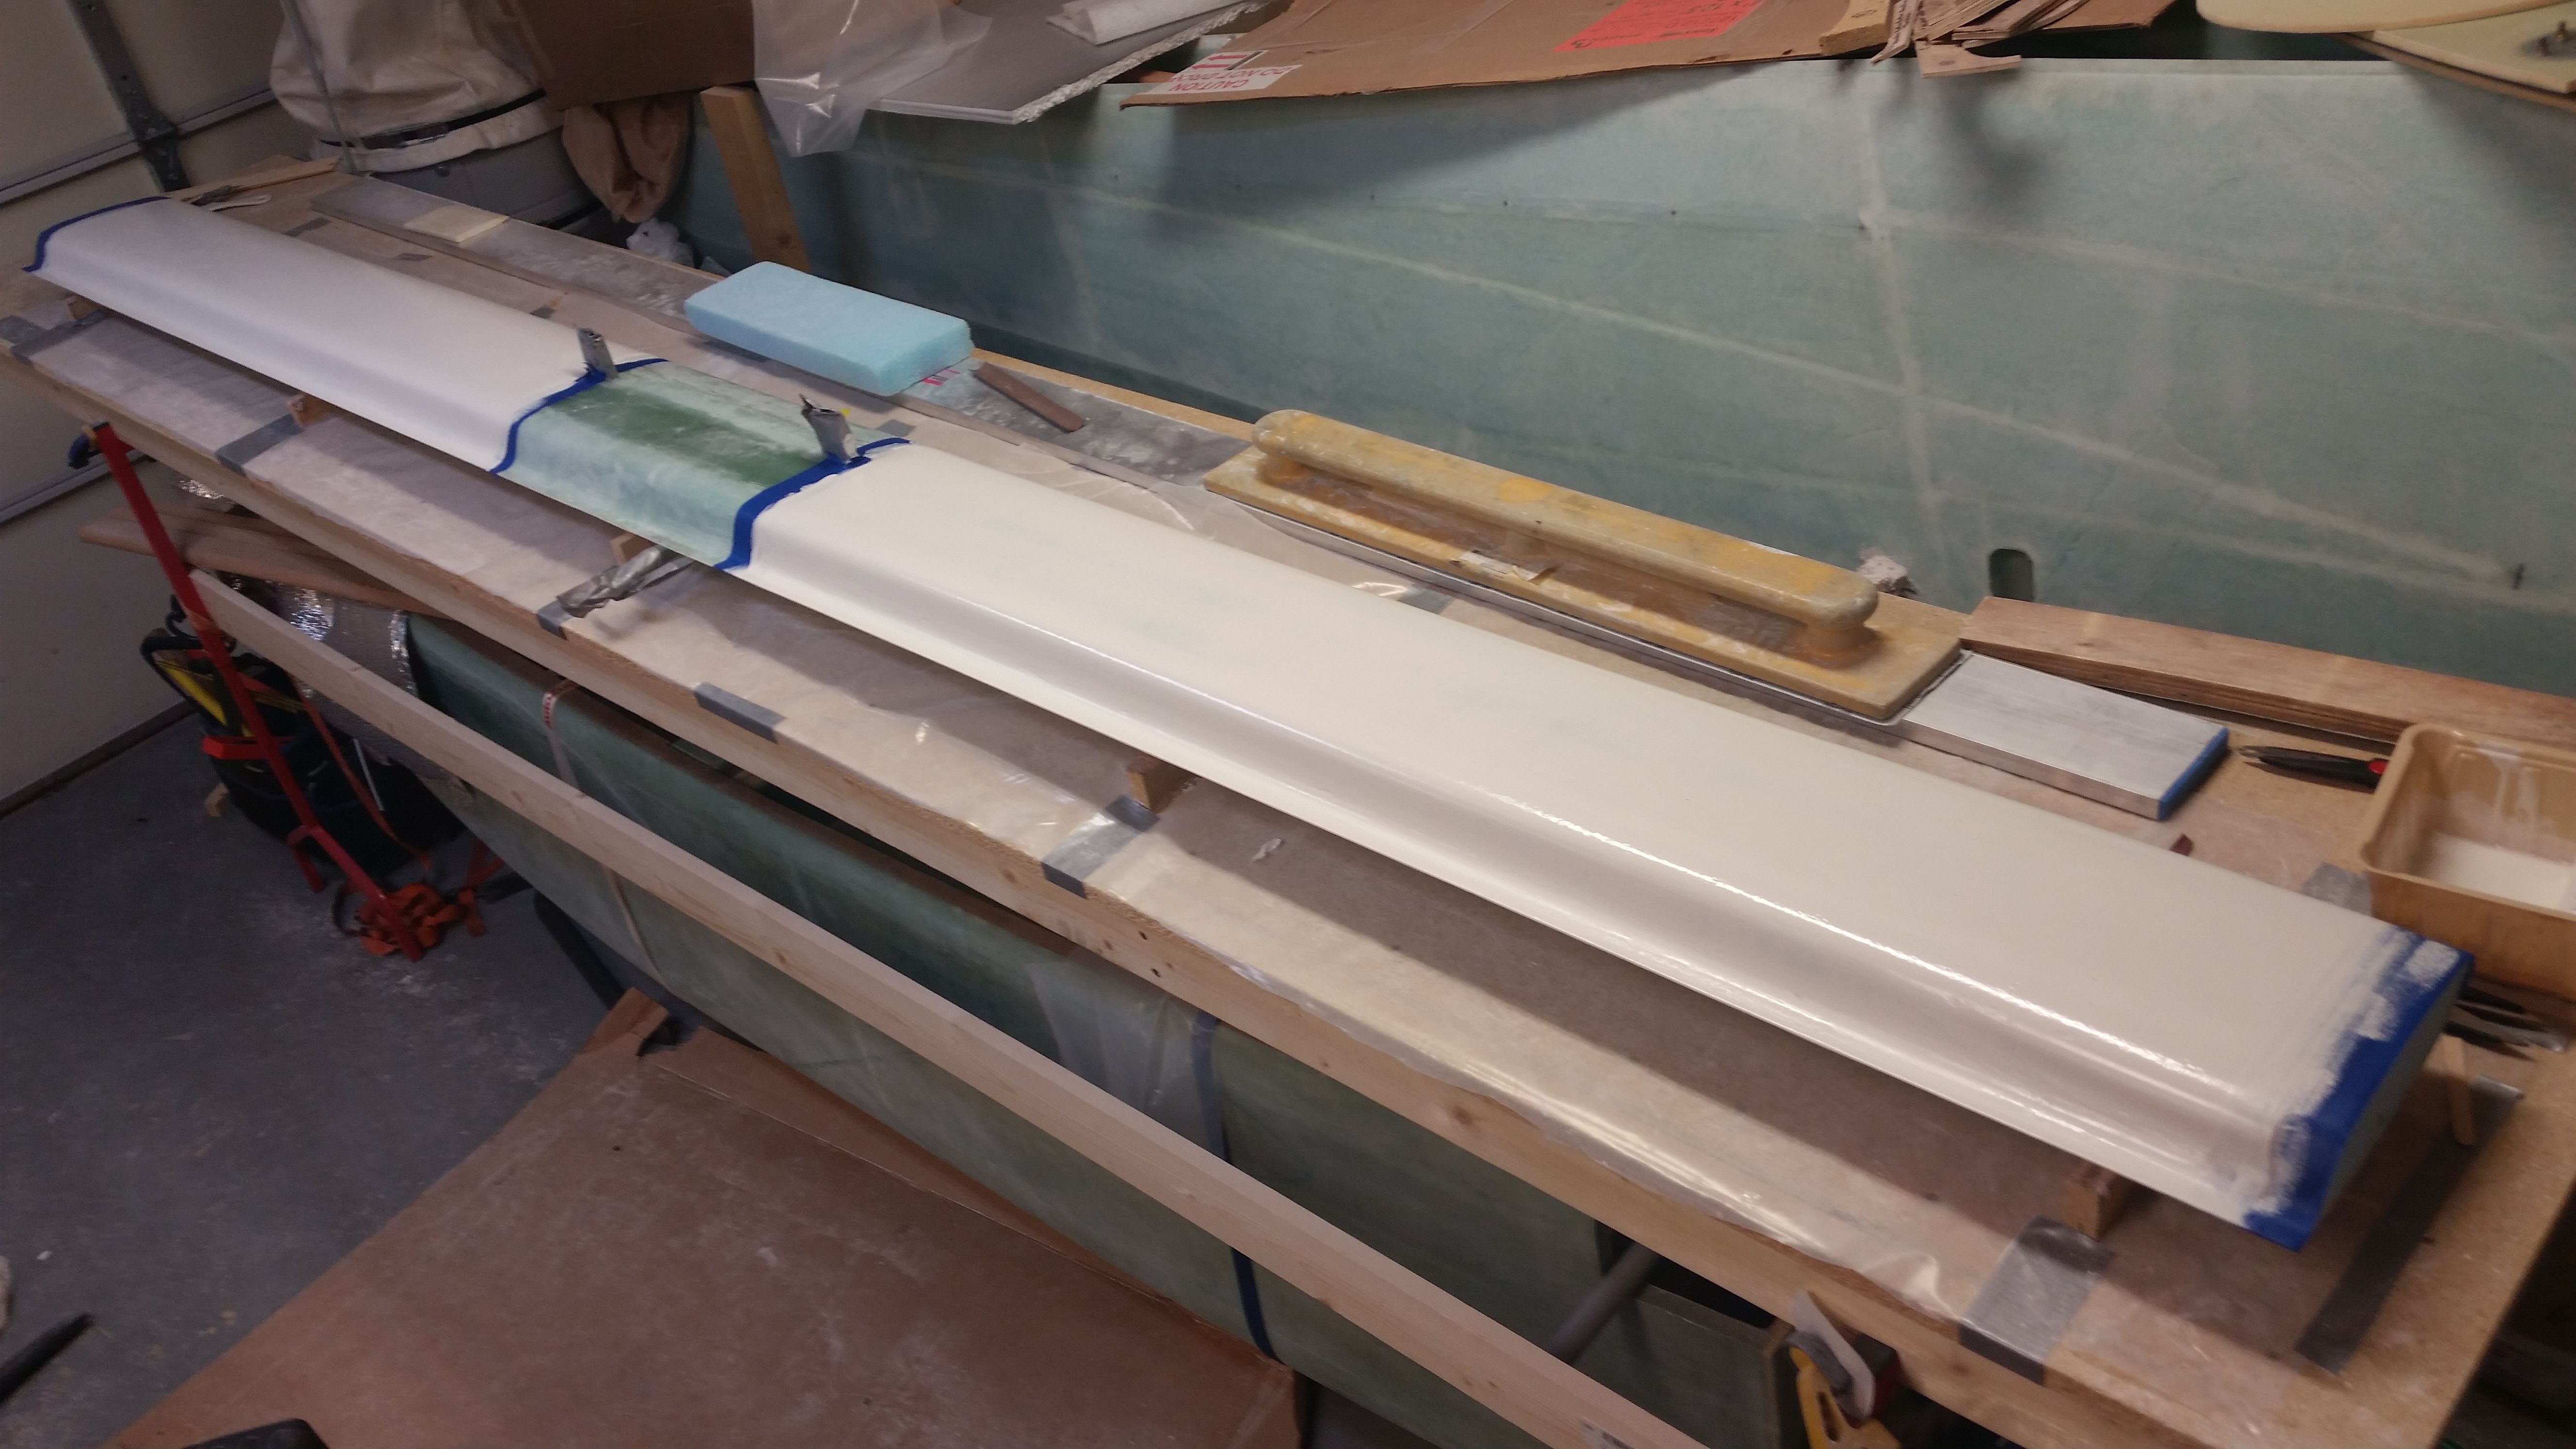
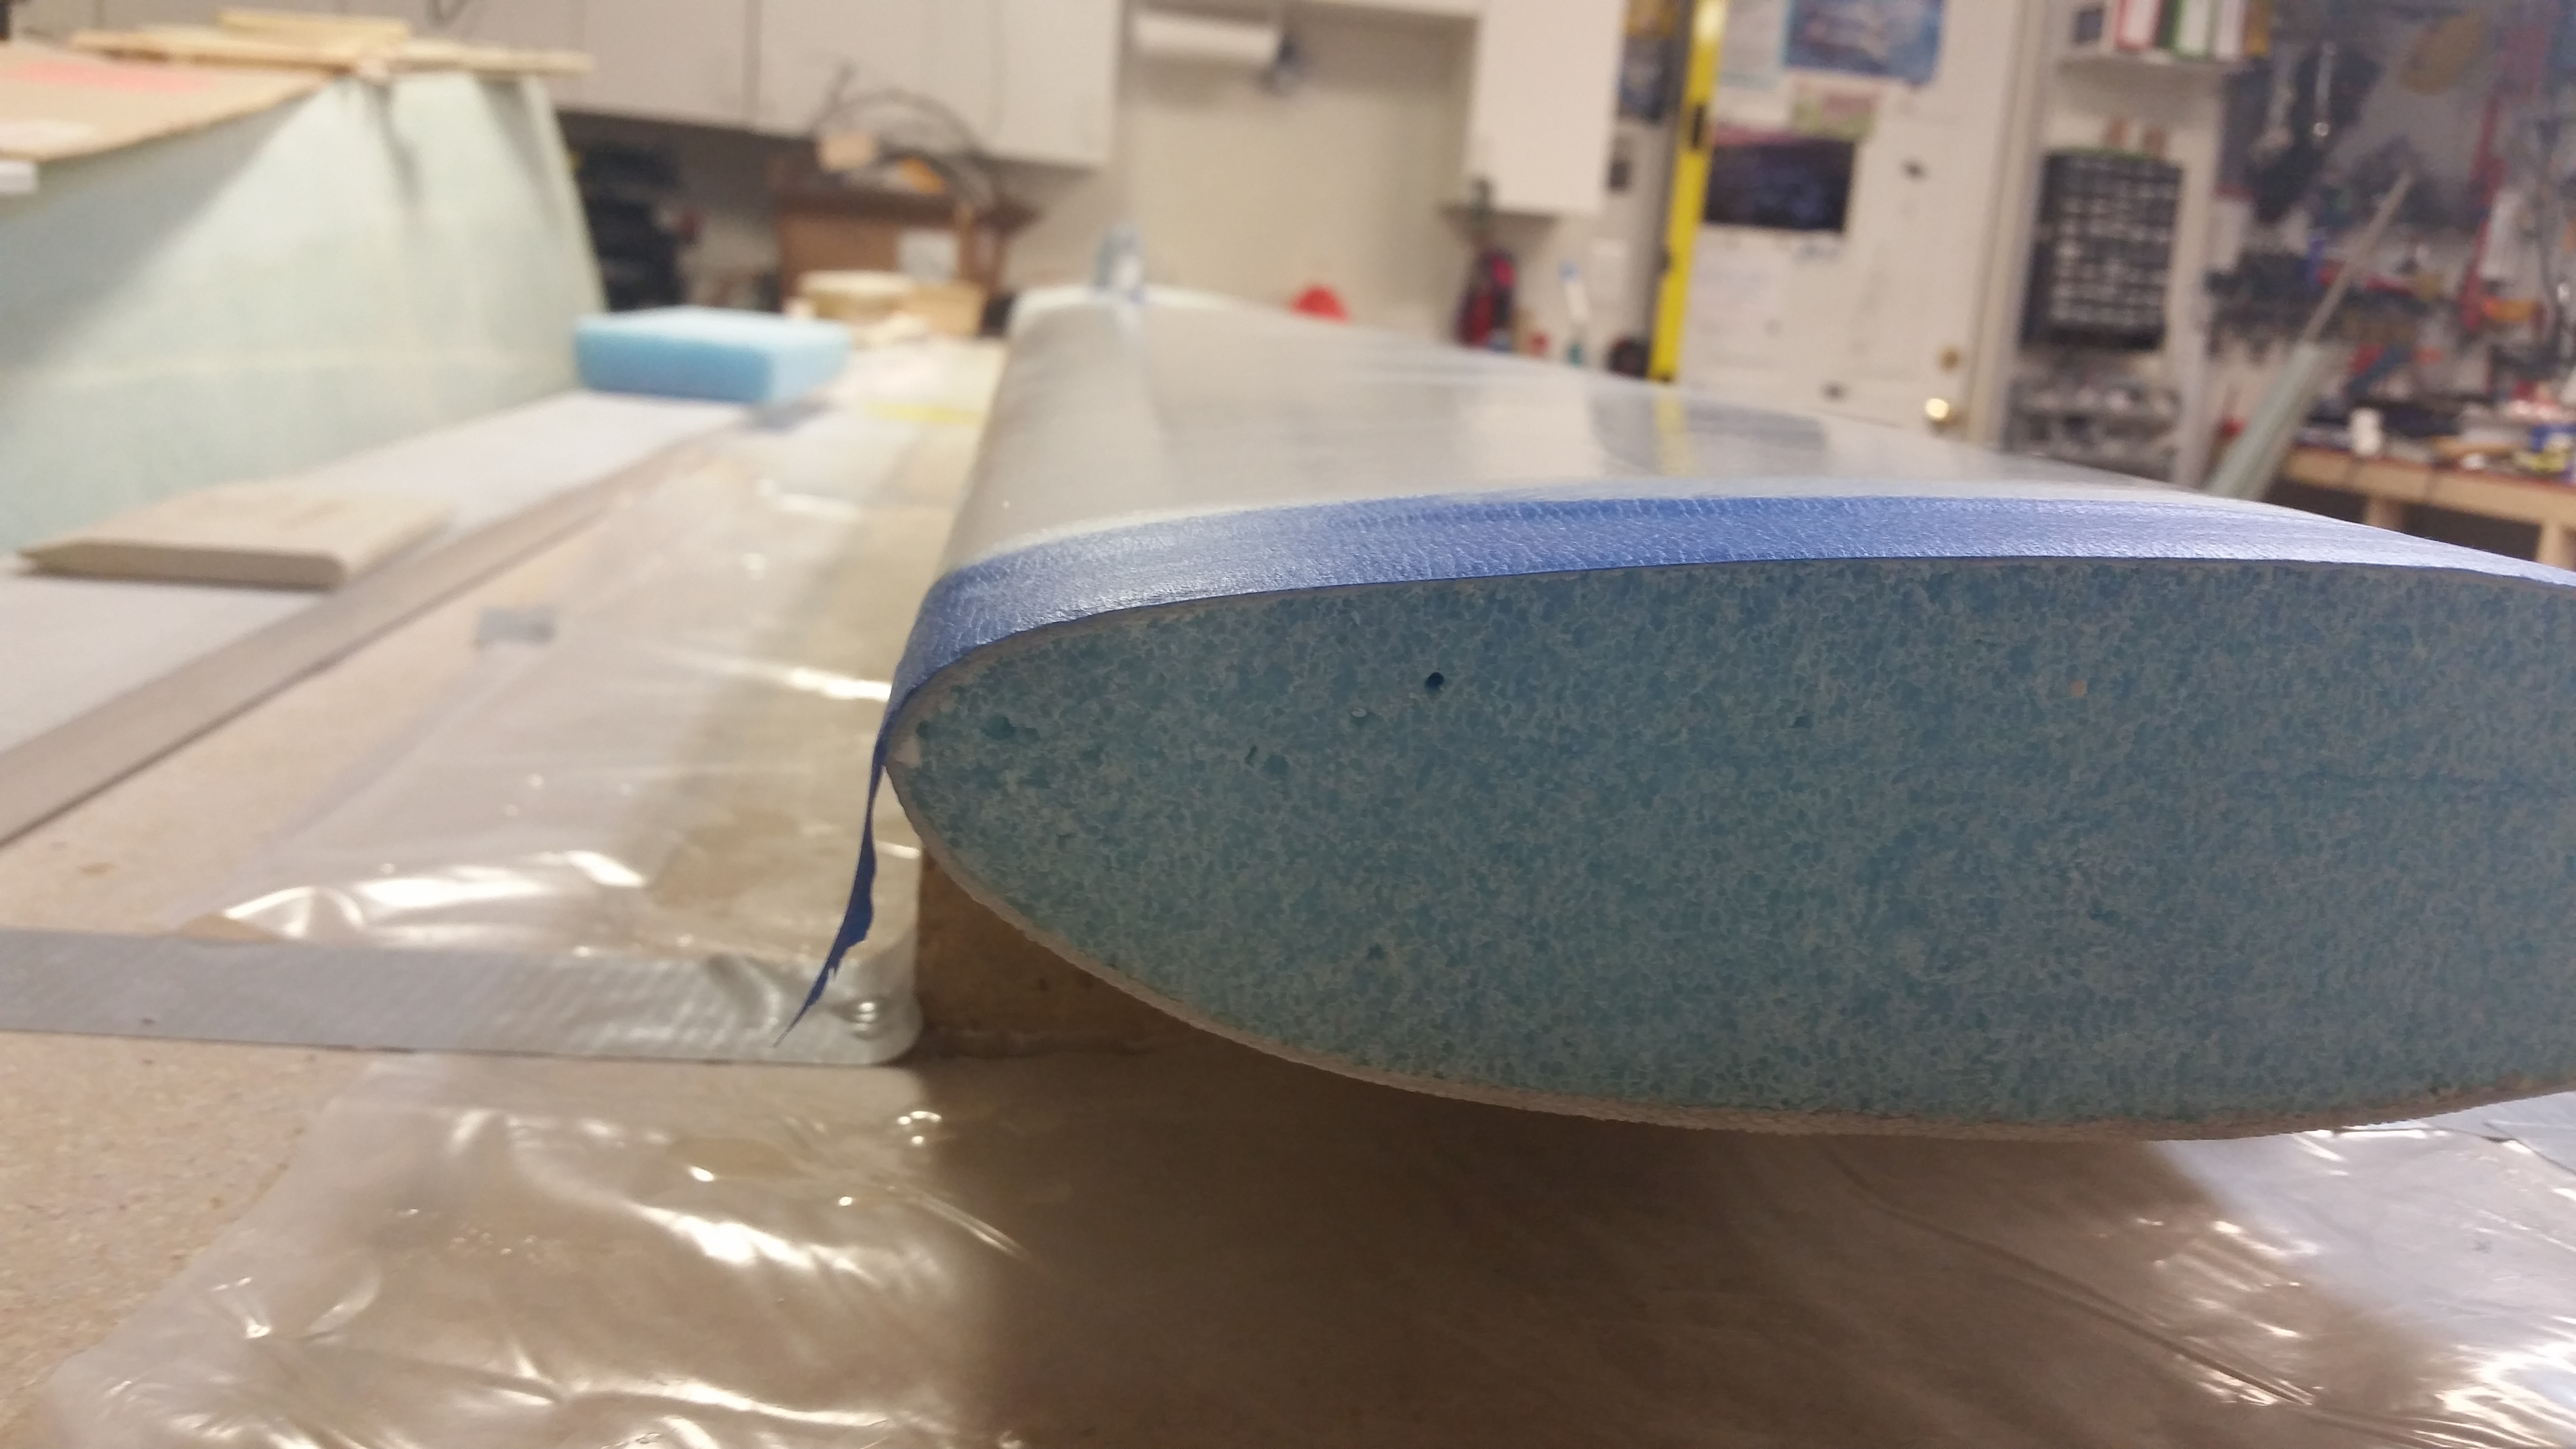
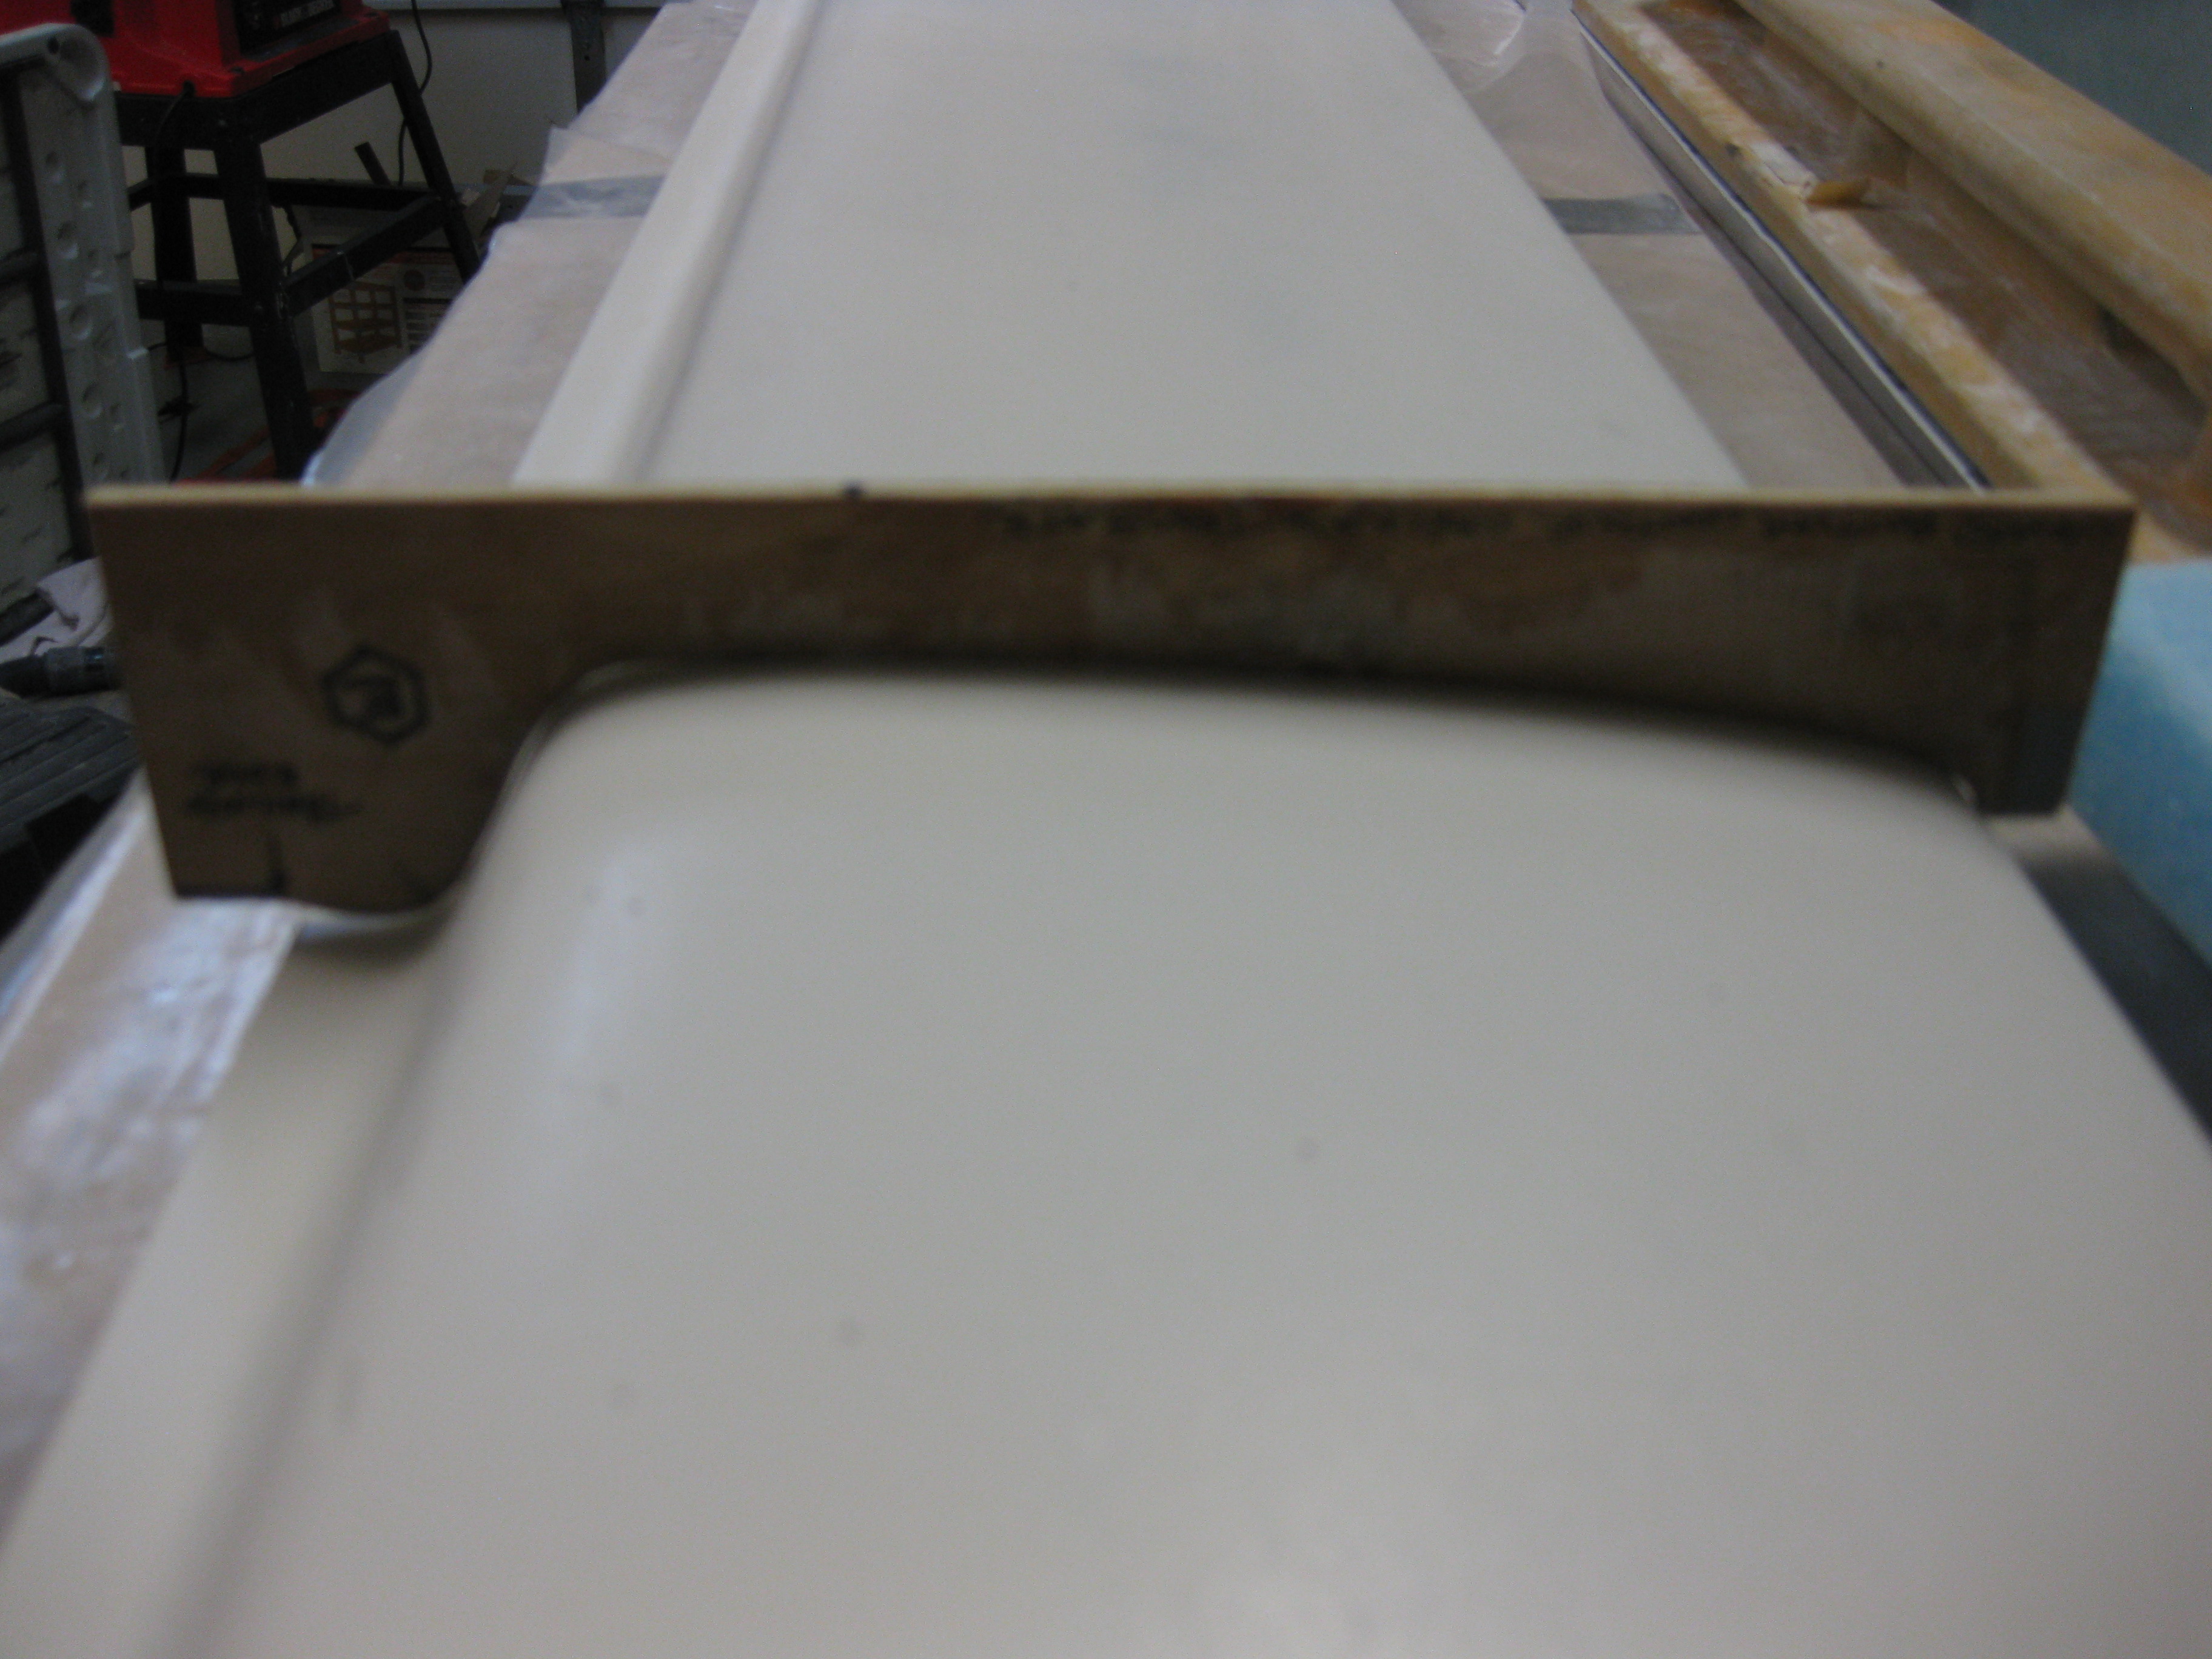
I took this pic of the trailing edge just to provide a general idea of the straightness of the canard.
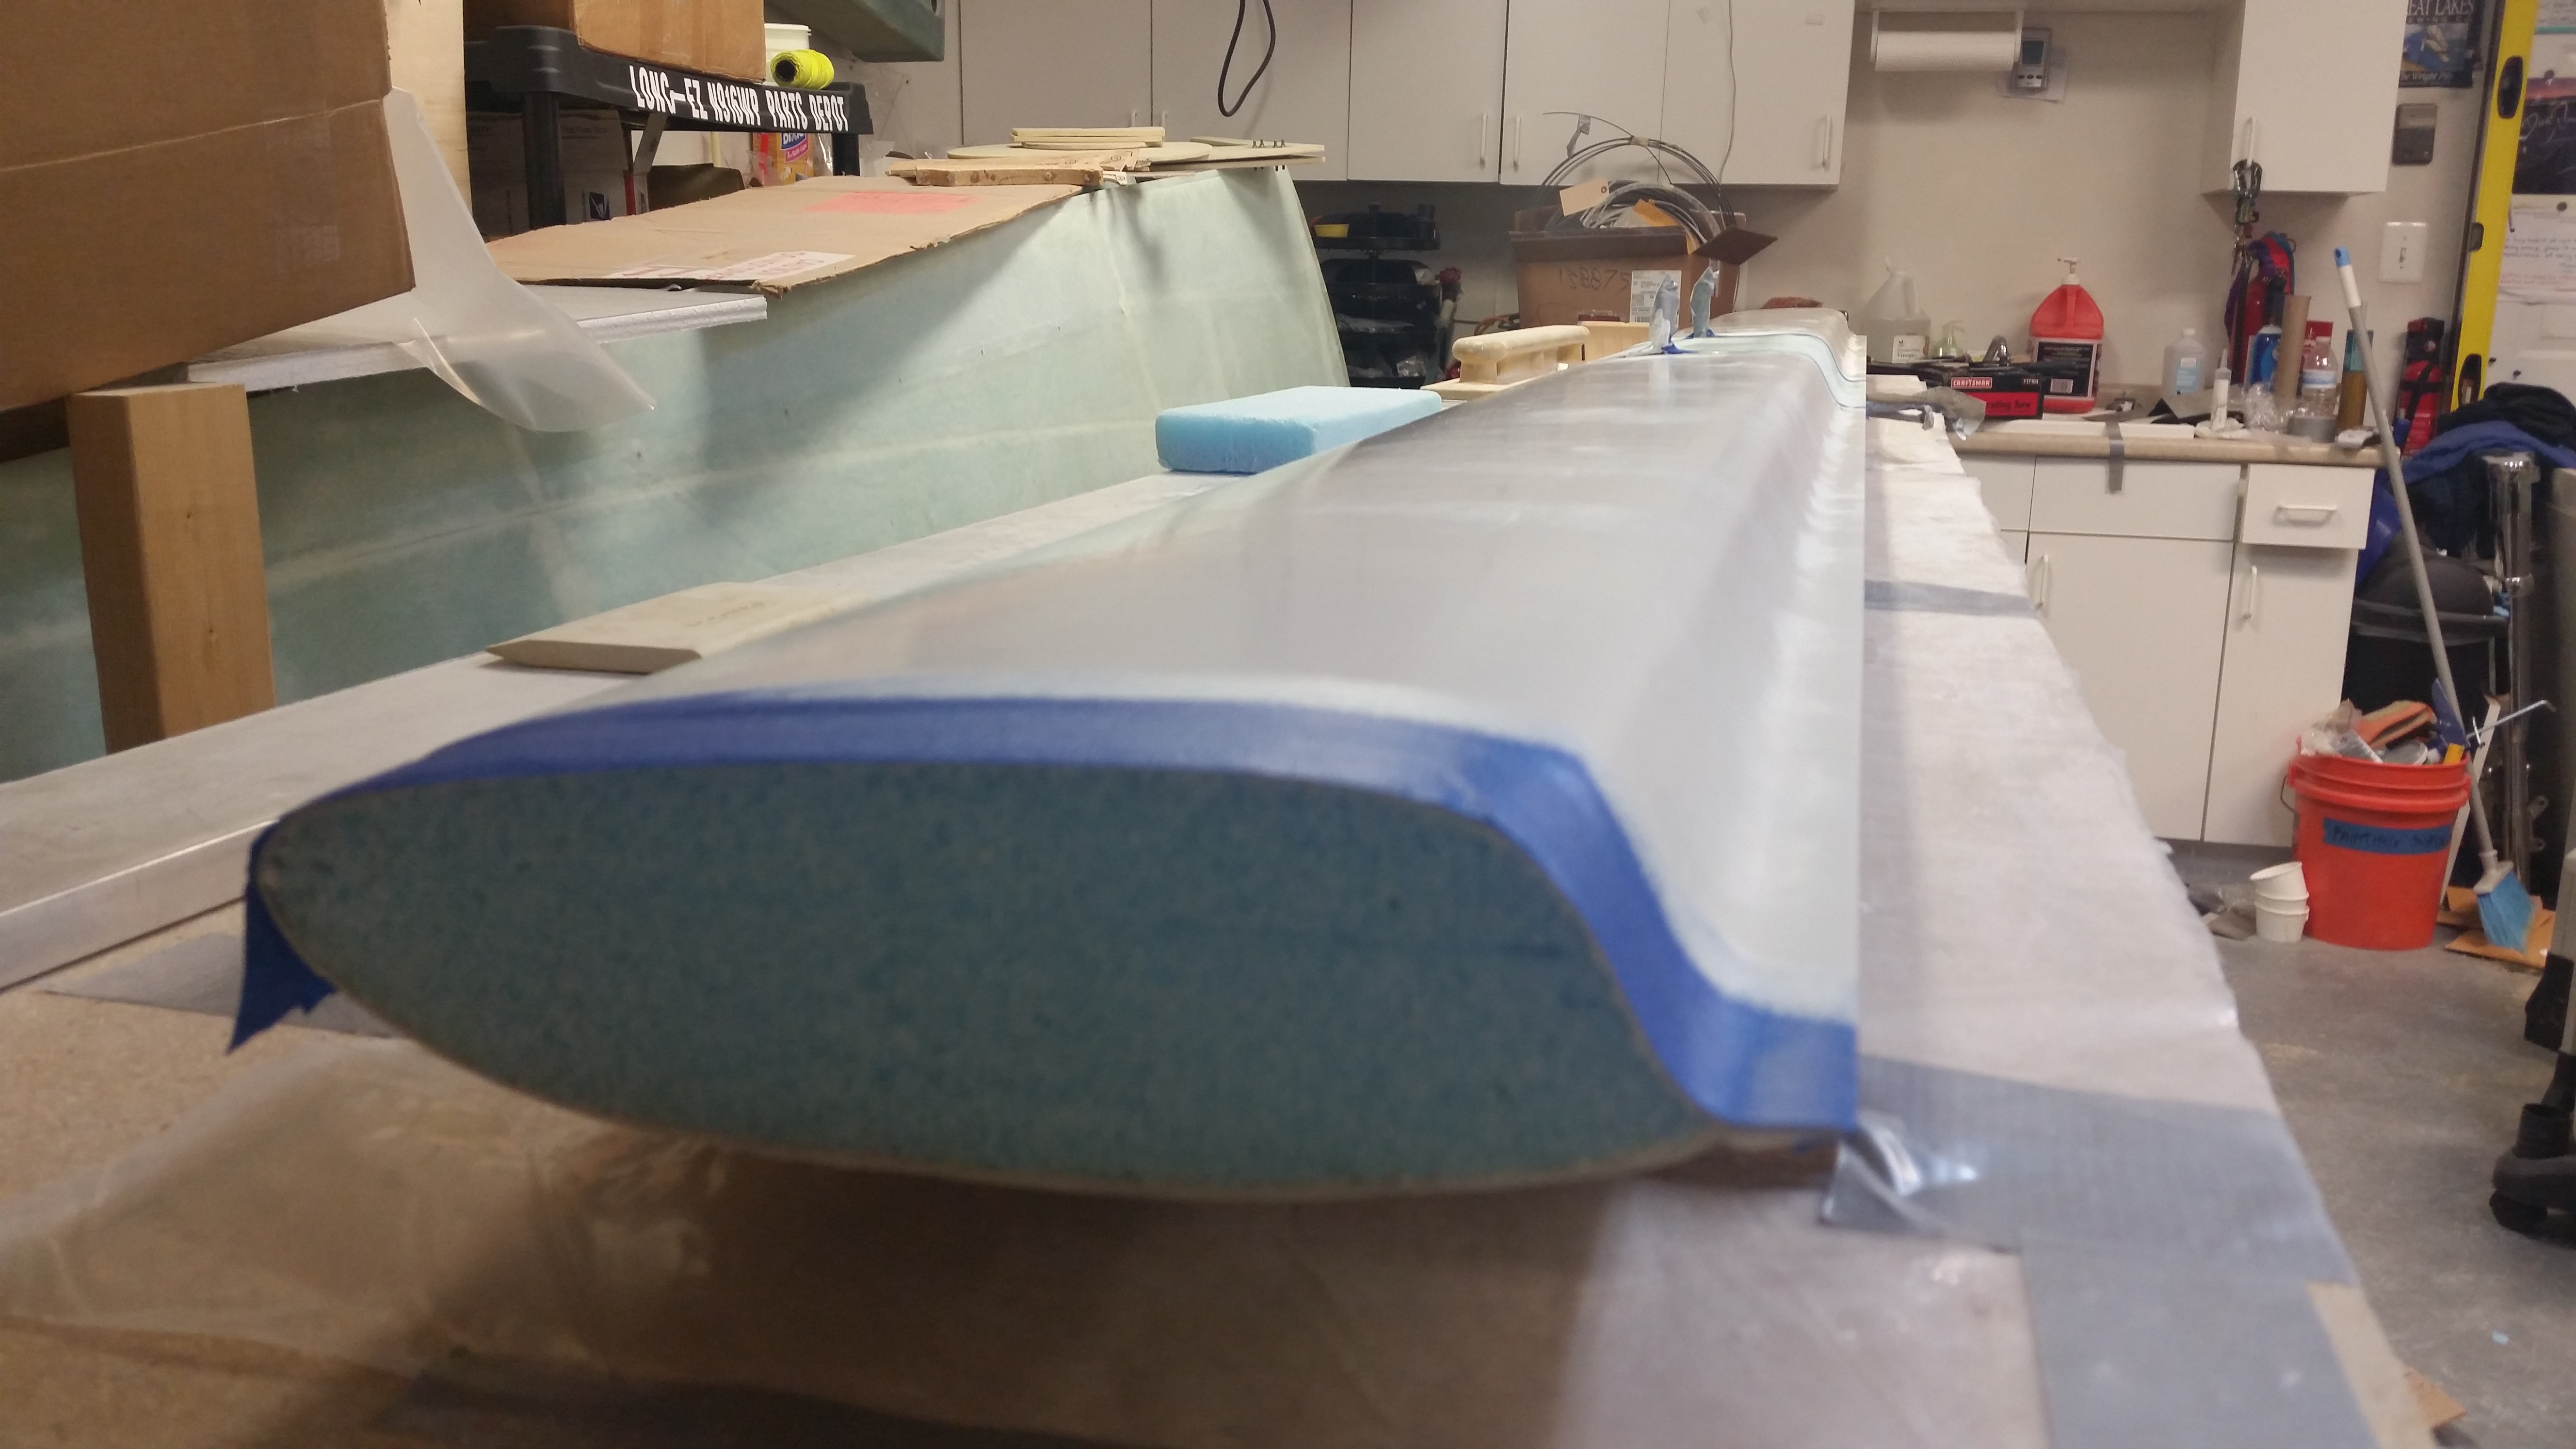
As well as this shot of the LE.
Here’s a shot of the canard after I pulled the tape and sanded it with 100 grit sandpaper. The specs sheet said it should be ready to fully sand after 90 minutes, but even about 2.5 hours later I could tell it was just a tad bit gummy. Since it wasn’t fully cured, I only focused on sanding the very bottom surface and left the fishtail TE area until tomorrow after it cures more fully.
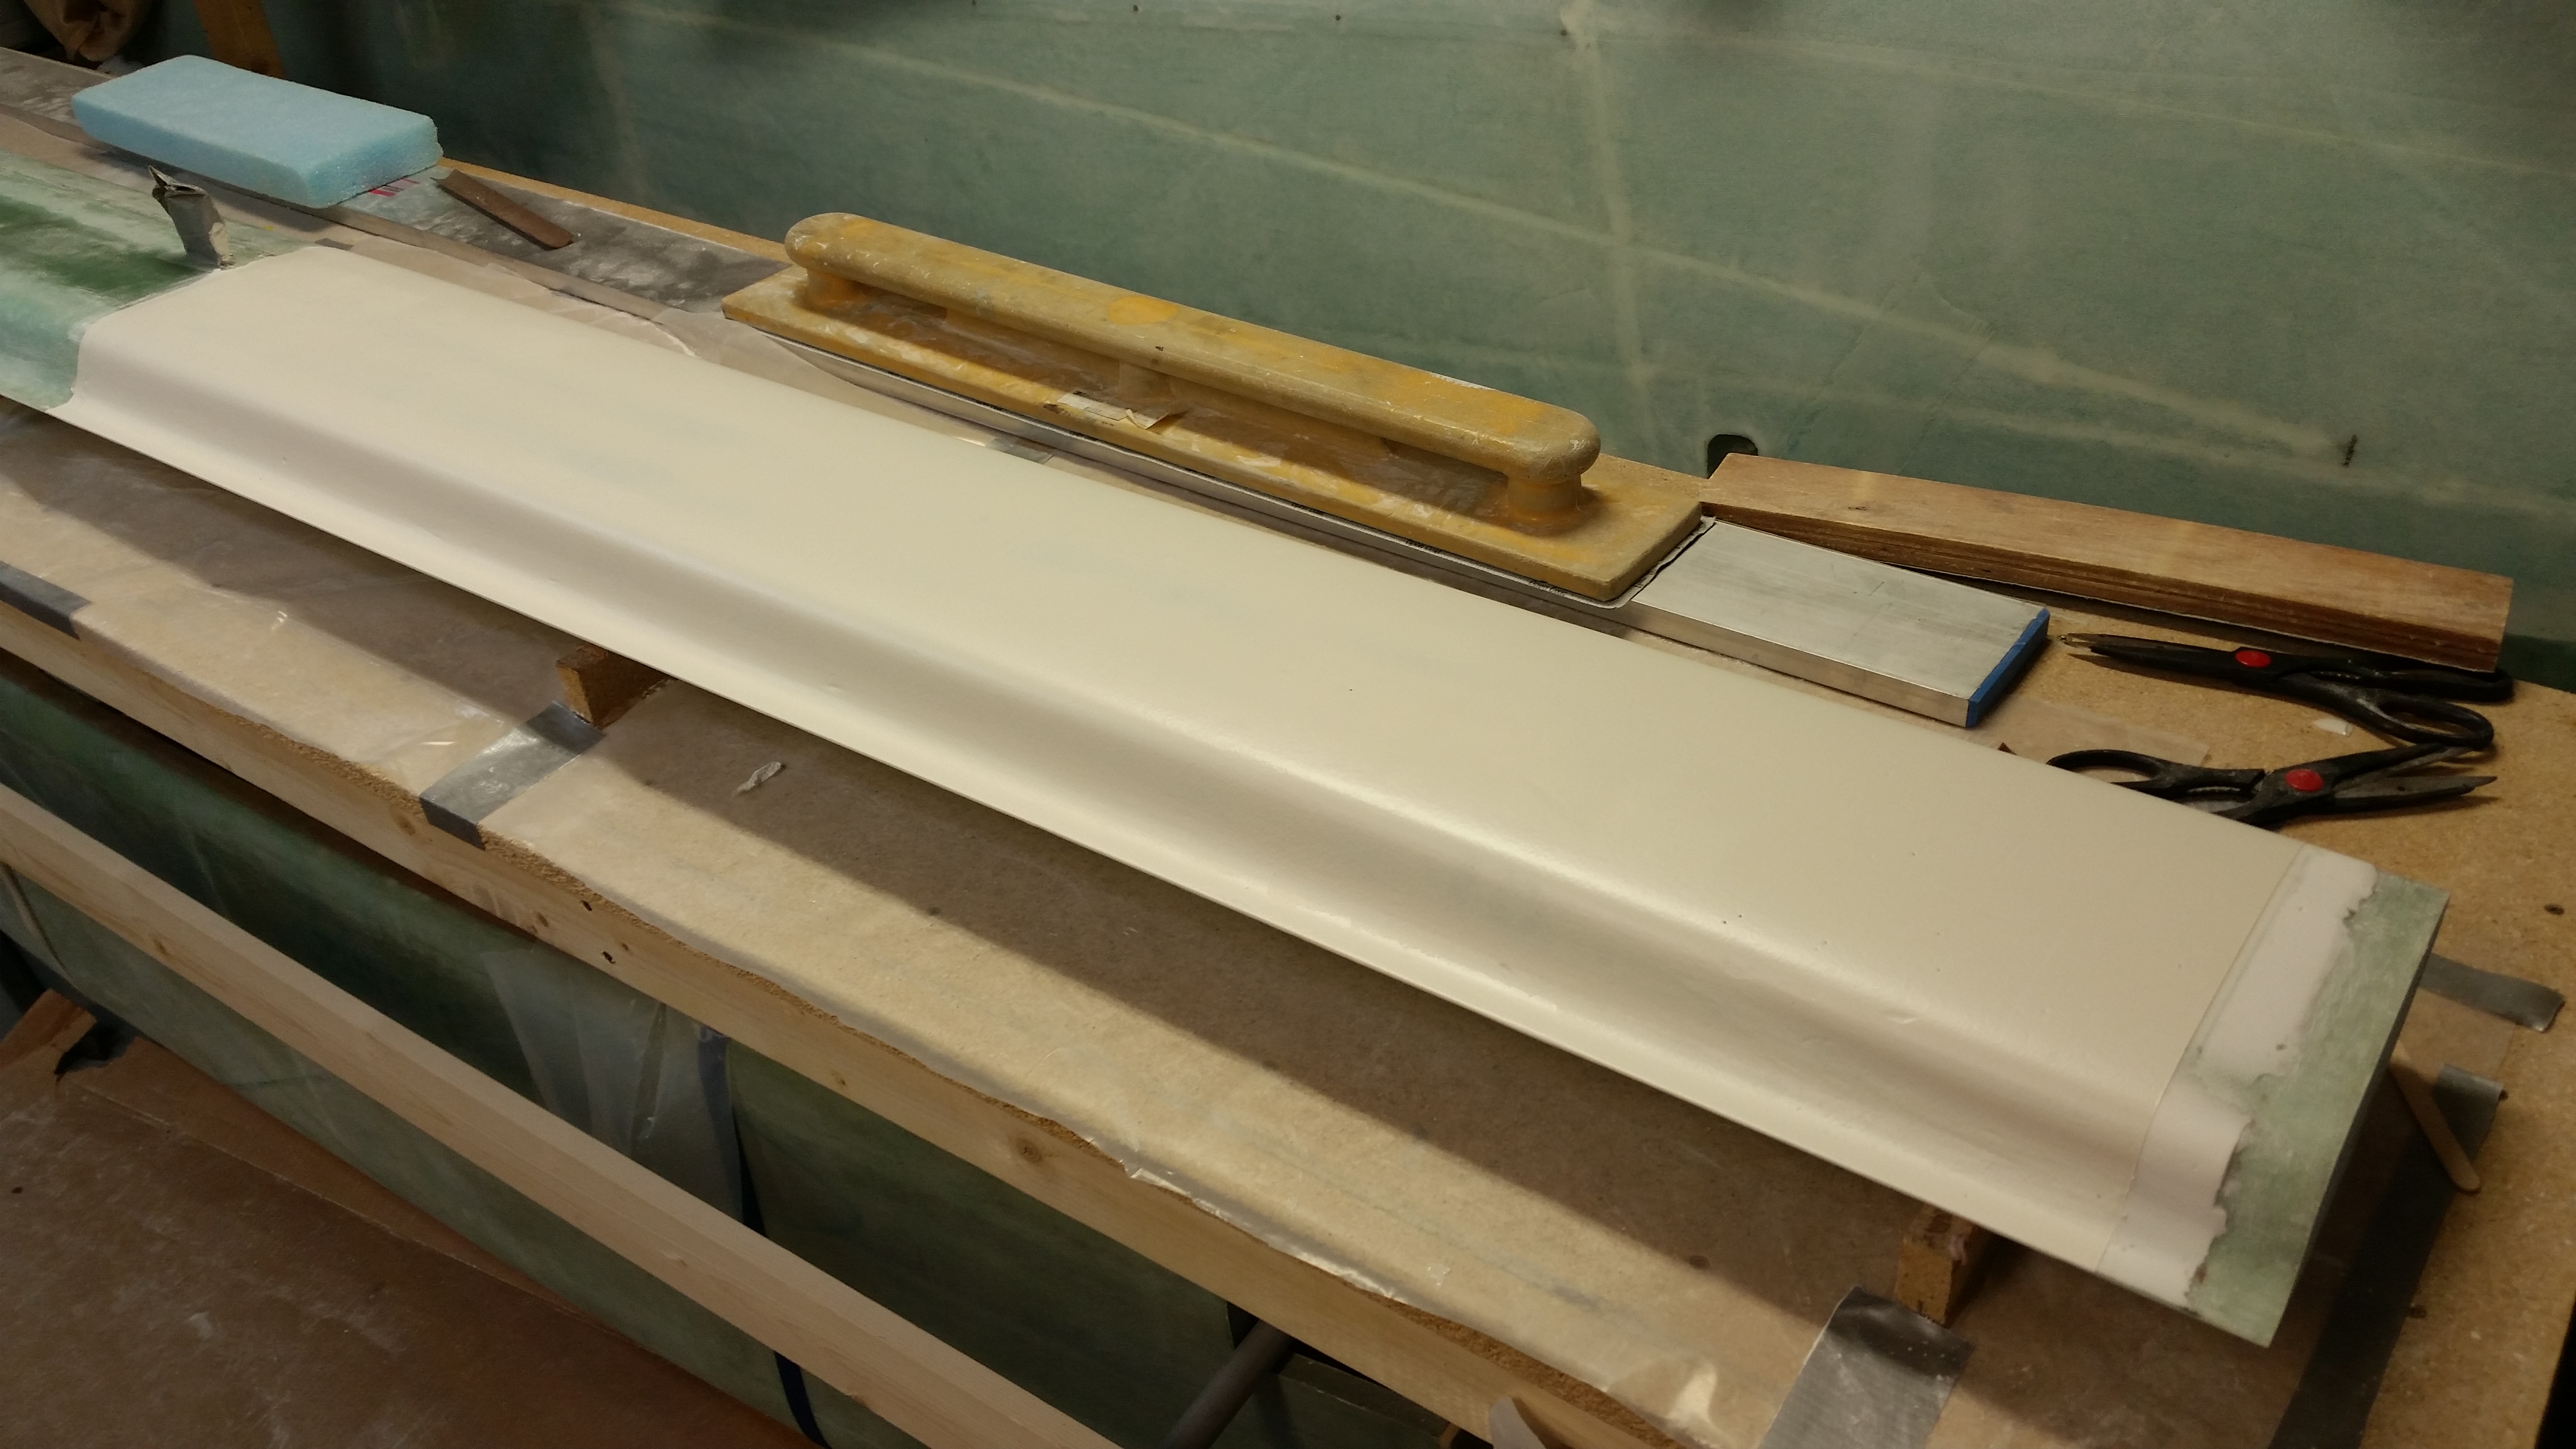
Here’s a shot of the other side after having been sanded with 100 grit.

And a quick double check with the lower canard contour template showed that my lower canard is pretty darn close to specs. The TE is a just a bit high on the back end, but I confirmed with Feather Light years ago that this is within tolerance.
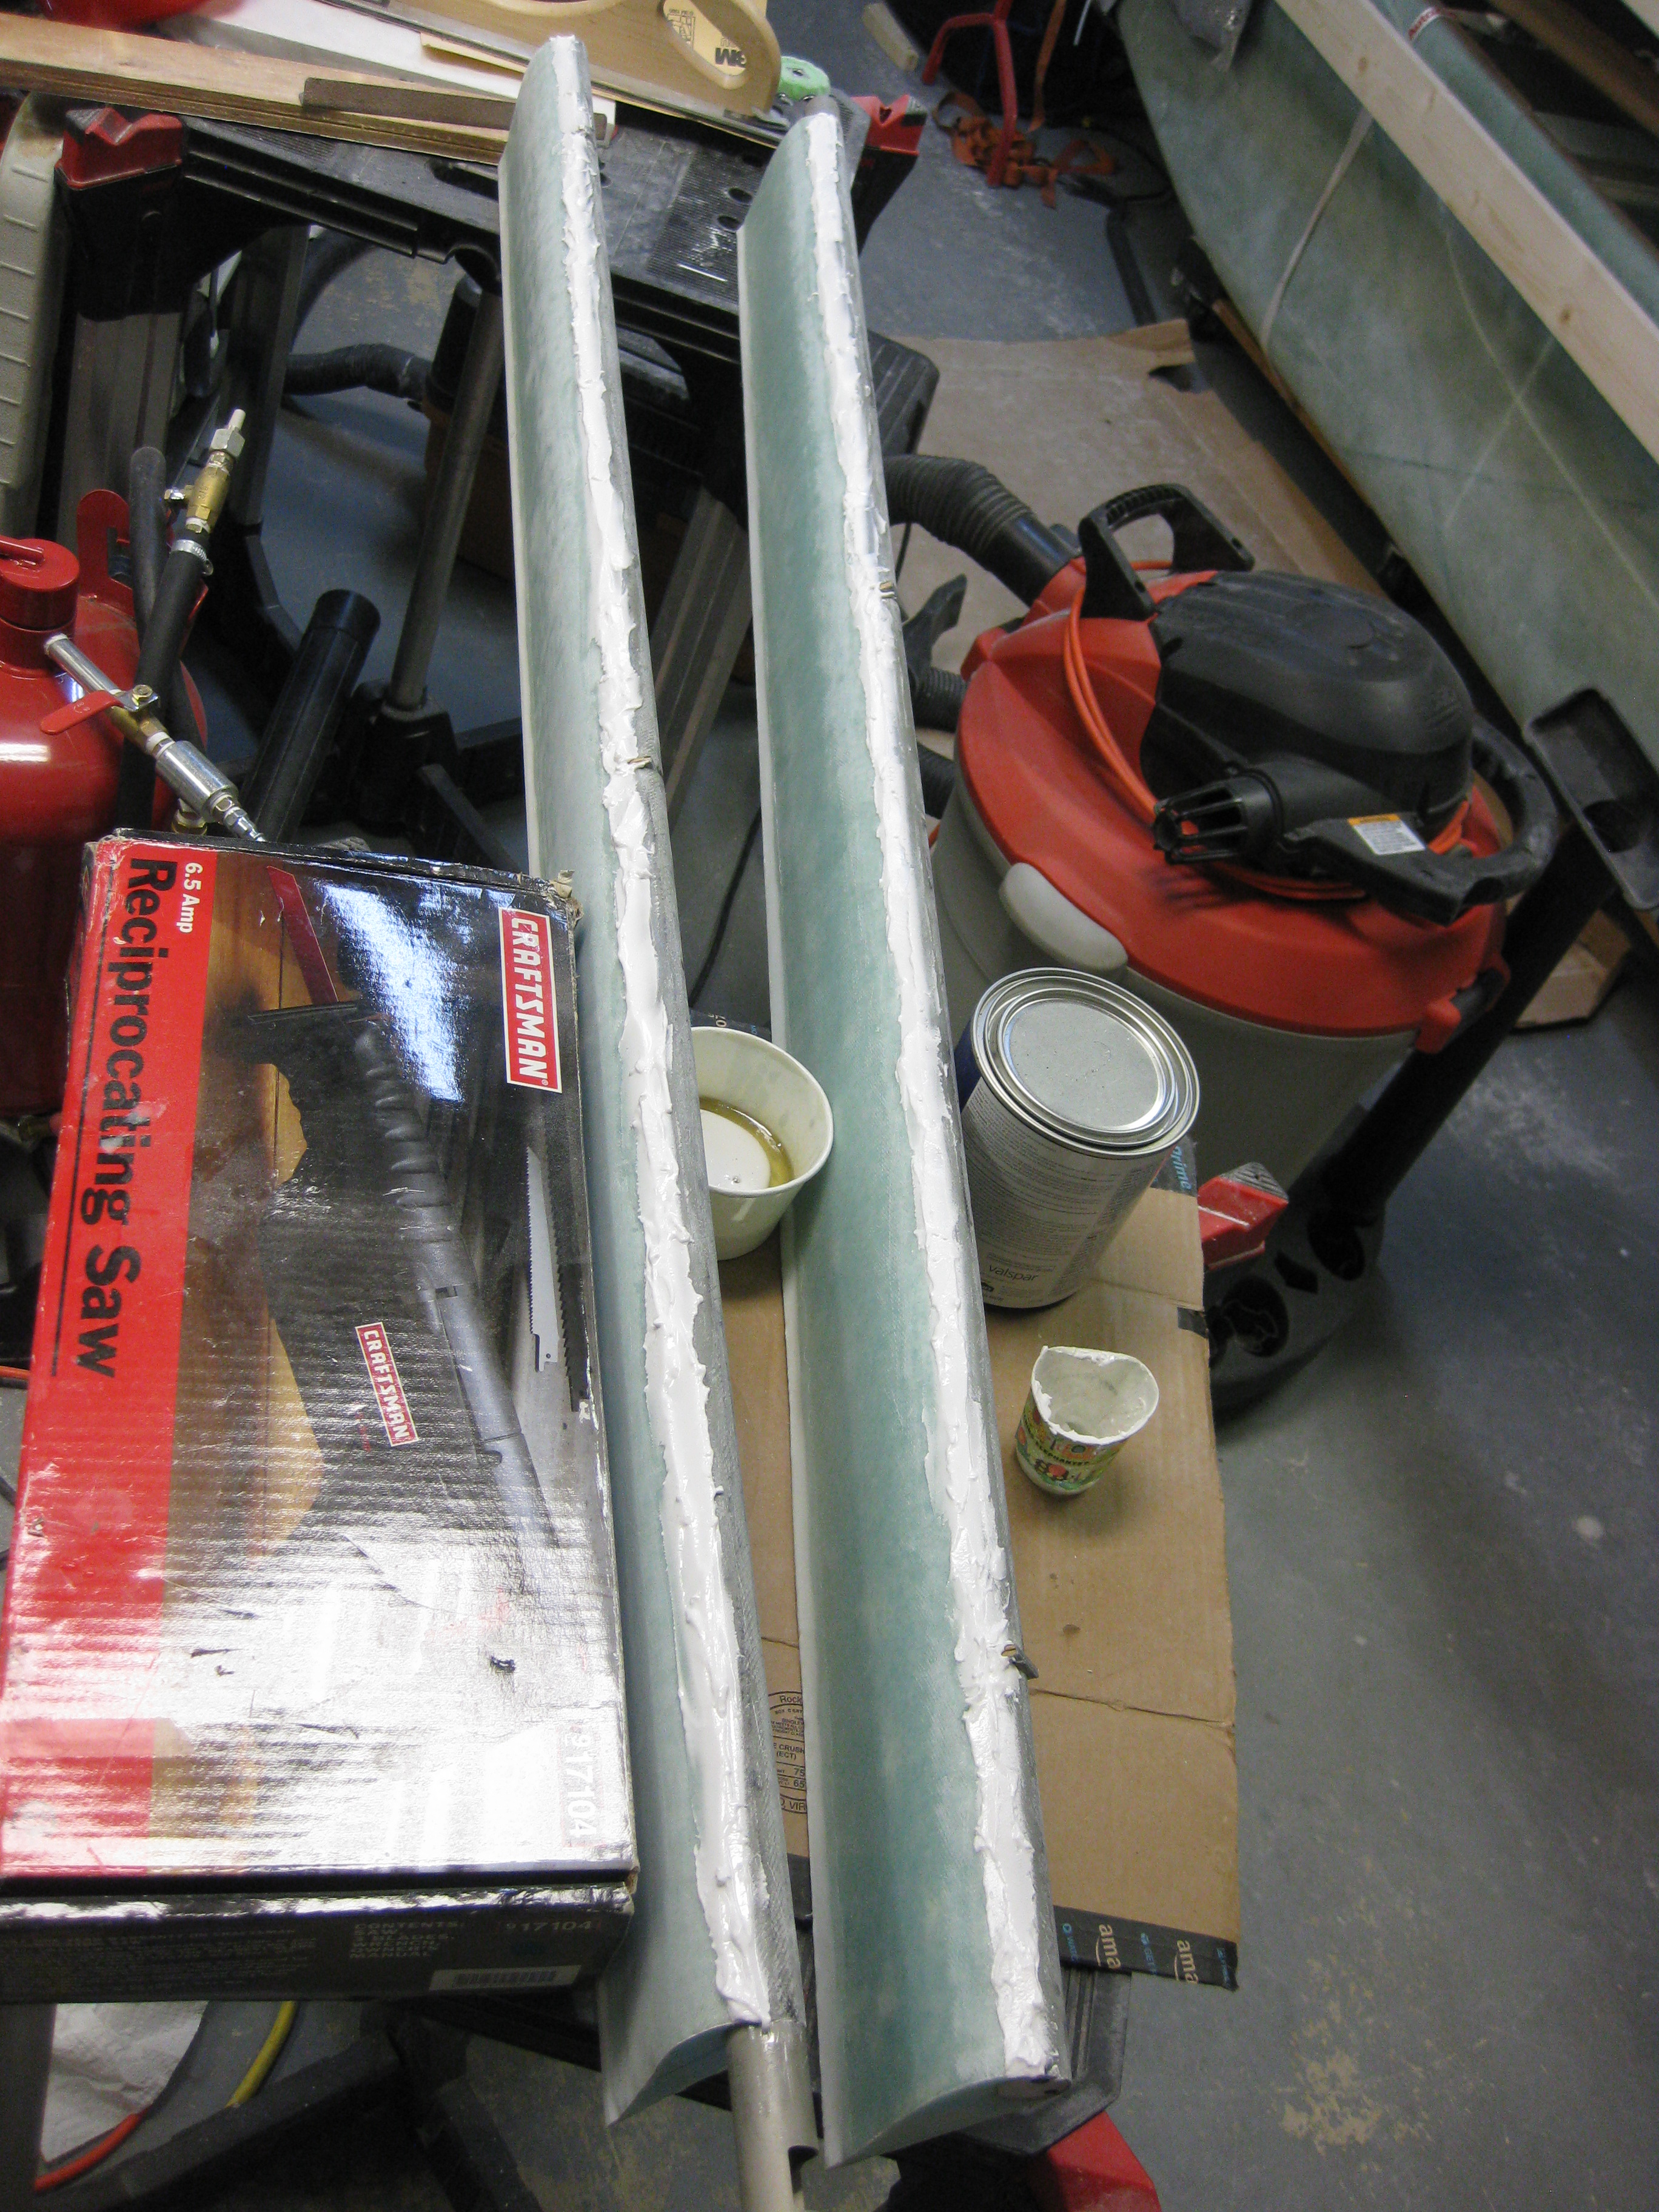
After I sanded the canard with 100 grit sandpaper, I finished sanding the slight span-wise trough in the right-side elevator in preparation for applying micro along the trough on each elevator.
Below is a pic of the applied micro in those troughs. Once the micro is sanded, the elevators will be ready to mounted to the canard.
I waited about 2-1/2 hours and then sanded the micro in the trough while it was in it’s “green” stage. Unfortunately, it was only at the very beginning of the “green” stage and was still a bit more gooey than rubbery. But, since it was late, I sacrificed the already well-used piece of 36-grit sandpaper on my sanding board to plow through the gooeyness and knock down the ridges and lumps on the elevator rounded leading edge.

The next step is to re-sand the primer on the canard until it’s smooth. Once that is complete, I’ll sand the micro I just added to the elevators. After those two tasks are complete, I’ll be working on mounting the elevators onto the canard.