
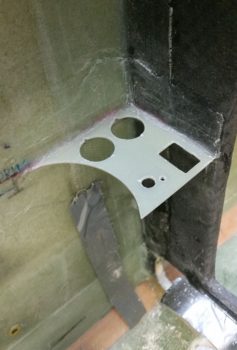
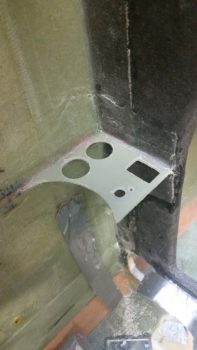
I started off first thing this morning pulling the peel ply off the top heater switch panel layup and then razor cutting the glass. The plate looked good, and moreover it was really sturdy with it being glassed on 2 edges.
I set about immediately laying up another ply of glass on the bottom side of the heater switch panel and then peel plied it. I was going to use 2 plies of BID originally for the bottom side, but the plate felt really strong with just the top ply in place, so I figured just one more ply should do the trick in securing the switch plate.
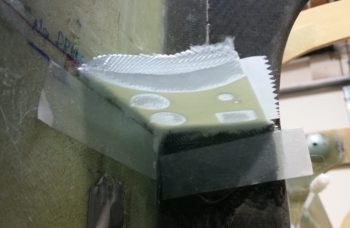
Here’s a shot from above of the heater switch panel bottom side BID ply layup.
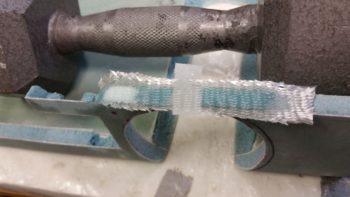
Concurrently, I also laid up a small ply of BID on the outboard edge of the top left armrest just behind the narrowest part of the armrest at the cupholder opening. I peel plied the inside of the layup in prep for glassing the inner ring of the opening at the top. I’ll eventually layup a ply of glass along each of the inner vertical sides of the cupholder opening as well, but for right now I’m more concerned about the top ring.
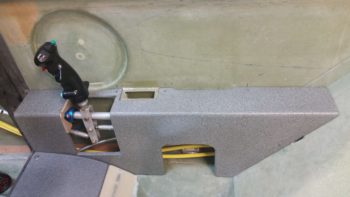
 I really didn’t get a lot done in the shop today since the weather was forecasted to be about 70° F and overcast… instead it was in the mid-40’s and raining. Clearly not a good day for painting. Well, since I was so close on the right armrest, I decided to clear coat it in the shop, then I headed out for about 4 hours running errands and stocking up on Nitrile gloves and other shop consumables while the concentration of fumes died down a bit. When I returned, I was quite pleased with the clear coating results!
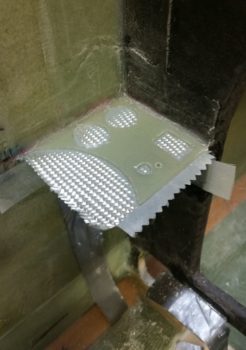
I spent a bit of time cleaning up the final ply of BID on the heater switch panel (Yes, I realize it looks just like the pic above, but in the pic below it’s finished!). Since it was getting later in the evening, after I cooked dinner I took the rest of the night off and actually turned into bed at a much more decent hour than usual…
Tomorrow I plan to continue my in-cockpit tasks to try to get all these components installed before moving on to the big build stuff.