
I started off today by digging out the foam in 5 spots on the edges of the left armrest to create divots, that once filled with flox would become mounting hardpoints. After digging out the foam, I whipped up some flox (actually flocro, heavy on the flox) with fast hardener, filled the divots with the flocro, then popped the armrest under the heat lamps and all was done in about an hour.
I’ll create some more mounting hardpoints in the left armrest in a few more spots, I just haven’t yet determined those hardpoint locations.
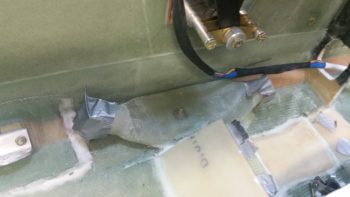
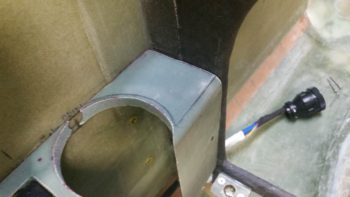
I had an idea last night where to place the Pilot & GIB seat warmer relays, but this morning I determined exactly where I wanted them and pulled the trigger on mounting a clickbond to mount the 2 relays back-to-back. I used 5-min glue to initially mount the clickbond, then about 20 minutes later I used flox to transition around the edges of the clickbond and laid up 2 plies of prepregged BID over top of it. I then peel plied it.
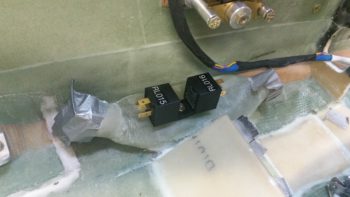
A couple of hours later I pulled the peel ply and test mounted the relays…. ah, good fit!
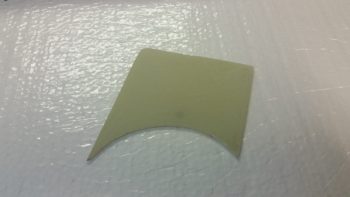
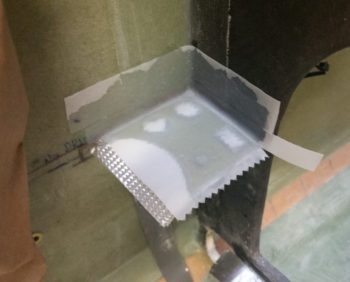
I then got to work on cutting the front left corner armrest heating switch panel out of G10. Somewhat analogous to the Dynon Intercom bracket on the right armrest, the heating switch panel will be a G10 plate that holds all the heating related switches and will become the front top surface of the left armrest. The current foam and glass of the existing armrest in that area underneath the G10 heating switch panel will get removed, all but a small ledge on the inboard side for alignment purposes.
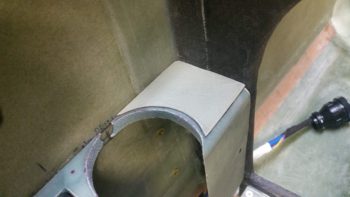
Of course it took the usual multiple iterations of fitting, trimming, sanding and refitting to get the G10 heating switch panel’s shape dialed in, but I eventually got it. I then sanded both sides of the G10 plate for its eventually getting glassed into the fuselage.
Before setting the heating switch panel in place permanently with 5-glue and then floxing & glassing it into place, I made sure to remember to mark the outline of the plate onto the top forward surface of the armrest to identify the exact foam & glass area to be removed.
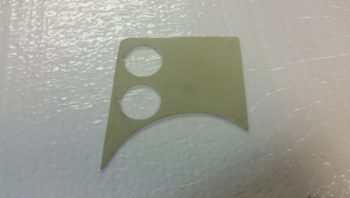
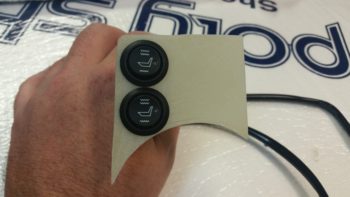
I then got to work pre-drilling the switch holes into the G10 plate. First were the 2 round 3/4″ holes that I widened slightly for the respective Pilot & GIB seat warmer switches.
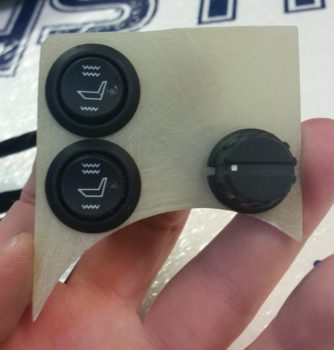
And here are the seat warmer switches installed in the G10 plate that will become the heating switch panel. (I realize that the seat symbol of the upper switch is “reclined” a bit more than the lower switch and will fix that before final switch install).
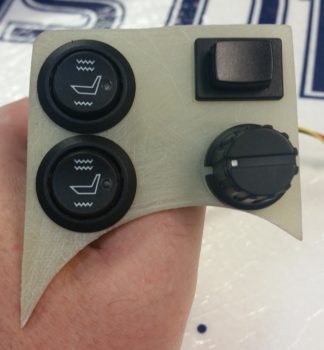
I then drilled and mounted the oil heat pump PWM control dial.
And finally the seat warmer/oil heat selector switch in the upper right hand corner.
I then removed the switches and 5-min glued the G10 plate in place in the front corner area of the left armrest. I then laid up 1 ply of BID on the top surface, overlapping onto the sidewall and instrument panel about an inch. I then peel plied the layup.
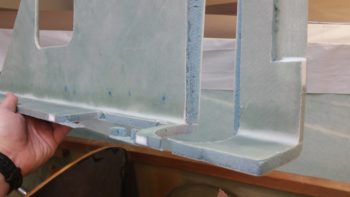
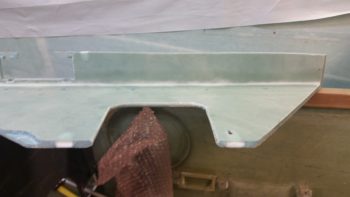
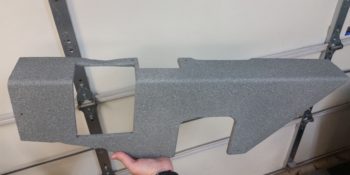
Again, since it was an unexpectedly warmer day for this time of year, I spent a bit of time in-between my tasks prepping the right pilot armrest for paint. I wasn’t sure if I was going to be able to squeeze it in, but I eventually got a shot to get it outside, get a couple light coats of primer on it, and then hit with a couple coats of the granite gray about 45 later. It got too cold outside for me to clear coat, but tomorrow is supposed to be another warm day so I’ll shoot with a few coats of clear (since it’s high traffic component).
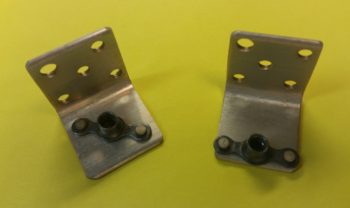
I had both epoxy and paint drying on different things, and not wanting to start another big task late at night I decided to rivet a couple of nutplates onto the last 2 existing/leftover brackets I have on-hand for installing the left armrest. I have other material as well, but I’ll have to make up some specific mounting brackets for the other 3 armrest hardpoints.
So with that, I called it a night. Tomorrow I’ll trim the switch holes on the heating switch panel and then glass 2 plies of BID onto the underside of the panel. And as usual, I’ll continue my quest to knock out the left armrest and its associated gear to allow moving forward with bigger parts of the build.