
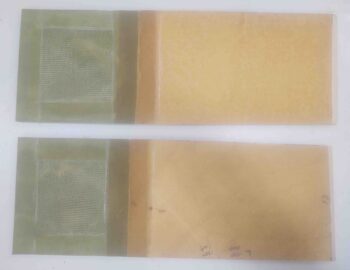
I started out today pulling the peel ply from the 3/8″ thick foam pieces I laid up a ply of BID on yesterday, both sides.
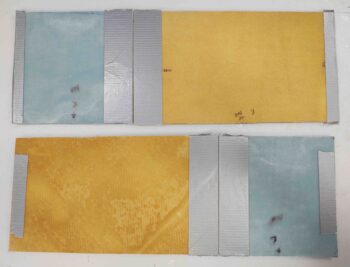
The rectangular piece at the top is actually the 2 extension plates that will be added to the BAB baffles that came with the Feather Light strake kit. Again, since I did the “elbow room” mod and extended the GIB seat area fuselage/strake opening much further aft, I need to extend the interior fuel tank wall from the BL23 rib to the interior edge of the current fuselage sidewall.
The lower glassed pieces are for outboard fuel walls that I’m adding since I’ll be losing a bit fuel with the above mod, I’m adding a bit of that lost fuel capacity back on the outboard side of the fuel cell.
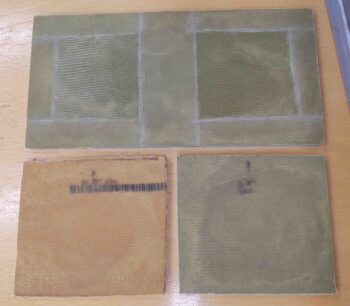
As I mentioned in yesterday’s blog post, I used MGS epoxy for the layups on the non-fuel side of these foam pieces.
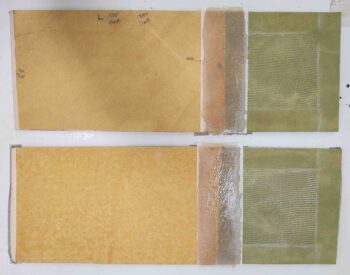
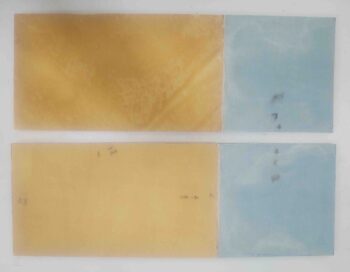
I then cut and sanded the rectangular foam plate into 2 pieces.
All my work being under the watchful eye of a shop observer… he was hanging around quite a bit yesterday as well!
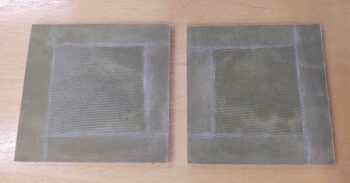
I then prepped the BAB baffles and the freshly glassed foam extension pieces for micro-joining and glassing.
I used EZ-Poxy to whip up some micro to join the respective extension pieces to the existing BAB baffles, and then laid up a 2-ply BID tape to the seam. Since this joint will be exposed to fuel I laid it up fairly wet.
I then peel plied the layup.
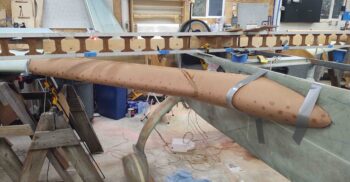
My big oops was I thought I had both ends of the left-side strake leading edge fairly dialed in. First, trimming the outboard edge, as slowly as carefully as I tried to do it, is like installing crown molding. You keep shaving a 32nd of inch at a time and that last cut leaves you with a stupefying 1/4″ gap!
So I had a small gap at the outboard end after the initial trim. However, my angle and position of the BL 23 kink was off enough that when I trimmed a bit more off the inboard edge of the prefab strake leading edge, it created a significant gap on the outboard end.
To be clear, the gap isn’t shown below, I moved the strake leading to allow me to micro the pieces I cut back into place…. yep, I love RE-DOING stuff! (ugh).
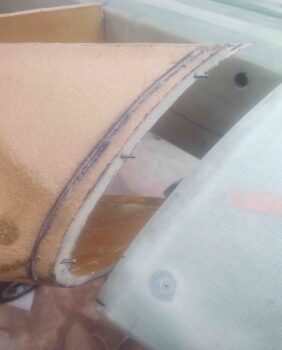
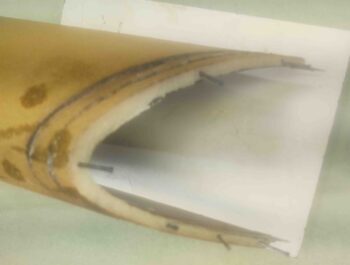
Above was round 1, below is round 2 of adding in another slice of LE back onto it. I need to do one more piece and I’ll have the outboard edge back to a workable state without a significant gap.
This pic is a bit blurry, but you get the idea . . .
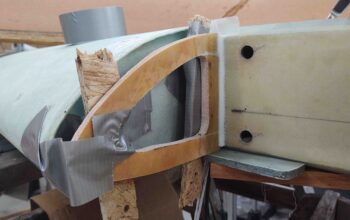
To avoid the outboard fitting issues that I had on the left side, on the right side I decided to mount my outboard rib FIRST before fitting the leading edge into place.
I wanted a slight inset on the outboard rib, somewhat like the wings have, just not as deep: so I used some 5/16″-ish thick OSB strips as spacers for that. I then trimmed and shaped the outboard rib, recutting out the middle area as well.
I then clamped my foam skin spacer in place on the bottom, set the outboard rib in place with micro and a couple of dabs of 5-minute glue. I then used micro for the fillet and laid up a 1-ply corner BID tape.
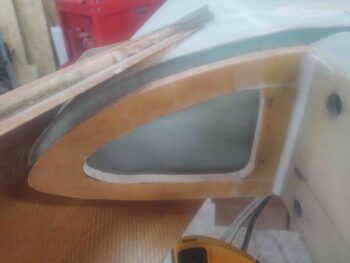
A few hours later I pulled the spacers out and trimmed the corner glass.
A bit later I pulled the peel ply on the new extended BAB baffle layups, then razor trimmed and cleaned them up a bit.
I cleaned up the opposite side and prepped the seams for a 1-ply BID layup that I’ll do tomorrow.
I was able to get a signifiant initial trim of the inboard edge of the right side strake LE… here is the initial fitting of the right leading edge.
And with that, I closed up shop and prepped to ring in the New Year!