
Another 2-day blog post here. Day 1 was a lot of research on replacing the internal battery on the GNS-480, messing around with the nose taxi light and assessing the pitot tube cross-connection to the embedded pitot tubing in the nose. I was supposed to get my antenna cables delivered, but realized that was not going to happen.
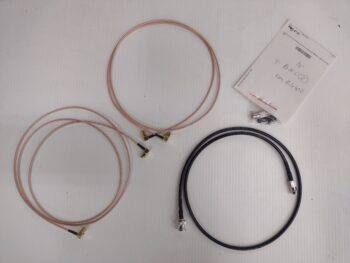
DAY 2: My ADS-B IN receiver antenna cables arrived today. In order to have 90° female connectors on the antenna ends I had to go with the smaller diameter RG316DS cable (narrower version of RG400). The 3 ft. black cable is RG58 with a male BNC and a female BNC connector at each end. I’ll cut this cable into 2 pigtails that will connect to the GNS-480 for the VOR/LOC (female BNC pigtail) in the canard and the COM1 antenna (male BNC pigtail). In the upper right corner is a female BNC connector to terminate the RG400 COM1 antenna coming in from the right wing (the CoaxRF bubbas were nice enough to throw that in for free).
 I attached the longer 5 ft. ADS-B IN antenna cable to the “back” of the SkyRadar receiver for the bottom 978 MHz antenna. I actually preferred a 4.5″ cable here, but they only make the cables in 1′ increments, thus the 978 antenna will be mounted further aft on the sidewall than the 1090 MHz antenna… also connected on the top of the receiver.
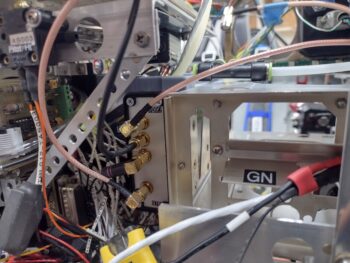 I then checked the connections to the antennas on the sidewall, initially with the storage bin removed.
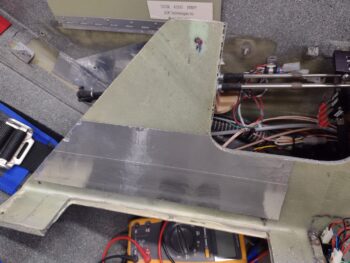
 I then spent the next couple of hours applying metal tape to the sidewall and the underside of the left armrest storage bin to create the antenna ground plane that is a requirement for remote mounting of the antennas as per the manual.
 I also added some tape on the inside of the armrest for the inboard side of the ground plane. I will note that I confirmed continuity between the sidewall and the underside of the storage bin. However, I haven’t yet tested continuity between those and the armrest portion of the ground plane. I’ll do that when I do the final install on the armrest.
 I then did final check of the antenna positions, cable runs and storage bin clearance before making up the antenna mounting brackets.
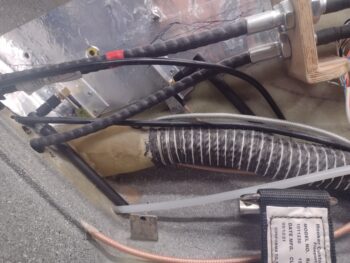
 Another couple hours later I finished hand-jamming some brackets up for the ADS-B IN antennas. I didn’t want to glue, flox or RTV the antenna brackets in place since I want electrical continuity for the antennas to the ground plane. I then planned to rivet the brackets to the sidewall but had near zero clearance between the throttle cables and configurations of the brackets themselves. So I used multiple #4 wood screws on each bracket to secure them.
 Another shot of the ADS-B IN receiver antennas mounted to the left sidewall in their respective brackets. After I took these pics I overlapped the brackets with foil tape.
 I then re-mounted the left armrest storage bin in place and confirmed continuity between the antenna brackets and the ground plane on the bottom of the storage bin.
 In talking to Bob from TCW Tech regarding the IBBS install, he stated that the IBBS’s through-put power is fused… but after some thought, since my X-Bus/IBBS connected components are low-amp units, I decided to individually fuse them to ensure they’re protected (this renewed outlook was largely in part due to Marco’s issue with his Mini-X units getting damaged, even though they were both protected with 1-amp circuit breakers).
That all being said, I cut the power wire to the SkyRadar receiver and soldered in an inline fuse holder. This officially completes the SkyRadar ADS-B IN receiver with remote antennas install.
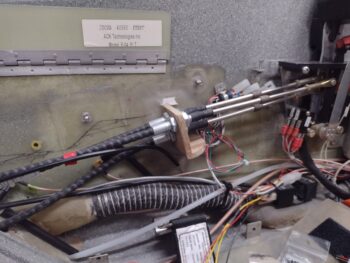
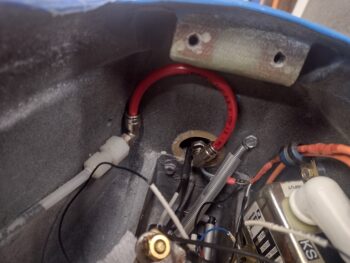
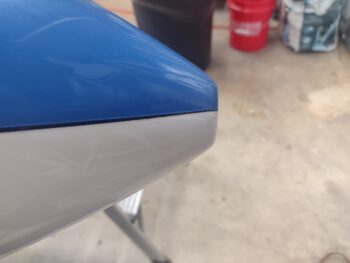
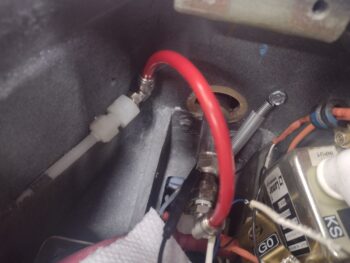
 My last task of the evening was to install right angle 90° swivel connectors onto the pitot tube and the pitot line coming into the nose battery compartment (pic 1). And here is the pitot tube, with pitot line attached, deployed for flight (pic 2).
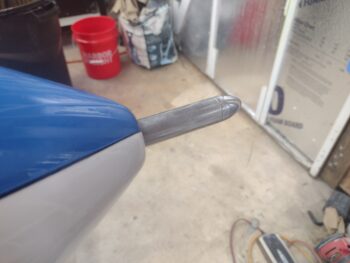
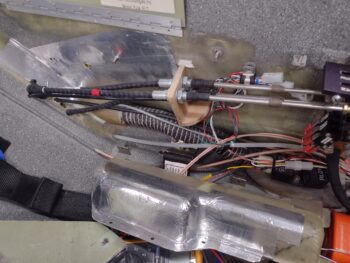
And finally, after a half dozen machinations, here is the pitot tube stowed for parking (pic 1) with the red pitot tube cross-connect not mangled or bent… thanks to the swivel connectors (pic 2).
And with that, I called it a night.