
Today was a bit of a split day, given that my elevators wanted to give me one last little bit of guff before finally settling in on the canard.
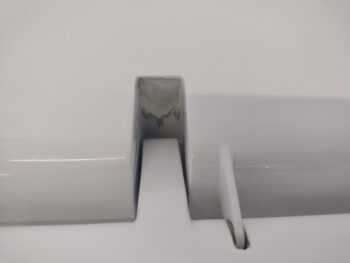
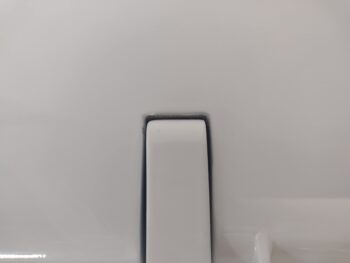
First off, on the left side the elevator outboard weight was catching on the inside front wall of the notched pocket in the canard. It took nearly a full hour of judicious sanding (pic 1) to get a decent gap between weight and pocket (pic 2)… not quite 1/16″, but still good enough.
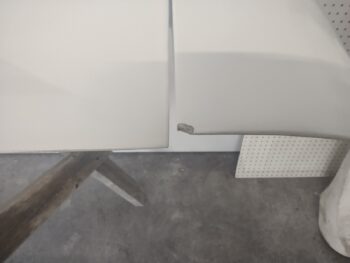
I will note a fix-it task I have on my to-do list, which is the left inside corner TE at the elevator outboard junction where my buffout guys somehow dinged the canard. I’ll figure out the best fill for this and fix it after I’ve got the more important stuff knocked out.
I tried to install the set screw on the outer underside edge of the left elevator to secure the hinge pin, but the threaded hole was a bit too gunky with epoxy and paint to thread the screw in.
On the right side elevator I got the set screw to thread in, but I felt the 1/4″ set screw was too short… and this is how far in I could thread the 1/2″ set screw. Clearly a 3/8″ screw would be just right.
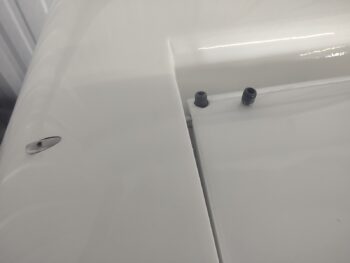
Here we are a few hours later after I picked up some 3/8″ long 10-32 stainless steel set screws.
And here is the new set screw, with Loctite, threaded into place.
Also note the protruding hinge pin out of the end of canard. I had notched the hinge pins to allow the set screws to be seated many moons ago, and for some reason both side pin ends are protruding far more than I had configured… weird. But those protrusions on both ends will stay for now, because I’m not pulling the elevators off to regrind the hinge pin ends at this point. That will have to be yet another future task to be completed.
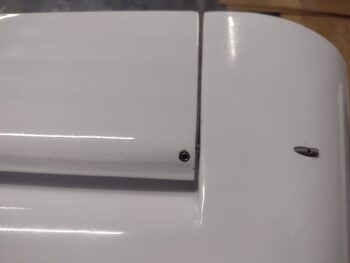
I also picked up my 10-32 tap set up at my home shop to clean out the left side set screw threaded channel (and yes, note the slightly-less-protruding hinge pin).
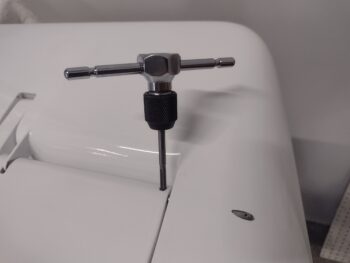
That did the trick, after which I installed the left side elevator 3/8″ long stainless steel set screw with Loctite.
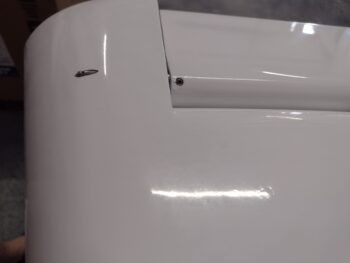
I must have picked up my phone and got cutting fluid on the lens (or something) because my next 3 pics came out fuzzy… but I’ll add them here for you to decipher.
Here we have the elevators on the canard . . .
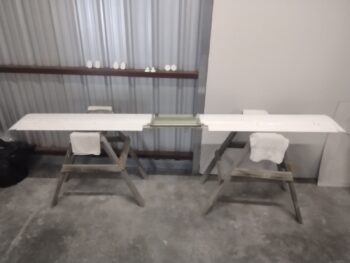
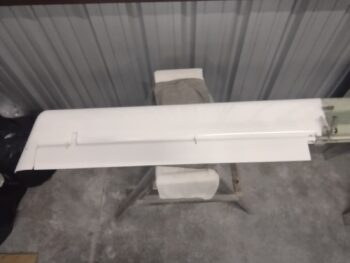
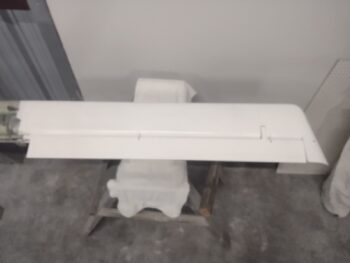
And (fuzzy) shots of the installed right (pic 1) and left (pic 2) elevators.
I then went to my home shop and assessed the ailerons’ weight and balance for nearly 2 hours in the shop, before spending another few hours inside finding out all the info I could on Long-EZ/canards aileron weight and balance. I then developed my action plan… more to follow on that in the coming posts.
Pressing forward!