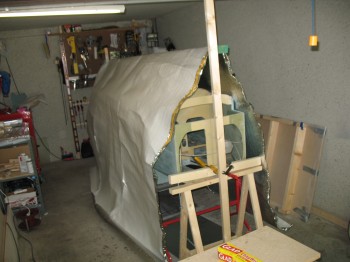
The temp on my cocooned post-curing fuselage stayed over 122°F until around 0530 am this morning. The cooling temps overnight finally caught up & the temp began to fall, albeit slowly. All-in-all I got almost 14 hours of 122°+ F temps plus quite a few hours more at the 115°+ F mark. I let it continue for another few hours and then began to turn off the heaters one by one to slowly bring the fuselage down to ambient temp. I turned off the first of 4 heaters at 0900. I turned off another heater at 1215, turned down one of the two remaining heaters to low, and opened up the back of the post cure tent. By 1430 all the heaters were off and I let it continue to slowly cool down.
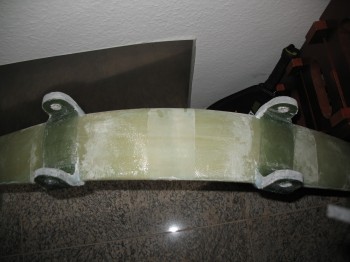
Back to the main gear, I removed the blocks and the clamps from the gear tabs. Layups looked good.
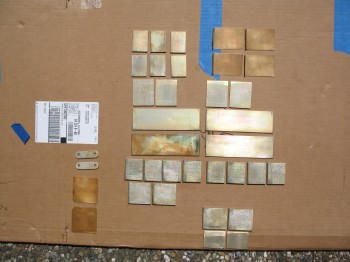
From there, I took the now thoroughly dried Alodined aluminum extrusion pieces out to the back patio. I wasn’t overly thrilled with the quality of my Alodining process, so I decided to add another layer of corrosion control on the aluminum parts by adding a couple of coats of primer. But, to ensure that the glass would grip to a primer base that itself was gripped firmly to the aluminum surface, all the pieces will be lightly sanded and the prepped via a wash down with Simple Green and 3M pads to remove any “loose” and/or weak primer (this is how I prepped parts when I shot paint on my chopper project… Simple Green works great and is completely clean chemically).
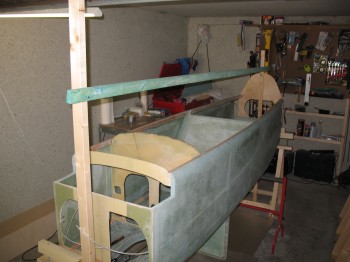
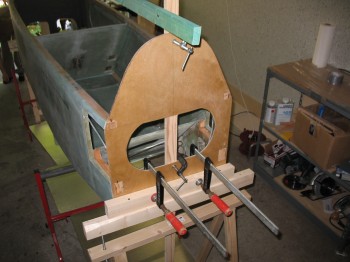
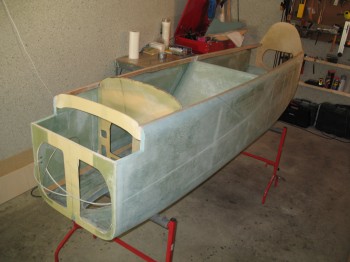
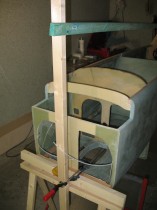
 After the fuselage was at ambient temperature, I took apart the fuselage post-curing setup. It all came down fairly quickly. I double checked the fuselage with my levels and it seemed to have worked. Without the weights in the fuselage, the longerons leveled out true and equal all the way around.

I then spent over an hour cleaning and organizing the shop. I have a lot of epoxy to use. So in order to actually save the money I spent on the epoxy here in Germany I’m focusing more on the actual building and not so much on cleaning the shop back to a spit-polish after every chapter. I only have until October before I have to deploy to Tampa for 6 months, so I’m trying to get every bit of building in that I can. This is also another reason why you’ll see me building out of Chapter sequence, to get the biggest bang for my buck epoxy-wise. And since I have help right now with Gina being available to cut glass and mix epoxy, I’ll be focusing on the wings next and getting as much done on those as possible since they simply use the most amount of epoxy. That being said, I’ll still have a lot of epoxy left even after the wings are glassed, but they will definitely take the biggest bite out of my epoxy stock.
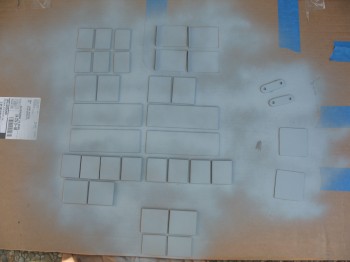
After the shop was cleaned & put back to decent shape, I primed the other side of my aluminum parts.
I then reinserted the Landing Brake Actuator into the fuselage.
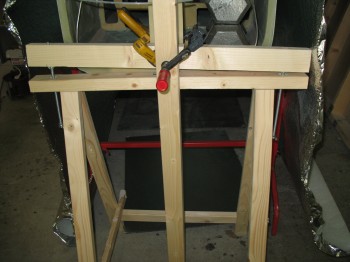
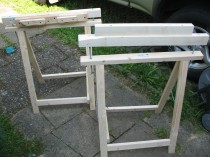
After all my odd & end jobs were completed, I started prepping for the Right Wing build. Since the garage floor is so uneven, I decided to simply build a wood base for the wing jigs.
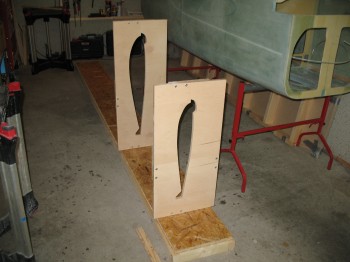
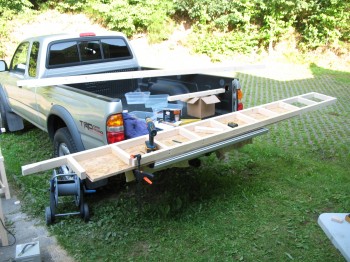 After the base was complete, I located it in the center of the garage and began the process of mounting the wing jigs to it.
 After I got the first few wing jigs mounted, I took a break from the jigs and went back to work on the main landing gear. I cut & sanded the inside gear tab layups to match the outside gear tabs.

 I then redrilled the 5/8″ holes for the final time & called it a night.