
Finally got some Alumiprep to go with my Alodine! If I haven’t covered Alodine earlier, it is simply a corrosion protection application to keep aluminum (yes, aluminum does corrode!) from deteriorating and losing strength over time. This is especially important for composite airplanes where these metal extrusions are embedded into the foam & glass and can no longer be assessed or examined for any corrosion–for the life of the plane–without actually tearing into the glass to see it.
The Alodine process is fairly simple: the Alumiprep is an acid that does a super-scrub on the part to clean (etch) it. The part is soaked in Alumiprep for a couple of minutes. Then the part is rinsed off with water and put into the Alodine for a couple of minutes where it turns a greenish-goldish-brown & receives its corrosion protective coating. It’s rinsed with water once again and allowed to dry.
Click here for a good video showing How to Acid Etch and Alodine Aluminum.
I also found some Rosin Core Solder for the radio antennas that will be embedded in the wings, winglets & canard. Also had to pick up 2 more portable heaters at the base and press them into service.
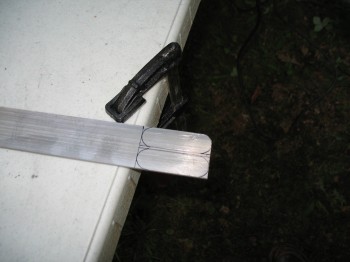
I used the Dremel & mini belt sander to make the 0.1″ & 0.2″ rounded-over edges on the aluminum extrusions. I also cut out & made the GIB shoulder harness seatbelt tabs.
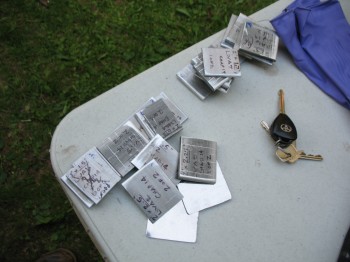
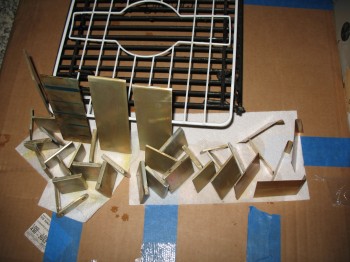
 I Alodined all the cut aluminum pieces and set them up to dry. I had a sneaking suspicion that my Alodine was a little on the old side. No matter what I did, pre-cleaning, leaving the piece in either solution for significantly longer, it didn’t seem to change the intensity–either light or dark–of the Alodined parts.
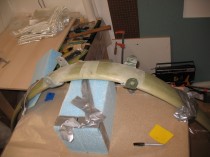
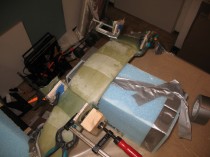
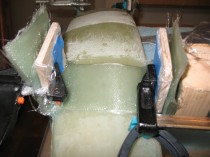
 A little before 1600 my Post-Curing fuselage hit 122°F. I’m going to keep it at that temp for at least a good 10-12 hours, and hopefully up to 15 hours. Overnight may get a little problematic maintaining that 122°F since ambient temps tend to naturally fall off drastically here in Germany.
I laid up the inside glass on both the main gear tabs. I also glassed a 3-ply BID layup on the outside of one of the tabs that seemed a bit thin (the ply-count was good, but the compression from the clamp appeared to have pushed the glass a little down towards the base of the tab, leaving the top a little thinner as compared to the other 3 tabs).
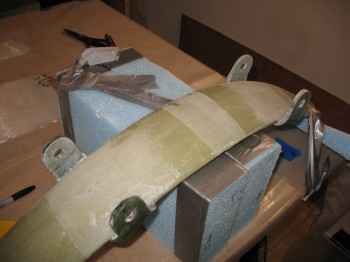

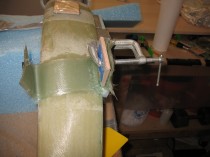
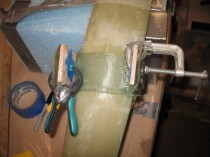

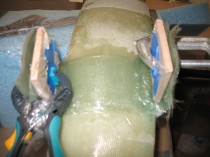

After a couple of hours had passed I knife trimmed the glass & cleaned up the edges… the layups looked good!