Well, after much thought I decided to join the masses by selling my Long-EZ project and simply build an RV . . .
HA! APRIL FOOLS!!!
Ok, so today I was still trudging through some small stuff in prep for the big welds… the cross bar to the side rails, and then of course the roll bar to the cross bar.
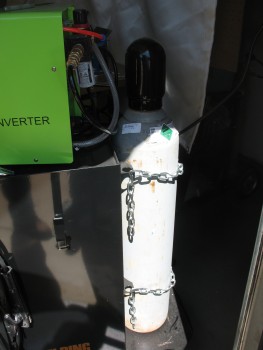
But first, I needed some more gas!
Argon that is.
I pulled the old empty tank and ran to the welding gas shop.
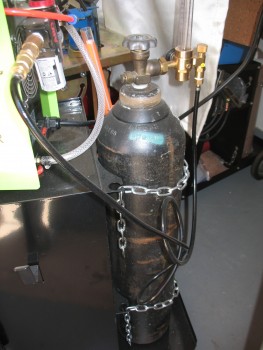
And $70 later walked out with a full tank, which I promptly ran home and installed.
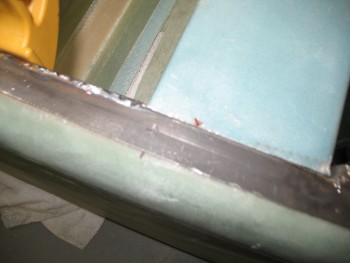
I did a couple of repair welds on the left side rail where I had thrashed the edge while welding on the reinforcement plate.
While the left side rail was cooling, I decided now would be a good time to drill the middle mounting holes–that go from the top down through the longerons–and flox/glass the nutplate assemblies into place on the underside of their respective longerons. I put spreader clamps in place both at the front & aft of the side rails to replicate the clamping force of the front & aft 1/4″ mounting bolts.
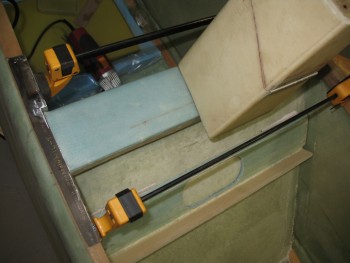 I had already carried my drill marks out to the edge of the longeron, so it was just a matter of finding the near center of mass (the holes favored slightly inboard in line with the nut plates). I drilled a small pilot hole first.
I then tested the nutplate hole alignment on the underside of the longeron in relationship with the drill bit & redirected fire on the next sized bit up (still not using the 3/16″ bit yet). I had to angle the drill just slightly outboard than the first hole I drilled using the small bit.
 With the second hole drilled, I just need one more slight correction when I drilled the final 3/16″ hole. Although I thought I had nailed it, I did have to trim just a scant couple thou off the outboard edge of the nutplate assembly for it to line up spot on. Also, it helped that I radiused the top outboard edge to better snug into the corner.
Although countersunk 3/16″ (AN3-) screws will be used in the final middle mounting hole when the rollbar gets installed, I substituted an AN3 bolt for mounting the nutplate assembly. As I’m sure you know, AN style screws can be a PITA to screw in & out, especially if just using them temporarily. Thus I went the bolt route here.
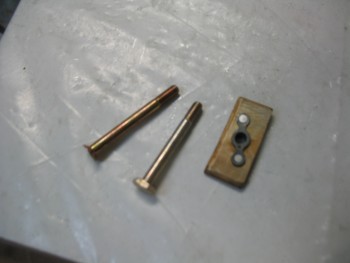 I then test fitted the nutplate assembly for the right side rail mid-mounting hole.

I grabbed a small piece of scrap BID to use to cover the nutplate assembly.
I then made a very small batch of epoxy with fast hardener, wet out the BID in a pre-preg setup and whipped up some flox.
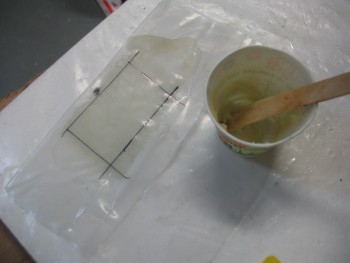
I then floxed the nutplate assembly into place, added some flox fillets all around & covered it with 1 ply of BID.
And then repeated the same thing on the left side rail.
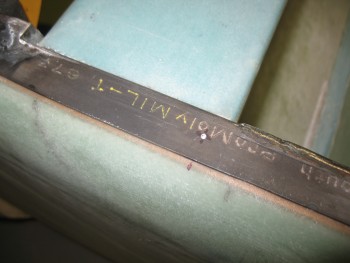
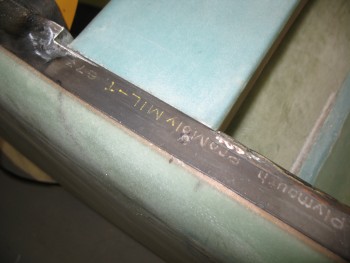
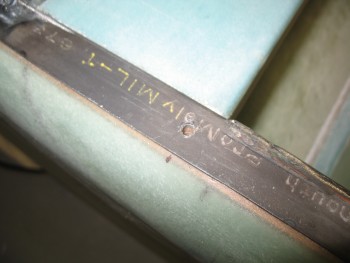
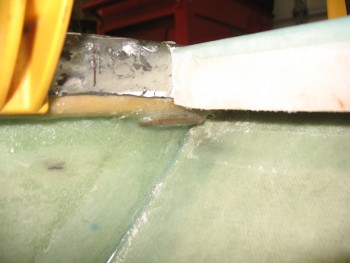
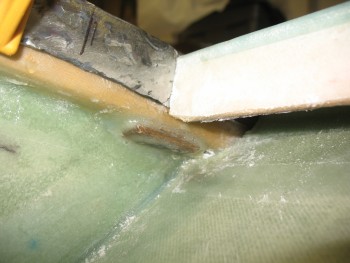
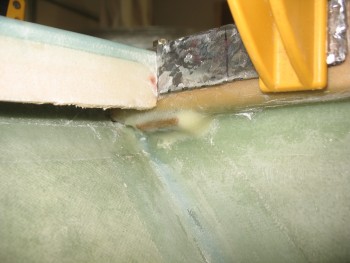
Here’s final shot of the floxed & glassed left side rail nutplate assembly for the middle mounting point. You can see why I wanted to get these mounted prior to having the cross bar welded up & in the way, or worse yet, waiting until everything was assembled and trying to get up there into that corner through the seat front access hole . . . which just would not really be possible with the amount space allowed.
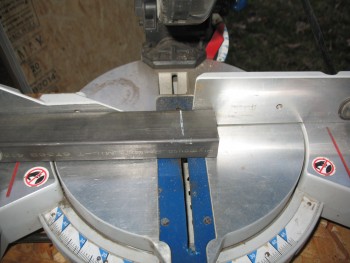
I set the heater up on the curing nutplate assemblies, and drug my rectangular 4130 steel tubing for the cross bar out to my back patio. I pulled my small chop saw out of the shed and set it up. I always keep a steel cutting blade on this saw, so I quickly checked that it was square & clamped the roll bar piece to the saw.
And she cut through it like buttah!

To help dial in my rear roll bar support strut/tube, I cut it at close to 55° as I could get. As you can see, I added a shim in there to get past the standard 45° that this saw maxes out at.

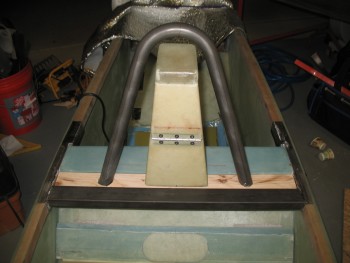
As I was taking all the pieces parts back into the garage, my best bud Greg stopped by for a visit. I haven’t seen him in a couple of months, thus I essentially took the rest of the night off. As I was showing him what I was up to on the build, I threw the mock-up below together, so I grabbed a shot of it after he had left as I was closing up shop.
You can see the cut cross bar wedged in place in front of the mock wood cross bar.