I started today by pulling the peel ply from the flox & fuselage pieces that cover the right side nutplate insert assemblies.
 And then the left side.
After sanding down both sets of flox covers for the nutplate assemblies, I then laid up the pre-pregged 2-ply UNI strips on the right side fuselage. Of course I peel plied it afterwards.
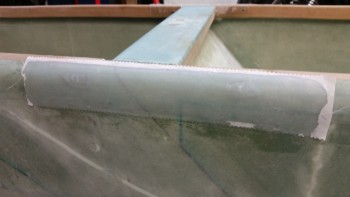
And then did the same on the left side fuselage. The first UNI ply was 12″ long, and the top was 14″ long.
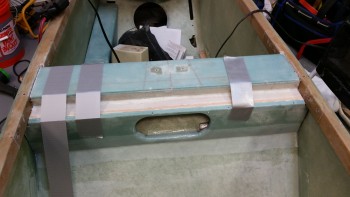
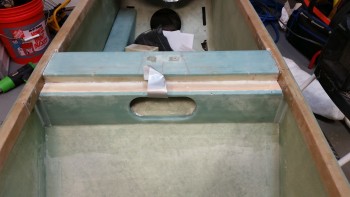
While the fuselage sides were curing, I started work on the seat back in preparation for glassing in the lower seat back piece. The first task was to trim the piece hanging down to 1.3″ wide. I marked the cut line with a Sharpie & trimmed it with the Fein tool.
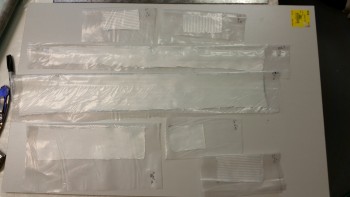
I prepped the BID tapes for installing the lower seat back by sorting through my BID scrap bin & then cutting out the required pieces. I then cut the correct size plastic pieces and set up pre-preg assemblies for the BID tapes.
Here’s the lower seat back curing after the first round of layups.
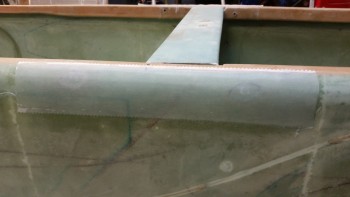
While the initial round of BID tapes cured on the lower seat back, I pulled the peel ply on the right side nutplate assemblies’ UNI layup & cleaned it up.
And then did the same thing on the left side.
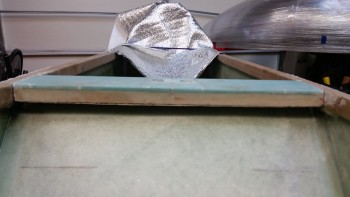
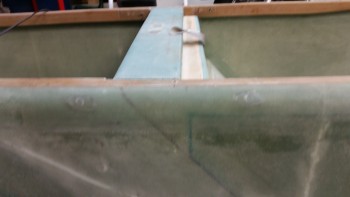
Here’s the lower seat back after the peel ply was pulled. The duct tape in the middle is a reminder to trim a strand of BID that is sticking out from under the peel ply… which certainly will cure to be a spike lying in wait for my finger!!
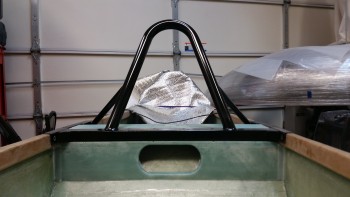
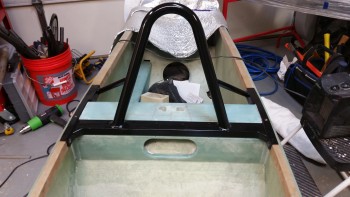
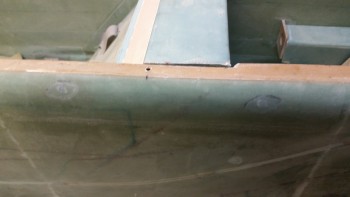
I then mocked up the roll bar to check the fit of the width of the cross bar in the notch created by installing the lower seat back.