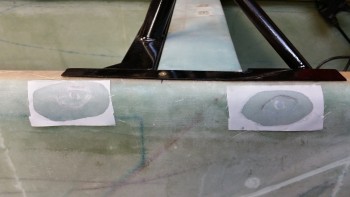
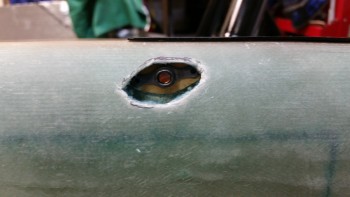
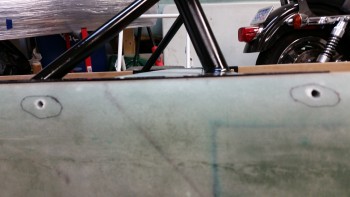
You’ll see in a minute why I called this blog entry what I called it. Basically, once the nutplates get floxed into the side of the fuselage, they look like eyes. Yes, I’m one artistic SOB! Ha!
I started off today by installing the left side nutplate assemblies with the rivets reversed so that I could get them as close to the fuselage side as possible.
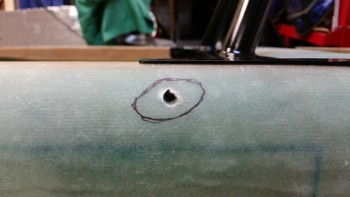
I then traced around each nutplate assembly to get as close to a perfect outline as possible for the cut into the fuselage side glass.
I then cut the glass along the marked outlines using a Fein tool.
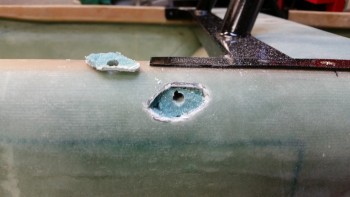
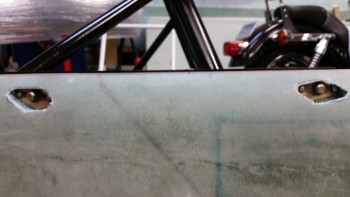
And then I dug out the glass and cleaned up the glass on the ‘back wall’ of the nutplate cavity [which of course is the 2 plies of glass on the inside fuselage wall].
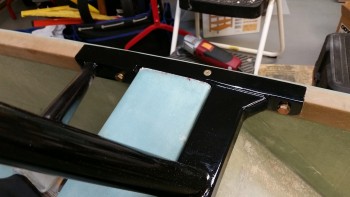
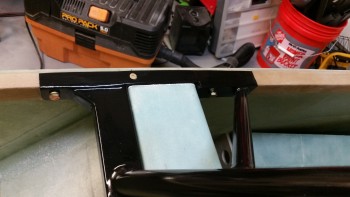
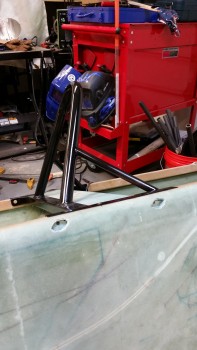
I mocked up the 1/16″ 2024 aluminum reinforcement plate with the nutplate so that the rivet holes aligned, then I drilled the rivet holes and installed the rivets.

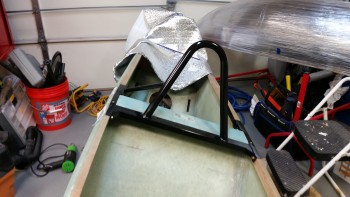
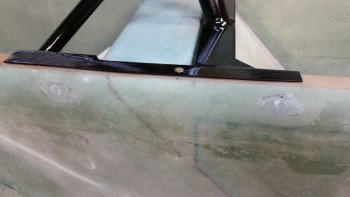
Up until this point I had been using longer bolts to be able manipulate the nutplate assemblies & remove them more easily when I needed to. But when the rivets were set, I removed the longer bolts and installed the actual AN4 bolts that would be used for the installation of the roll bar assembly.
Here’s a shot from inside the fuselage of the actual AN4 1/4″ bolts installed.
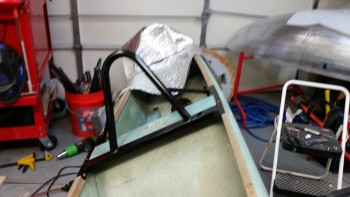
With the left side nutplate assemblies ready to be installed & floxed into place, I started on the right side of the fuselage to get those nutplates ready for installation.
I put the fuselage in a left bank to help me install the right side nutplate assemblies.
Just like the left side, I marked the outlines of the right side nutplate assemblies.
I then cut away the glass, dug out the foam and cleaned up the back wall of the nutplate cavities.
With the installation of the correct 1/4″ AN4 bolts on the right side, along with the left side secured in place, it was time to flox in place the right side nutplate assemblies.
To install the nutplate assemblies, I started with a flox slurry. It wasn’t too runny, but it definitely wasn’t paste. I did have flox paste on hand as well to finish off the holes. When I got to the end of installing the right side nutplate assemblies however, I had pretty much filled each hole with flox–since the holes weren’t that big to begin with.
An issue I was having, although I had used fast hardener and leaned the fuselage at an angle, was that the flox was slowly oozing out of each hole. For about 10 minutes I kept scooping up the oozing flox & squeegeeing it back into its respective hole.
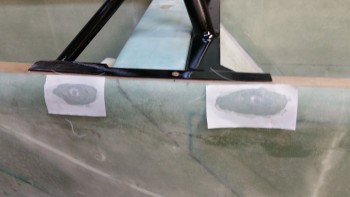
As I was thinking about something to keep the flox in place, I realized that I could simply use the outer skin of the fuselage that I had just cut out. It was exactly the same shape as the hole it came out of, and moreover, it had the exact right curve of the fuselage so that there would be no flat or odd spots on the edge of the fuselage when I re-glassed it later on. I cleaned up the underside of the first piece of ‘diamond’ skin that I had removed, and when I pressed it into place, I knew I was on to something.
With the flox mess around the hole & all over the reattached skin piece, I knew that I would employ the help of one my old friends: PEEL PLY! I ended up putting both outer skin cutouts back into place and securing them with peel ply. Also, the peel ply helped soak up all the flox and epoxy mess that was around each hole.
While the flox was curing on the right side nutplate assemblies, I pulled out some scrap UNI to cut out for the 2-ply UNI reinforcement layup that I will be doing on each longeron over the freshly installed nutplate assemblies. Since the outer edge of the nutplate assemblies are 10″ apart, I’ll be setting the first ply at 12″ (1″ past the edge of the hole) and the second ply at 14″ long, so that it goes 1″ past the first 12″ ply.
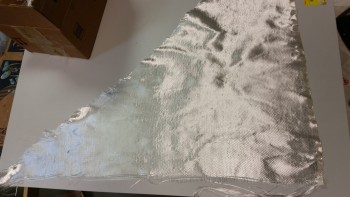
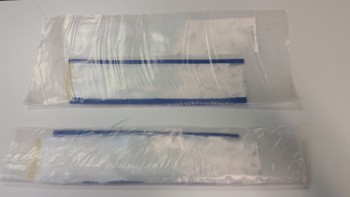
Here are the 2 plies of UNI glass for each side of the exterior longerons. I’ll need to cut one more piece of plastic to set up these pre-pregs correctly.
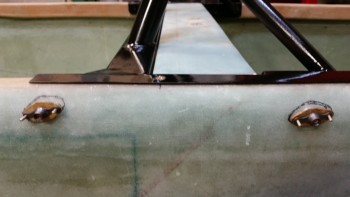
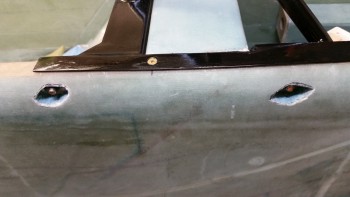
 Here’s the cured right side nutplate insert assemblies. They set great and you can barely feel any difference between the reinserted exterior skin pieces and the old skin. This will work much better than I thought, and reduces the steps on this task from 3 to 2.
I then leaned the fuselage in a hard right bank to work on the left side nutplates.
Here’s a long shot with the nutplate cavities ready to get their fill of flox.
And just like the right side nutplate assembly installation, I re-installed the removed skin pieces. If you look closely at the pic below, it looks like a pair of eyes, thus, the eyes have it . . .