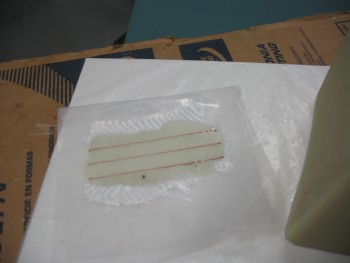
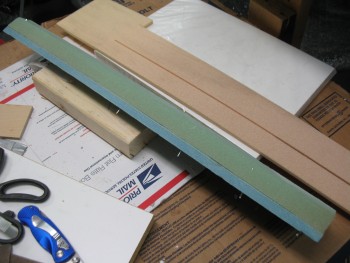
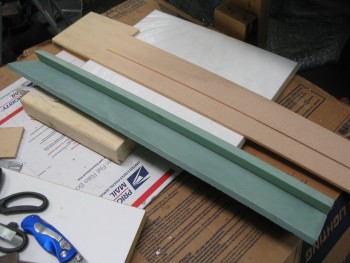
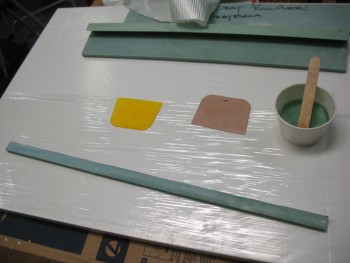
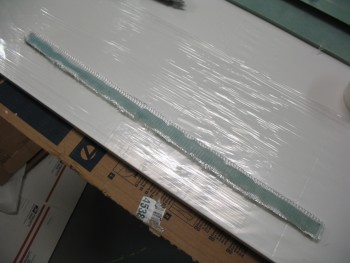
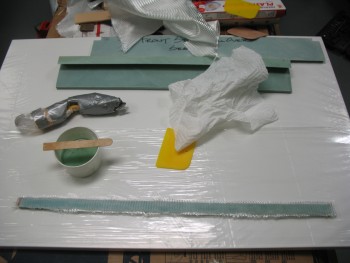
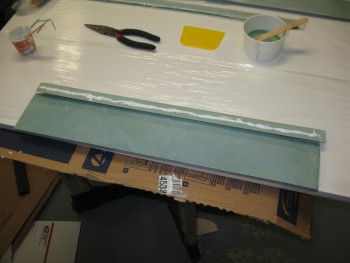
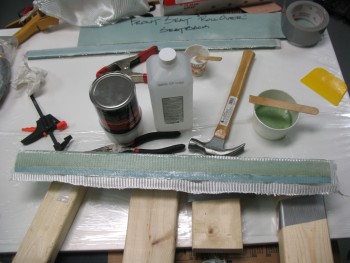
This morning I knocked out the BID reinforcements for the hinge screws on the internal side of the headrest. I used 2 plies of 1/2″-wide BID for the main reinforcement on each side, then followed that up with a 3/4″-wide layer of BID for both a final third ply for strength and as a transition to existing glass. Since I pre-pregged these BID tapes I had 2 separate pre-preg setups: one for the 1/2″ tapes, and one for the 3/4″ tapes. Here’s the 1/2″ tapes I started off with, each with 2-plies of BID:
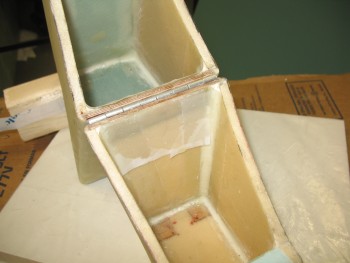
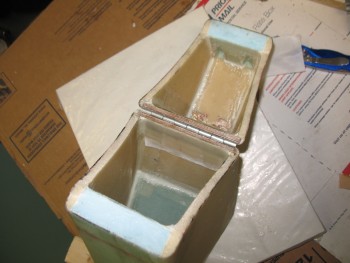
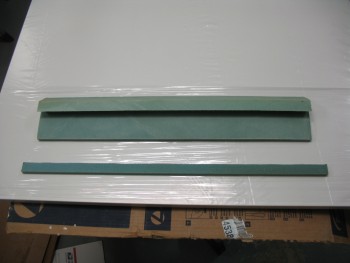
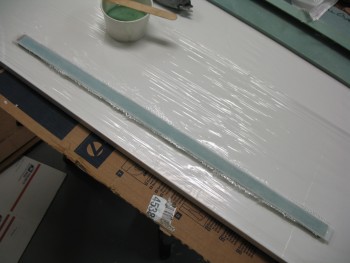
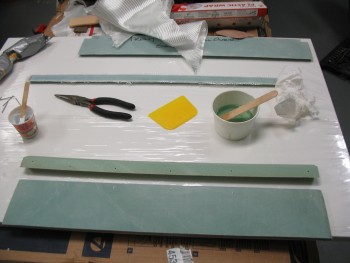
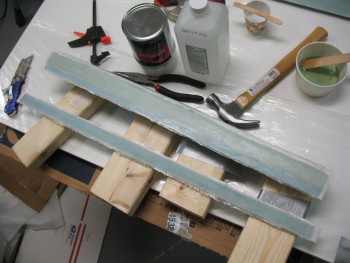
Here are the hinge screw reinforcement layups finished & peel plied:
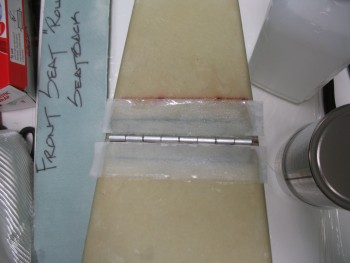
I had to run out and do a bunch of errands, so when I got back home I started on the seat back build. I’m going to jump ahead here to my final layup of the evening, which was adding a 1-ply reinforcement BID tape for the hinge screws on the external side of the headrest on the front face. I had some epoxy left over from the layups below, and had already been kicking around the idea of adding a ply of BID since I really want to counter sink the screws flush on the front face. I figured I would give the screw heads just a little bit more meat to grab onto.
With my reinforcement plies of BID in place on all sides of the hinge, tomorrow I’ll install the 6 screws, washers and nuts to the hinge assembly.
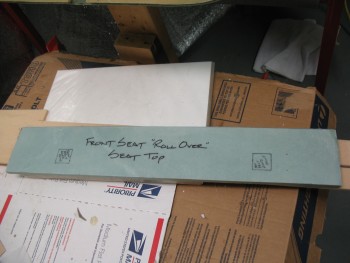
My first order of the day for the seat back composite assembly was to cut out some of the required foam I needed. Since the base of my headrest and rollover assembly is a total of 5.8″ wide–versus 4.5″ stock–it requires that I add a little height to my very front foam piece that makes up the seat back as it dives into the existing seat… the piece that makes up the lowest installed component of this whole assembly. I had originally made that piece to stock dimensions out of 3/8″ foam. I had also glassed it with 1 ply of BID on one side. Now to make up for it moving forward slightly, and thus down the seat face slightly, I need to add a 0.7″ wide strip of 3/8″ foam to the top of it.
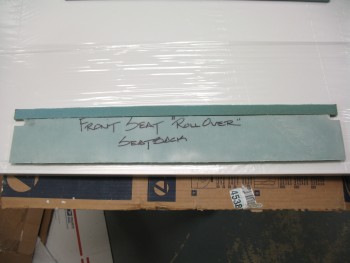
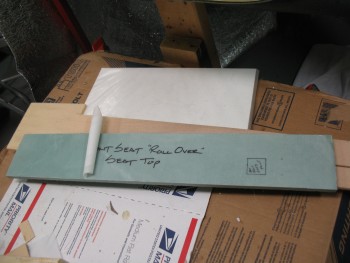
I cut the 0.7″ strip of 3/8″ foam & then quickly positioned it to ensure I was on track. As you can see from the pic below, I’ll have to fill in the notches that were originally meant to allow clearance for the longerons.
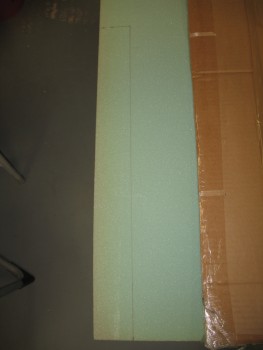
I then marked up the 3/4″ piece of foam that I would use to fill the gap from the existing front seat top & the 3/8″ thick foam cross piece that makes up the base of the headrest, somewhat like the original plans headrest base that is essentially a shelf that traverses the seat back from longeron to longeron.
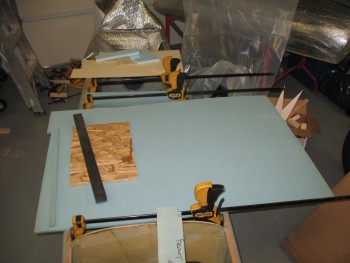
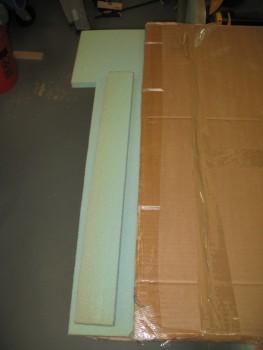
I then took the 3/4″ foam and piece of 1/4″ foam that I’ll be using and cut them on my table saw. Here’s the resulting piece that I’ll use to fill the gap for the seat back, set in place.
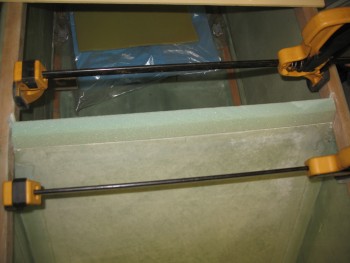
You may note the clamps in the picture above being used as expanders for the fuselage. Since my fuselage is a bit more curved than a stock fuselage, and since I also cut the top of the seat off in my original plan for the seat back & rollover design, the front seat has developed a very slight curve forward in the middle. I put those expanders in and have been increasing the pressure every few hours as I was getting ready to post cure the seat to straighten out the seat back as much as I can.
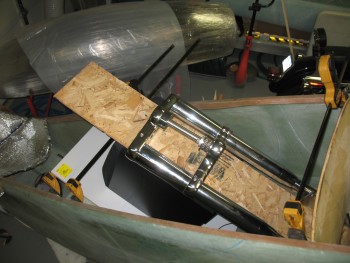
I prepped the seat back for post-curing by getting the nose as high as possible so that the weight would be concentrated on the seat back. Since I don’t have my workout weight set here with me, I had to resort to hunting around for some fairly heavy objects, thus the weird sight below of an old sub-woofer and the quite hefty front forks for my chopper project (that were damaged in the move btw).
I put some foam insulation heat shields at the front of the fuselage to trap as much heat as I could.
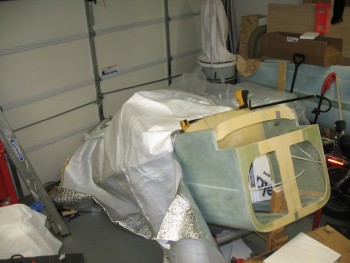
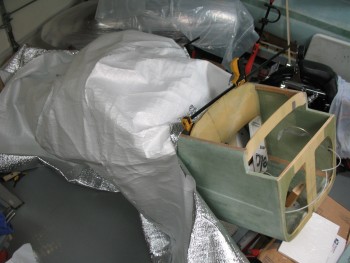
Then I placed my trusty shop heater in the back seat on a small piece of plywood, and covered the fuselage with the same material I used in Germany for the massive 24-hour Uber fuselage post cure.
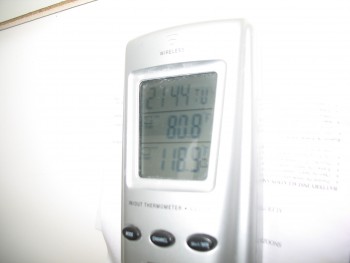
With the fuselage covered and the seat back (hopefully!) getting realigned back to where it should be as it baked at almost 120° F (see pic below), I started in on glassing the 0.7″ strip of 3/8″ foam and the top of the seat back to the spacer that will fill the gap on the existing seat.
I started by pulling the peel ply off the seat back base piece. I glassed this thing back in the Summer of 2012, and the peel ply still came off quite nicely. Also, I am actually using this piece upside down compared to how it was originally meant to be used.
I mocked up the gap-filler piece to the seat back base, and then when I liked what I saw I pinned it together using finishing nails.
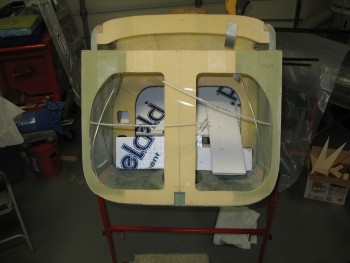
Here are the 2 parts of the seat back that I’ll be glassing tonight: a) the 0.7″ strip that will be added to the back rest piece, and b) the seat back base with the gap filler.
Now, I’ll let you in on a dirty little secret of mine. I have yet to touch any of my new MGS 285 epoxy. Since I don’t consider the headrest as a structural piece, I’ve been using the 4 year old MGS that I had originally left with Marco. I have to tell you, that old MGS 335 is still kicking and I see no diminished effects in strength or hardness.
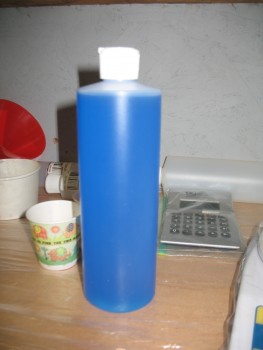
Thus, I broke out a new can of MGS hardener and prepped it in one my squeeze bottles. The pic below doesn’t do this stuff justice in how brilliant the blue is for the MGS 285 hardener. It really is stunningly brilliant stuff.
 Now, I will say the big difference between that old stuff and this new MGS 285 (which is a significant difference between MGS 285 and 335 anyways) is that the 285 is a dream in its usability. It flows like water & it wets out so amazingly well. It’s like the difference between driving an old reliable truck or a beautiful sports car. Both work and do what they’re supposed to, but one drives like silk…. as does the MGS 285. Great stuff!
As for my layups, I started by applying microslurry to the 0.7″ strip.
Then laid up 1 ply of BID:
I then started on the seat back base & gap filler.
I mixed up some flocro (micro with about 1/2 flox) to attach the gap piece to the seat back base.
After messing around with ensuring the pieces were aligned & all the excess flocro was removed from joining these pieces, I laid up 1 ply of BID on what will be the back side & top of the back seat, something along the lines of the rear top corner of a “7” . . . of course including the top of the “7” as well.
Below were the 2 “to-do” items on my list tonight, now glassed and curing:
Tomorrow I’ll check the outcome of my post cure on my seat back, and then also start cutting some 4130 steel in preparation for the mock-ups and fittings required before I can finalize any layups on the composite seat back structure.

