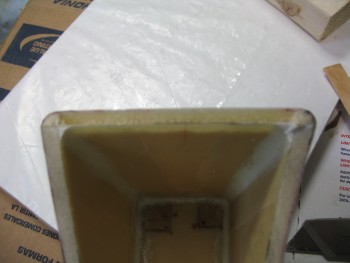
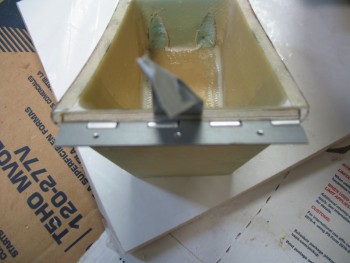
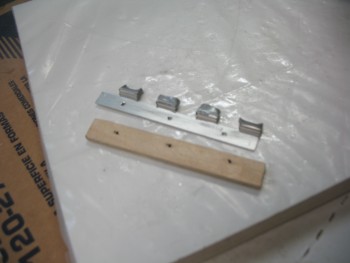
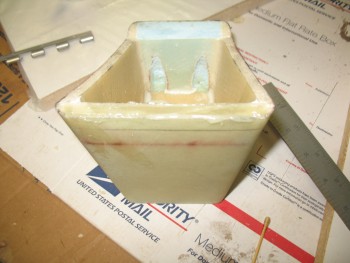
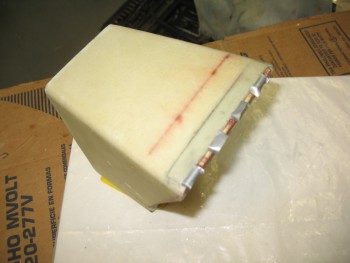
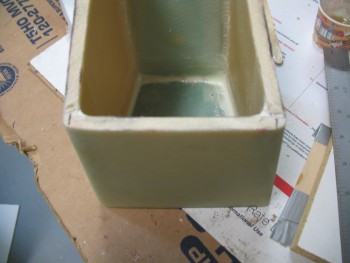
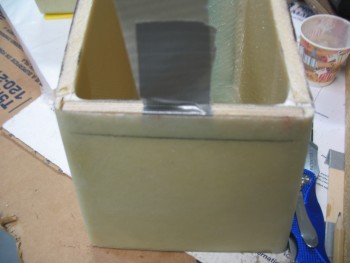
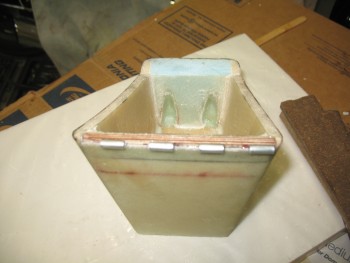
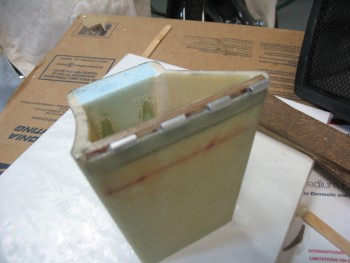
Today I finally finished installing the hinge on the front face of the headrest. I started by digging out the foam from the hinge mounting area on the top part of the headrest.
I dug out as much foam as I could using the razor knife and then I switched to using the Dremel tool.
As I got the foam dug out to the proper depth it was obvious that both the plywood insert and the hinge flange would not both fit width-wise, so I shaved a few more layers off the plywood by the approximate width of the hinge flange. I had already shaved off a couple of layers off the plywood previously, but it clearly required another thinning.
Before I thinned the plywood insert, it was so tight that I had to add tape to it in order to remove it.
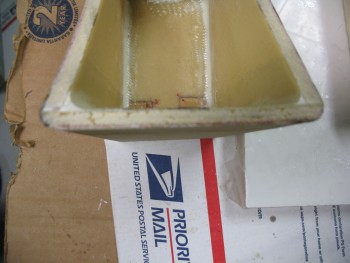
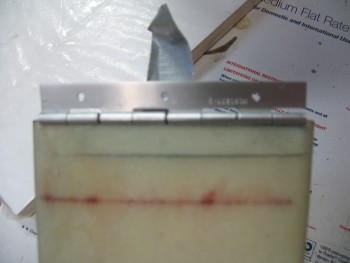
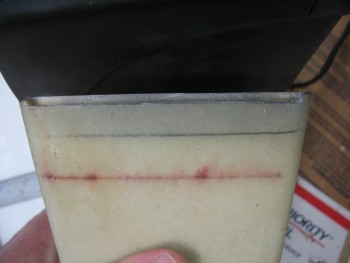
I measured the hinge barrel width at 0.180 inch, so I simply halved that to remove 0.090 inch from the outer glass layer on both the top & bottom hinge mount, to center the axis of the hinge along the line between the top and bottom parts of the headrest.
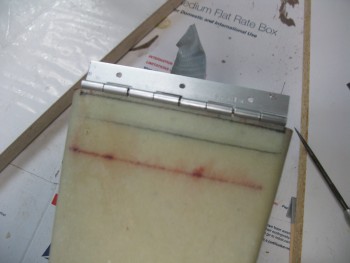
Below you can see where I cut out 0.090″ for proper hinge positioning.
After mocking up the plywood insert & the hinge flange to ensure a proper fit, I mixed up some flox using fast hardener and slathered it into the hinge area.
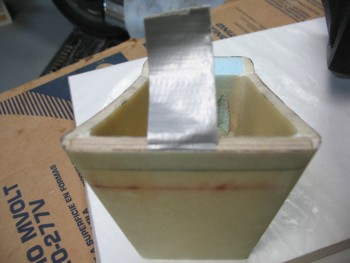
I also cut 4 pieces of duct tape to protect the holes at each end of the respective tabs on the hinge. I then inserted the plywood insert & the hinge into the slot that I created on the front face of the upper portion of the headrest.
While the upper headrest portion’s hinge assembly cured, I started prepping the hinge area on the lower headrest structure.
I tested the width & fit of the plywood insert in the same way I did on the upper headrest structure. The plywood insert for the lower headrest structure needed to be thinned down as well.
As I was ready to pull the trigger on the lower hinge, I double-checked the first hinge assembly.
Having used fast hardener & then putting the heater on it had it cured in no time flat.
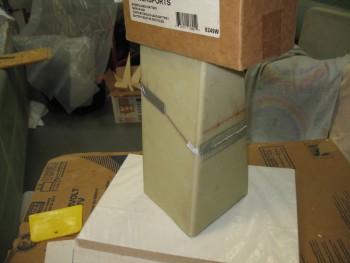
Since the top hinge half was cured in place, I used it as a template for the bottom to get a near-perfect fit. I taped a strip of packing tape across the abutting plywood inserts. I then floxed in the lower hinge and gave it about 20 minutes to cure before I mounted the top hinge half to the bottom hinge half.
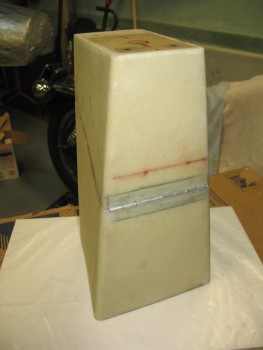
After ensuring that no unwanted flox was getting into places it wasn’t supposed to, I ensured the upper & lower headrest assemblies were aligned. I then taped the parts together with duct tape and to minimize any gaps I weighed down the entire structure.
After 30 minutes passed with the headrest in front of a heater, I removed the tape and weight to check the rotation of the hinge, and to make sure that there was no flox gumming anything up. There was a few bits of flox here & there that I removed with a toothpick, but the hinge rotation was great and all looked good.
Here’s a quick video discussing the headrest hinge:

