
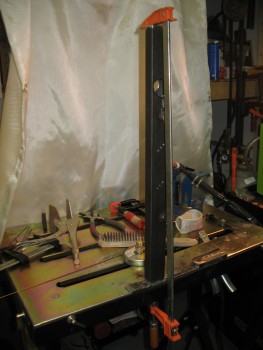
This morning I started working on the stainless steel seat belt reinforcement inserts that will go into the cross bar at each seat belt attach point.
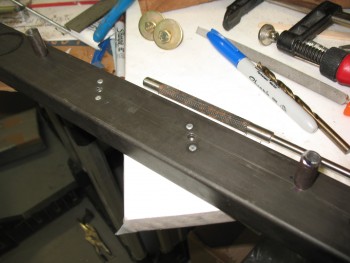
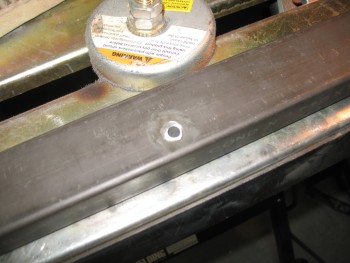
First task on the list was to drill out the core of the stainless steel seat belt reinforcement insert that will go into the cross bar at each seat belt attach point. I needed a 1/4″ hole down the center of each insert to mount the seat belt bolt from the top of the cross bar, through the reinforcement insert, with the nut being on the bottom of the cross bar.
Although I went slow & was patient, both in drill speed & pressure, I realized that my set of gold oxide drills bits just weren’t going to do the job on these stainless steel inserts. About 8 of them sacrificed themselves for this endeavor, and the outlook wasn’t look pretty for the rest of any drill bit I had, including a cobalt bit that I also kluged.
I ran down to Lowe’s & Home Depot to do a recon of possible drill bit solutions, and found a DeWalt cobalt set at Lowe’s. I grabbed that and a few extra small Titanium bits since they were much cheaper and came in packs of 2 each.
While also at Lowe’s, out of curiosity I checked their stock of metal. It got me thinking that I may go pedestrian here & instead of fighting the SS inserts, I’d simply use mild steel if they had any. They only had 1/2″ round bar stock, so I filed that idea away and headed for a quick lunch & Home Depot.
At Home Depot I picked up another steel cutoff wheel for my chop saw, which got frayed by cutting all the 4130 for the roll bar components. In their “Aircraft Metal Department” I found a 7/16″ diameter steel bar & snatched that baby up. My initial thought was that I was going to use it for backup if I couldn’t get the holes in the stainless steel inserts drilled.
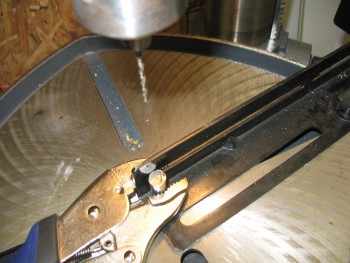
But back at the house, after pulling out my chop saw & replacing the cutoff disk I tried it out by cutting off 2 steel inserts off this new 7/16″ bar. Curiosity then further got the best of me in that I drilled the 1/4″ hole in the first steel insert in about 20 minutes, only using the titanium bits and a different cobalt bit that had been spared in the earlier stainless steel debacle.
With the Round-2 drilling endeavor being a much more positive experience (And laced with infinitely less expletives) I decided that since these inserts are simply for reinforcement to assist in carrying the clamping pressure of the seat belt bolts, that I would use the new steel ones instead of suffering through another long slog at drilling out the stainless steel inserts.
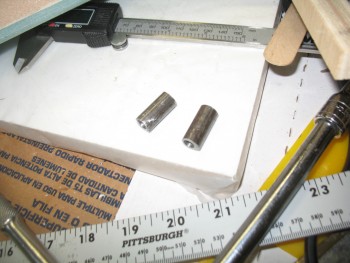
Here are the 2 drilled steel inserts below. All told, the entire endeavor of drilling these 1/4″ holes into the seat belt reinforcement inserts took almost 6 hours!
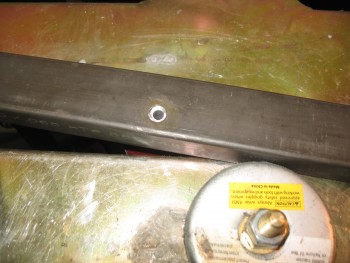
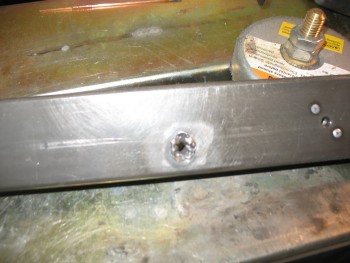
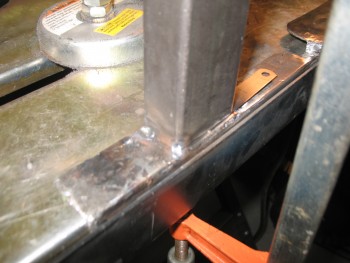
After cleaning them up, I inserted the left-side seat belt reinforcement insert into the cross bar to weld into place.
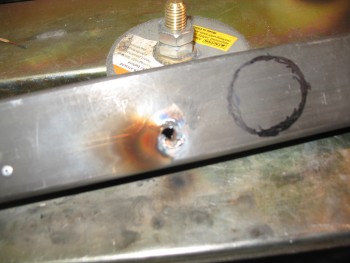
Here’s the final weld of the left side seat belt insert on the top side of the cross bar.
And after I cleaned it up by grinding away the protruding slag.
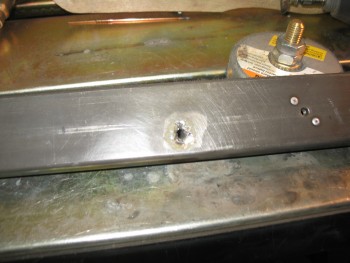
And after final cleanup & the 1/4″ hole re-drilled.
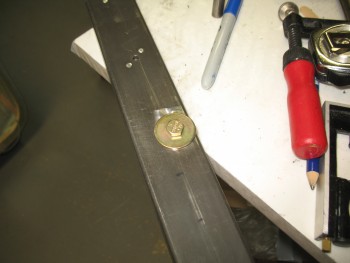
I inserted a 1/4″ AN4 bolt with an AN970-4 washer to check the fit of the bolt and ensure the proper location of the washer. I wanted the bolt as far back as possible on the cross bar, with the large washer’s aft edge aligned with the aft edge of the cross bar. This side lined up great.
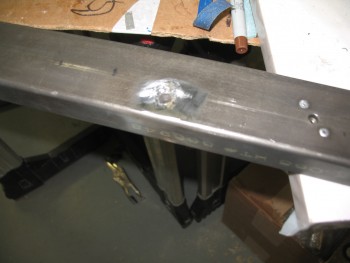
I the repeated the process for the right side seat belt reinforcement insert by welding it into place into the cross bar.
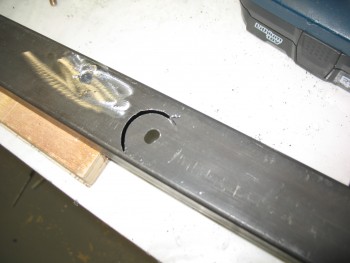
Top side weld finished. I don’t remember if I’ve mentioned this yet, but the odd-shaped circle I drew with a Sharpie (to the right of the seat belt mount hole in the pic below) is the hole for the right roll bar tube leg that I transposed from the mock wood cross bar to this one.
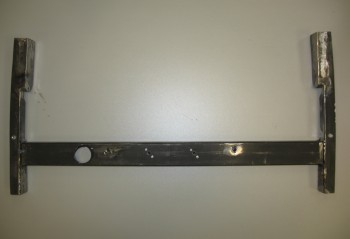
Both sides completed & cleaned up.
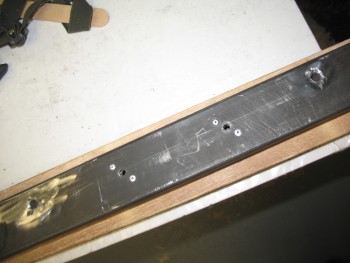
Bolt fit & locations are spot on for each side.
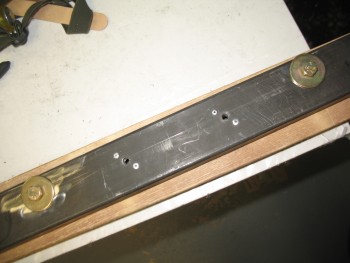
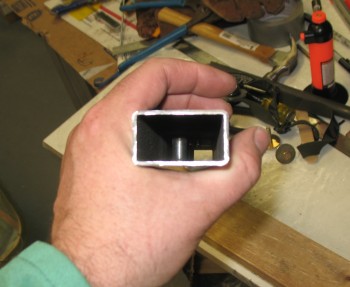
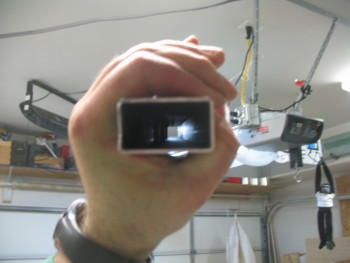
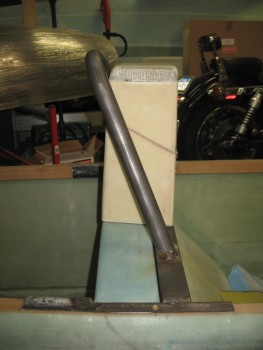
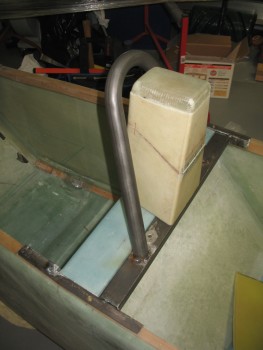
I took a couple of quick shots to show the seat belt reinforcement inserts inside the cross bar tube.
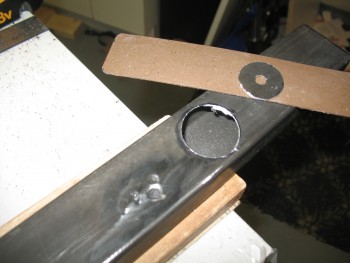
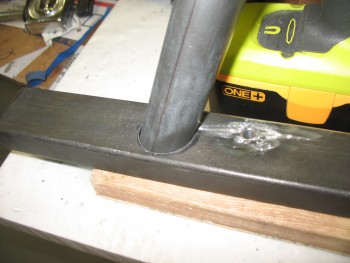
After the seat belt reinforcement inserts were welded into place, I wanted to drill the angled hole into the cross bar for the right roll bar leg. Remember, this side of the roll bar is longer and will get welded on both the top of the cross bar and the bottom.
I pulled out a fresh new bi-metal 1-1/4″ hole saw bit, and after drilling a pilot hole, went to work.

I have to tell you that this hole saw bit was fantastic. It cut through this .065″ 4130 like it was angry. Wow, it cut fast & took no prisoners!
After drilling the top plate of the cross bar, I needed to drill the bottom. I had to be careful here because I knew that the angle would drive the hole saw into the front sidewall of the cross bar. I want the hole on the bottom only, even though it may not be truly circular in shape.
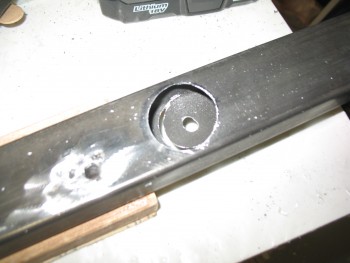
I got as far as I could before the cut got close to the front wall.

Then I flipped the cross bar over & continued drilling on the underside.
Because of the front wall, I never really got any penetrating drilling action to complete the hole, but I did thin the metal in the area where I would use the Dremel Tool’s cutoff wheel. The Dremel Tool of course finished the job nicely & the hole for the right side roll bar tube was roughly in place in the cross bar.

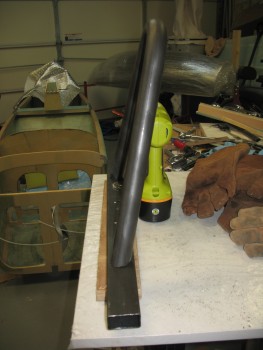
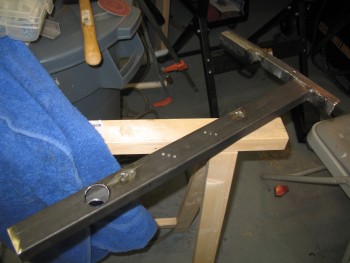
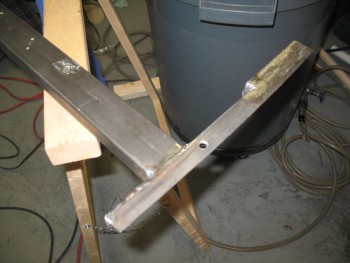
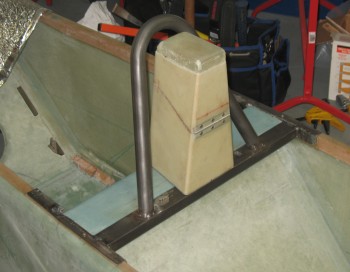
I then tested the fit & angle of the roll bar on/in the cross bar.
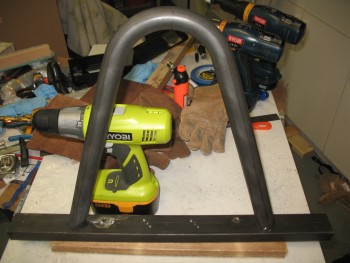
The initial fit of the right side roll bar leg into the cross bar was good.
And the angle looked good, but needed to be leaning aft just a bit more.
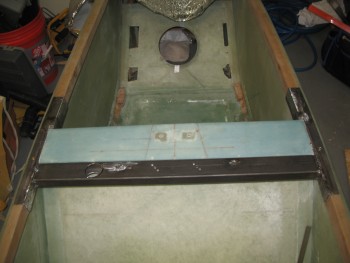
With all the preliminary, nit-noy stuff on the cross bar completed, I was free to tack weld the cross bar to the side rails.
I started this process by putting the cross bar in place, and then installed the headrest so that the headrest bolts supported the cross bar. This gave me 2 things: 1) The alignment of the headrest to the cross bar, and 2) the “natural” position of the cross bar when bolted to the headrest.
Now, to digress just a bit. I have some thin Mica (about the thickness of really fancy paper) on hand that I thought I could use as a heat barrier for tack welding the roll bar assembly as it sat on the fuselage. However, after testing the Mica, it was clearly not usable as a heat barrier. It was fascinating to heat up paper-thick material where it was glowing red, then remove the heat and have it return to its original state as if nothing happened. And only slightly warm to the touch within about 10 seconds.
Thus, I had to carefully plan out my tack welds since I would be making them “off fuselage.”
I started with the left side rail and clamped the cross bar to it on my welding table.
I tack welded the cross bar to the left side rail in 3 spots.
I reground some Tungsten electrode tips as I let it cool before mounting it back on the fuselage.
And then after a myriad of measuring, sightings, drawn lines & mystical visions, I set up the weld for the right side rail & clamped it all into place.

And here it is. Somewhat of a historical moment for me since I’ve waited literally years to tie all this together!
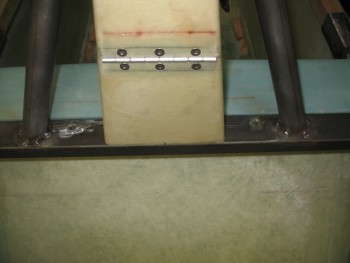
When I installed the new cross bar/side rail assembly, it went in REALLY tightly. I carefully removed it & trimmed each edge of the seat back shelf about 0.05″ on each side, concentrating mainly on the front half of each side and tapering off so very little of the edge was cut at the aft edges of the seat back shelf sides.
After trimming the seat back, I was able to install the roll bar base assembly nice & EZ.
I of course installed everything I could to check out fit, finish & style! Thus far I’m extremely pleased with how it’s all coming together.
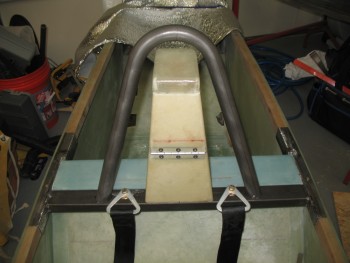
After a million and one grinds & regrinds on the roll bar legs . . . and checking the symmetry about the headrest, I finally got the roll bar frame to a point of my liking and decided I should fire for effect!
Since there’s some space between the cross bar & the seat back, I decide that here was definitely a spot I needed to tack weld the roll bar where it sat on the cross bar, on the fuselage. I set up the welder . . . and voila! The roll bar is now official!
Here’s the first official pic of my new ROLL BAR!

From the side . . .
And an angle shot.
The official height of the roll bar is 13.2″ tall. You may remember that I wanted it no lower than 13″, so this meets my criteria. I think in my mind I was gunning for 13.5″, but it’s still a 1/2″ taller than stock. I think this is a good roll bar height since I really didn’t want a high, towering roll bar looming over the GIB or overpowering the overall appearance of the cockpit “ambiance” . . . if you will.
I was really ready to go to town & tack weld this assembly in numerous places, but it was well after midnight and I knew I had a myriad of pics to download to the computer & upload to this site. And I certainly didn’t want to make any gross welding errors in my tired euphoria.
So I said goodnight and turned out the lights.