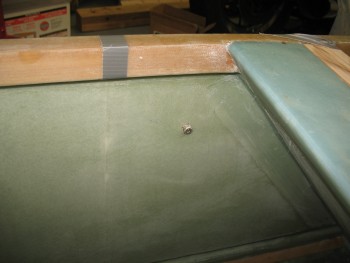
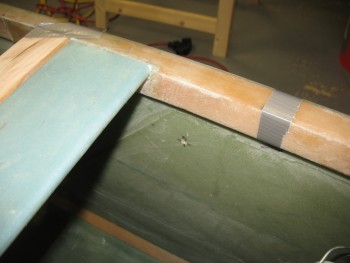
I started off today by knocking out the two quick aft seat BID reinforcement layups. Just like the reinforcement layups on the forward side of the seat, the longerons just aft of the seat will get 2 plies of BID to reinforce the respective longerons for the Rollbar assembly side rails, and to give the aft 1/4″ bolt a little more meat to bite into.
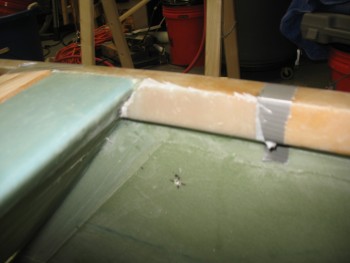
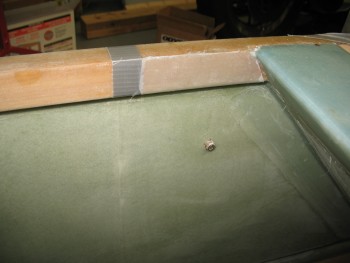
I sanded down the existing glass to prep it for the layups. I then marked the aft edge of the layup with duct tape, which will of course align with the aft edge of the rollbar side rails.
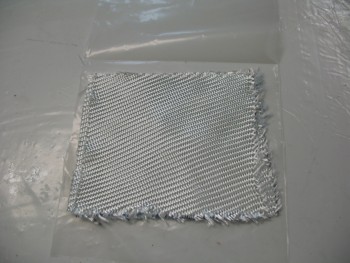
I tracked down 2 plies of BID and cut them to the approximate size needed, as well as the appropriate sized piece of plastic sheet required for the pre-preg setup.
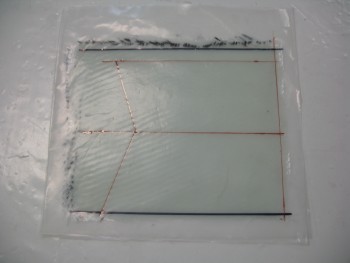
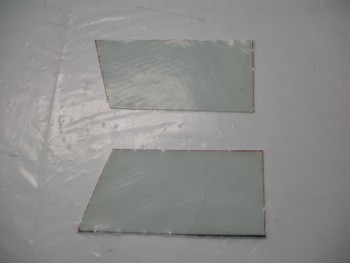
I then whipped up some MGS 285 epoxy with fast hardener and wetted out the BID in the pre-preg setup. I then marked up the plastic with Sharpies and cut out the individual pre-preg layups for both the left & right longeron.
[Note: In my haste, I marked up these pieces incorrectly since I used the measurements at the top of the longer to the seat back, and then bottom edge of the longeron to the seat back. Since these–like the front ones–don’t cover the top of the longerons, and only cover the inside edge and bottom, I mistakenly didn’t account for the bottom 0.7″ when I marked these. No big deal since it only results in a slight gap near the seat back].
I then completed the longeron BID reinforcement layups on each side. Here they are completed, peel-plied & curing.
The first thing I did as these layups were curing was to quickly knock out the roll trim mounting tabs (detailed in the post below ↓).
I then worked on the rollbar. My first order of business was to shorten it so that it reached my approximate target height of 13″. Since the angle & fit was good on my initial cuts, I “simply” needed to replicate those cuts to shorten the rollbar.
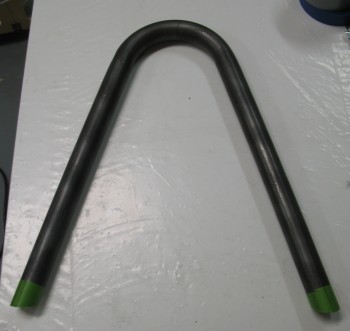
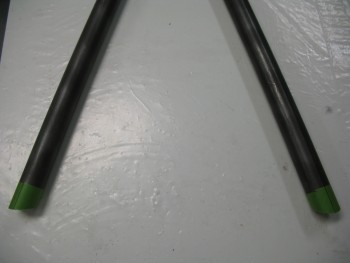
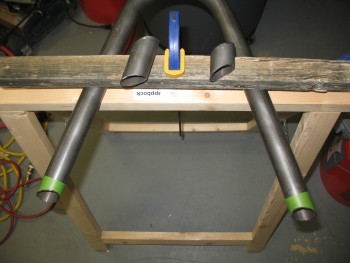
I did this by drawing a reference line near the top center of each rollbar leg. I then wrapped green painters’ tape around the end of each tube.
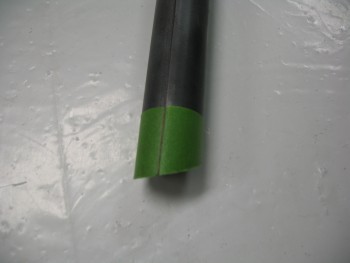
I cut the tape to match the contour of the bottom of each tube.
And then marked the reference line down the top center of the tape in line with the previously marked reference line.
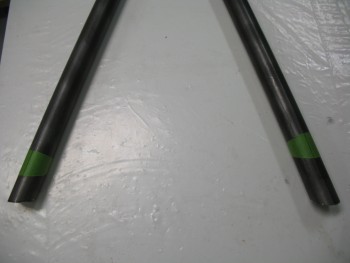
With the bottom edges of the tape contoured to the existing cut angles, and my reference lines marked, I marked the distance from the bottom edge for the new cut lines. I then simply removed the tape carefully from the bottom of each rollbar tube and moved them up to the marked cut line, while ensuring the tape was aligned with the reference line at both the top & bottom of the tape.
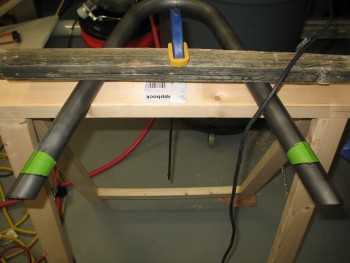
With my new cut marks set I clamped it down and using my Dremel Tool, cut the rollbar down tubes to their new lengths.
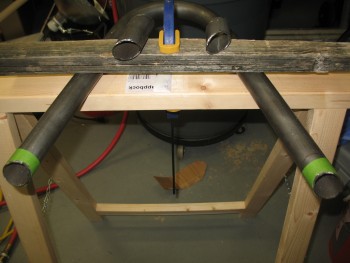
And here it is shortened to its new height.
You probably noticed that one leg of the rollbar was cut shorter than the other. The reason for this is that with the inverted “V” geometry of the rollbar, I can embed one leg of the rollbar into the cross bar so that I can weld it at both the top of the cross bar and the bottom, while the other side rollbar leg only gets surface welded to the cross bar. This should allow for a stronger rollbar than if only each side gets surface welded (make no mistake, I believe that would still make for a very strong rollbar as well), and it also opens up access to the right rollbar tube on the bottom of the crossbar to run any cable(s) through the rollbar tubing if I should ever want to mount a video camera, or other device requiring a cable.
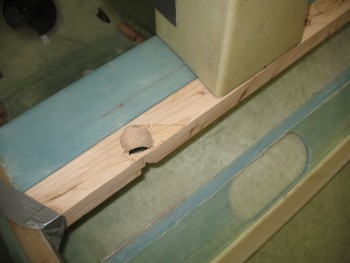
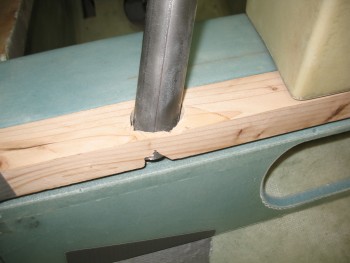
With the above in mind, I drilled a hole in my wood cross bar template ONLY on the right hand side to allow for the right rollbar leg to sit down inside the crossbar.
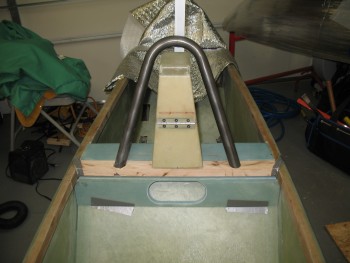
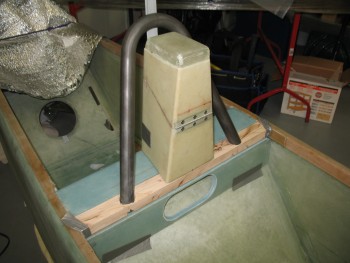
I of course had to play around with it for a bit and use a small sanding drum to contour the inside of the mounting hole, but I got it fairly close. Below is the mocked up rollbar with its new adjusted height.
I’ll of course need to fine tune it, but I think it looks pretty good.
Here’s a closeup of the right rollbar leg as it sits embedded in the wood cross bar mockup.

