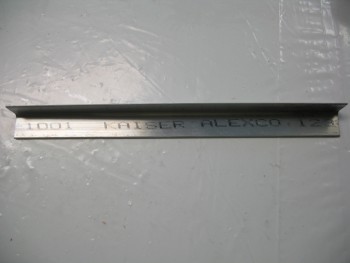
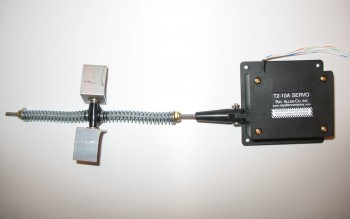
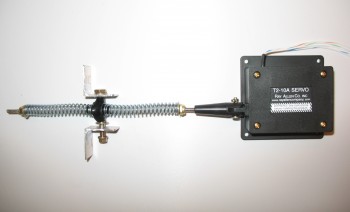
The only I thing I needed to construct to finish up the roll trim as per Waiter’s detailed instructions was the two 1/16″ thick 2024 aluminum angle tabs. These tabs hold the X-Tube to the control tube (which transits down the side of the fuselage).
I didn’t find any angled 1/16″ 2024 aluminum as I rooted around in all my metal stock, but I had a nagging feeling that I had ordered a piece. Thus, last night I carved out some time specifically to research the case of the missing angled aluminum (queue dramatic music). A significant motivation for me to look was that it was going to cost about $17 to have a $3.50 piece of aluminum sent to me from Aircraft Spruce.
First, I found it in on my master spreadsheet and I had even listed it as being for the roll trim build. That meant that I should have it on hand. With various parts of my EZ project literally having been scattered about 5 locations around the world, I thought maybe I might have lost it in transit. Well, I then checked my invoices and found the box that it had been shipped in, along with the aluminum tubing for the fuel lines. Since it was wrapped in brown paper at the bottom of a tall box, I had missed it at the bottom, dimly lit corner behind & below all the various tubing and wire bundles.
Anyways, an hour blown on looking for my aluminum angle piece, but the mystery was solved & case closed!
After I finished the aft seat 2-ply BID reinforcement layup and while it was curing (detailed in the post above ↑) I set my sites on knocking out the tabs for the roll trim assembly. This will finish up the actual construction of the roll trim assembly, and all that will be left is the installation & wiring up of the roll trim system.
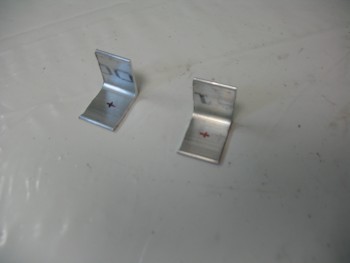
I checked each end of the 1/16″ angled 2024 to ensure it was square, which both sides were. Then after making a mark at 3/4″ I simply used my small chop saw with a wood blade, and very slowly cut the aluminum. Repeat for the second one and voila! Two tabs.
As per Waiter’s plans, I marked the spots for the mounting holes in center going top to bottom (3/8″) and 1/2″ from the side (this is 1″ x 1″ angled 2024).
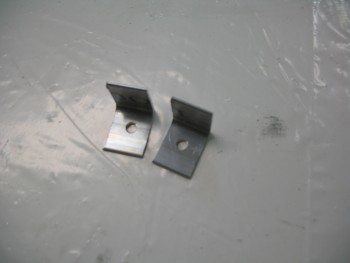
I drilled a small pilot hole in each tab, then finished up with a 3/16″ hole. I deburred the holes & then checked the fit of the AN3 bolt.
I then cleaned up the edges with the Dremel Tool and gave the non-drilled side tabs just a bit of a radius where the pipe clamps will be located as they hold the roll trim assemble to the control tube.
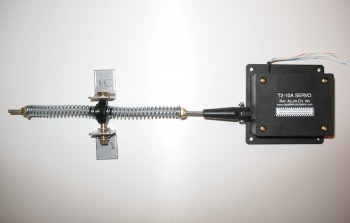
I then mounted the tabs to the assembly. They fit great and everything looks good. I’ll Alodine these tabs later on when I do another batch of aluminum components.
Here’s a few shots with the mounting tabs in varying positions on what I’m going to call the COMPLETED Roll Trim assembly!

