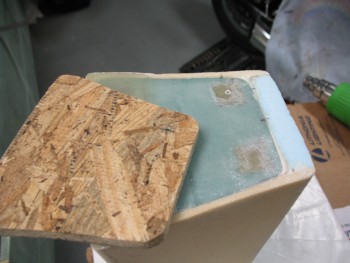
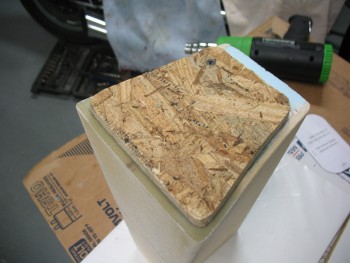
I started off today by mounting the original wood piece that I used to mock up the foam insert for the headrest “floor” as a temporary glassing base. Since its overall dimensions are smaller than the overall dimensions of the entire bottom of the headrest, it will allow the glass to overhang the foam while curing.
I drilled a pilot hole into one of the rear hard points and the temporary base, then mounted the base with one screw to the bottom of the headrest.
With the temporary base complete, I was ready to get to laying up some glass. I did one final vacuum of the surface and mixed up my epoxy with about 2/3 slow with about 1/3 fast hardener to give it about 4 hours until it was solidly cured.
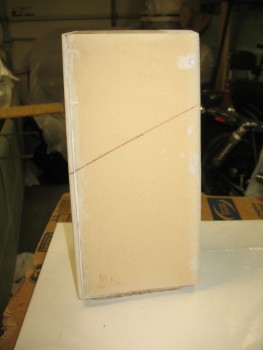
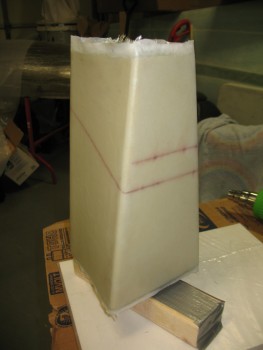
I microslurried all the foam & then proceeded to glass the entire exterior of the headrest’s 4 vertical walls. I started with about a 1″ overlap on the rear face, wrapped 1 ply of BID all the way around the headrest and ended up on the corner where I started. This of course gave me a 1″ overlap on the glass.
I then did the same thing on the opposite corner of the rear face, only going in the other direction. Since the blue foam is a little softer and less dense then the yellow foam, I decide to give it all the extra “hangover” plies to give a essential provide the majority of the rear face with 3 plies of glass, with only about a 3/4″ strip near the center of the rear face being left with only two plies.
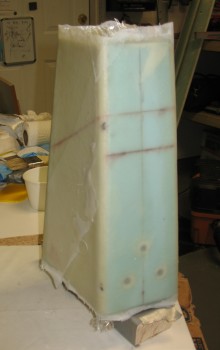 When I was done with the actual glassing, I peel plied the entire layup with one piece of peel ply (technically I needed one extra small triangle of peel ply to cover the top rear corner, as you can see in the pic above).
With the layup looking good and the glass edges trimmed back to about 1/4″, I set the heater facing it (on low) and let it cure overnight.

