
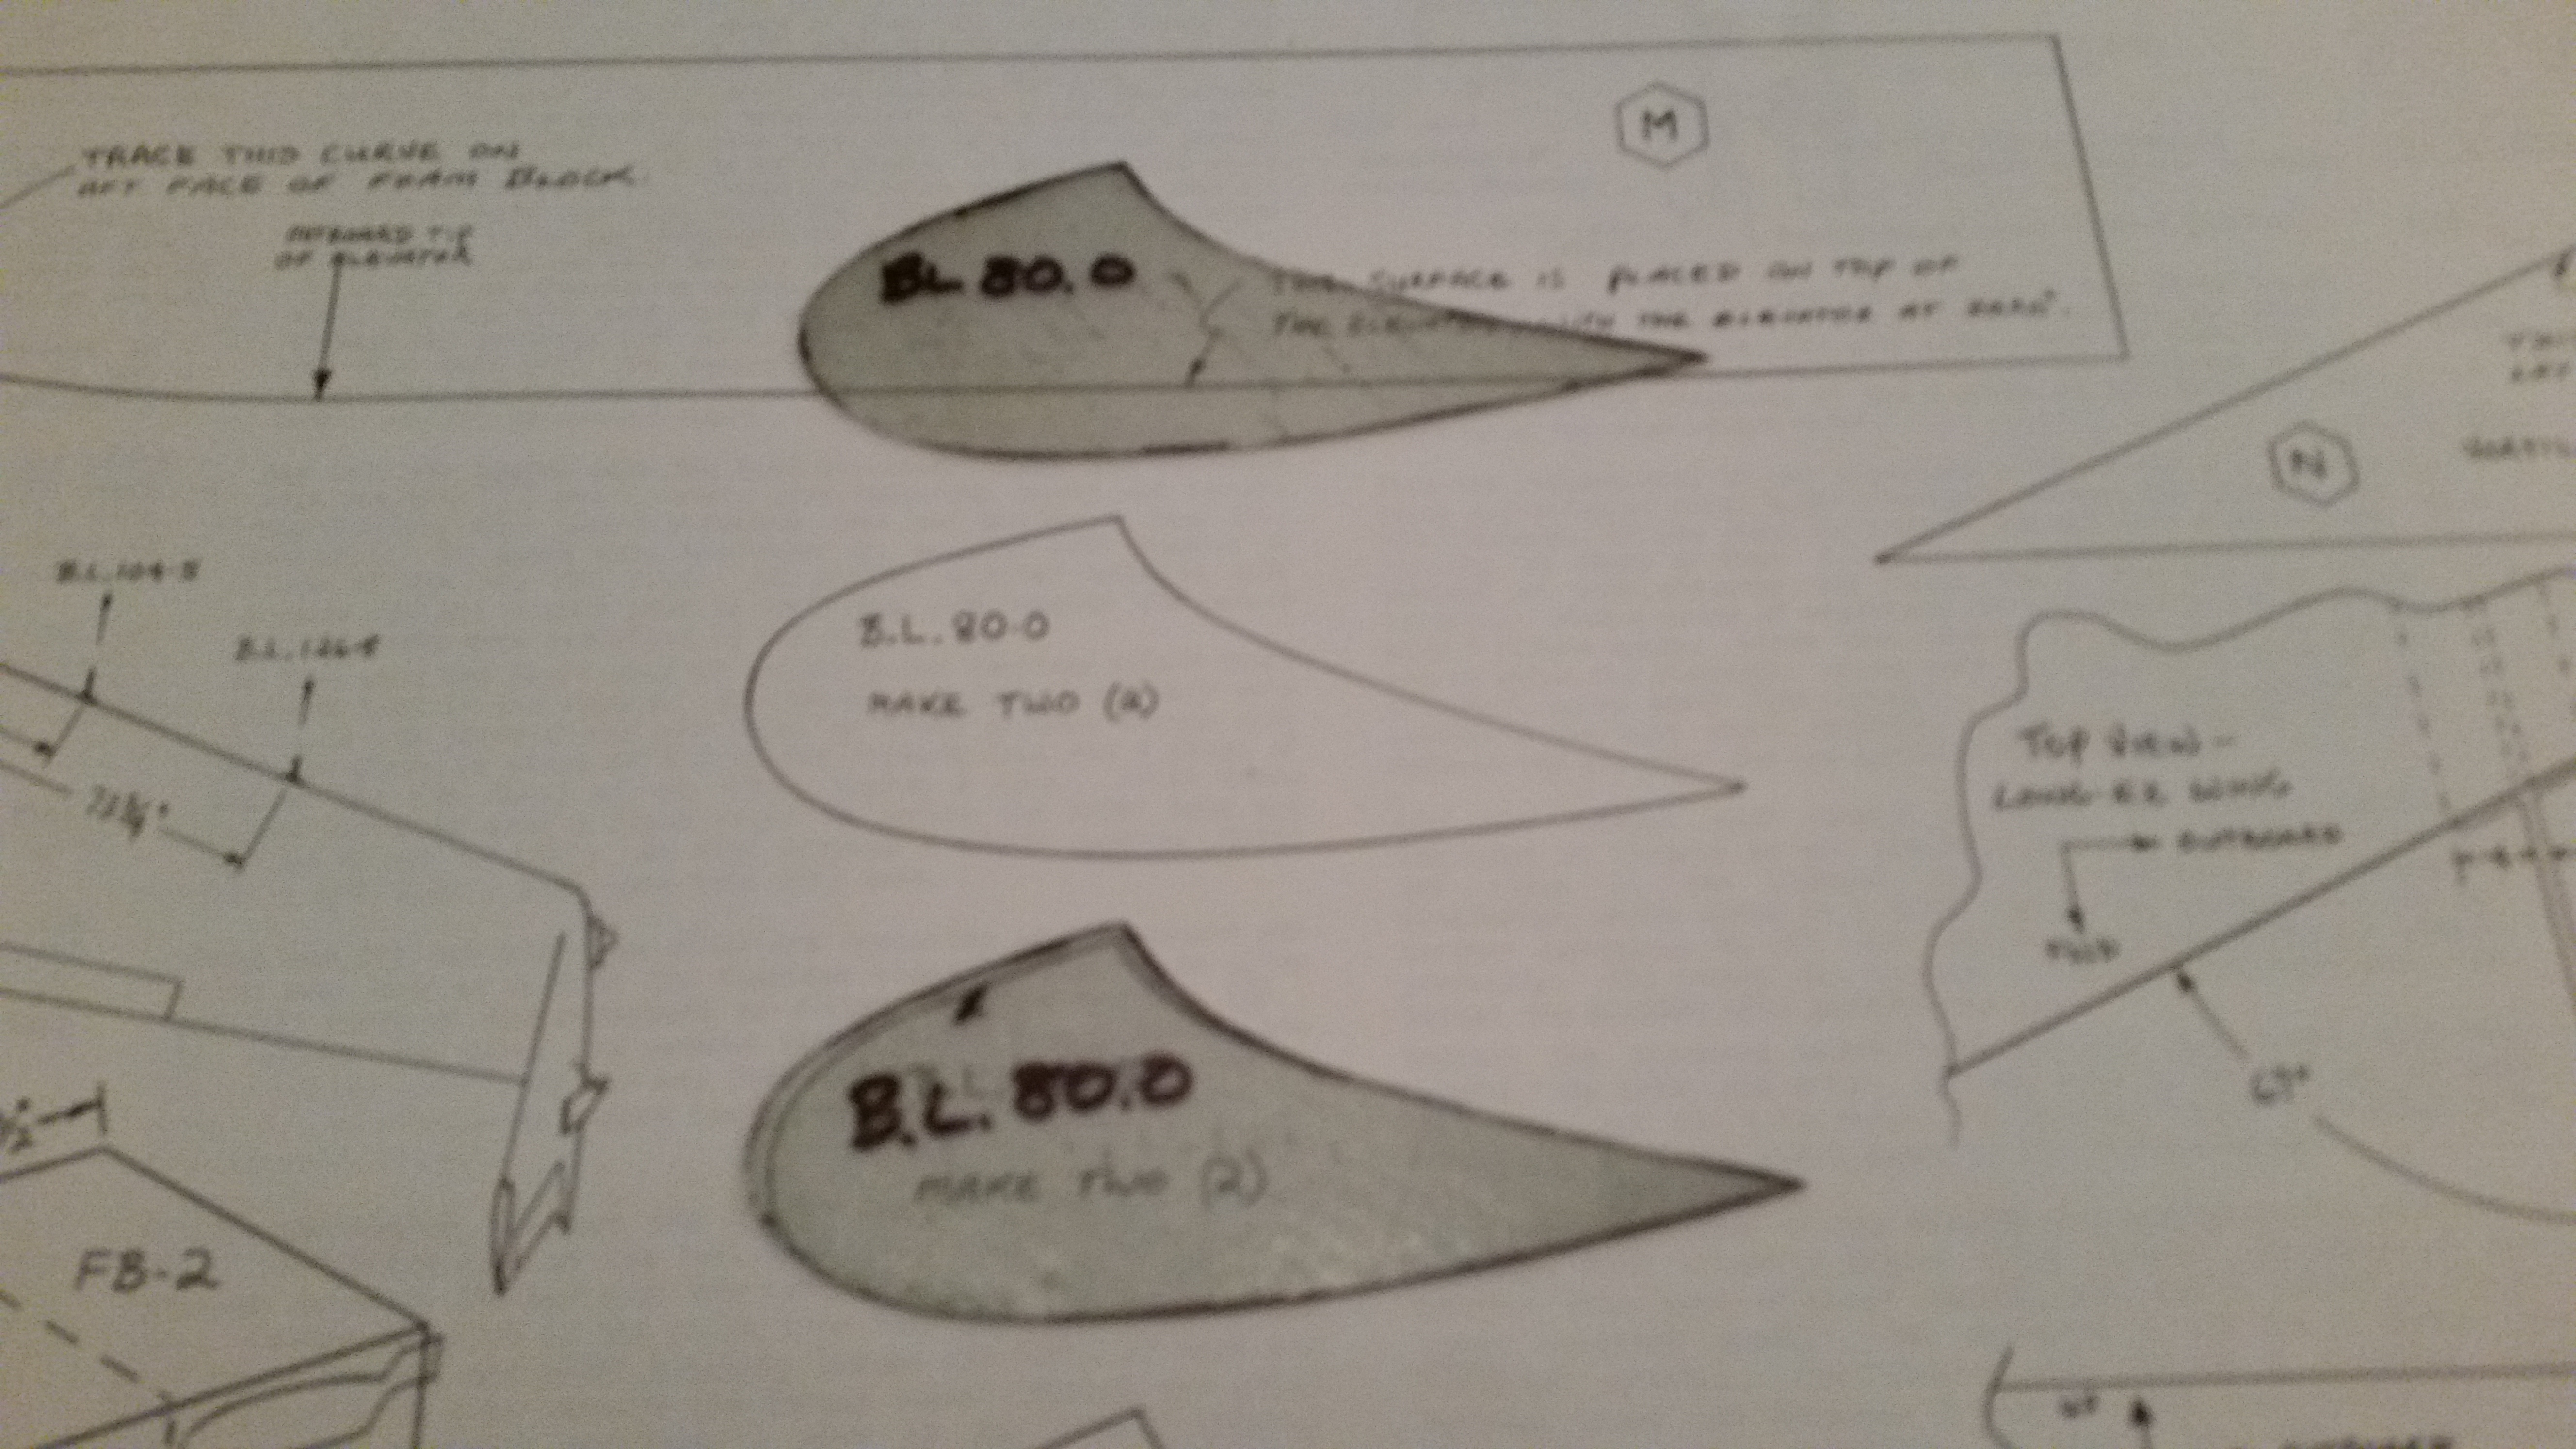
I started out today sanding the right side canard swoosh tip to shape. Besides ensuring that you have a minimum of 0.4″ of glass to glass contact, the Roncz canard plans doesn’t really go into detail on glassing the bottom glass to the top. So besides the glass to glass contact, I made a little trough all along where the two glass edges meet. On the foam inside edge I ran a narrow bead of flox all along the edge to give it some strength before glassing it.
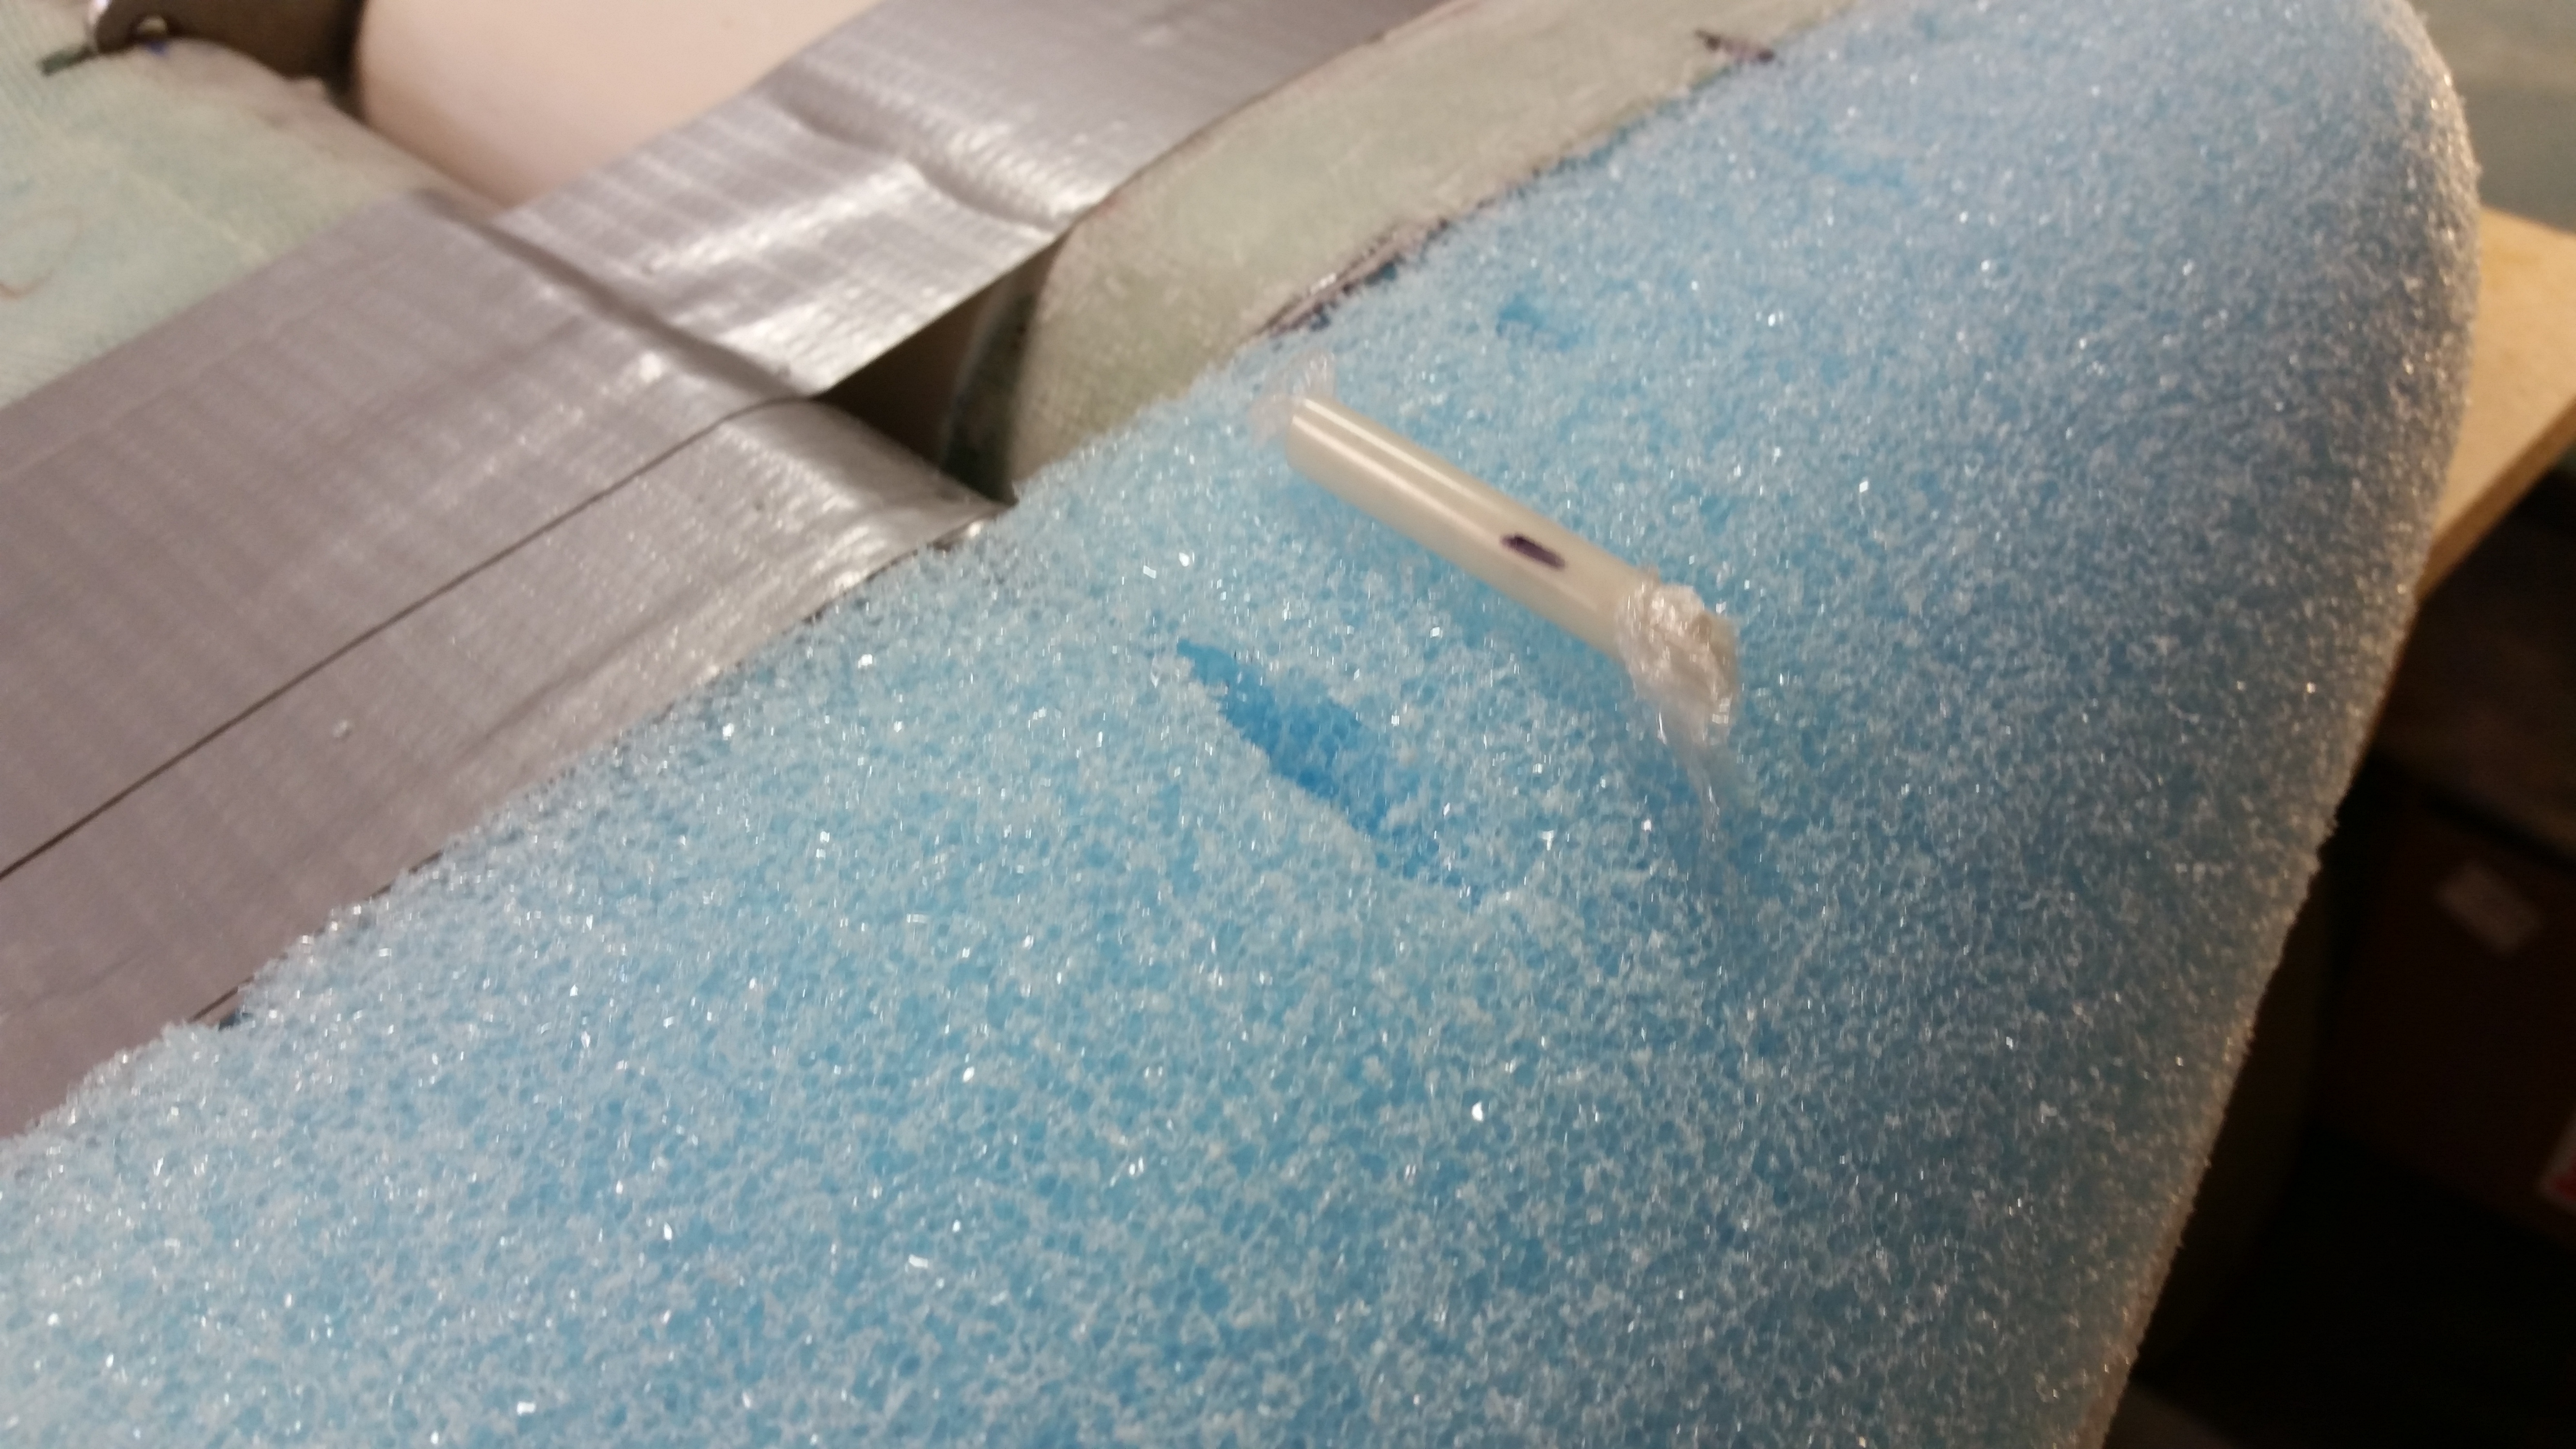
The actually sanding and shaping went a heck of lot quicker than the topside since there’s only so much you can do with the bottom side. I tried out some 1/4″ OD Nylaflow and the 3/16″ ID seamed to work perfectly for the hinge pin conduit through the swoosh tip, so I cut a small piece, filled it with twisted Saran (plastic) wrap to keep the gunk out, and installed into the hole made by the original hinge pin.
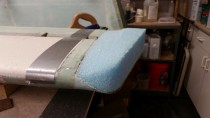
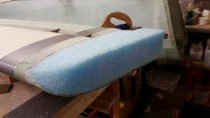
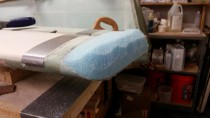
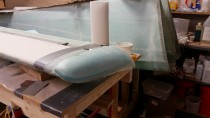
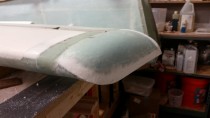
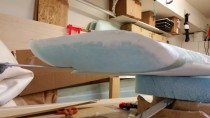
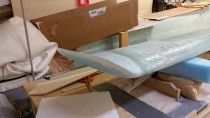
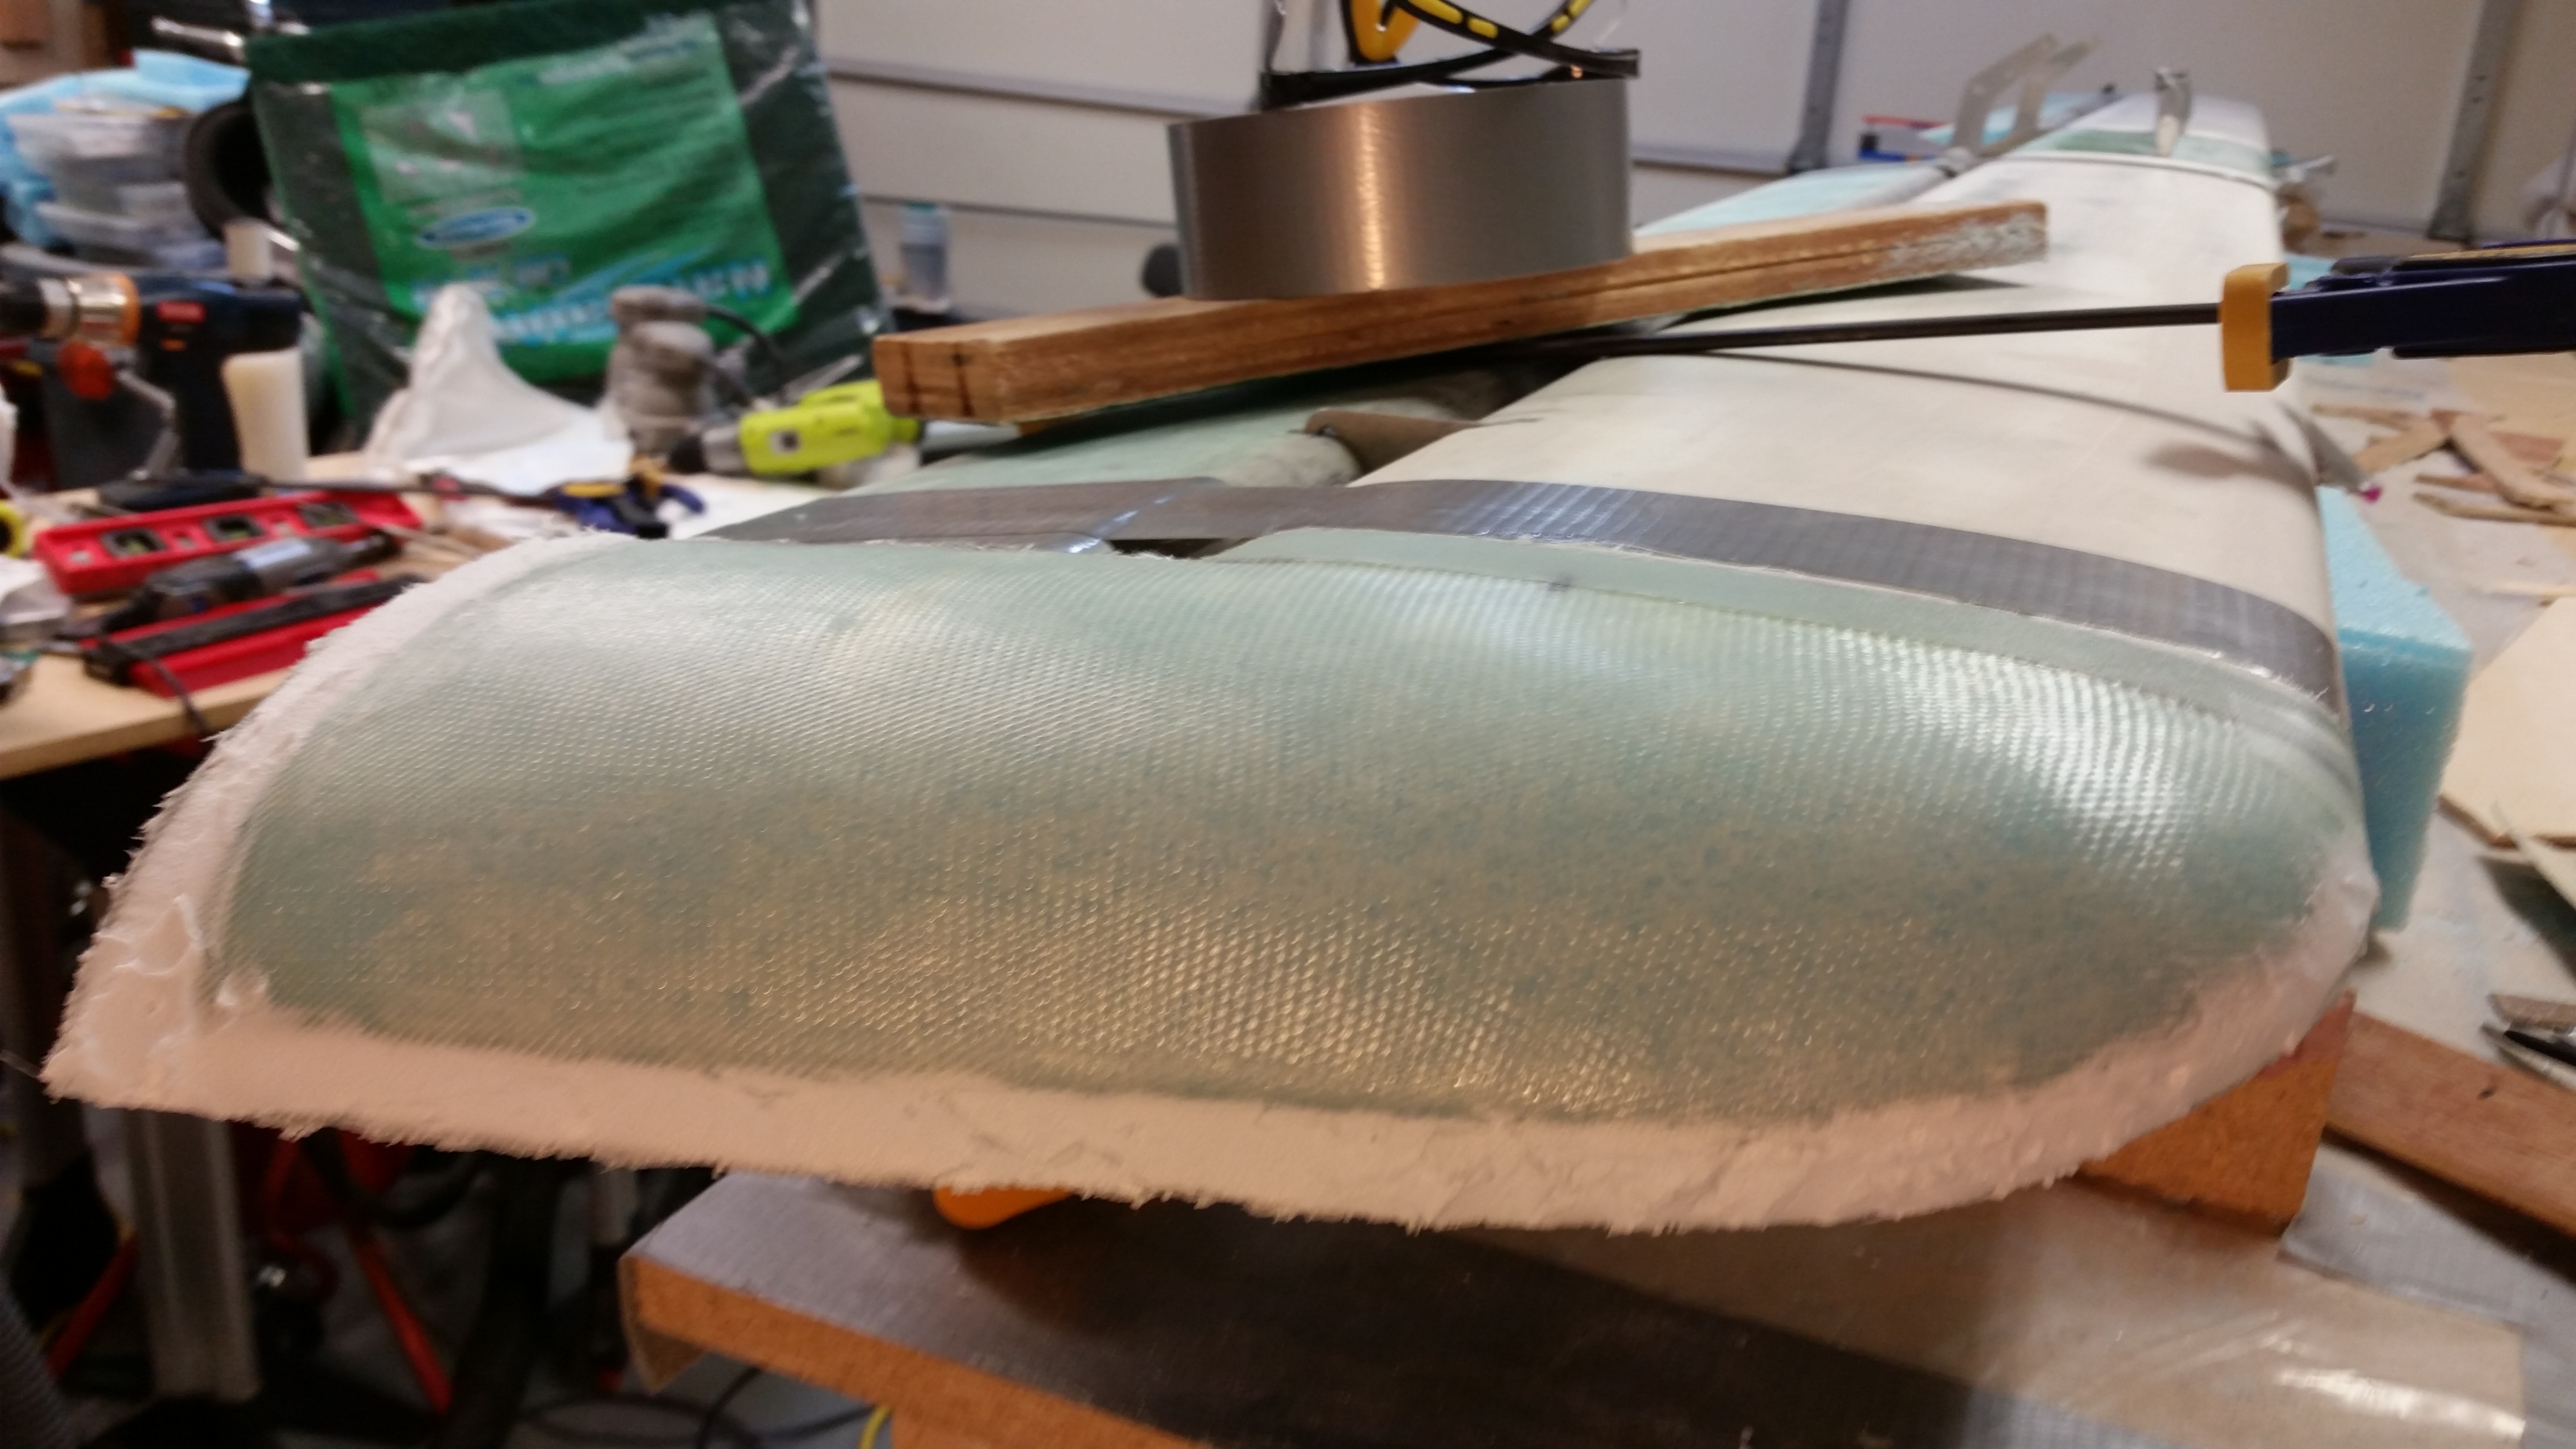
The picture on the left shows the initial glassed swoosh tip, and the next two are a few hours later after I added dry micro to the edge after knife trimming the glass in its “green” stage (still tacky but definitely well on its way to curing).
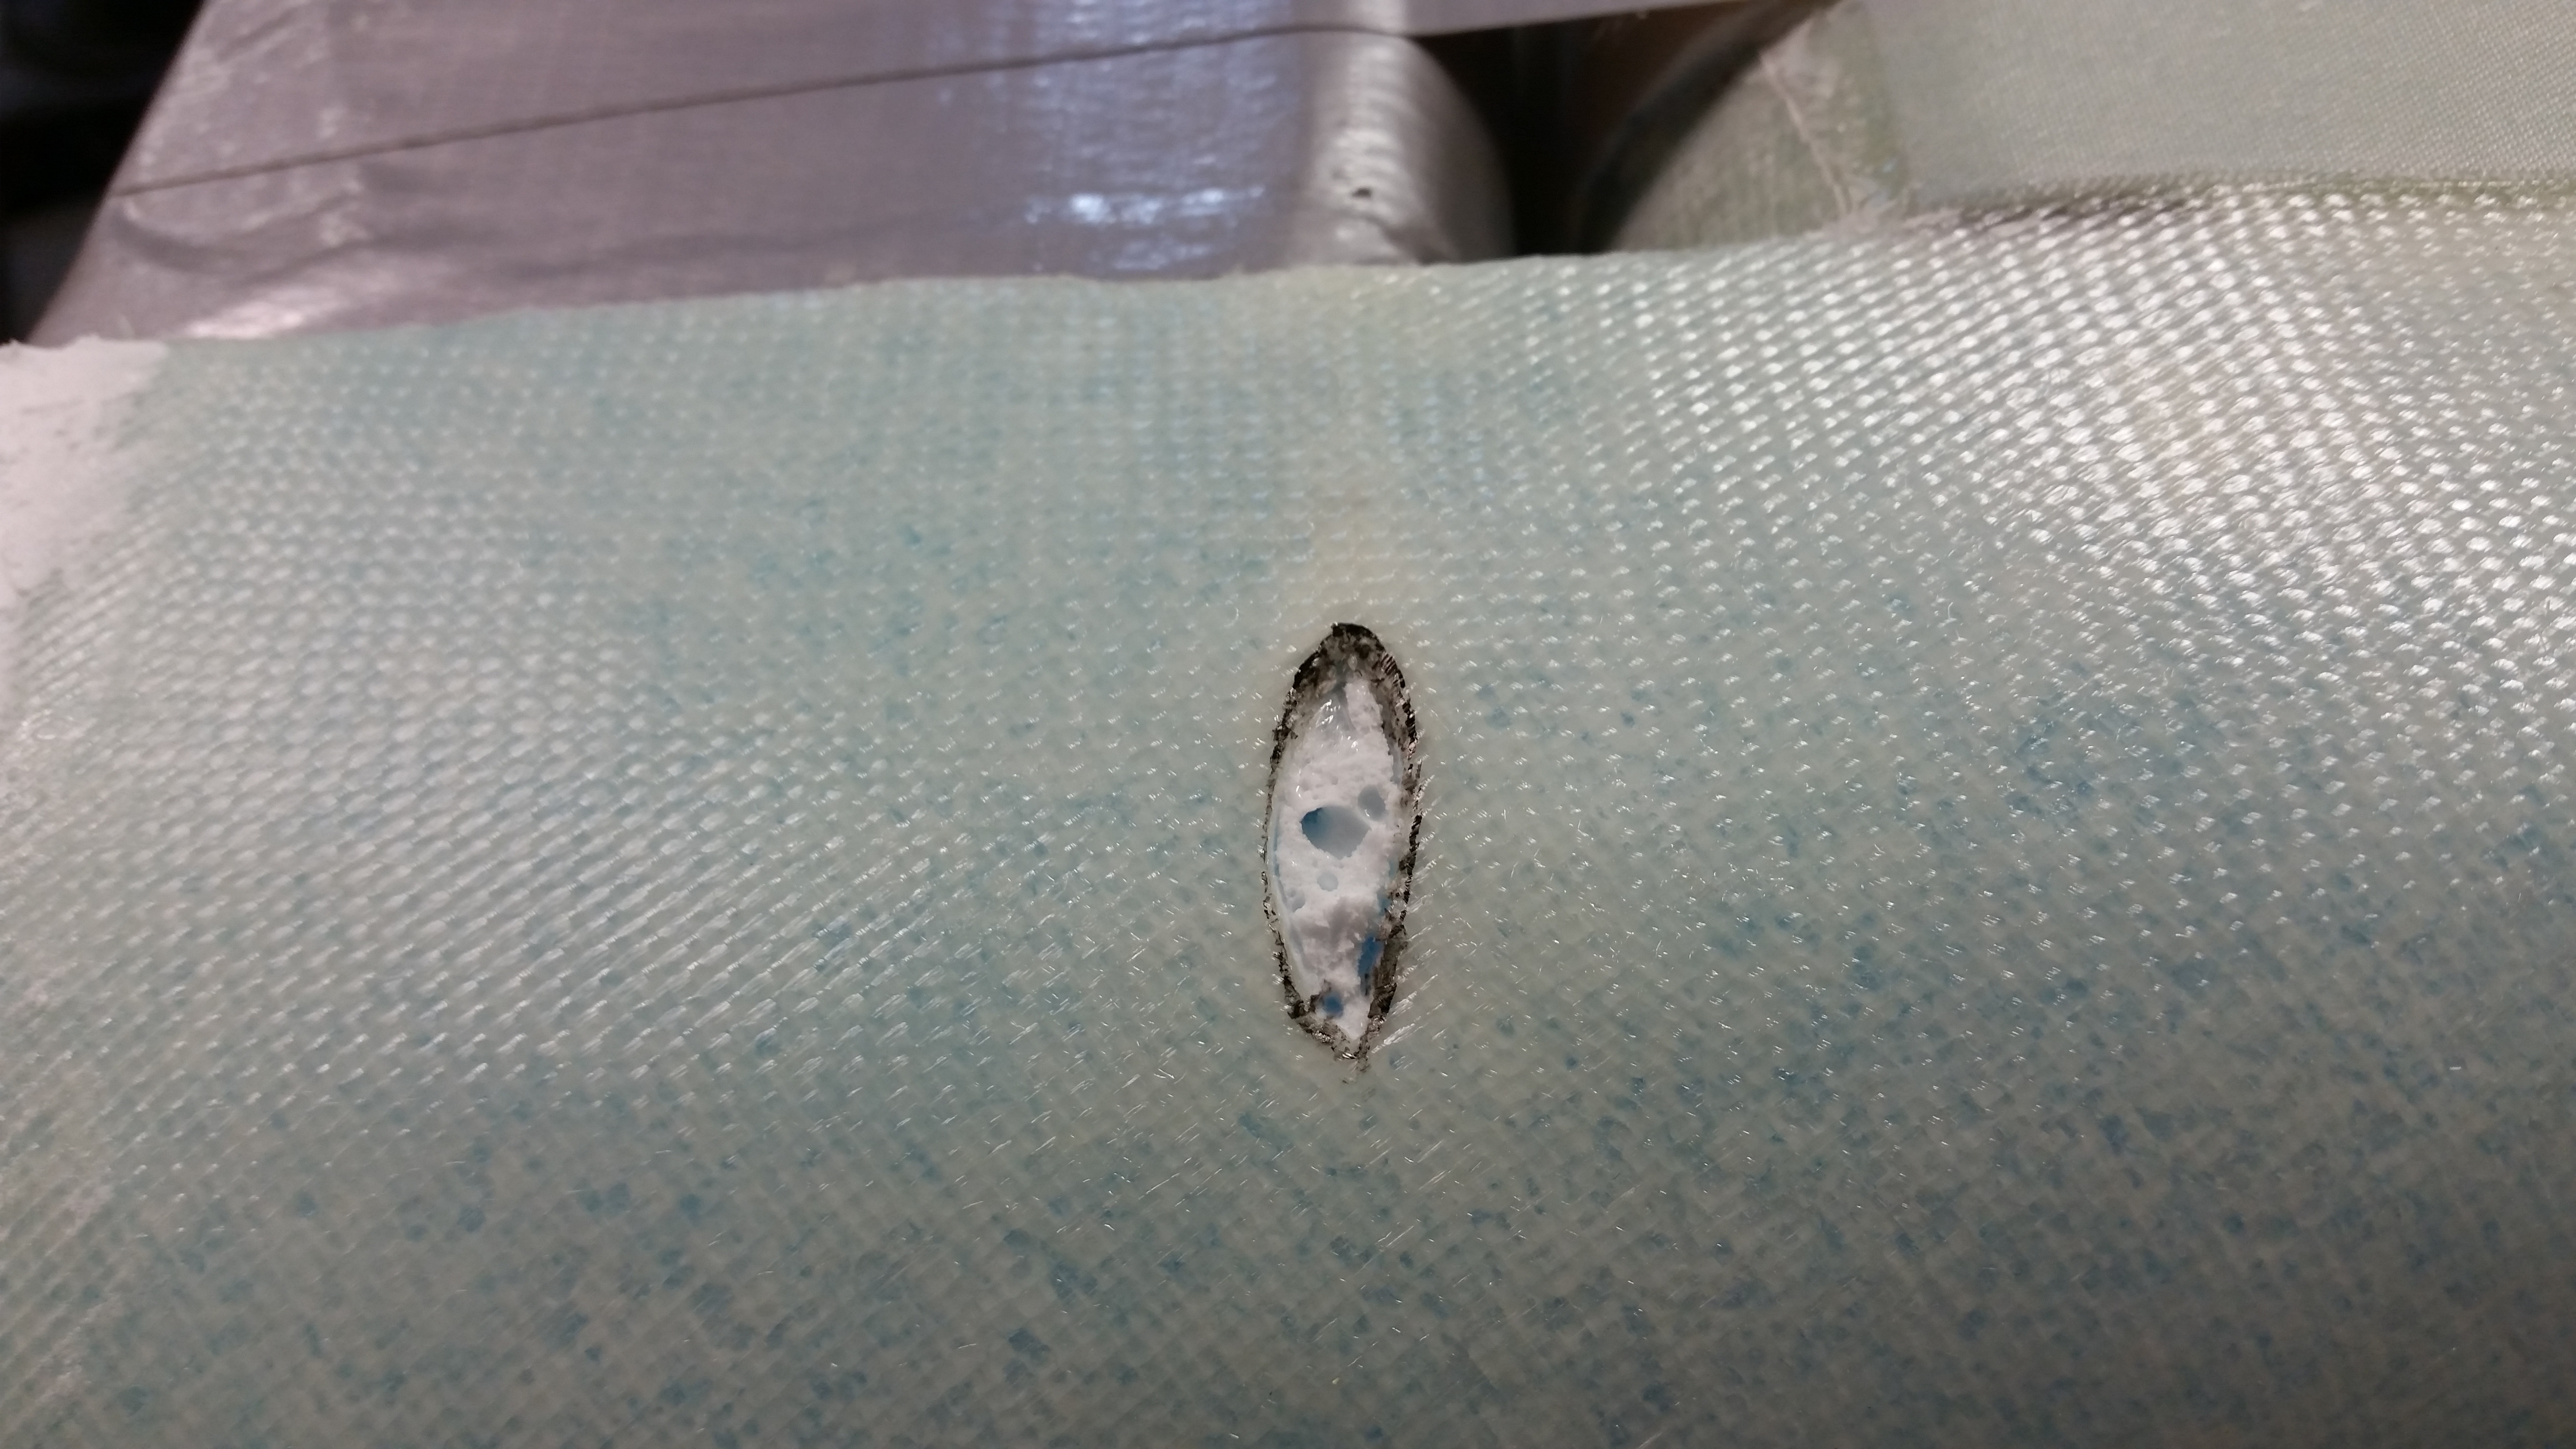
In the evening after it had cured, I marked the hinge pin conduit and cut it out.
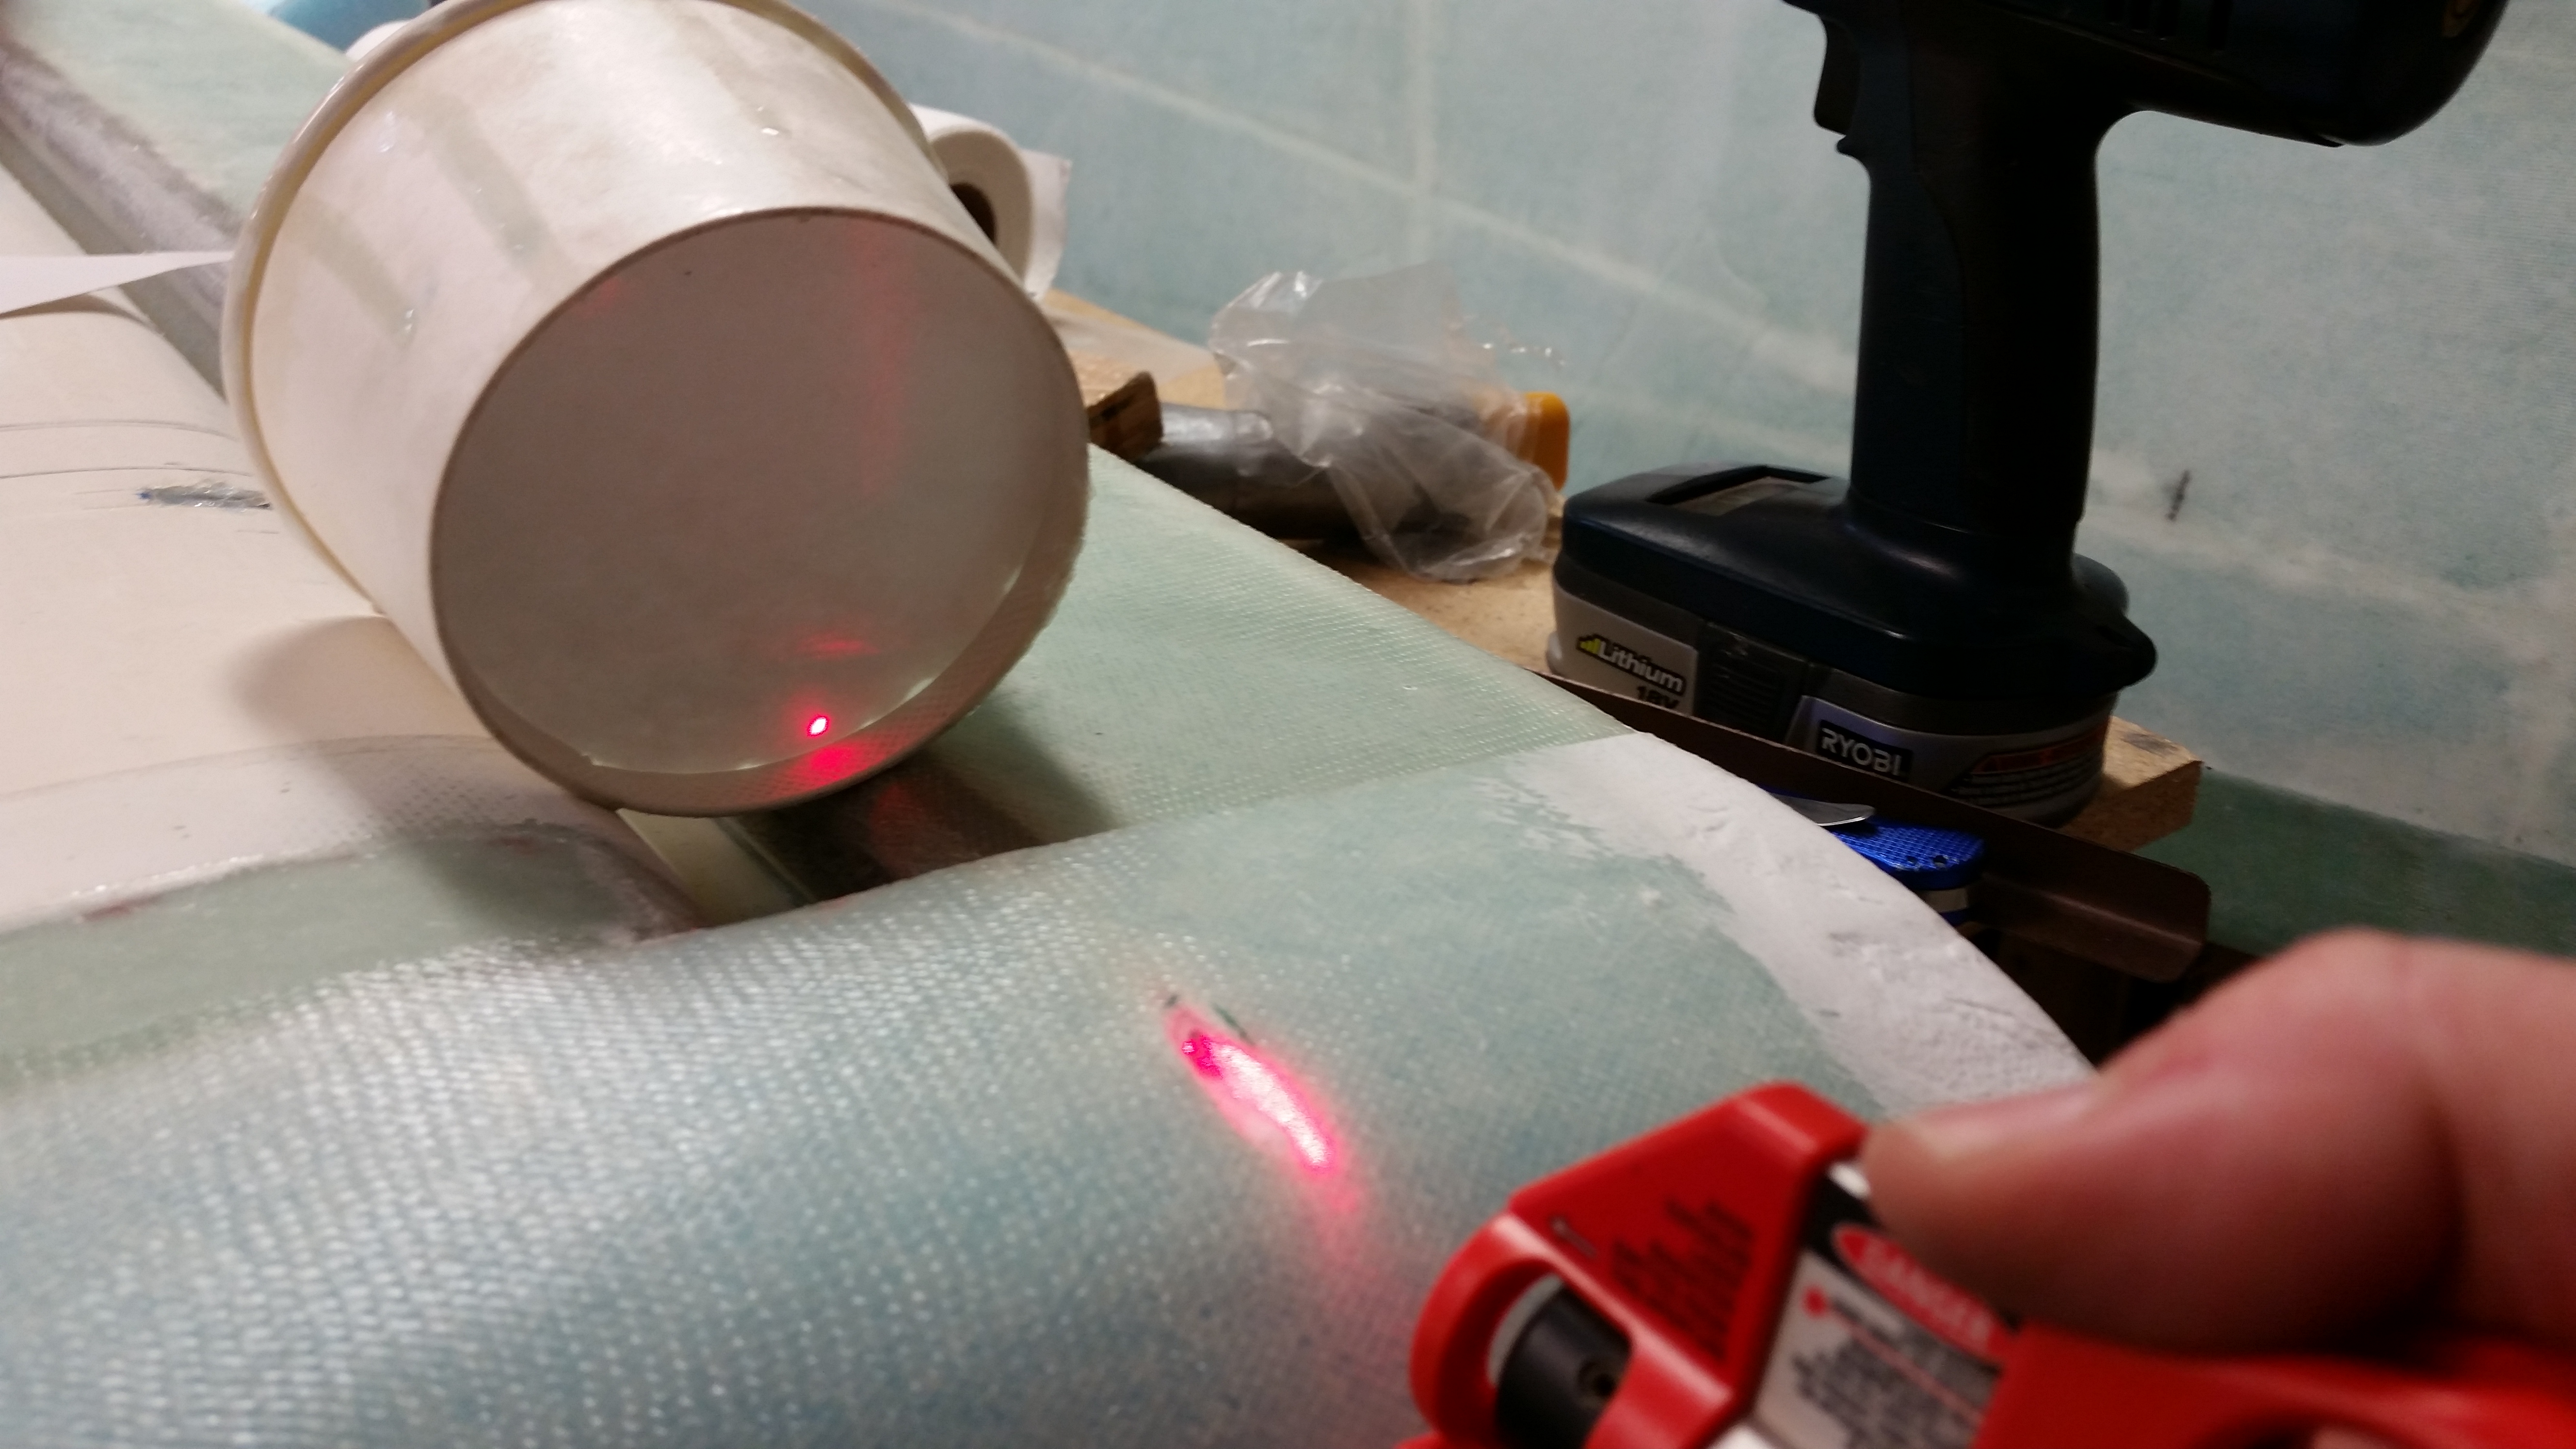
I drilled out the saran wrap and cleaned out the conduit with a 3/16″ drill bit. I used a laser to make sure the conduit was clear.
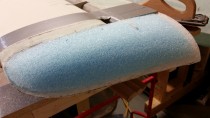
Below are some random pics I took of the right-side canard swoosh tip with the canard in the normal upright position.

Here’s some better pics of they Nylaflow that I used for the hinge pin conduit. This was right before I inserted it into the foam as I was glassing the lower left side canard swoosh tip.

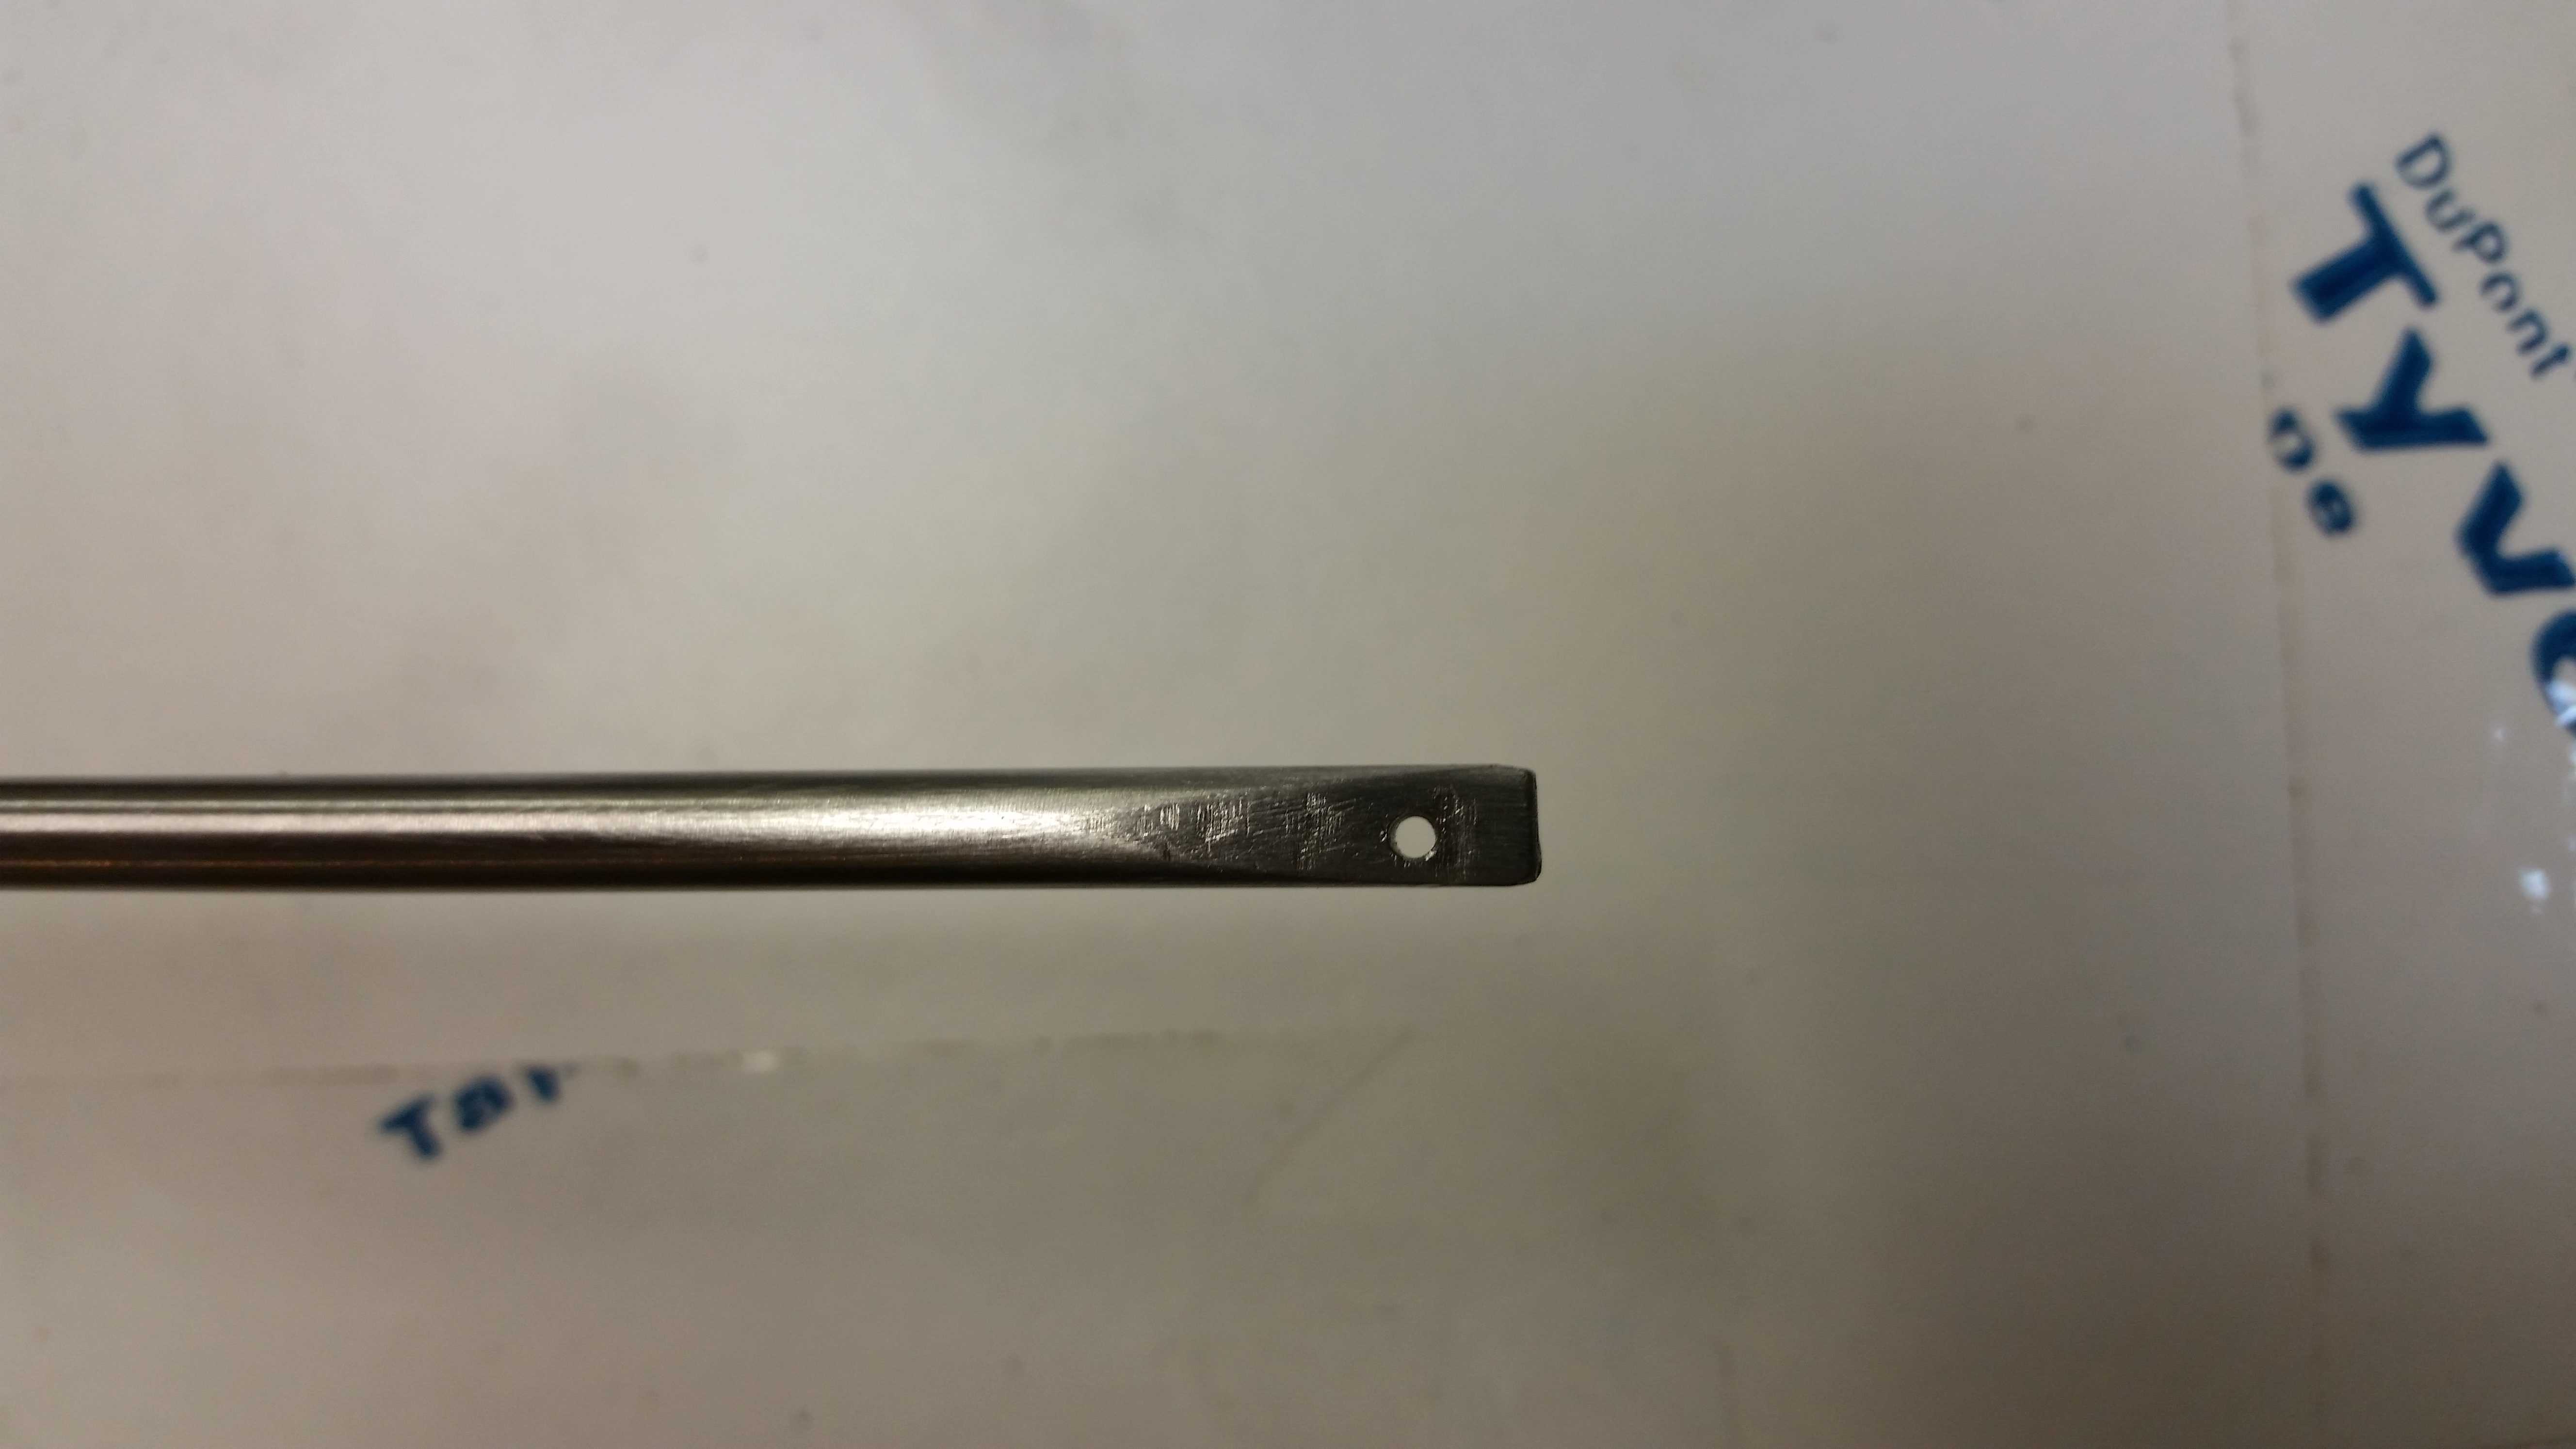
Since I had the hinge pins out for glassing the lower swoosh tips, I grabbed one to work on the outboard end of it. I shaped it with the Dremel tool, then I drilled a 1/16″ hole in it to allow for its removal later on with something like a scribe.
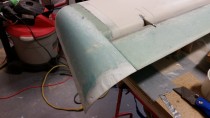
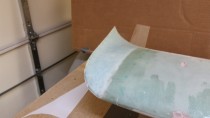
And here’s the lower left canard swoosh tip after I razor trimmed it and added dry micro.
Since I had used some leftover epoxy yesterday to make a set of Vortilons, today I wrote it into the work plan to finish the set for both wings. Here’s they 4-ply BID layup for two more sets of Vortilons.
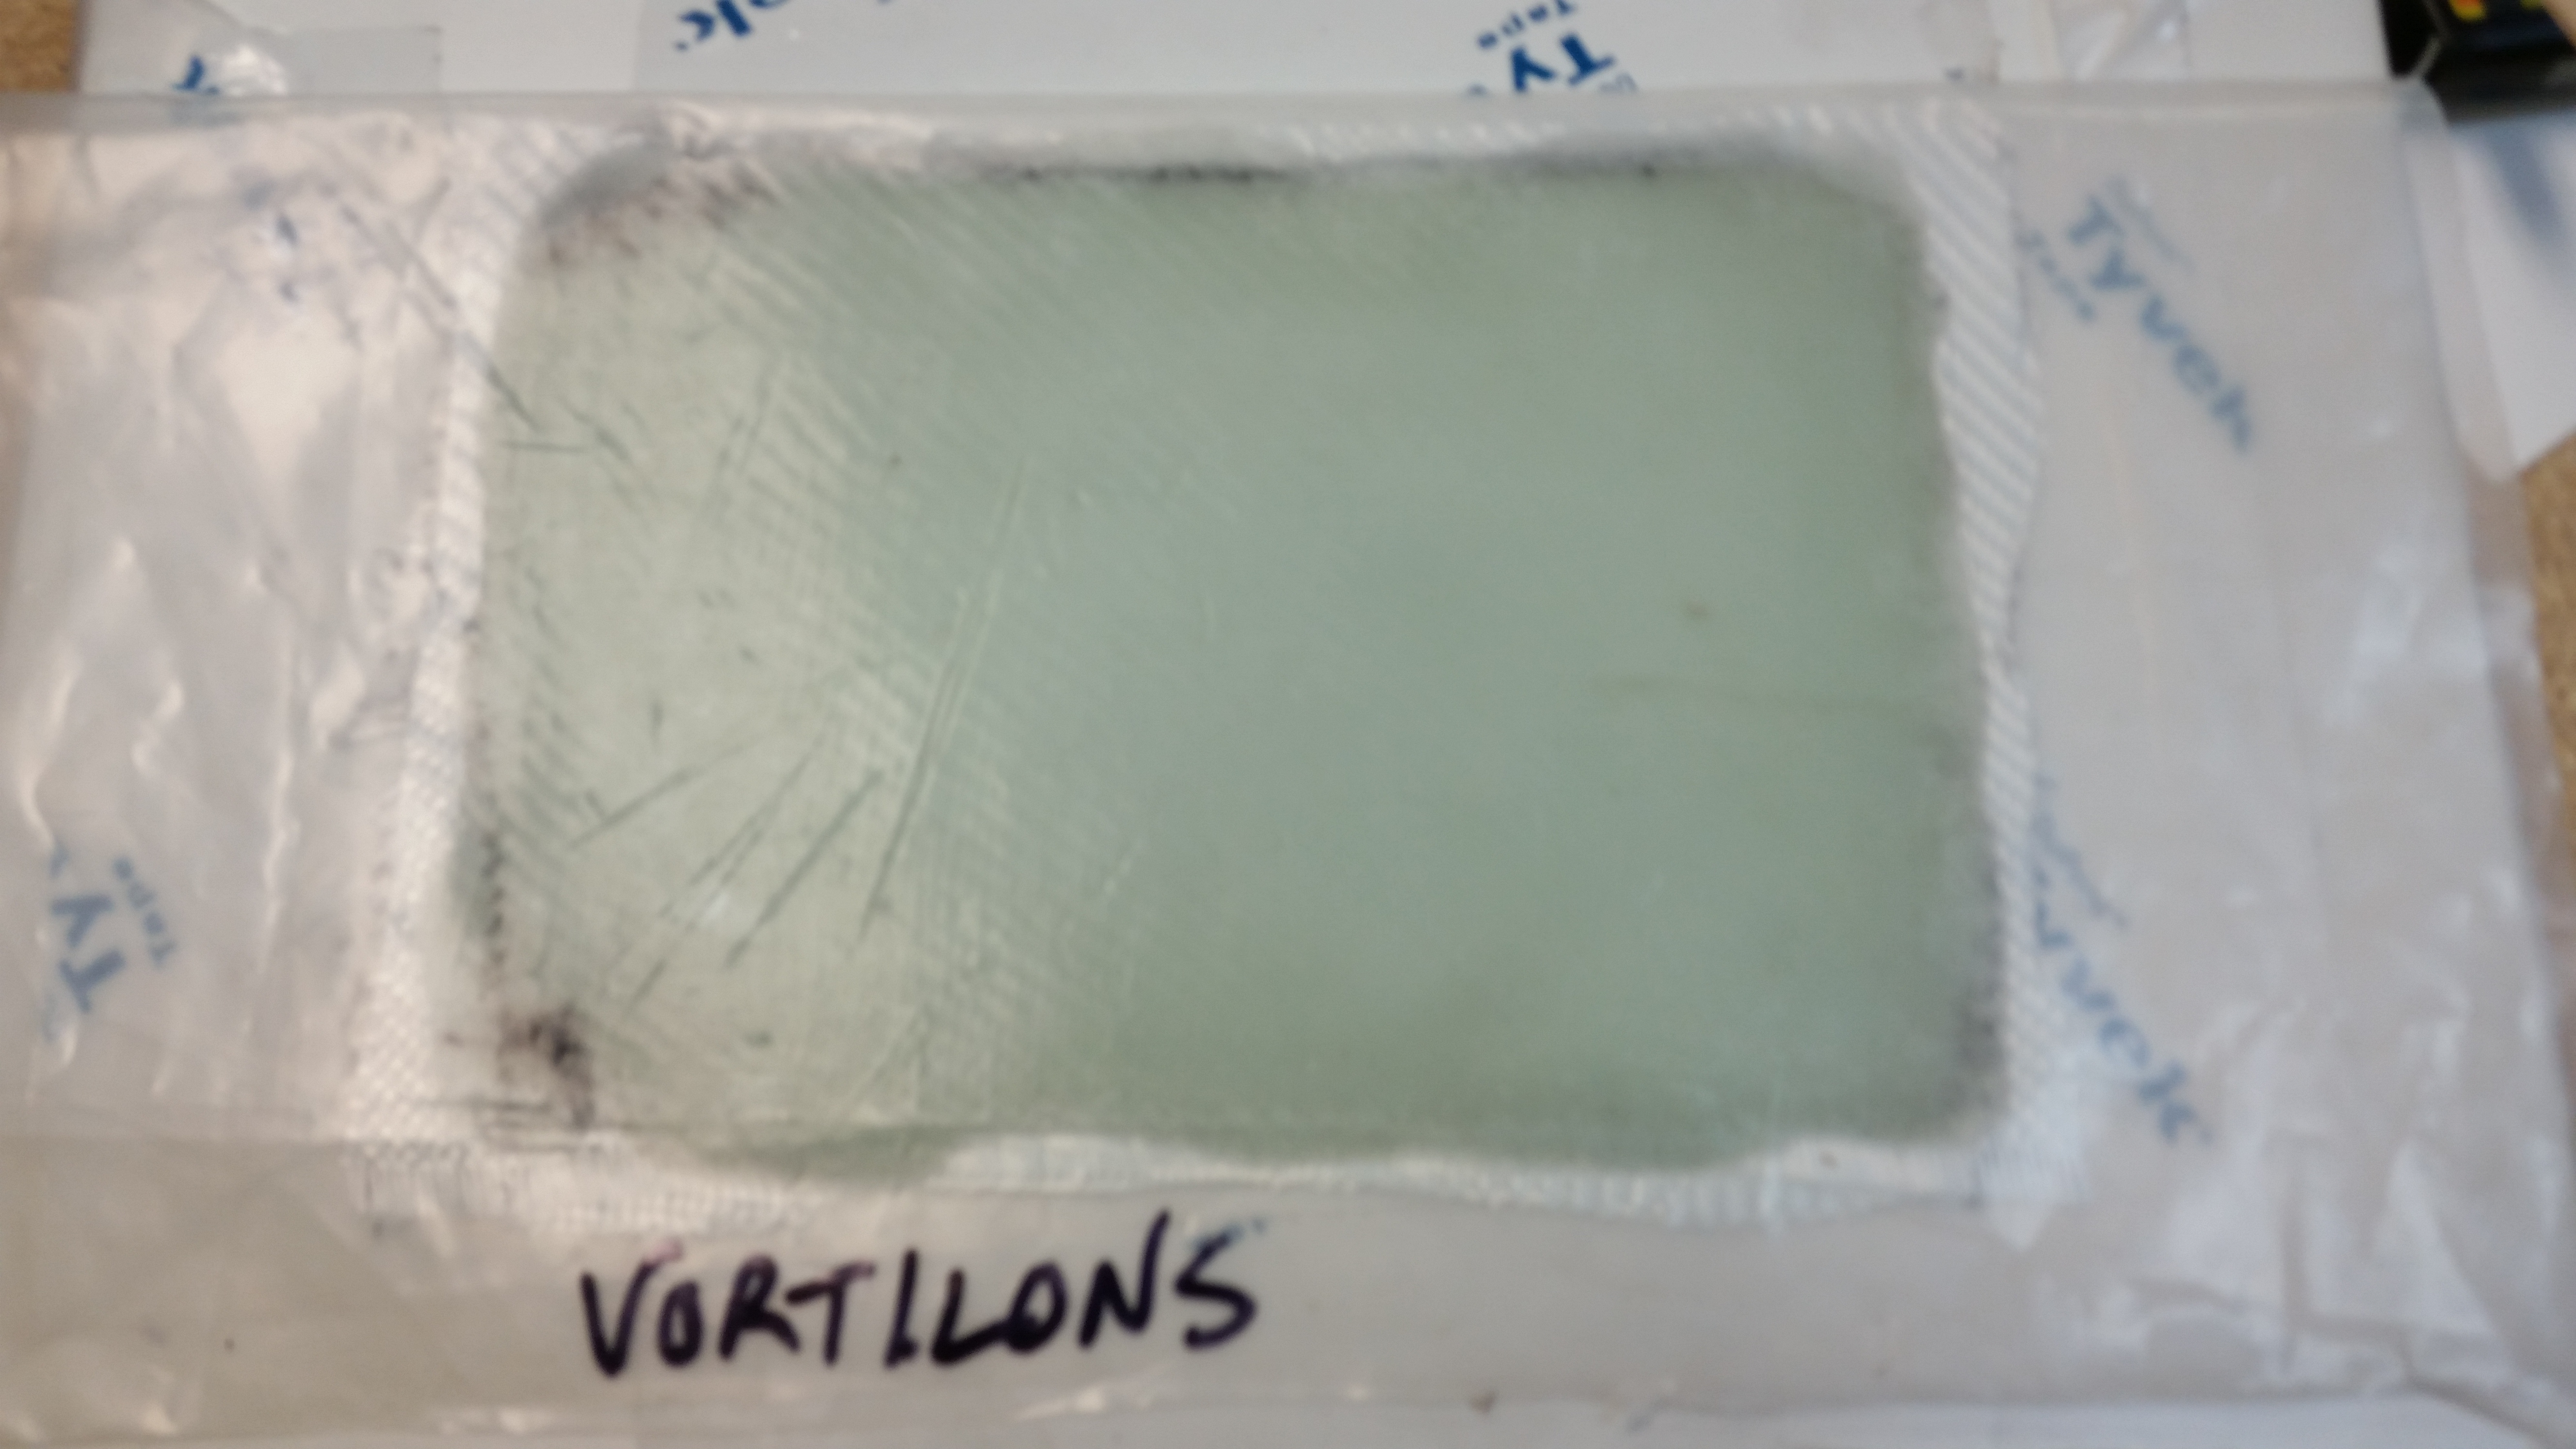
And here are the initial two that I cut from the glass I laid up yesterday. These are the largest of the 3 sets of Vortilons.
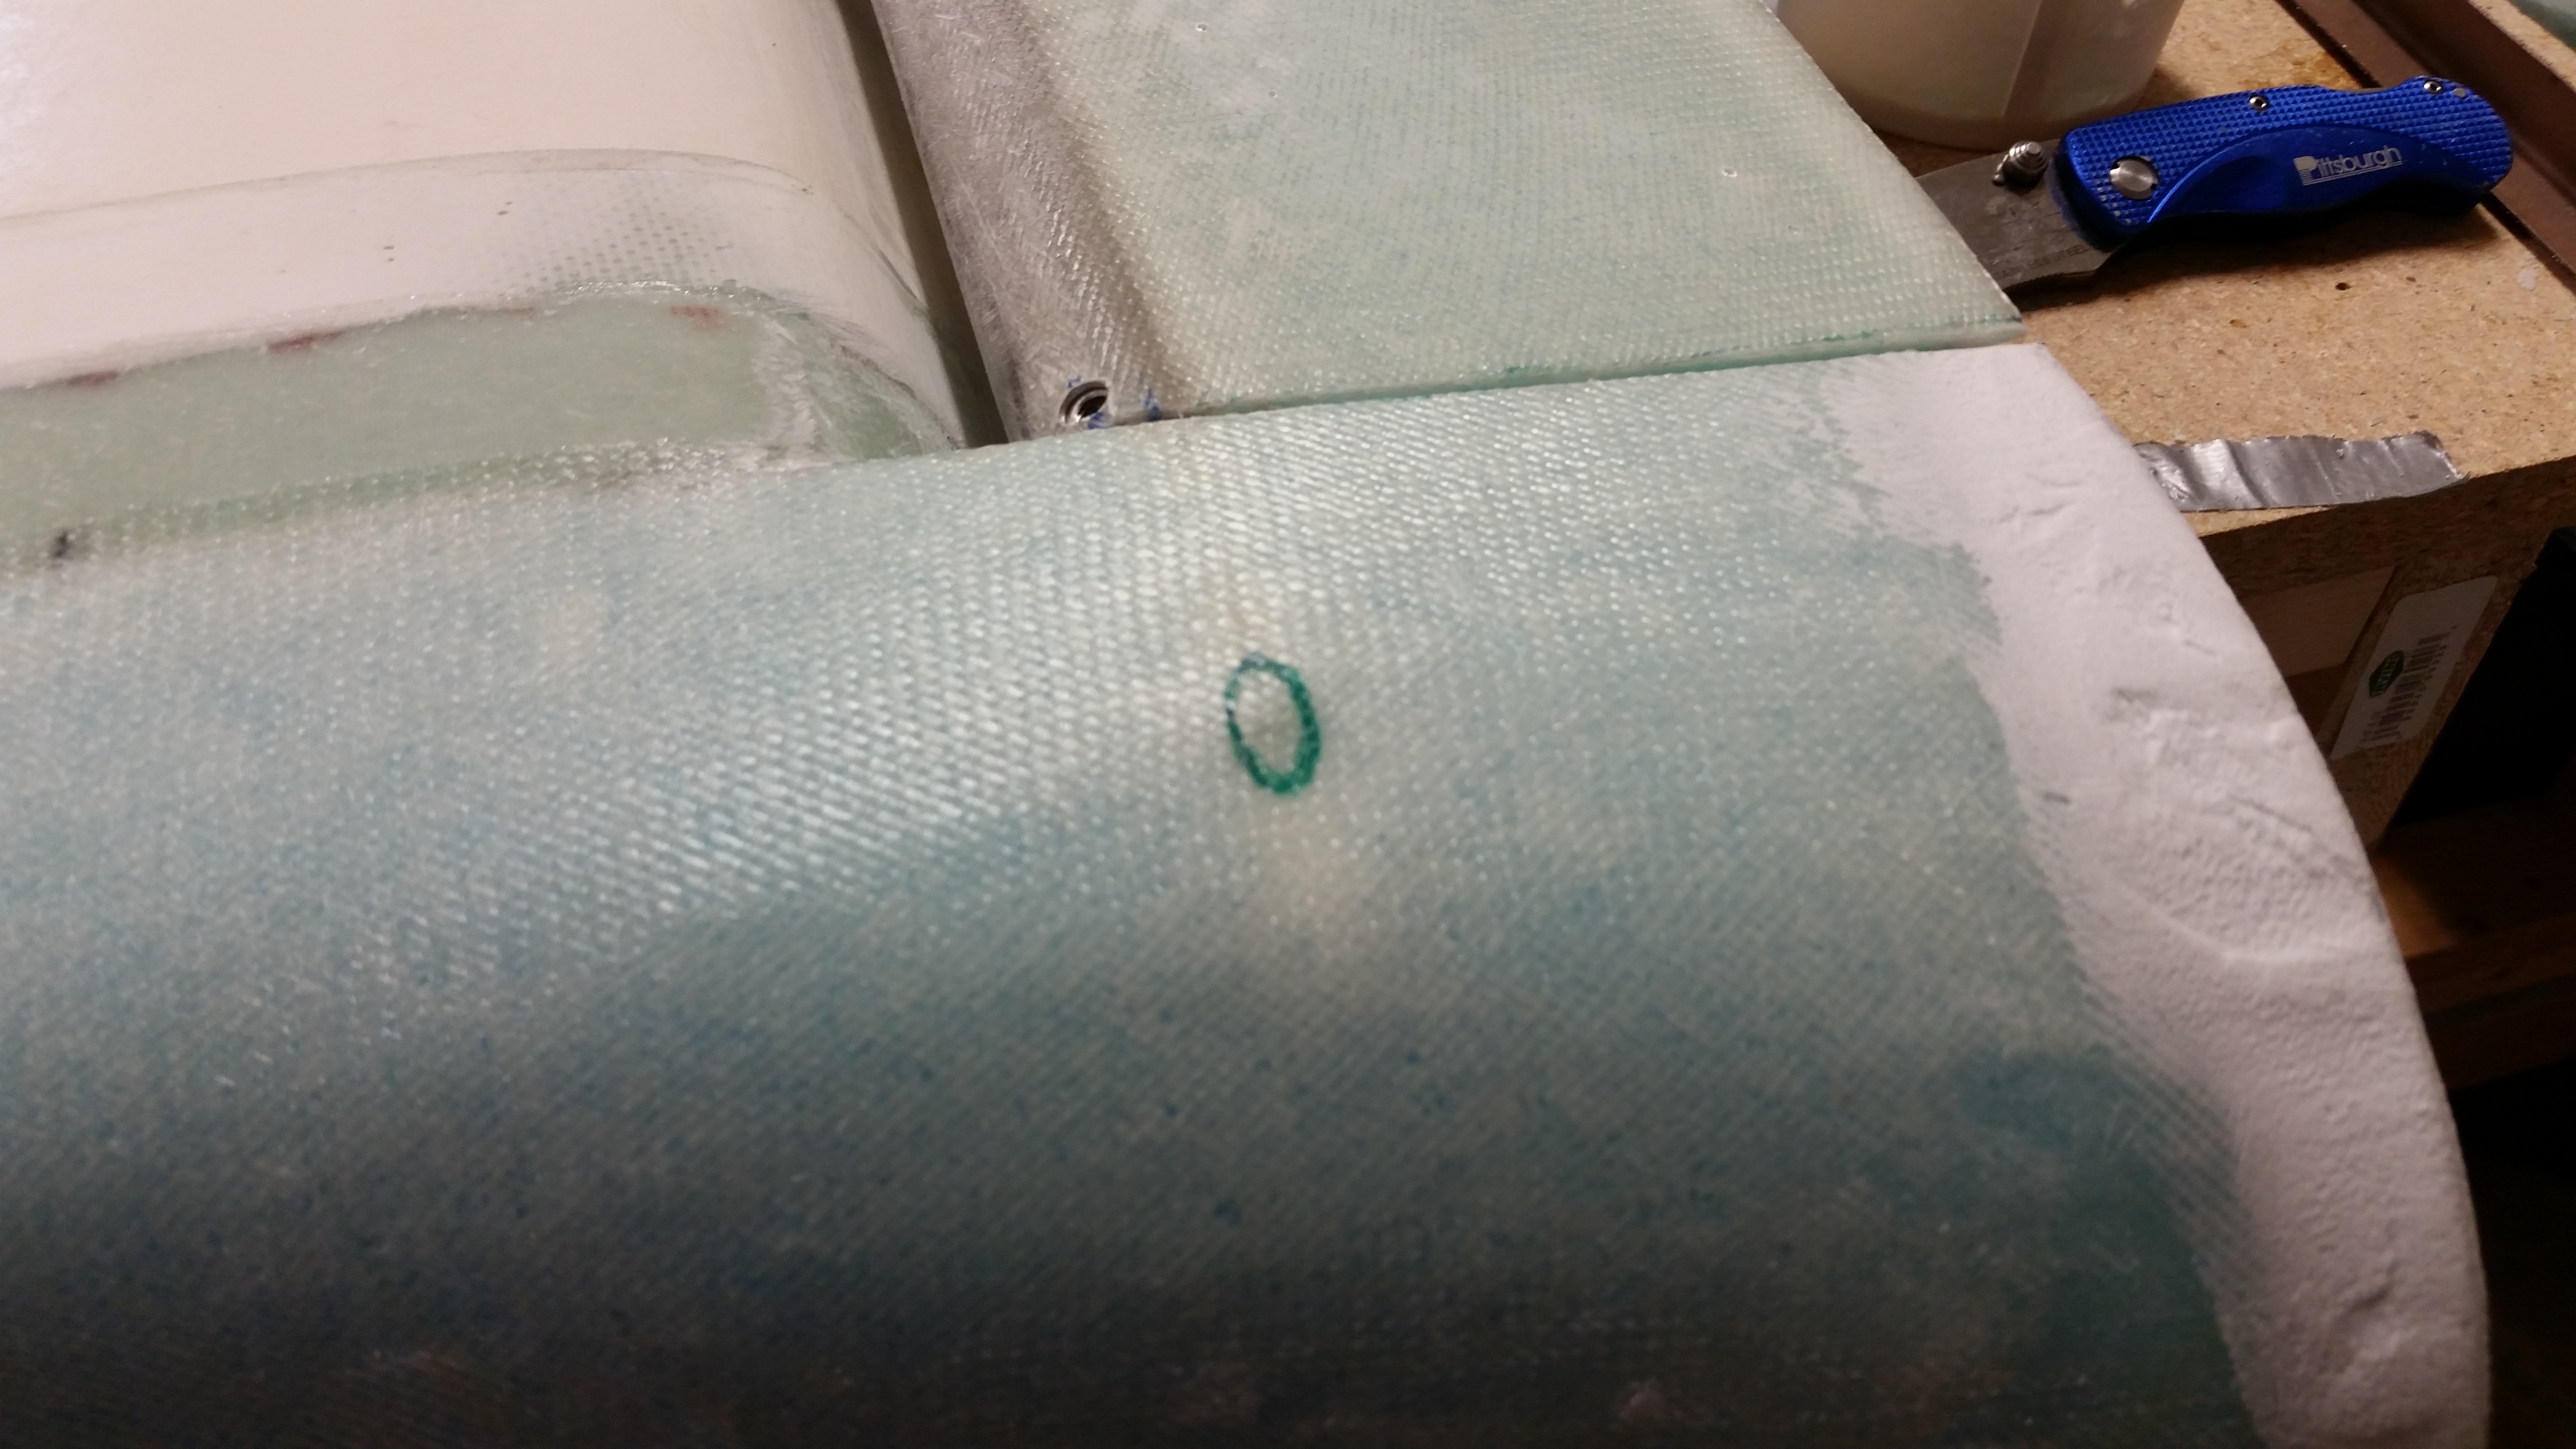
Finally, here’s the hinge pin hole from the left side swoosh tip. Since the glass was still in the green stage, I took the opportunity to razor cut the whole for the hinge pin conduit. You can still see the quite tacky micro in the lower photo.

Next I’ll continue working on the swoosh tips and the elevators to get the entire canard & elevator combo completed. There are no major tasks left after the swoosh tips were glassed, but there sure are a myriad of small tasks that need to be accomplished before I can call these officially done.