
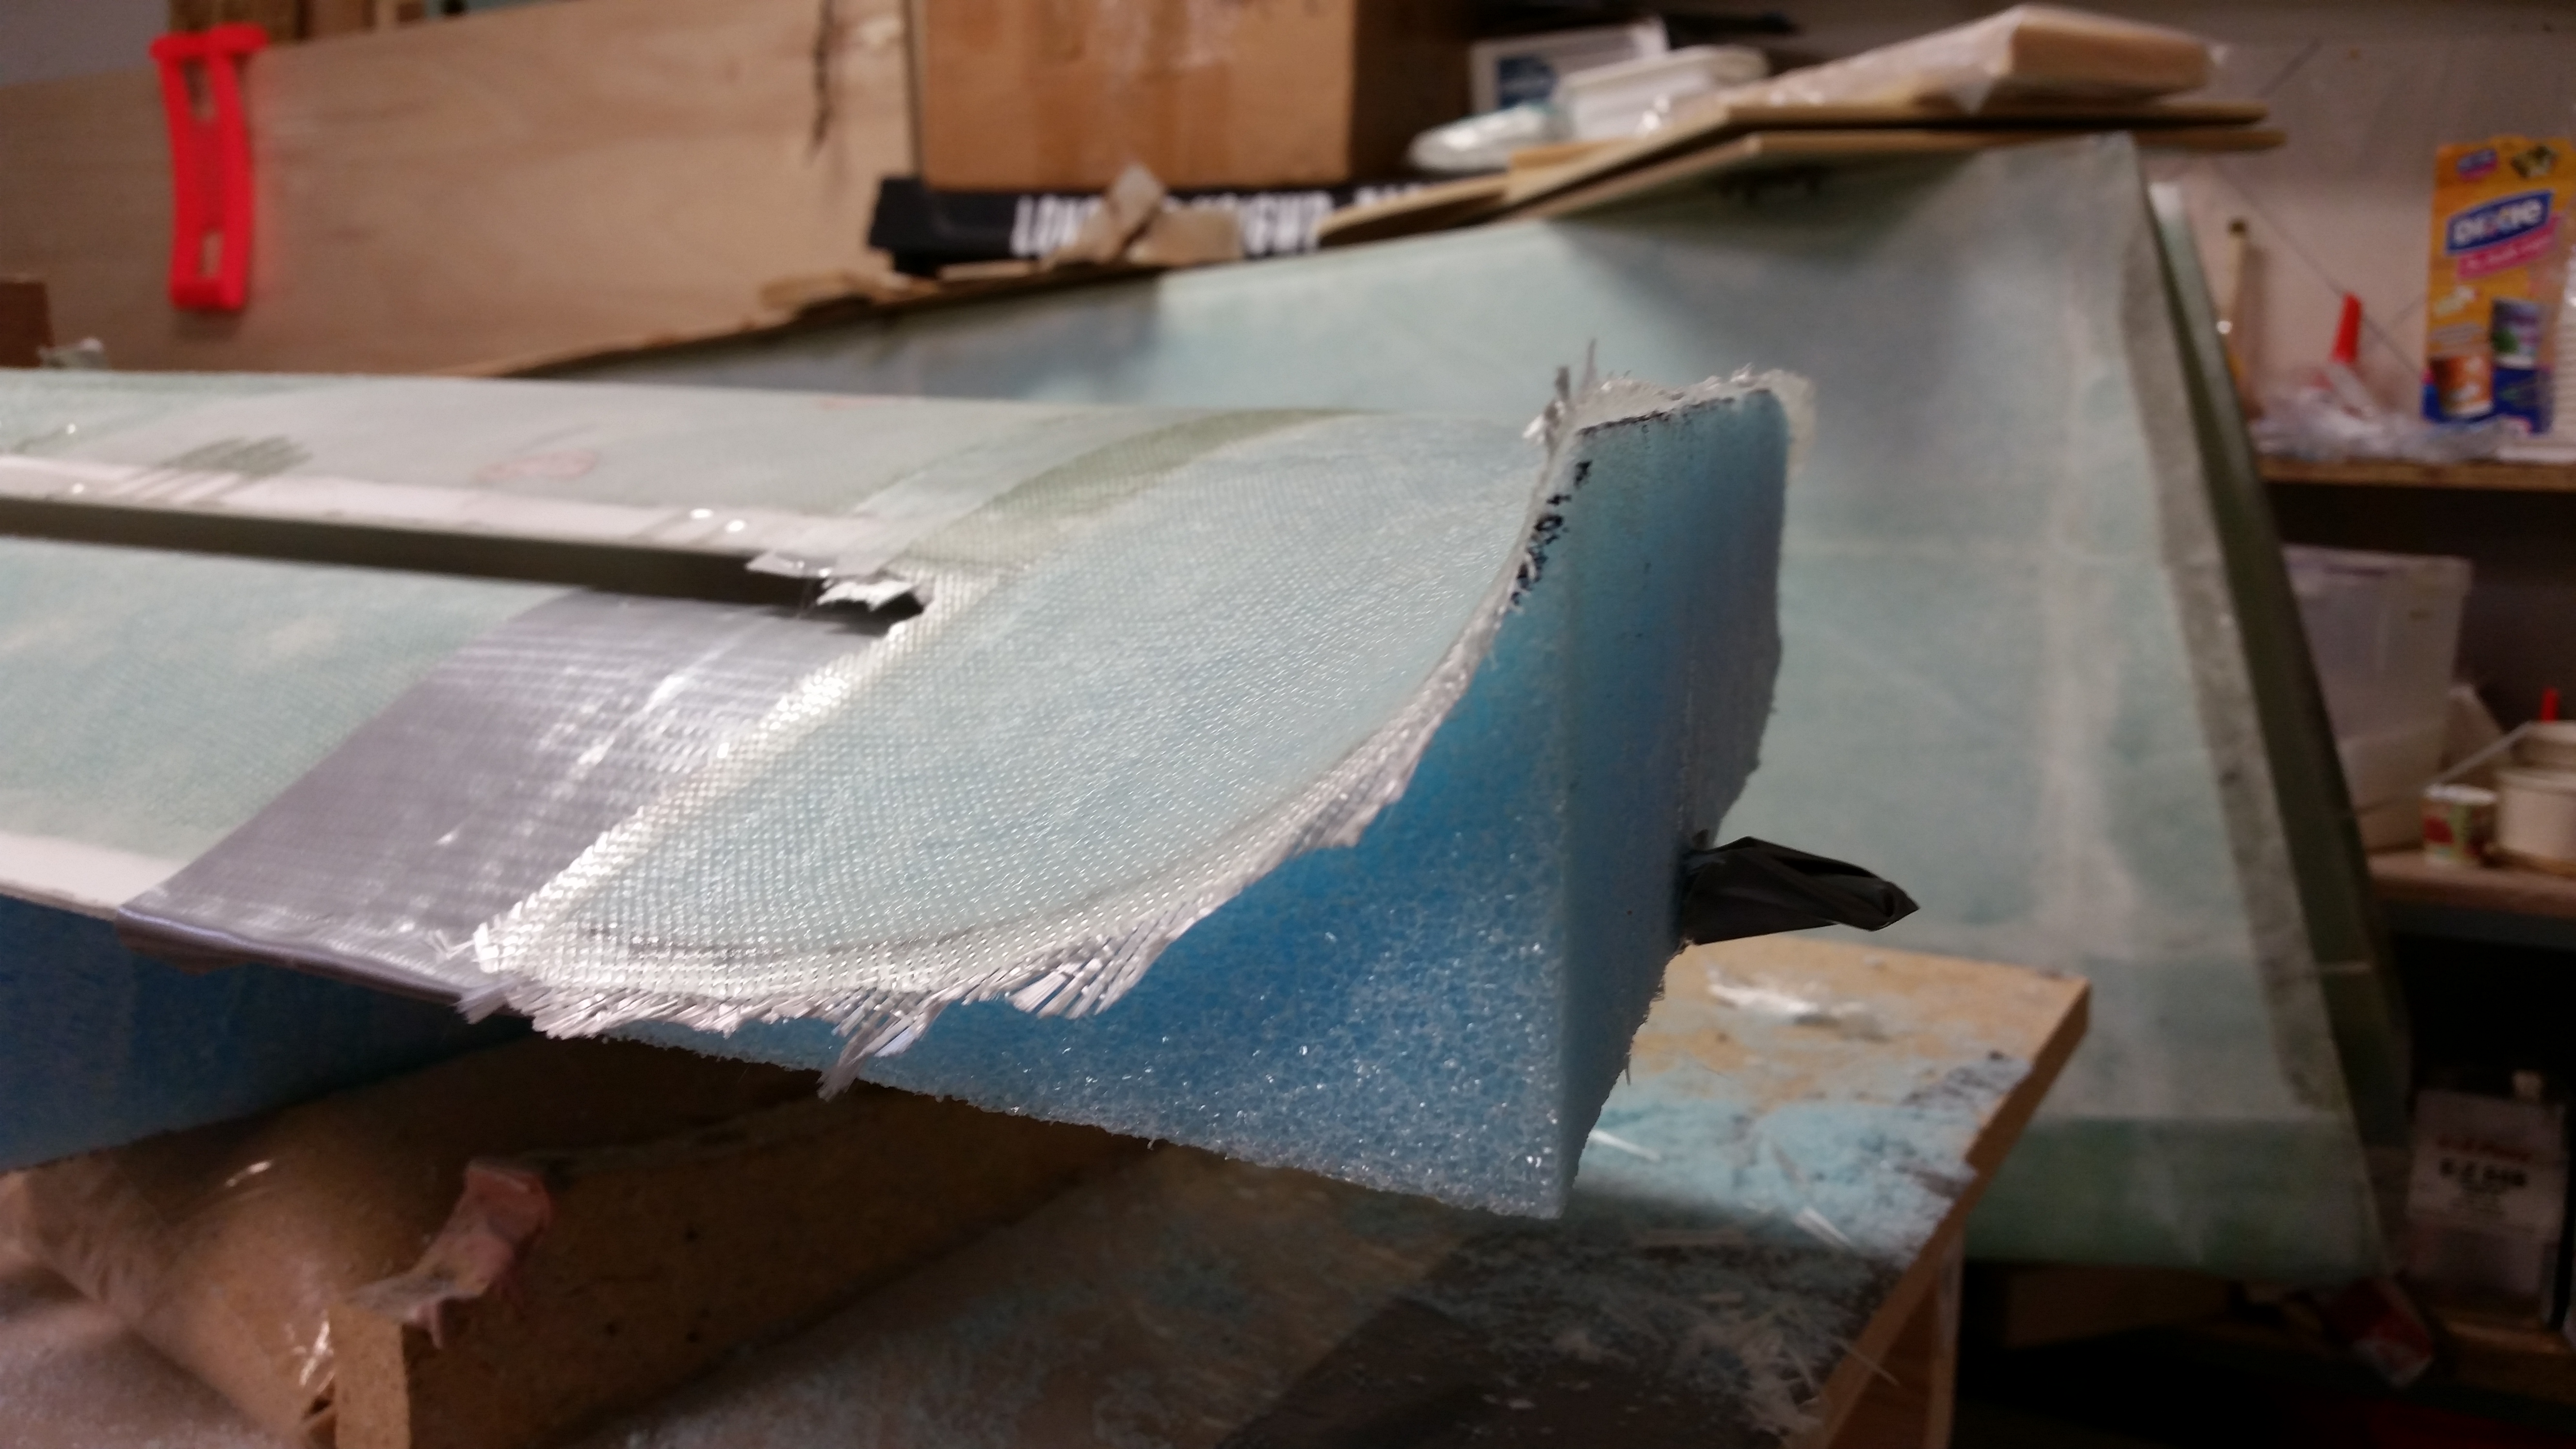
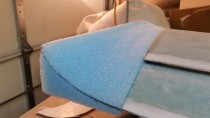
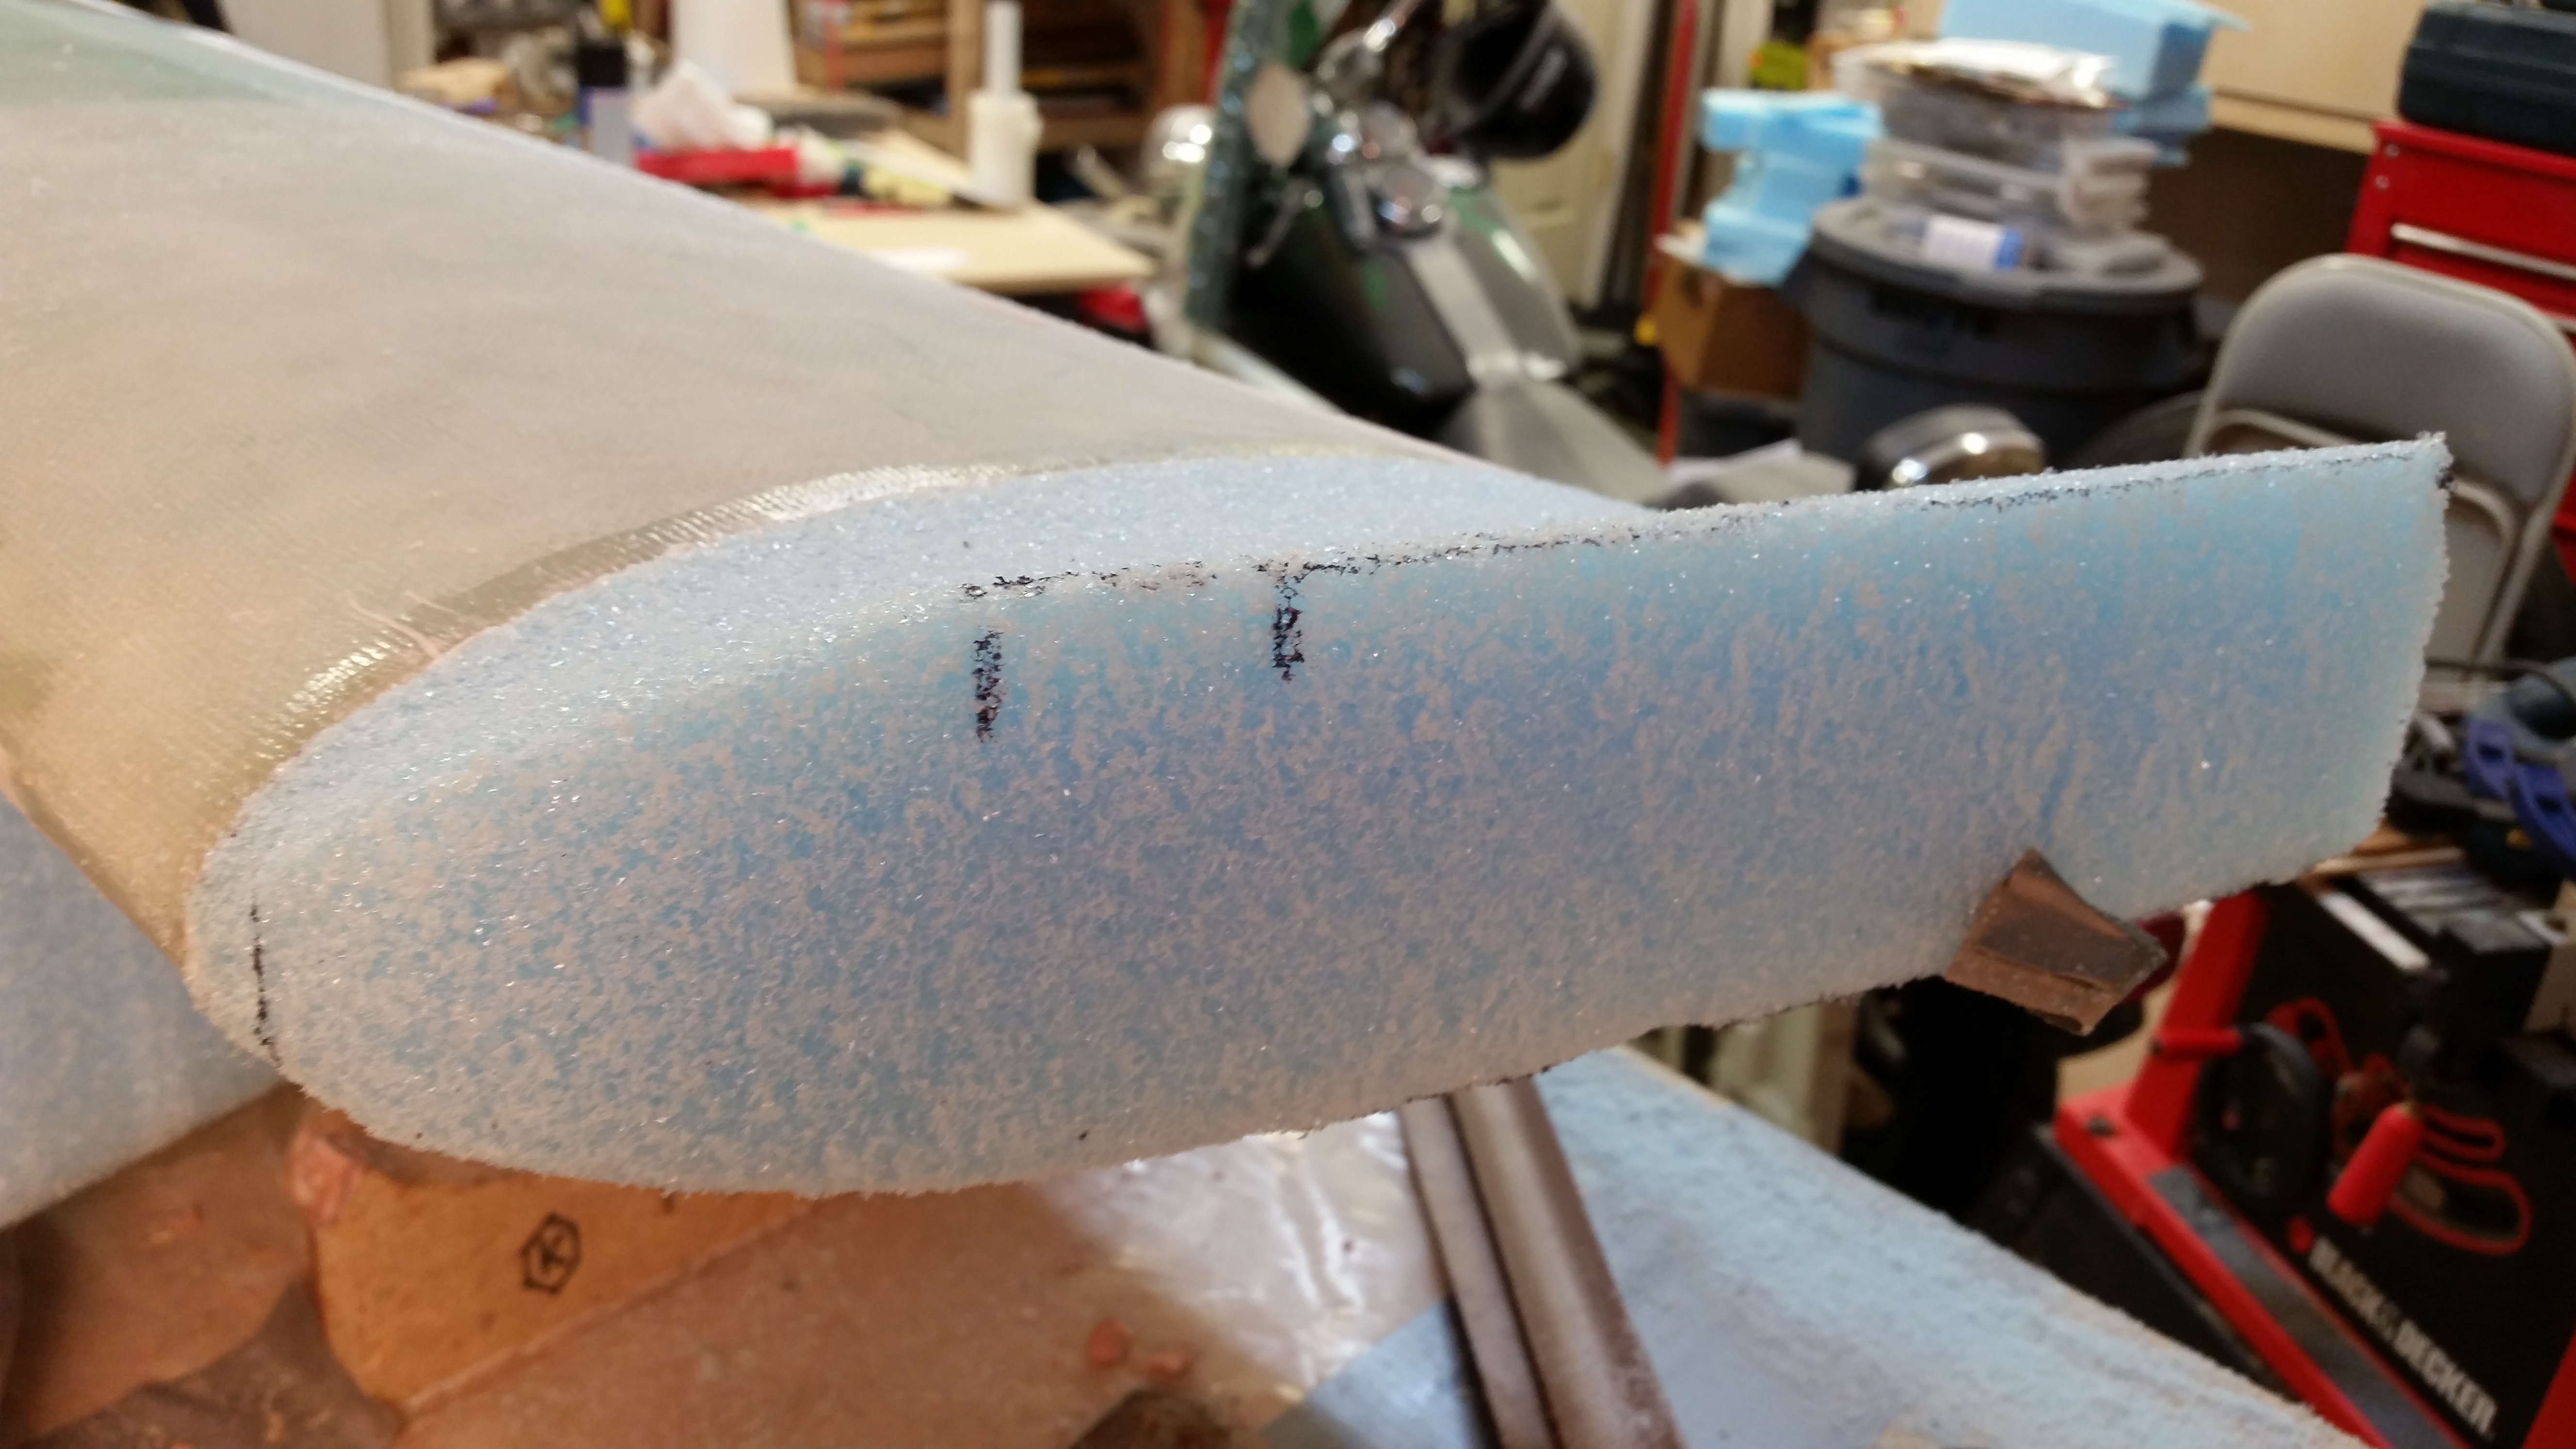
I started out early this morning carving the “swoosh” tips out of the blue foam that I micro’d to the canard last night. This is one of those very distinctive exciting steps in building a canard aircraft since, obviously, these swoosh tips make a stylistic statement about the bird. Also, since Roncz canards are all built with the same plans there’s not that big of a difference in the “I’m cool” department . . . the scenario is more along the lines of, “Hey, check out all these nice turned up tipped Roncz canards here, and mine look like crap!” Ha! That’s what I’m trying to avoid!
Thus, I did exactly what the plans stated and started out slowly. BTW, I grouped all the pics in a series per the angle of the camera shot so you can see a progression of the foam taking shape.
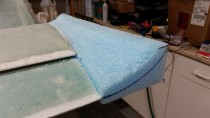
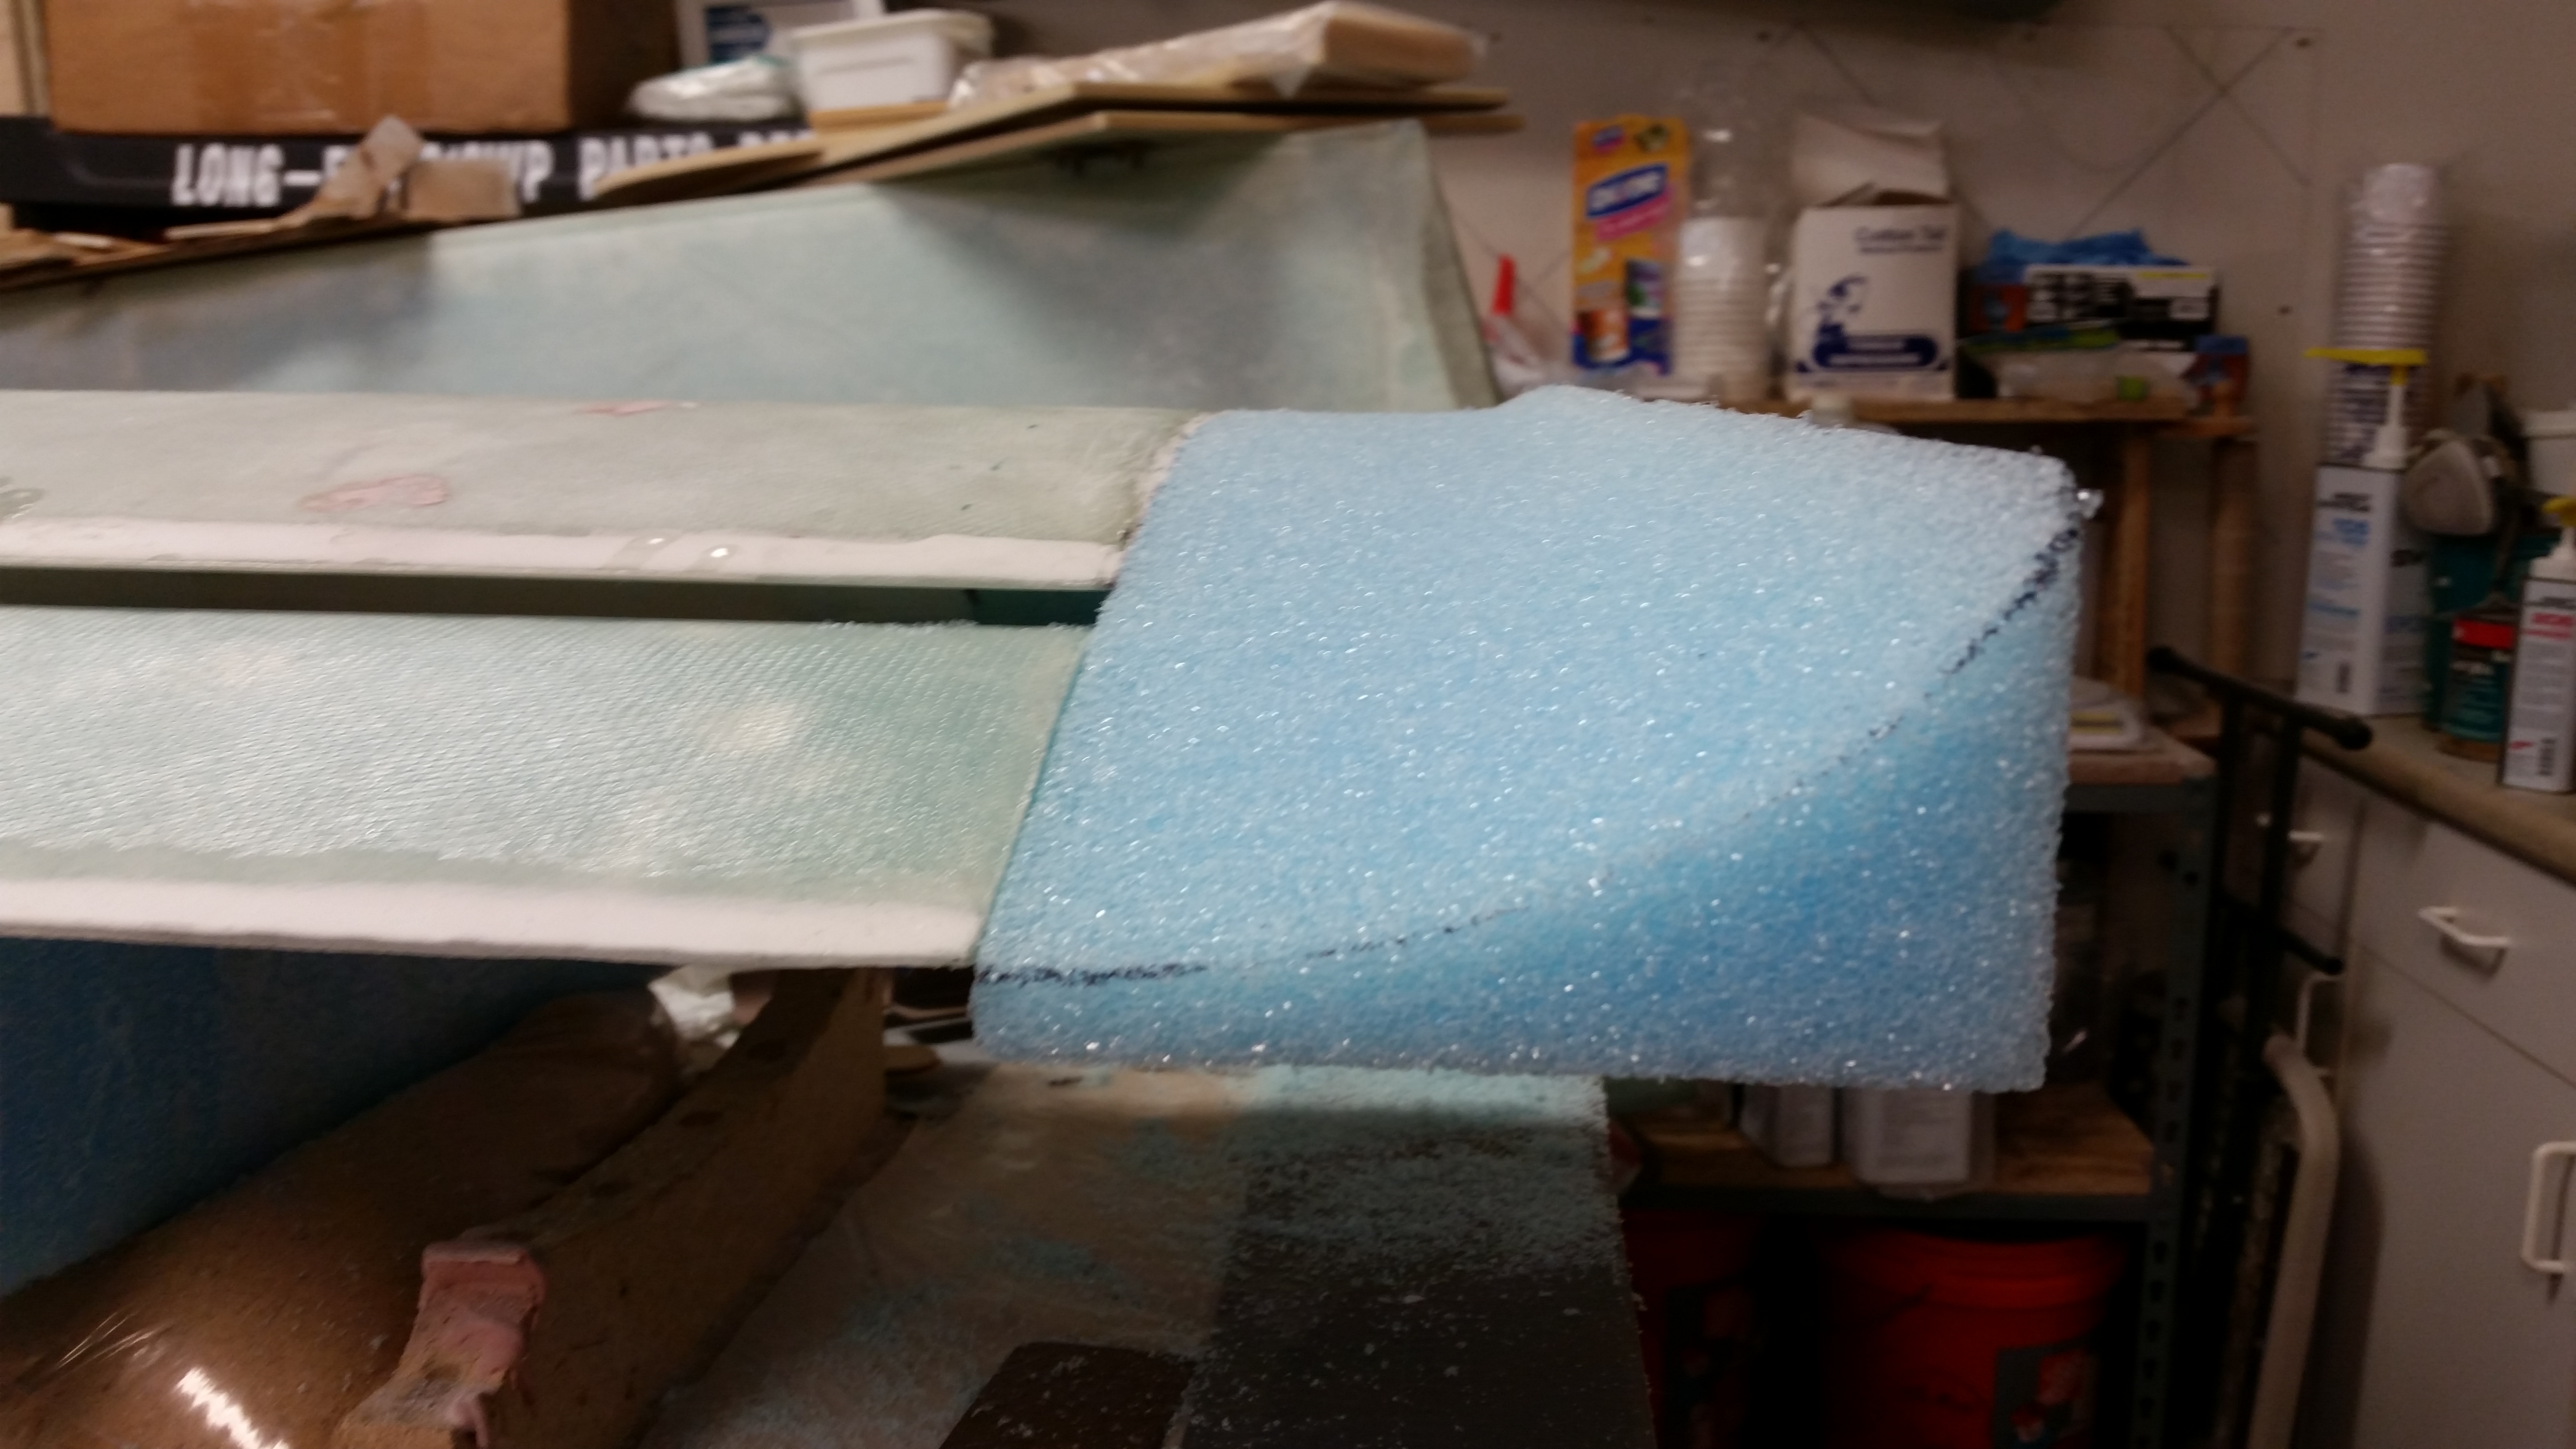
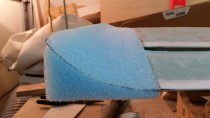
I think the biggest Aha! moment was realizing that the toughest part of this whole carving exercise is the first 3-4″ on the LE side. Wow! What a head-scratcher as far as, “What the heck do I do here? And what do I really what this thing to look like?” I went back upstairs at this point (after having carved away on the front side) to look at the large pics in the Roncz plans and check out a half dozen websites where I knew I could find some pics of Roncz canard tips. Talk about one area that I never gave much thought to, even as I started carving! Another crazy thing is that you really don’t know exactly how good the top swoosh tip contour is going to look until after the bottom is finished.
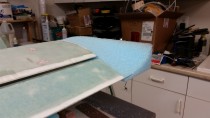
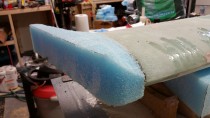
Oh, well. After getting a better mental picture I went back to carving. I will say that if I had known what I know now, I would have had a better plan for that front area. I’m happy with how it turned out, but I would have gone in just a slightly different direction if I hadn’t starting carving without an idea of what the front LE area transition should look like.
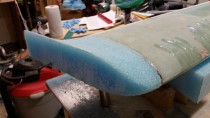

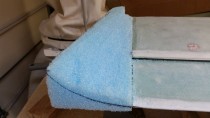
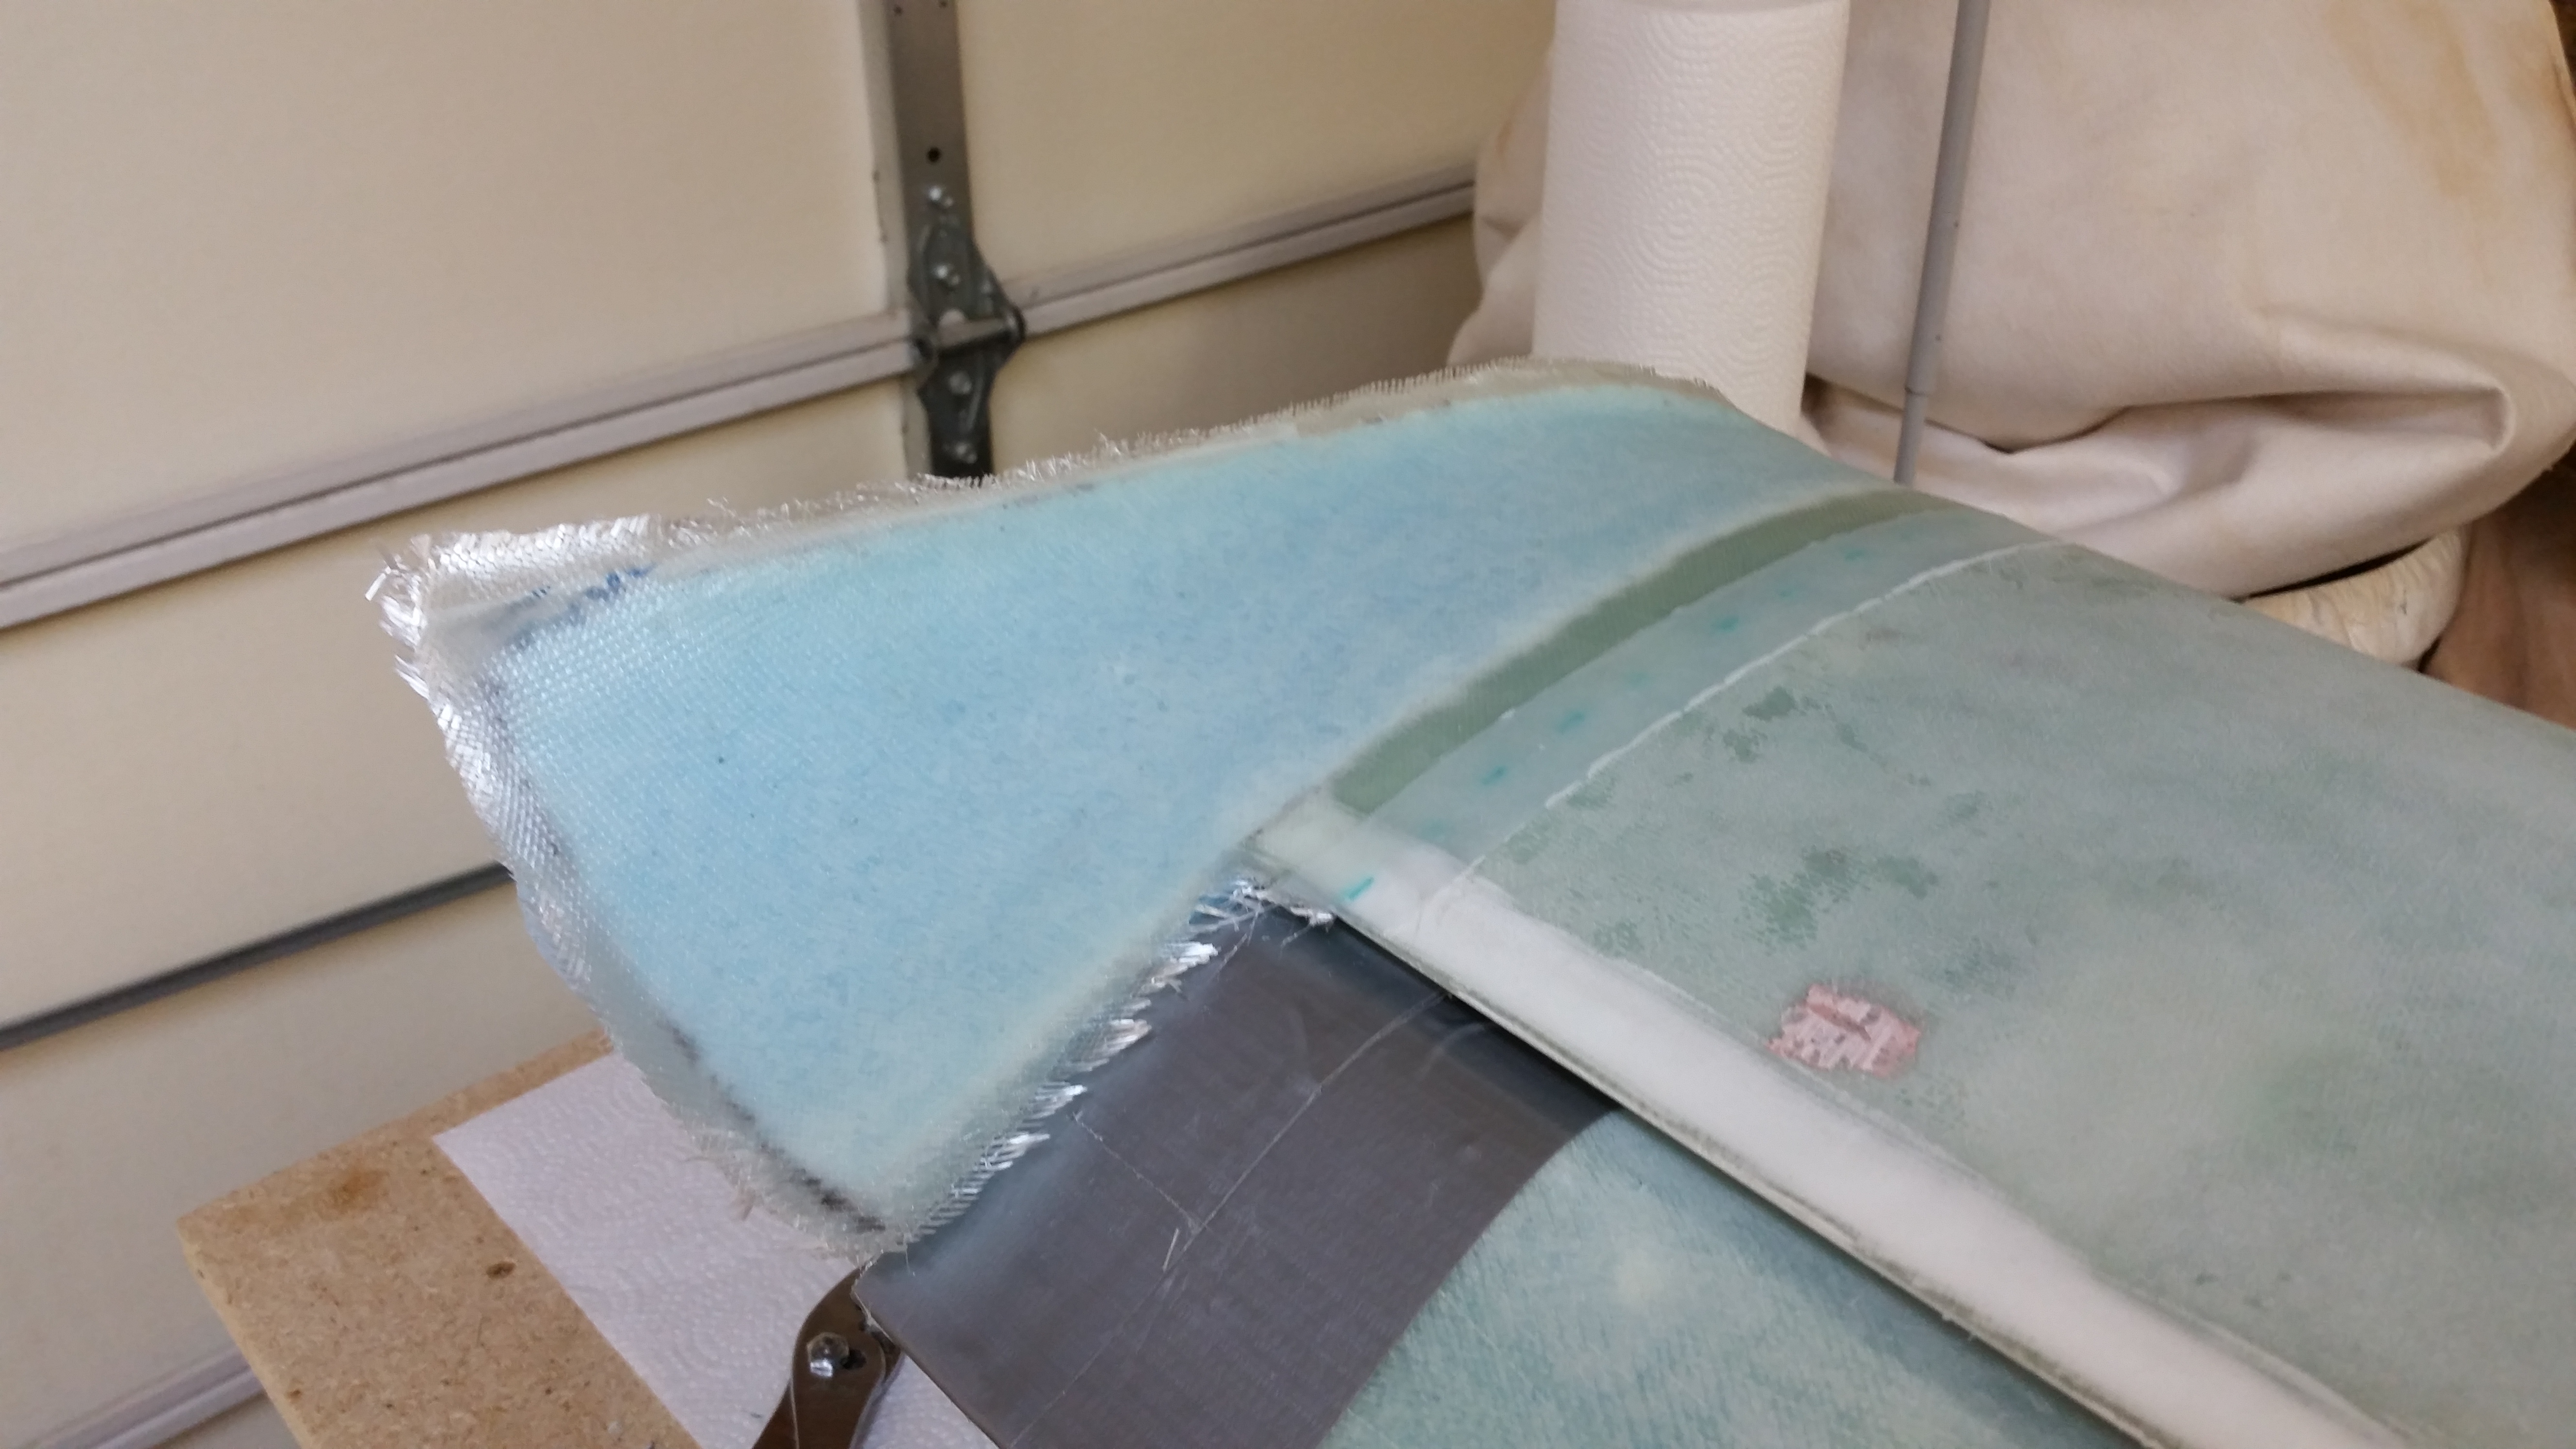
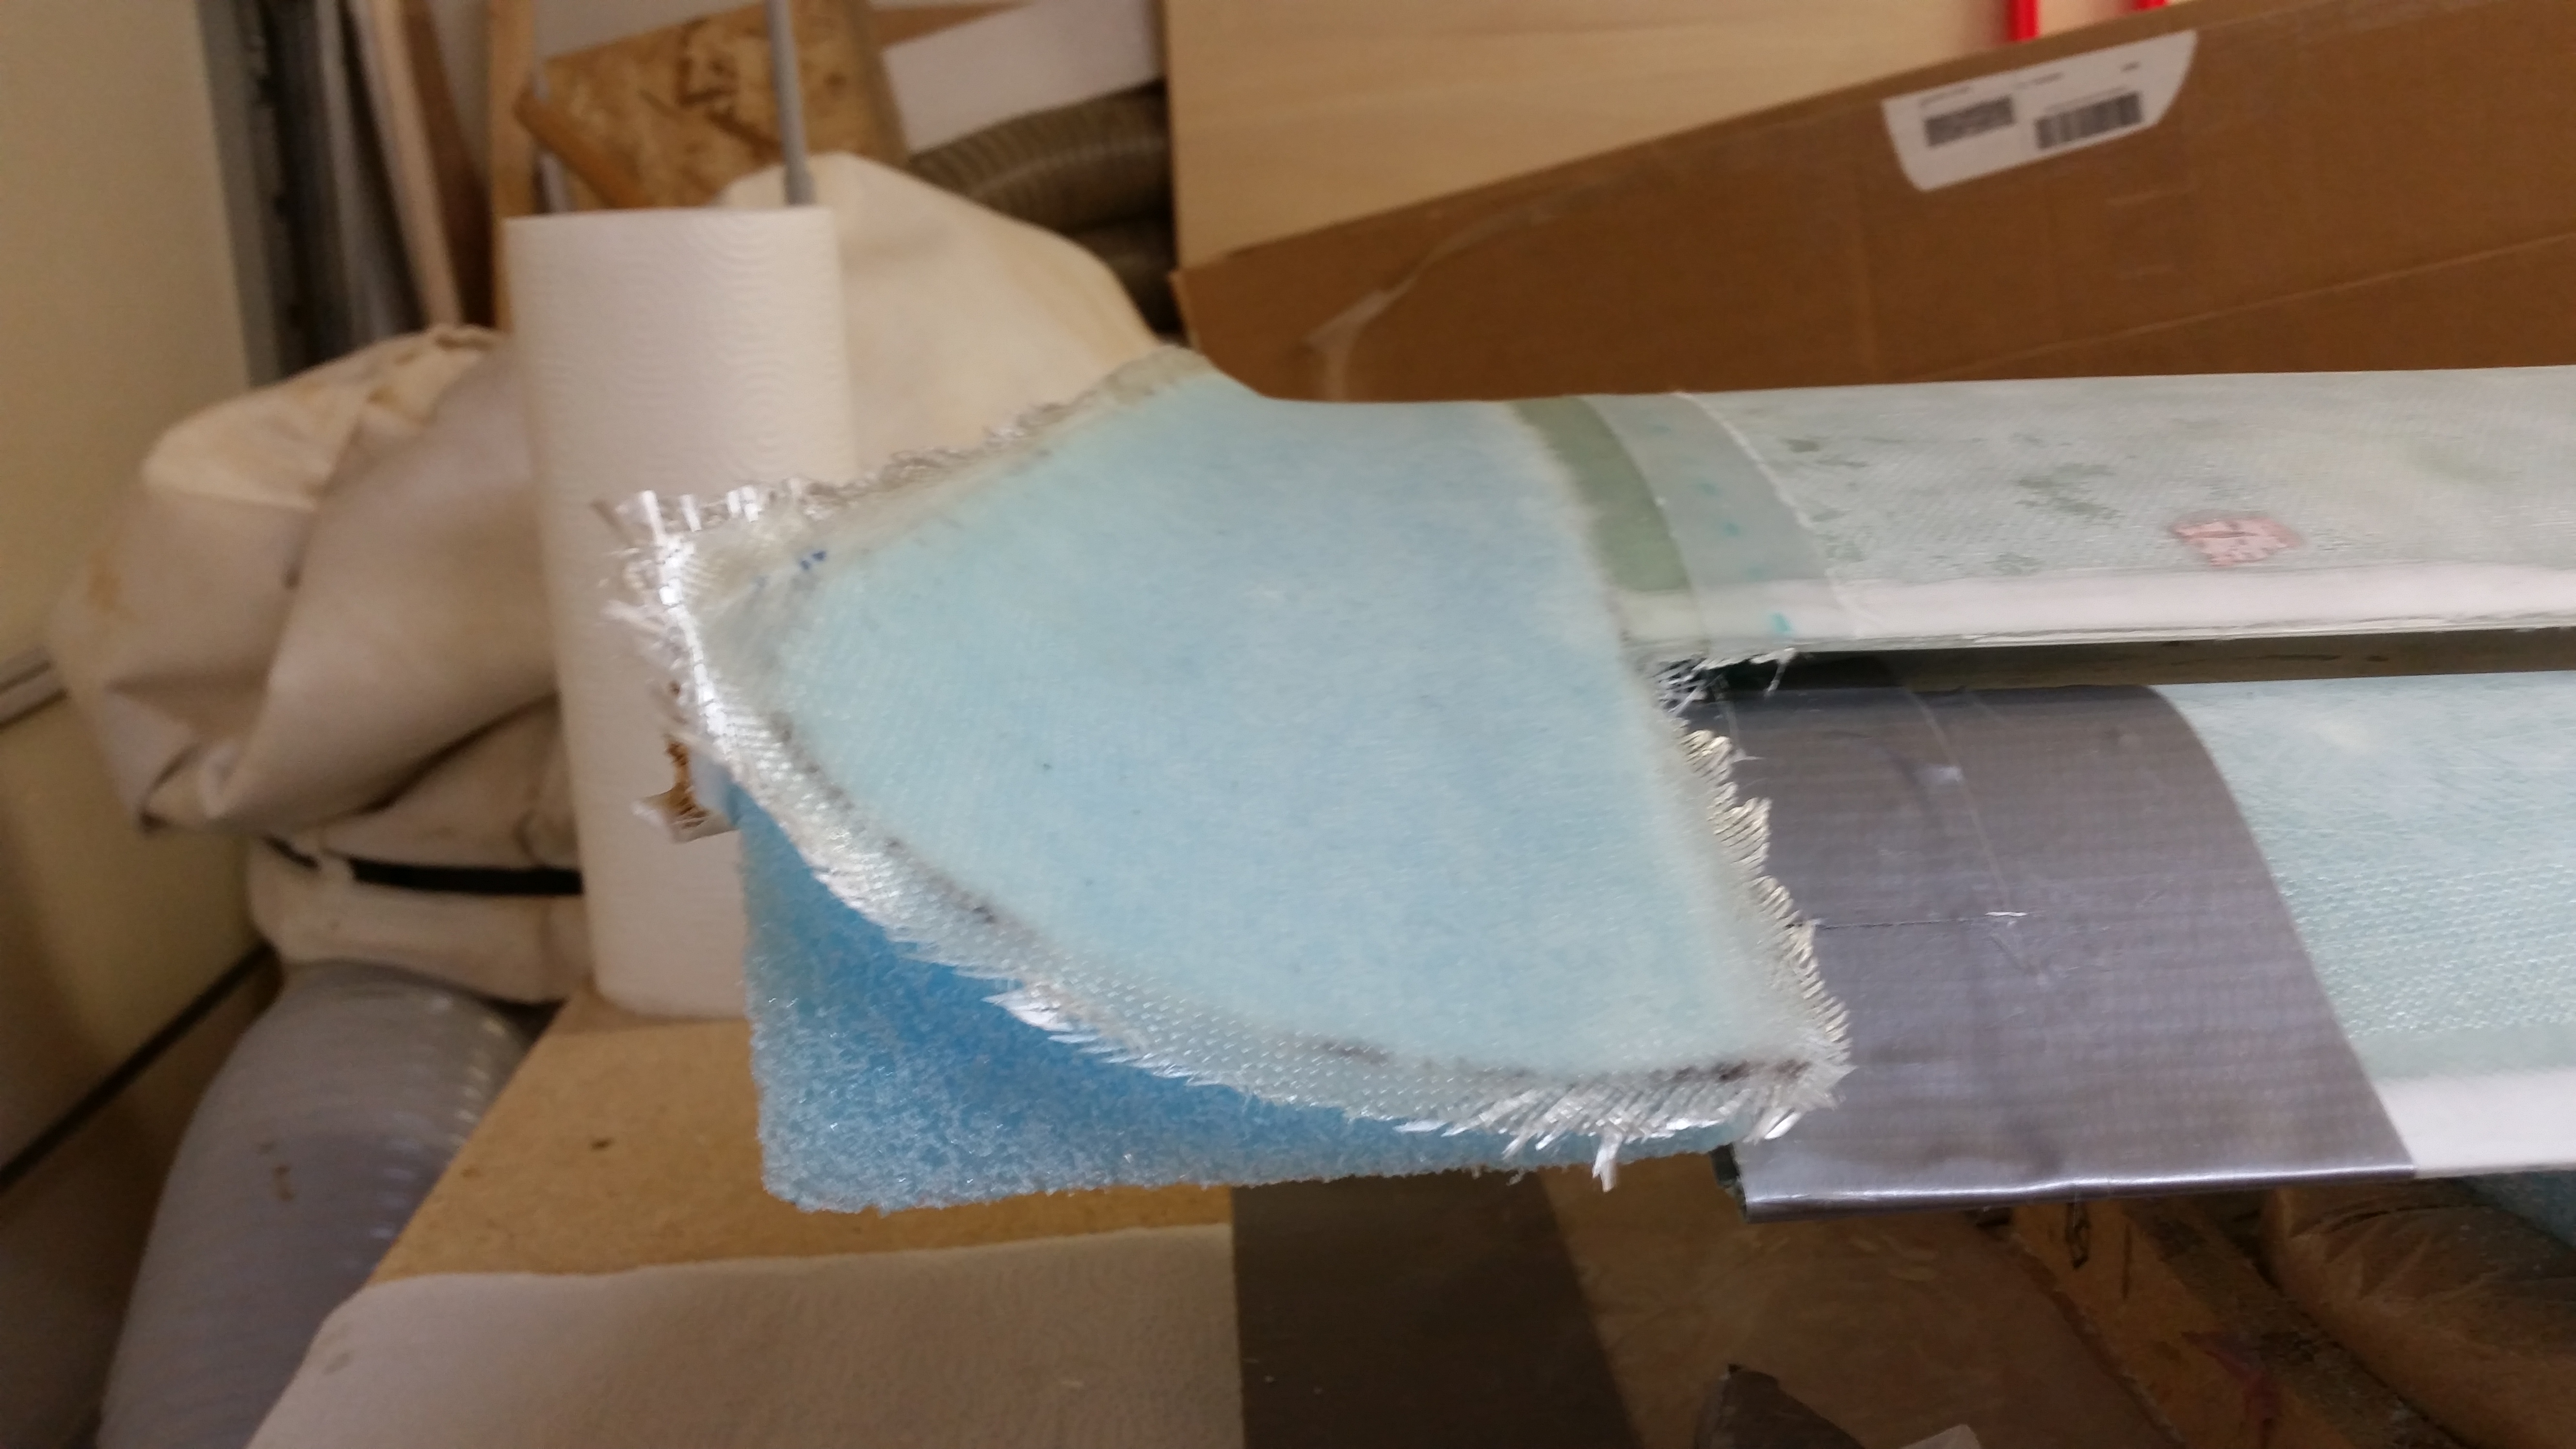
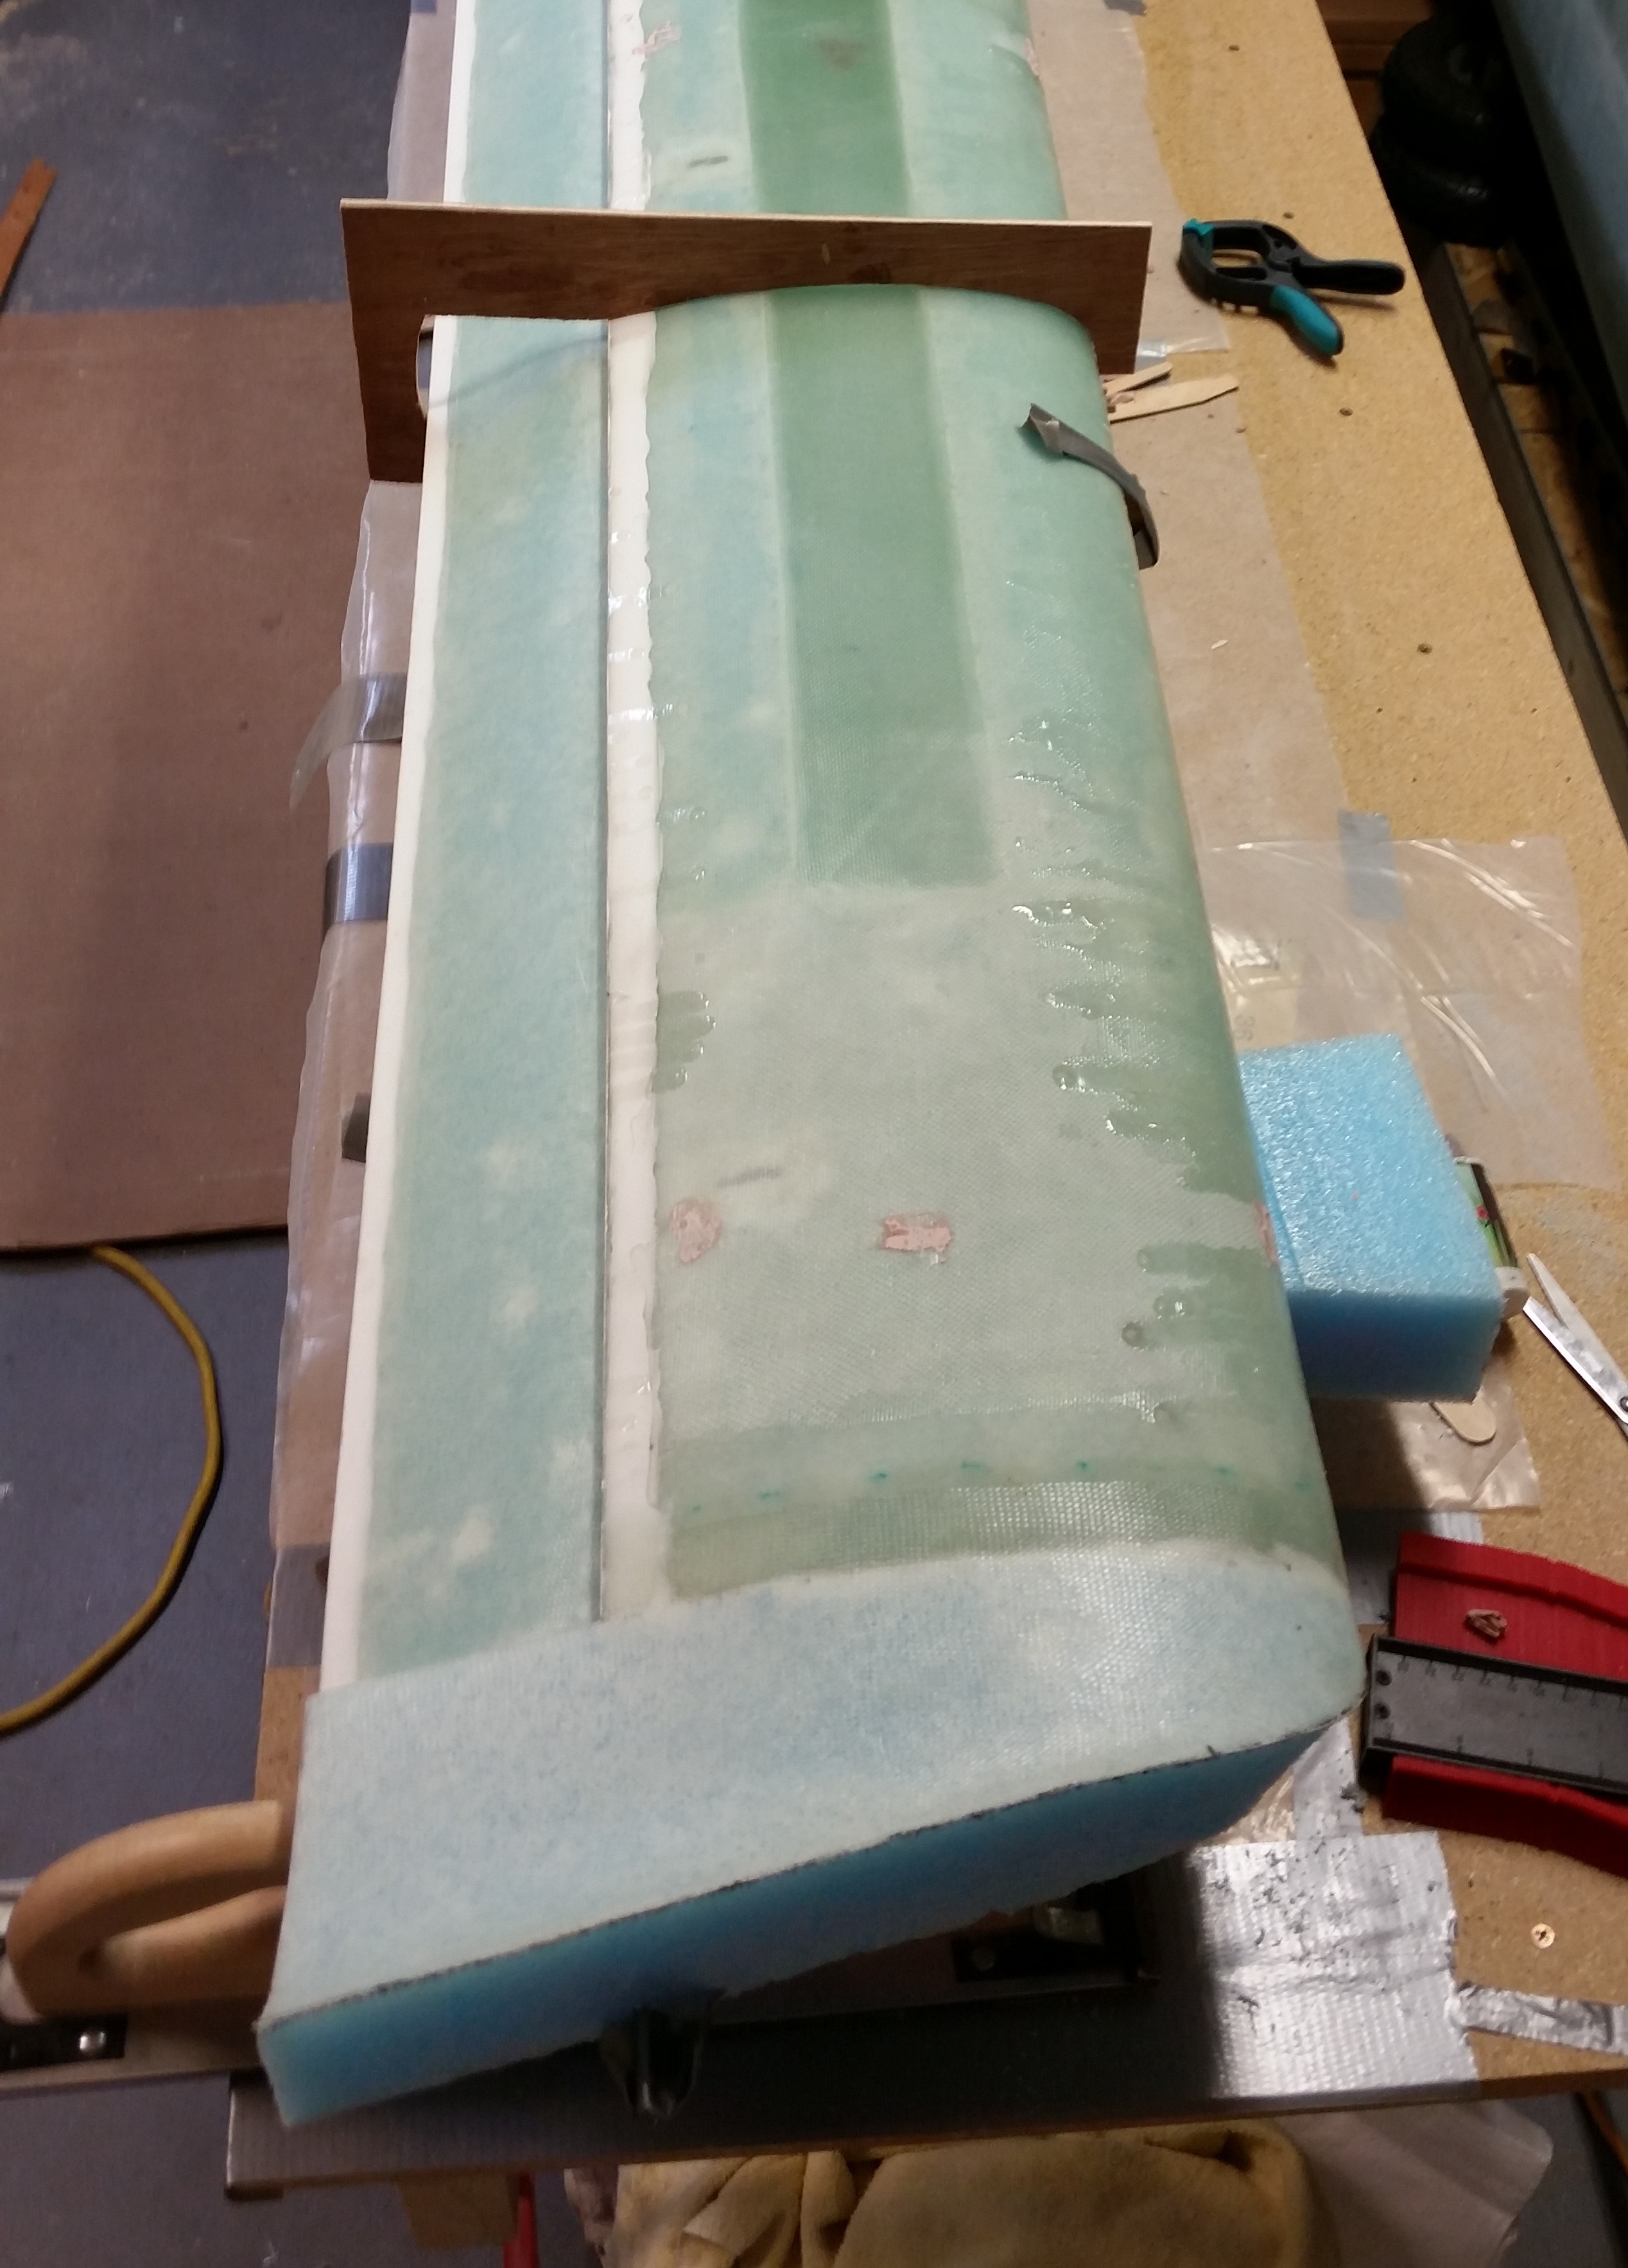
After doing my best to make sure that I had a smooth surface with good transitions, I pulled the trigger and glassed the top skin of the right swoosh tip with 2-plies of UNI biased in the typical 30° to each other.
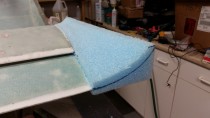
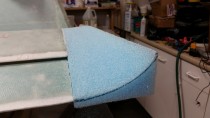
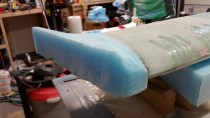
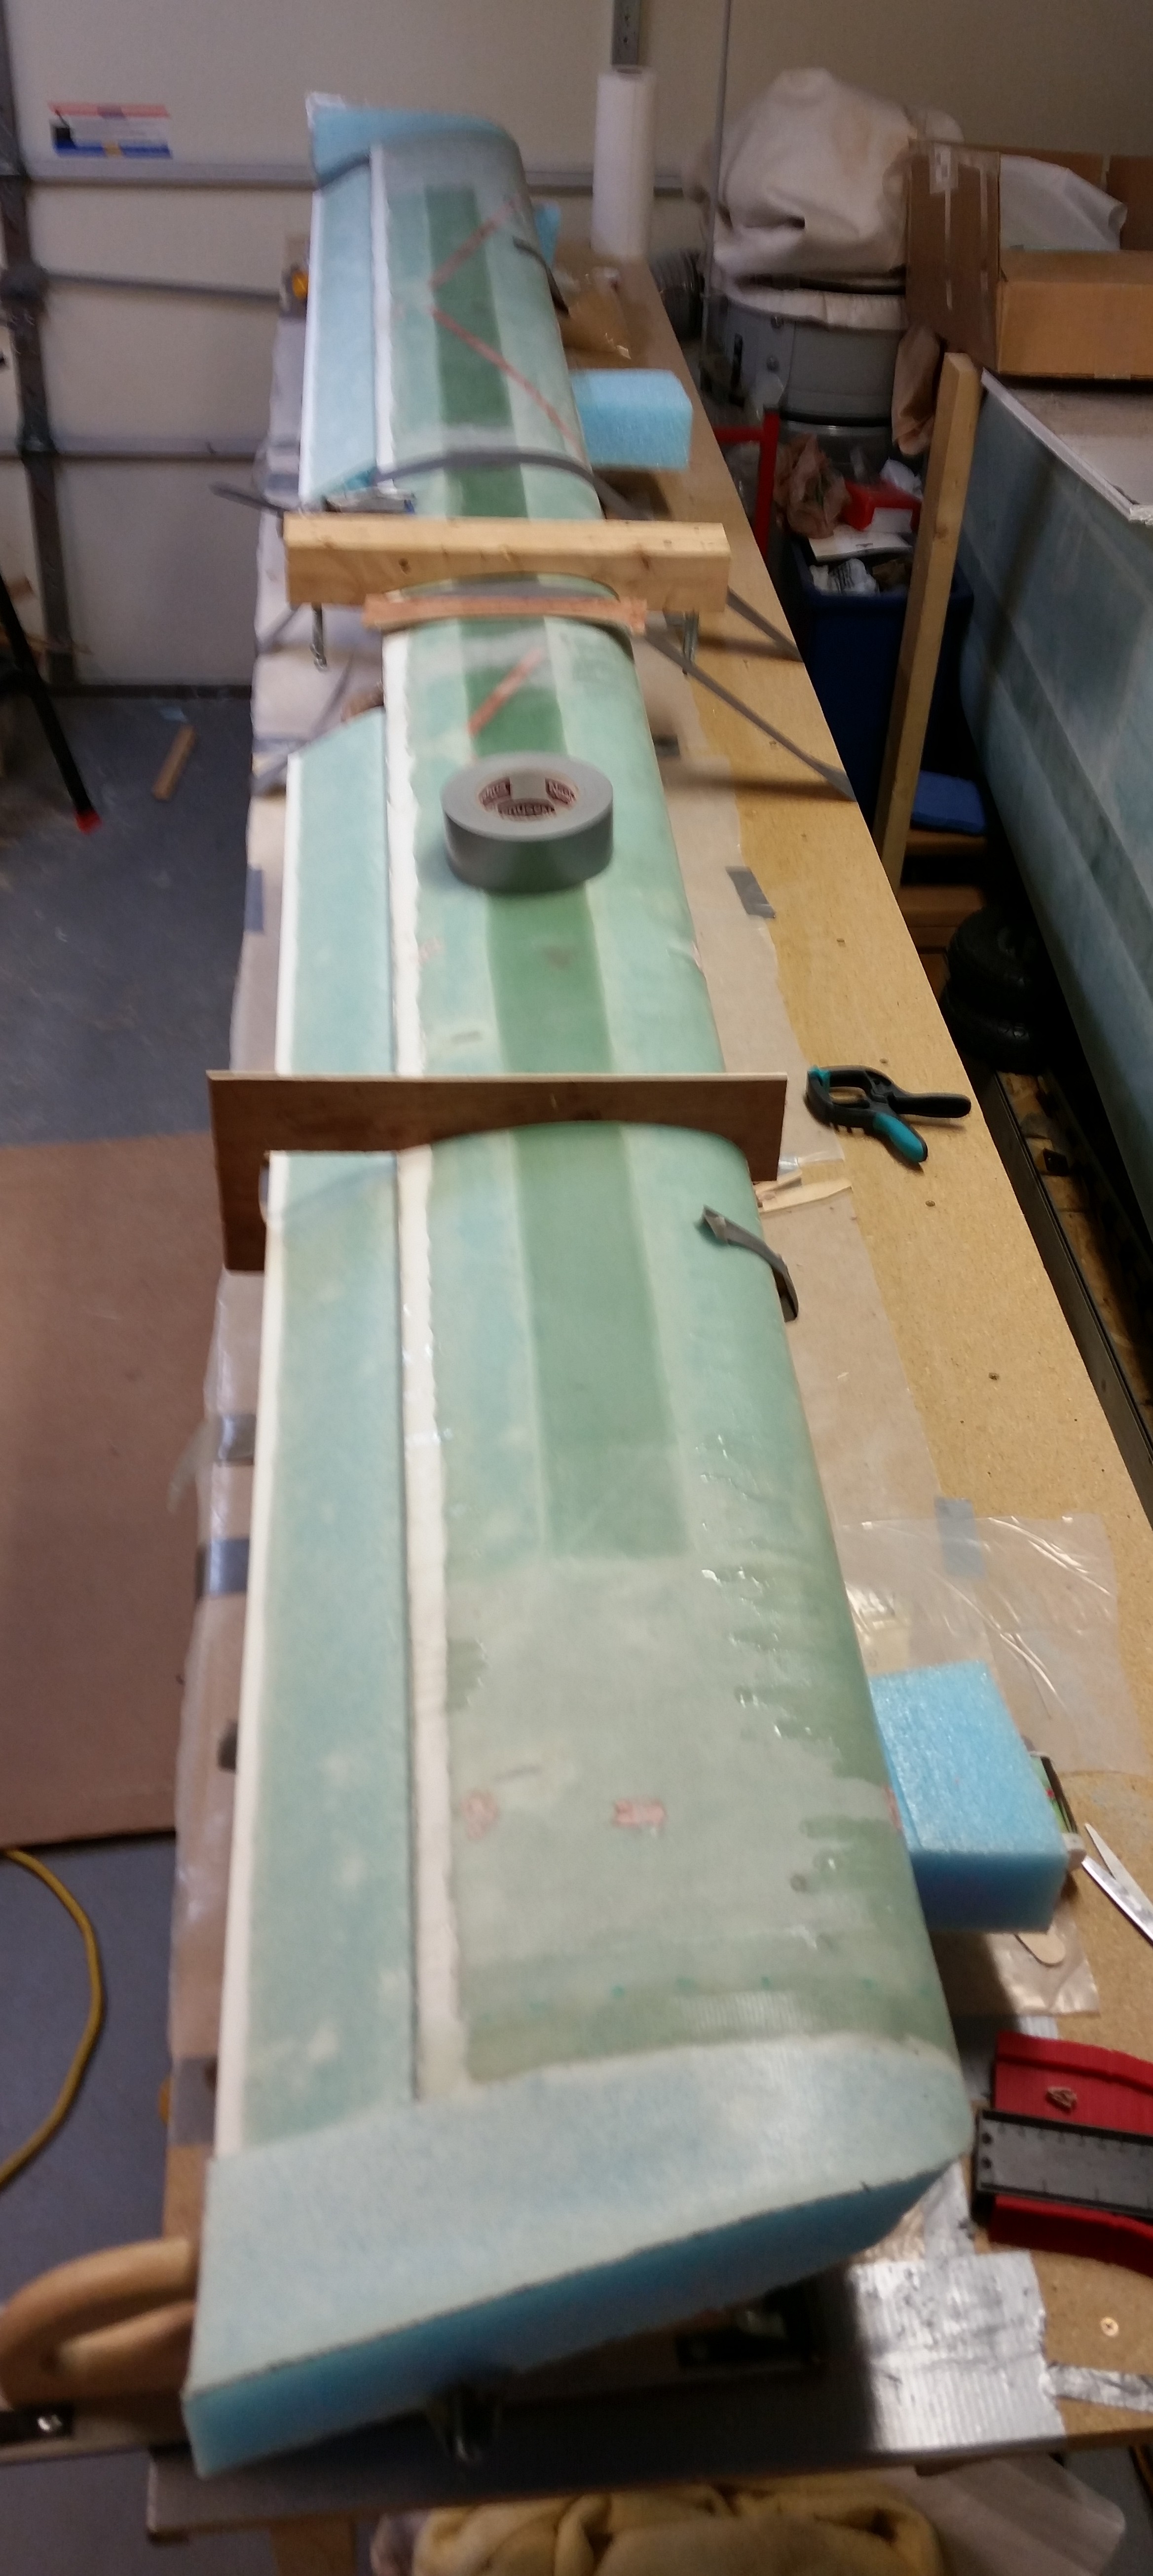
Some rear views . . .

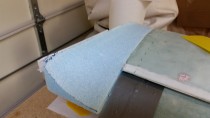
 And some top views . . .
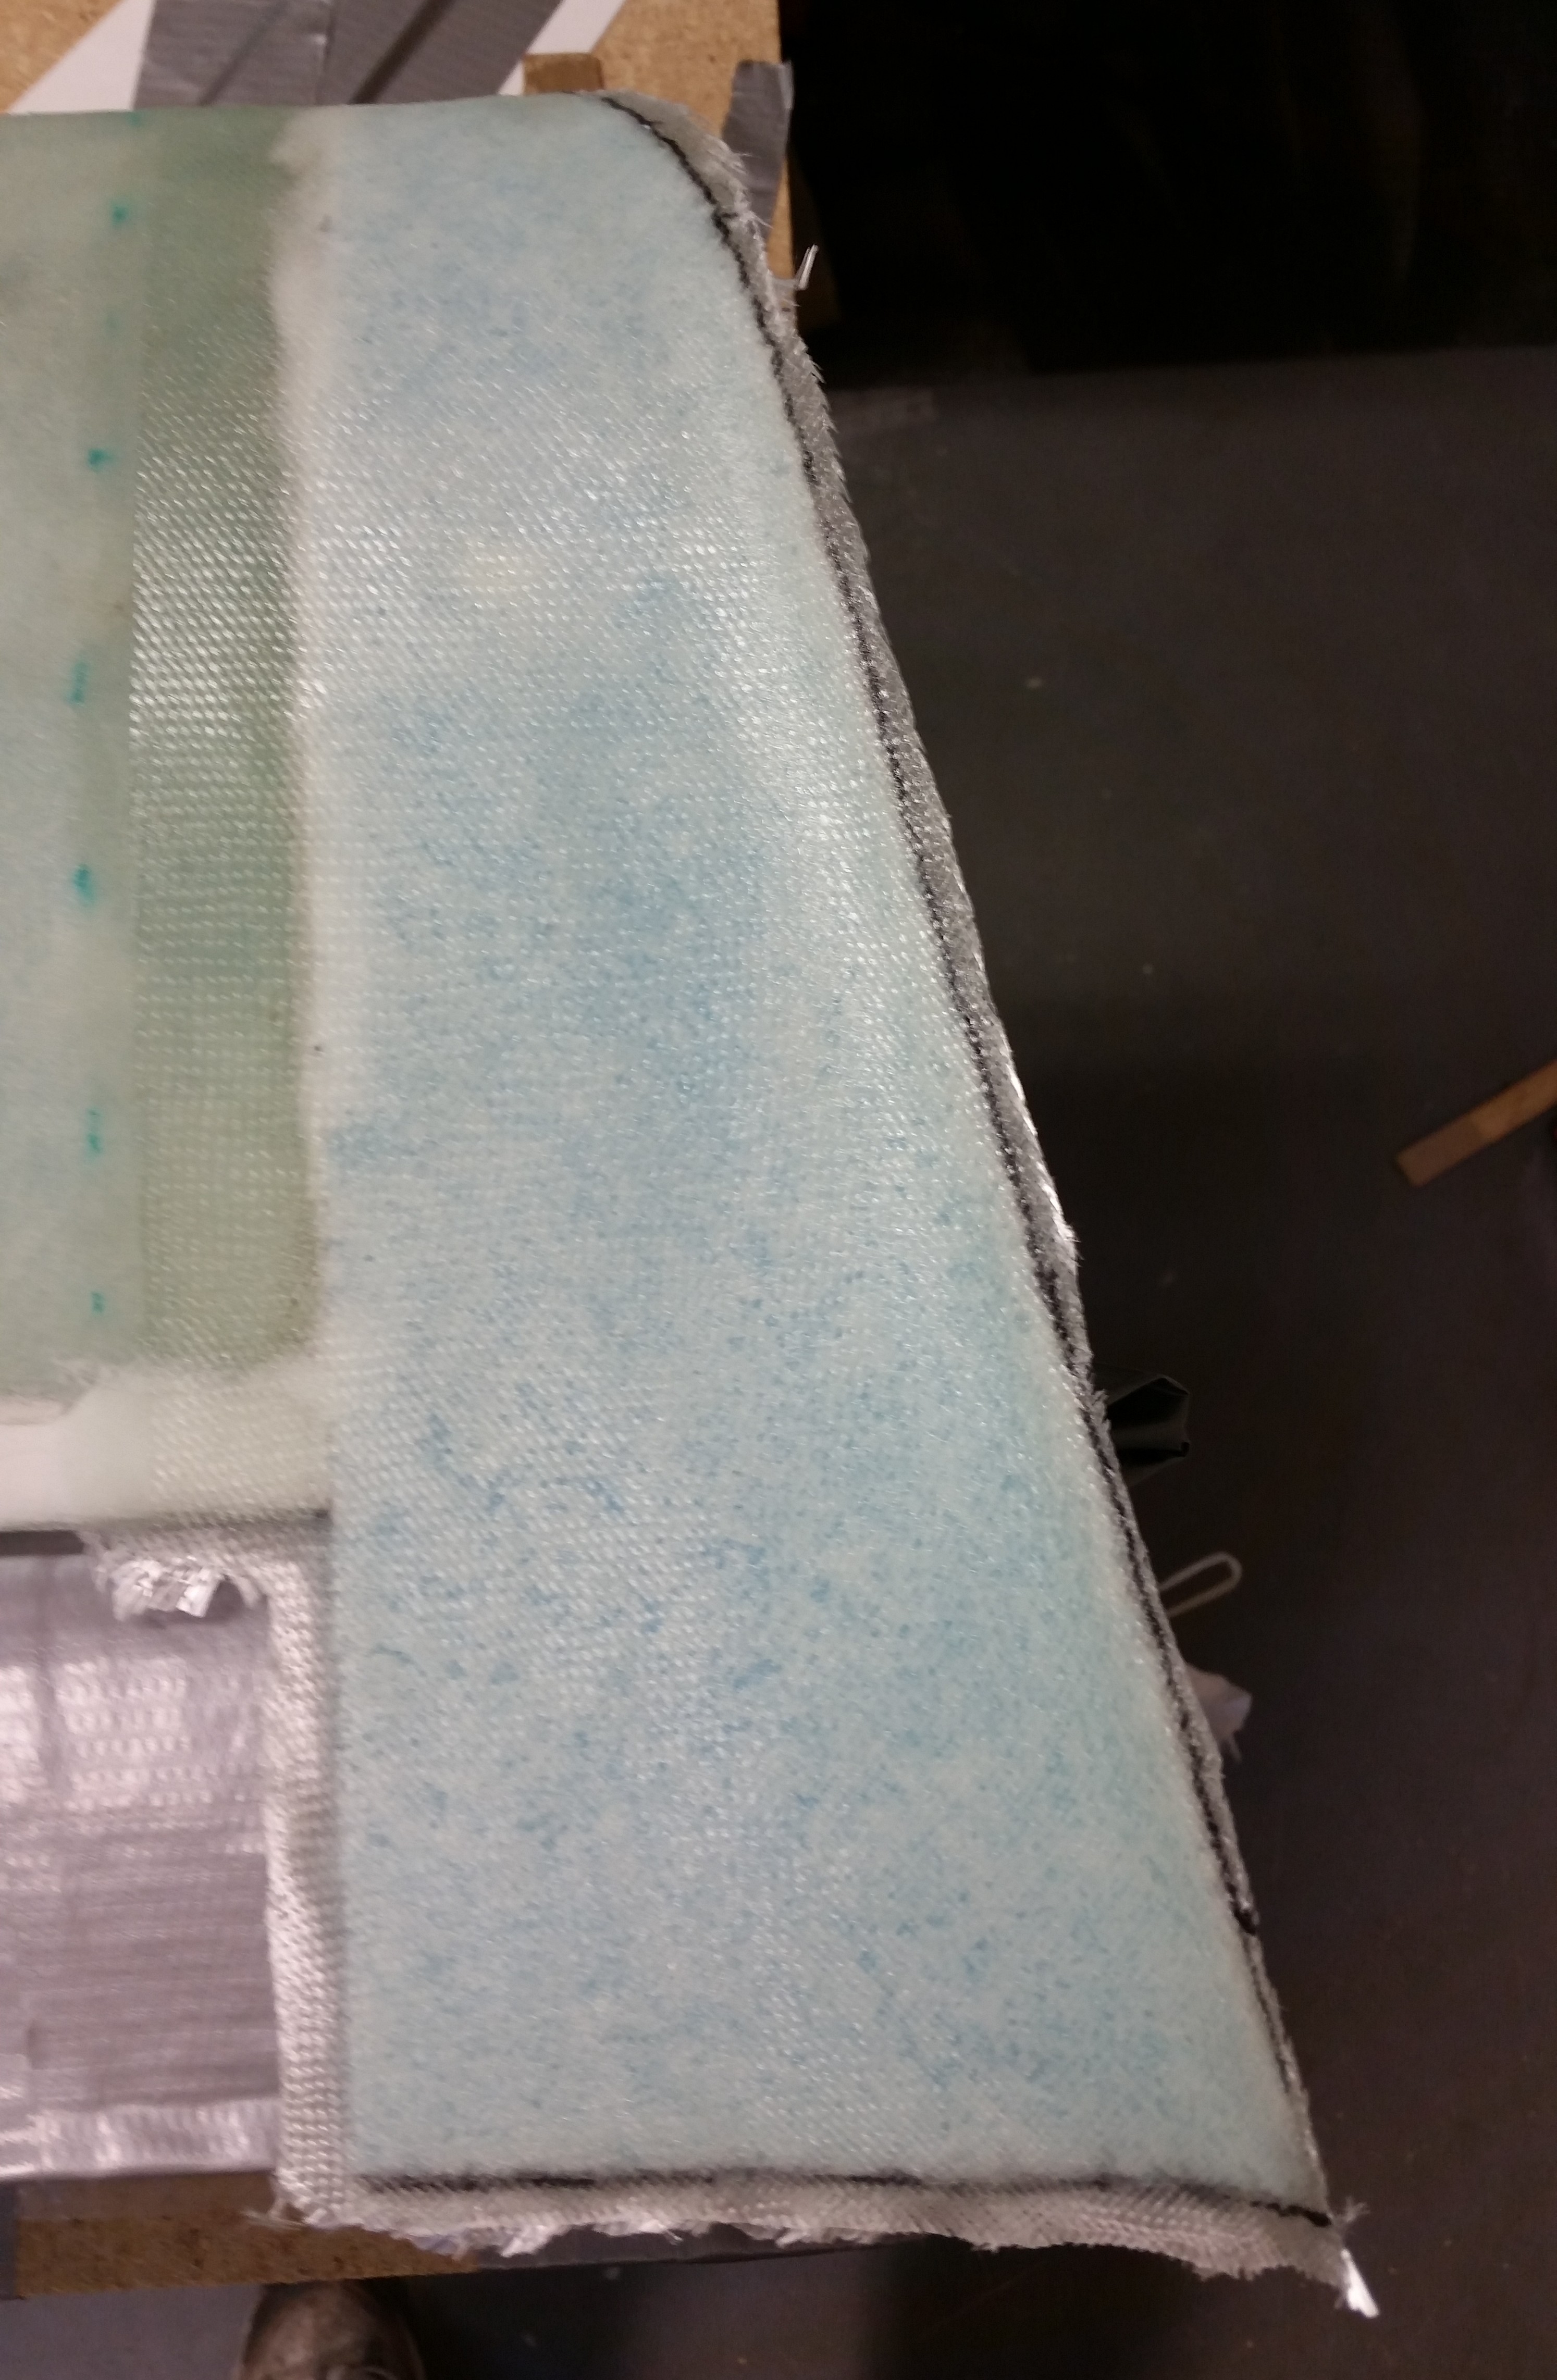
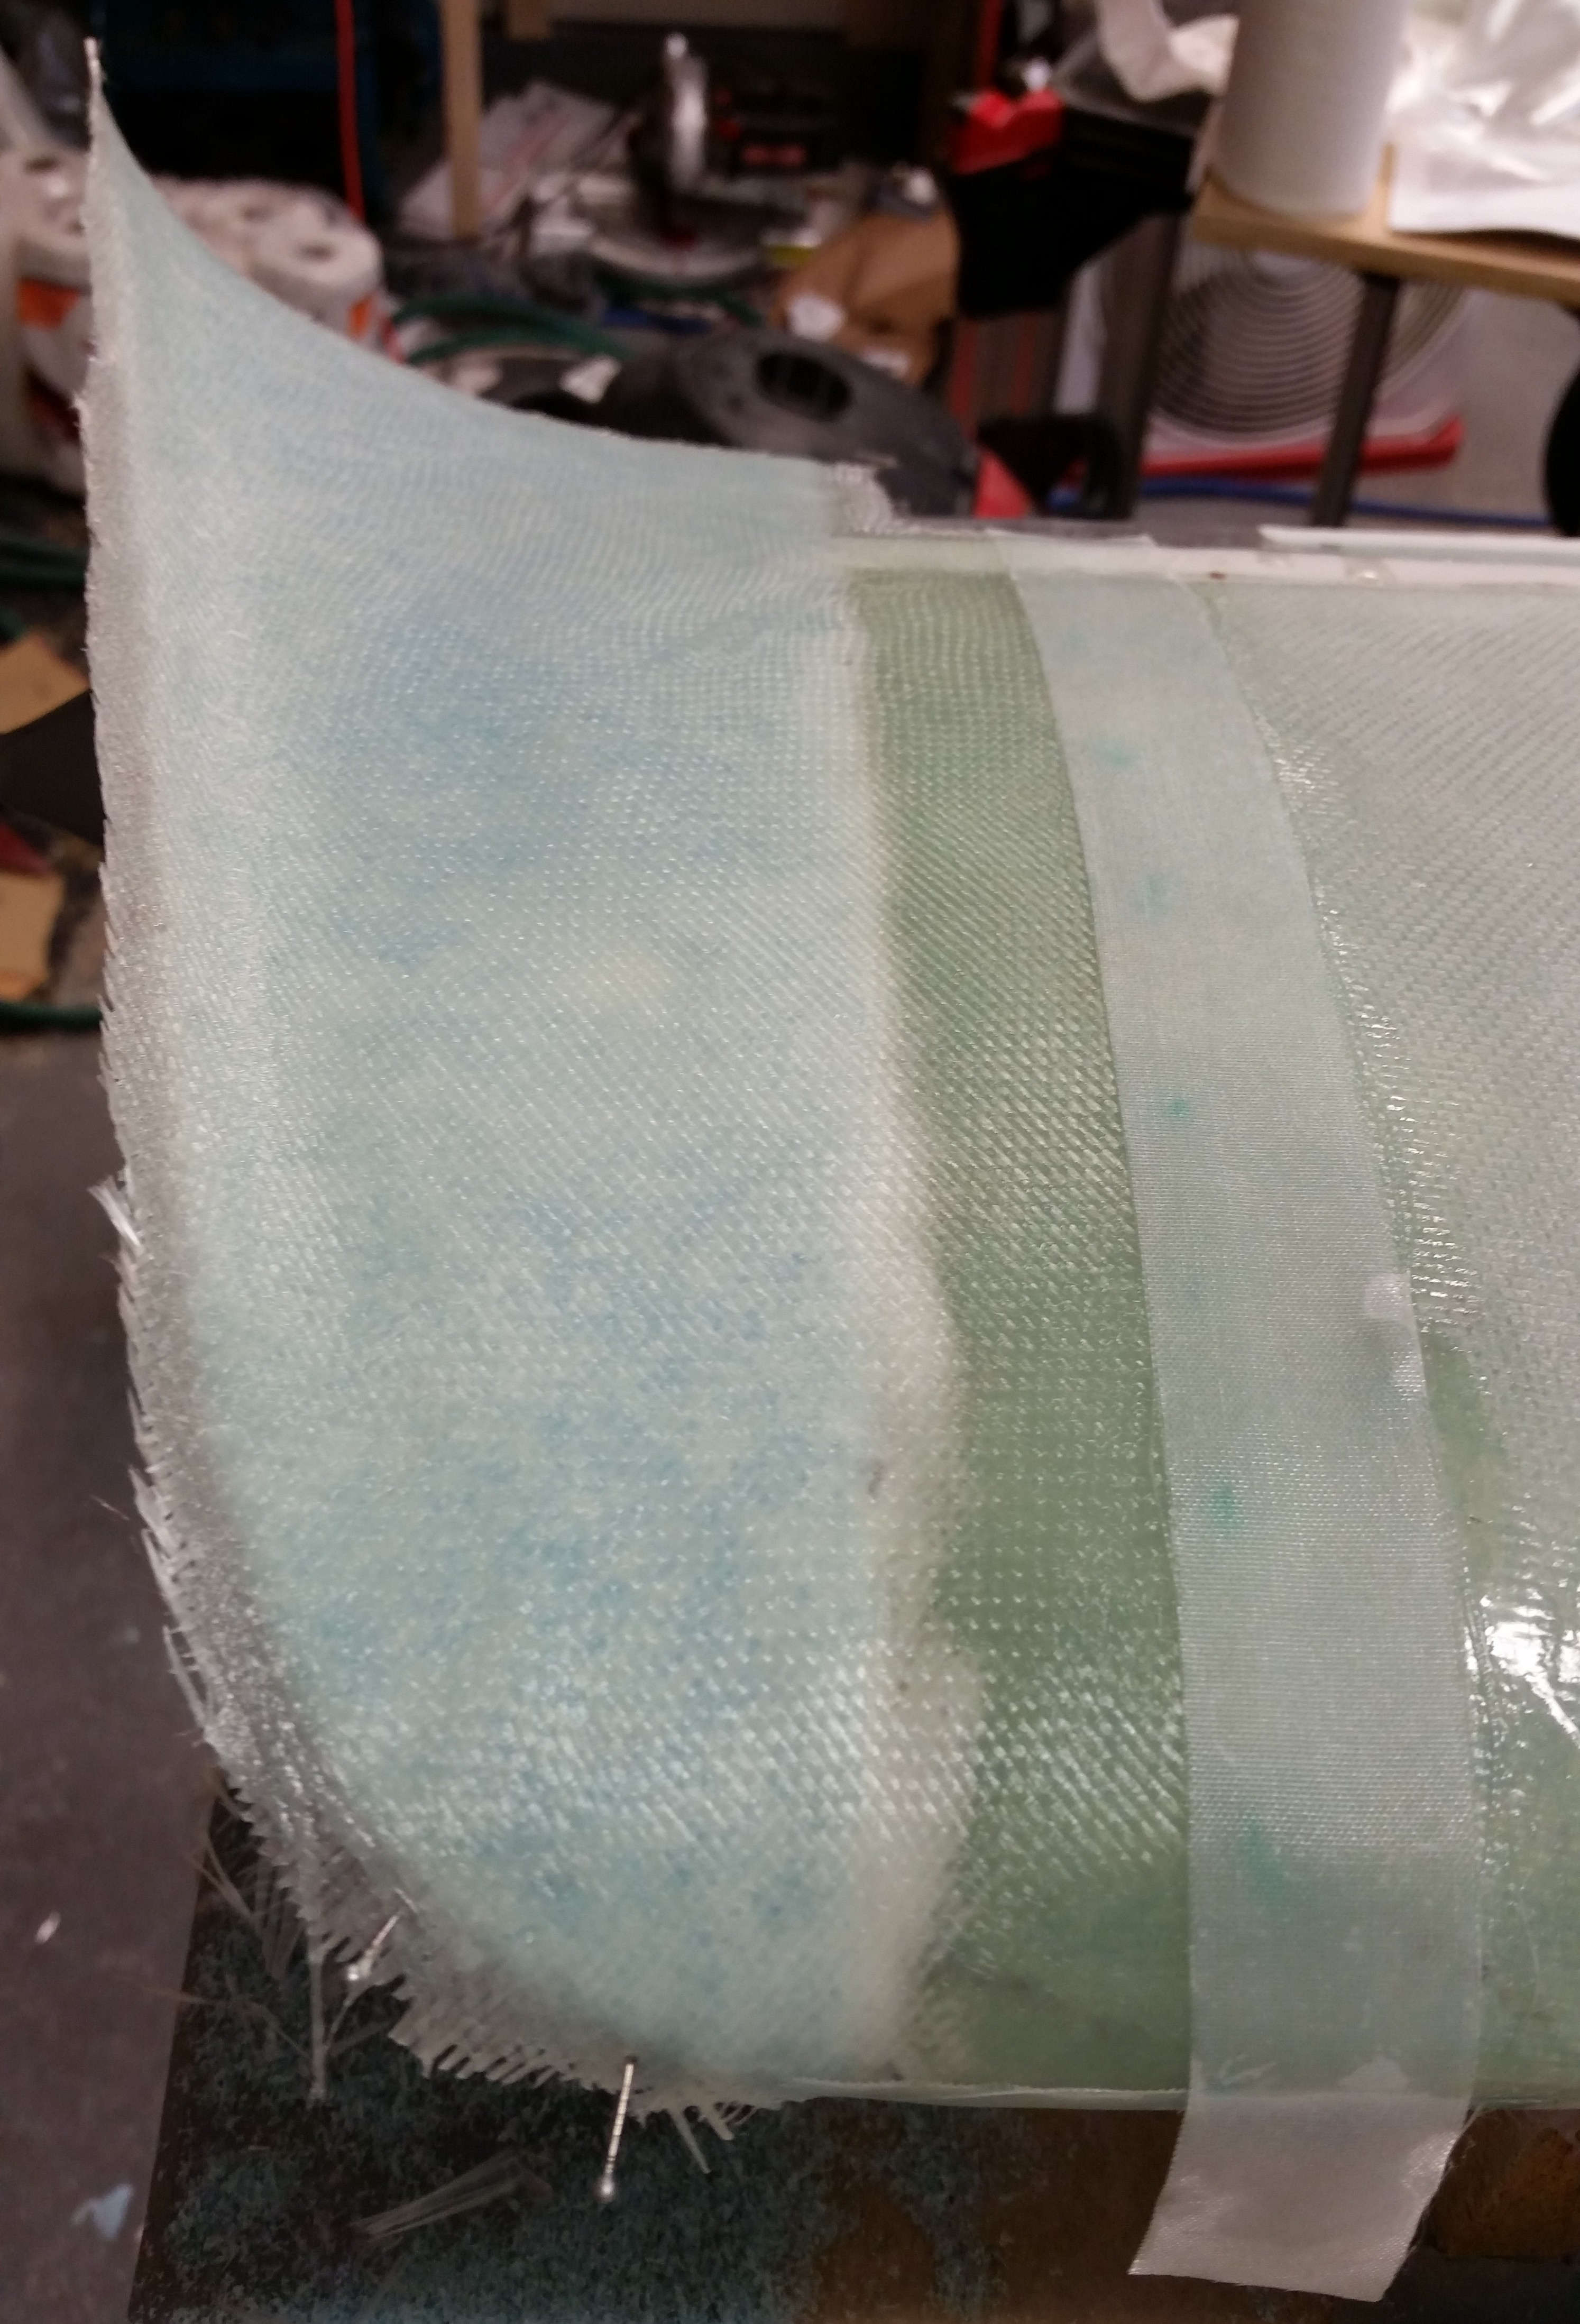
A number of hours later after I knife-trimmed it with the Fein saw, and then sanded the edges.
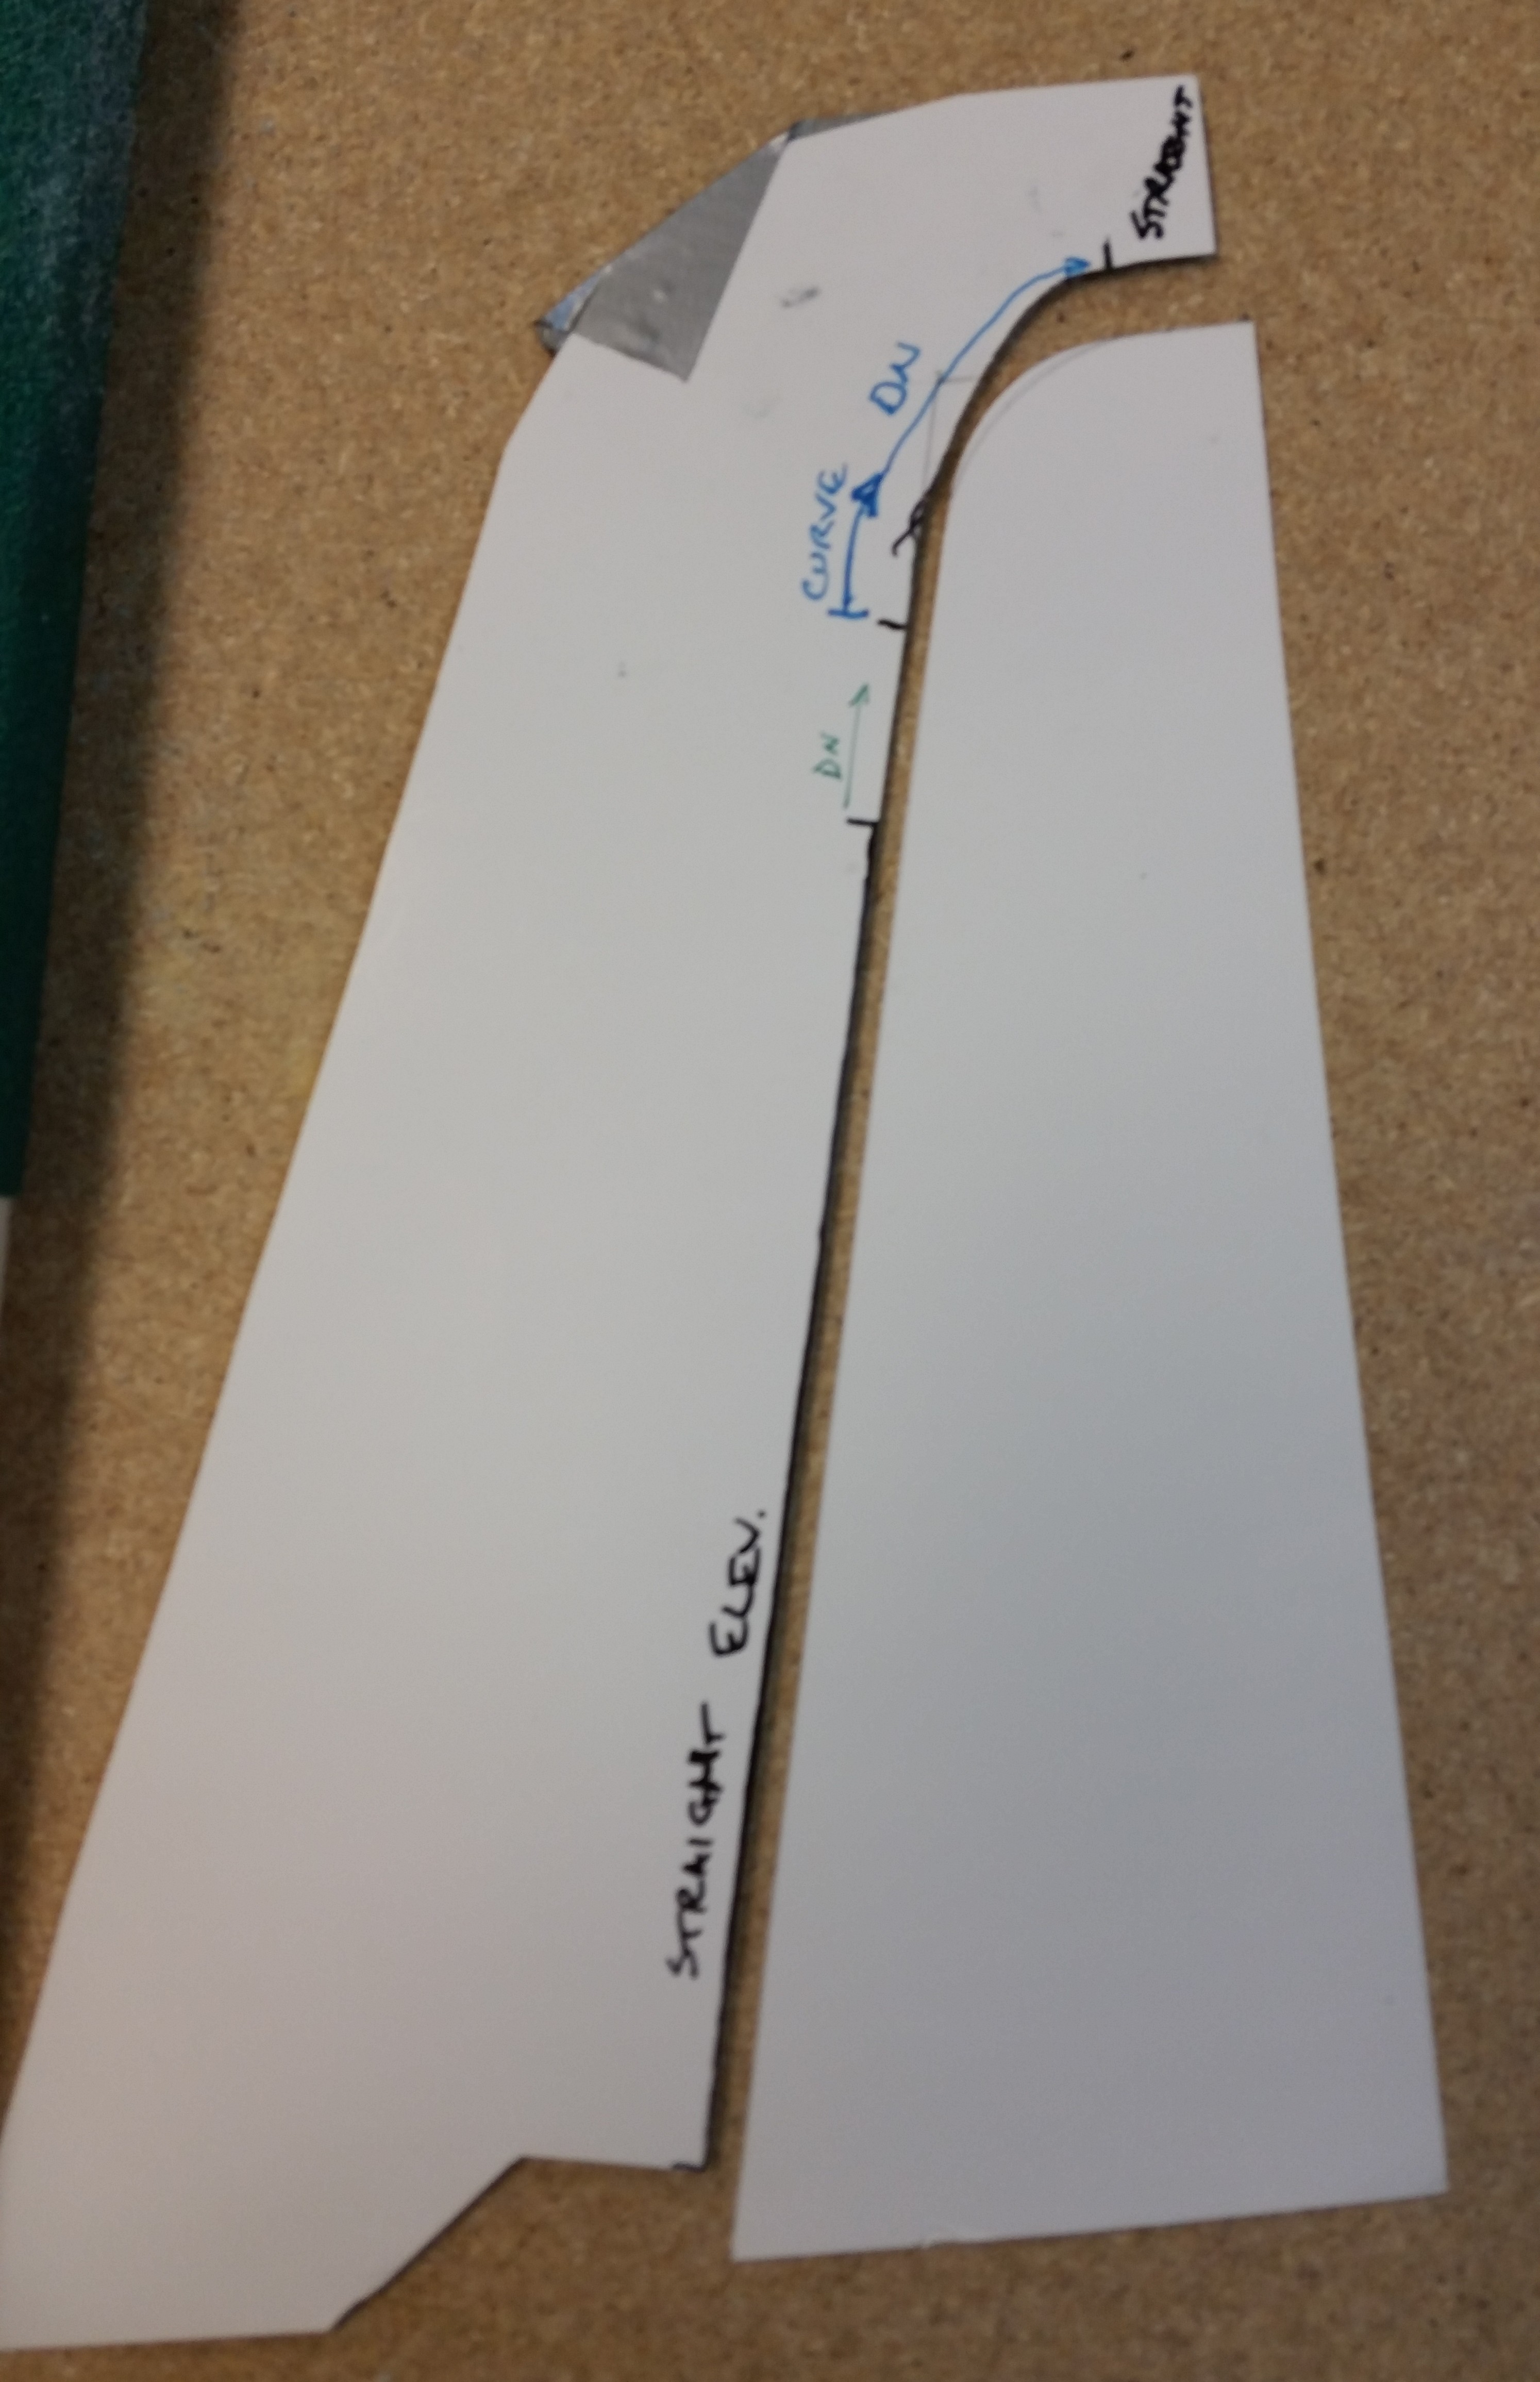
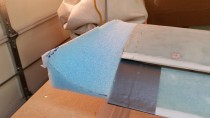
To show you my original thinking, take a look at the template to the right in the pic below. That’s how I had originally envisioned the nose of the swoosh tip. That quickly transitioned into an insane template that would have been better described using a NASA 3D modeling program. I thought maybe a working knowledge of geometry may come in handy here . . . oh, no, folks! We’re talking calculus & quantum physics for this project!
Why?! Well, in Burt’s sadistic command, “form to a pleasing shape” I can see where it may not be a big deal. Except in this case you have to make a mirror of that which you just free formed into a “pleasing shape!”
So here’s round two of “forming into a pleasing shape.” Obviously side 2 is all about replicating side 1 . . . some heavy stuff here my friends!
I started in quickly and got the left side canard tip to pic #1 in about 5 minutes, and to pic #4 in about 20 minutes. But after I got the basic shape, I then kept going back and forth from one side of the canard to other measuring distance, elevation, slope, etc. to get this side as close to the other side as possible. I guess the saving grace is that these sit about 11 feet apart from each other on opposite ends of the canard, so it obscures any slight differences.
Nonetheless, at the end of another 20 minutes or so, I felt like I had a good mirror replica of the right side swoosh tip.
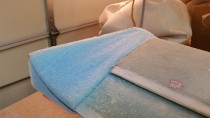
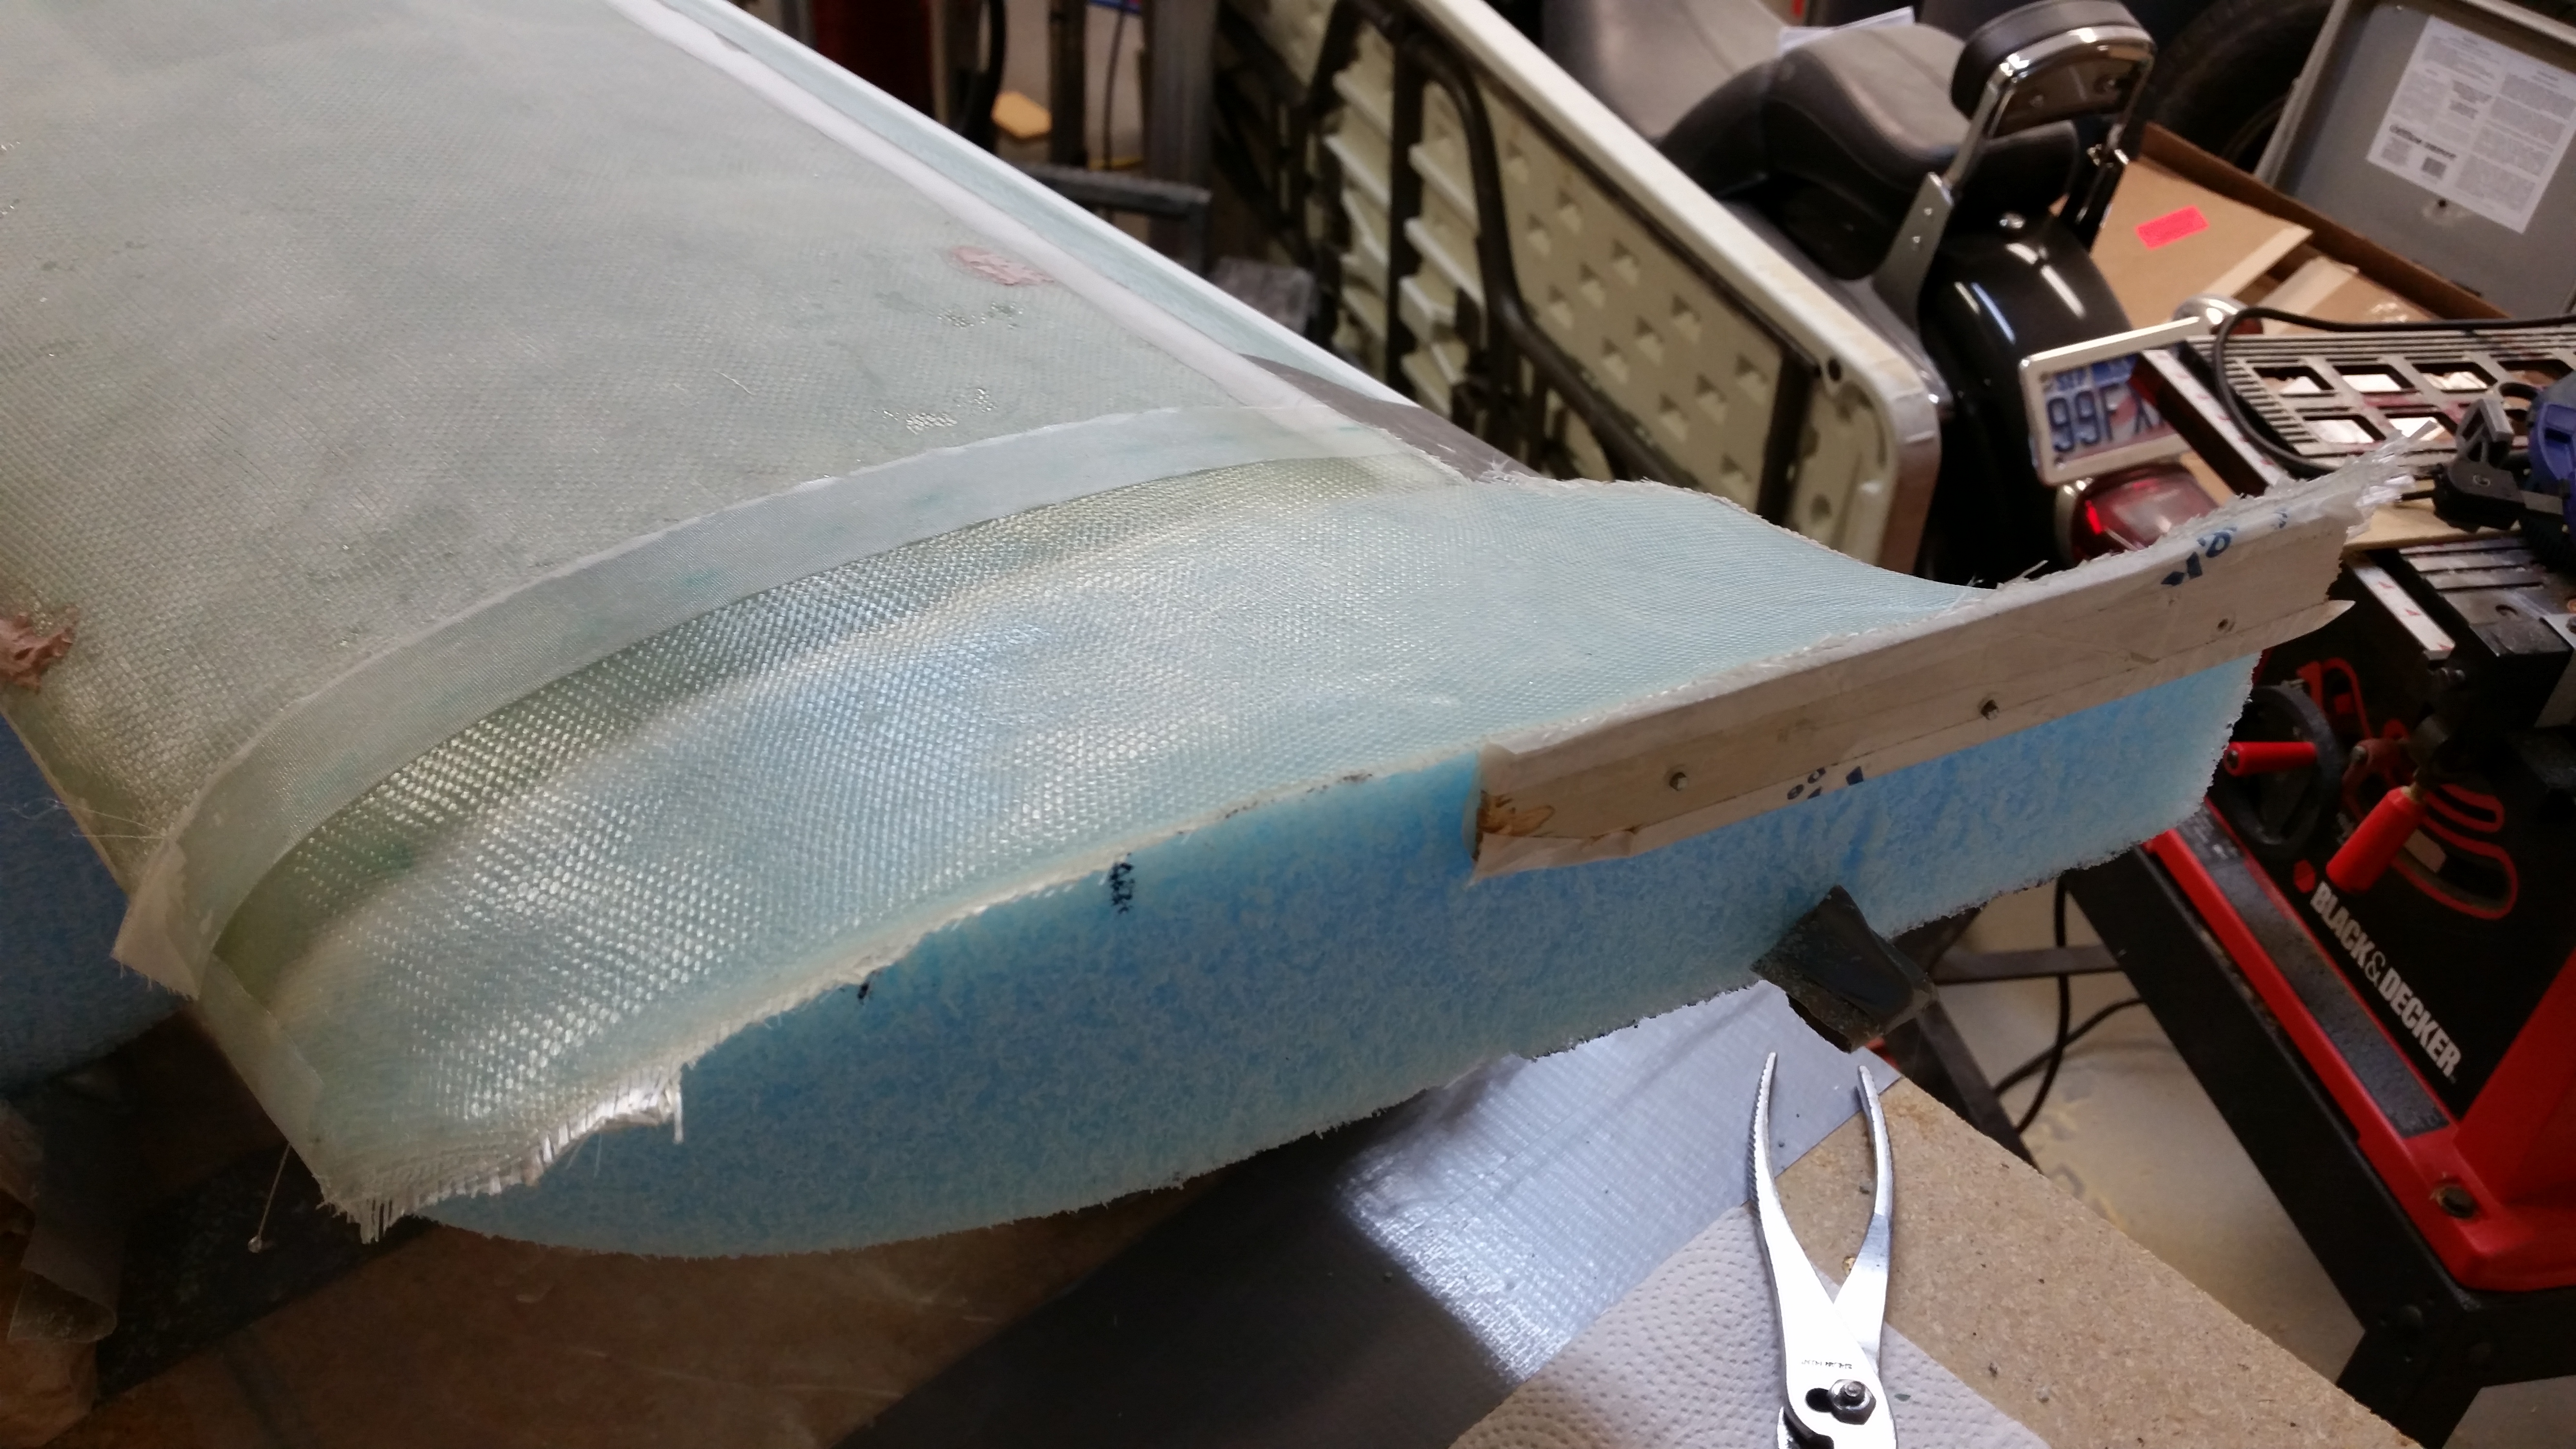
I prepped the left side canard swoosh tip for glassing. One thing of note is that the back to top corner was a little dinged up, so I added a small buttress to keep the aft skin layup straight.

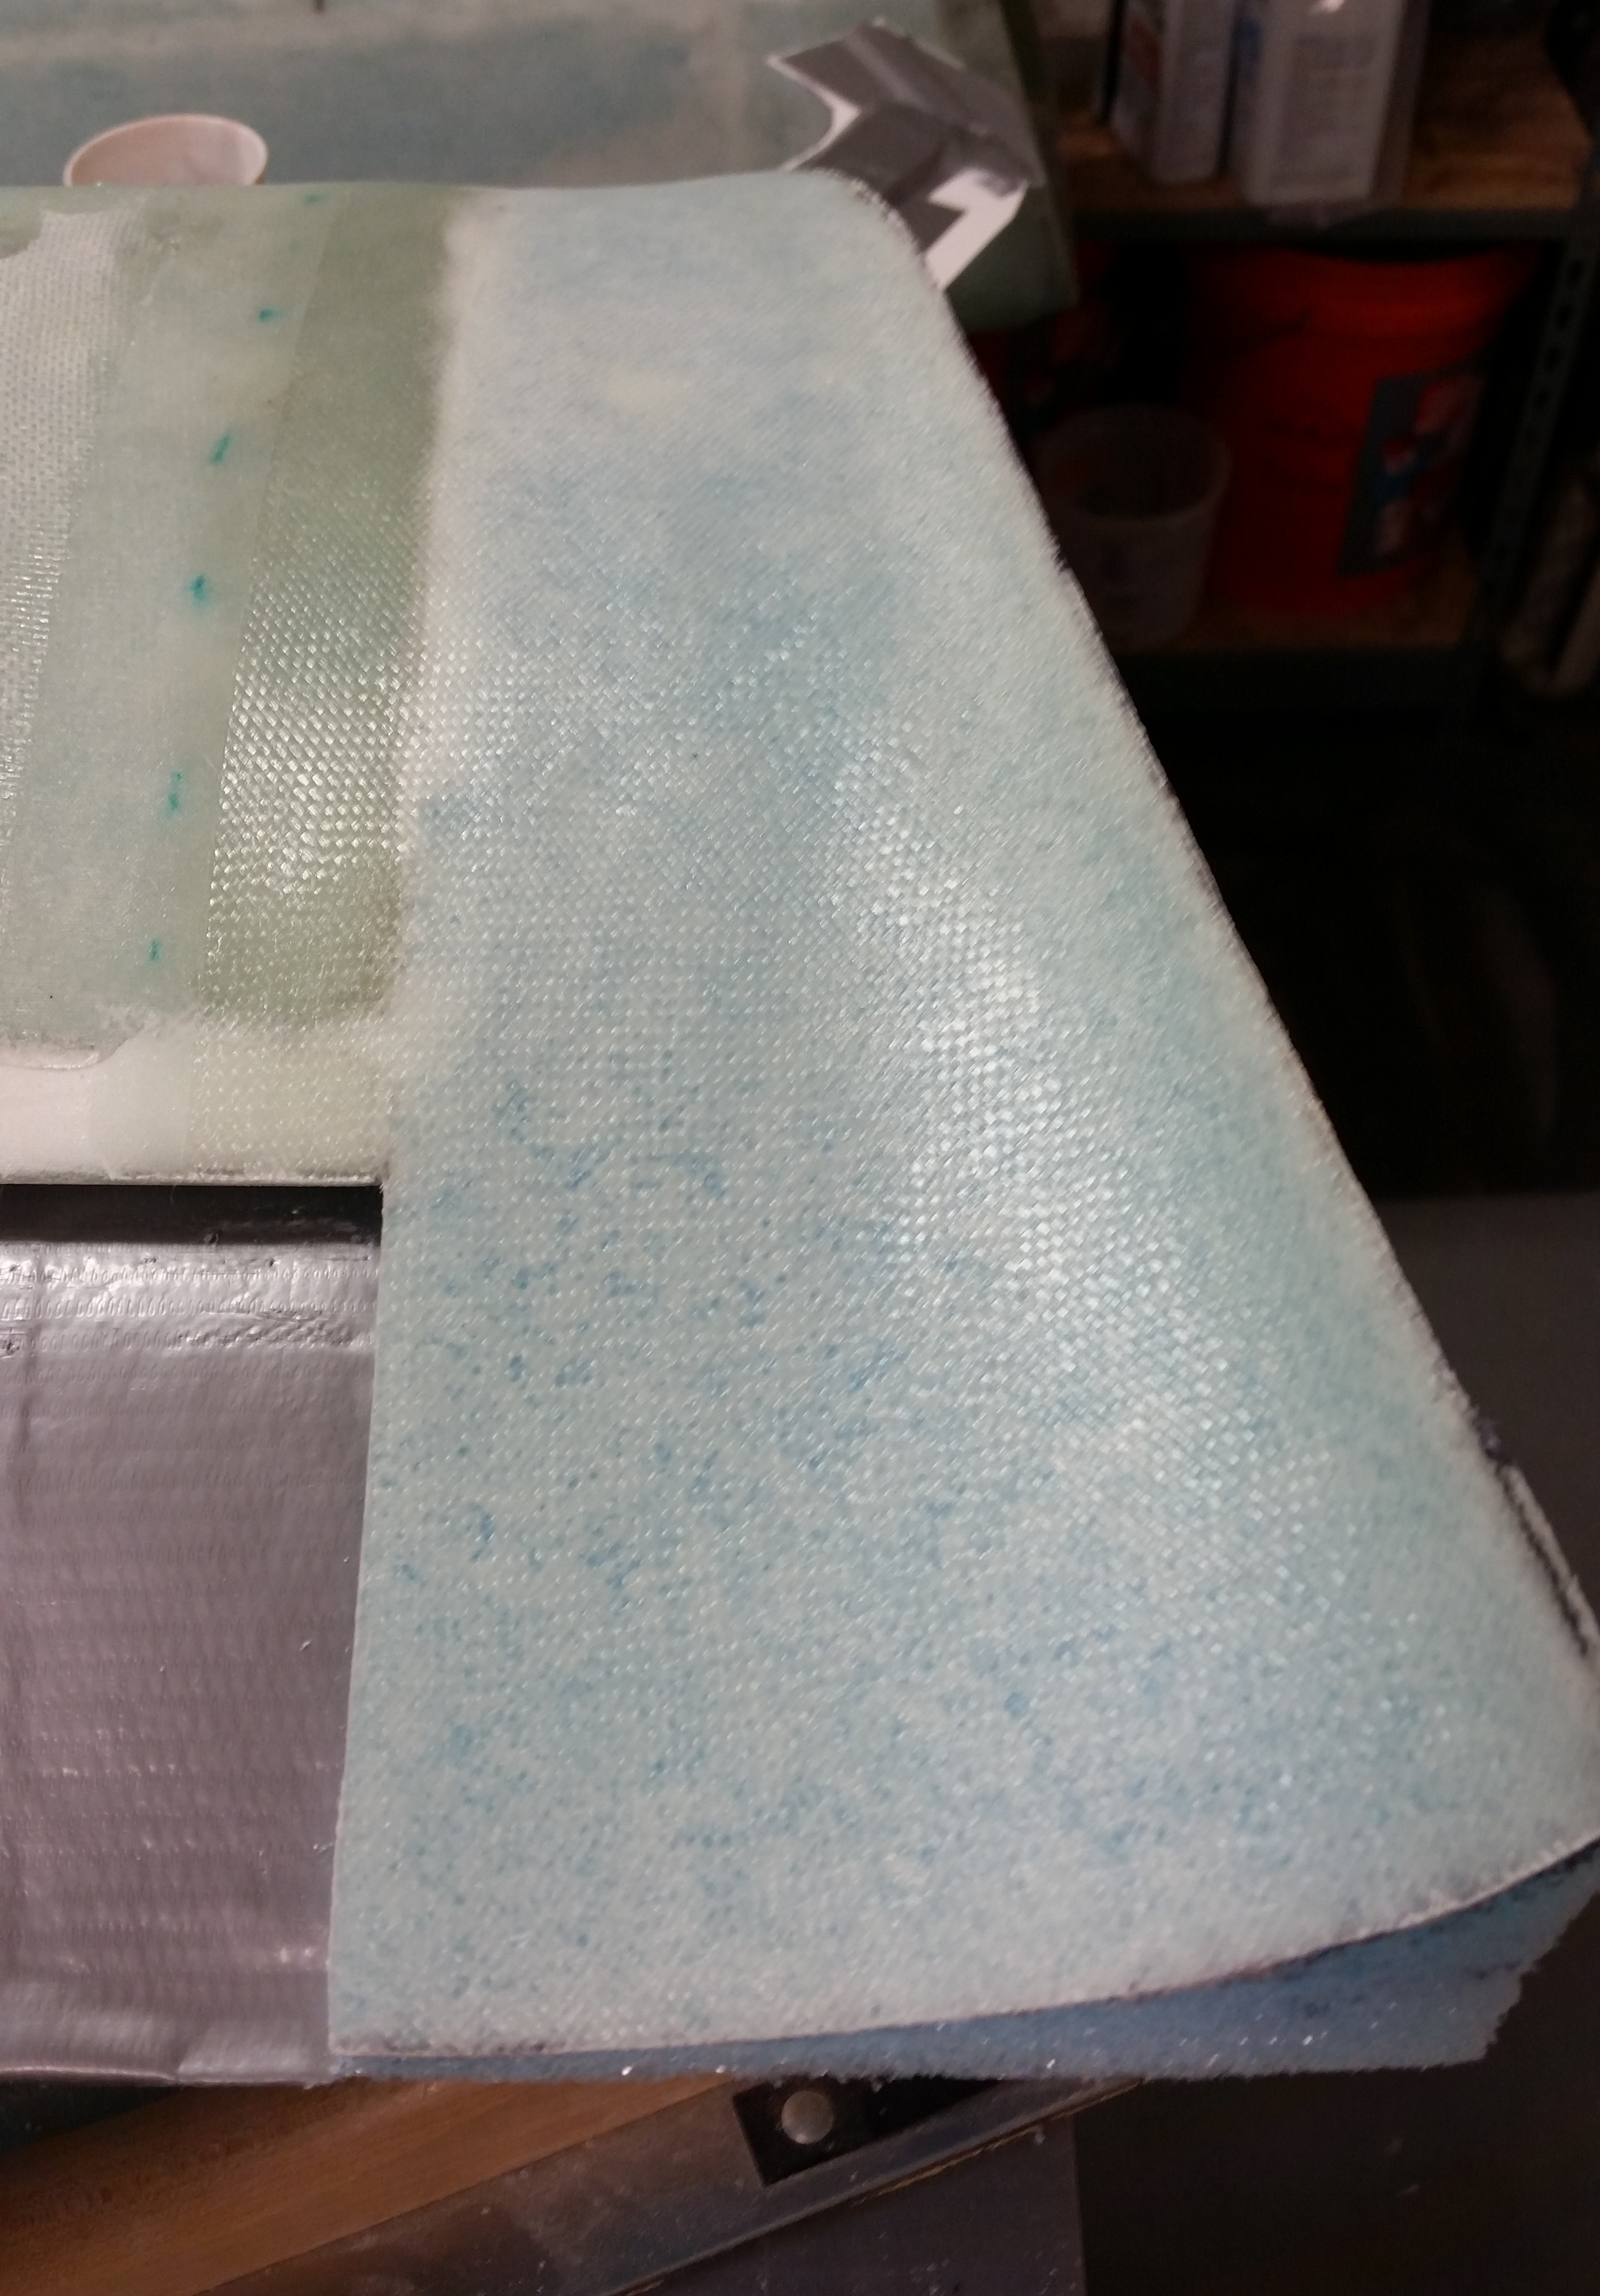
I then laid up the top of the left side canard swoosh tip with 2-plies of UNI just like the right side. I will say that after I was finished I had an issue with the shape of the left canard tip. You see, after I put the wood support piece in place I needed to finish sanding the outboard top edge to a fine point to get the shape to match the other side (this was before the layup). Well, I used my Perma-Grit half moon sanding toold which–unbeknownst to me at the time– caused a much sharper radius in the foam right at where it made it’s final turn up at the edge. It’s basically like comparing the curve of a “C” like I had on the right side compared to the shape of a “U” which I had now on the left side. Again, this was all occurring in the very outboard upturn, and all within about 3/4″ of an inch from the edge.
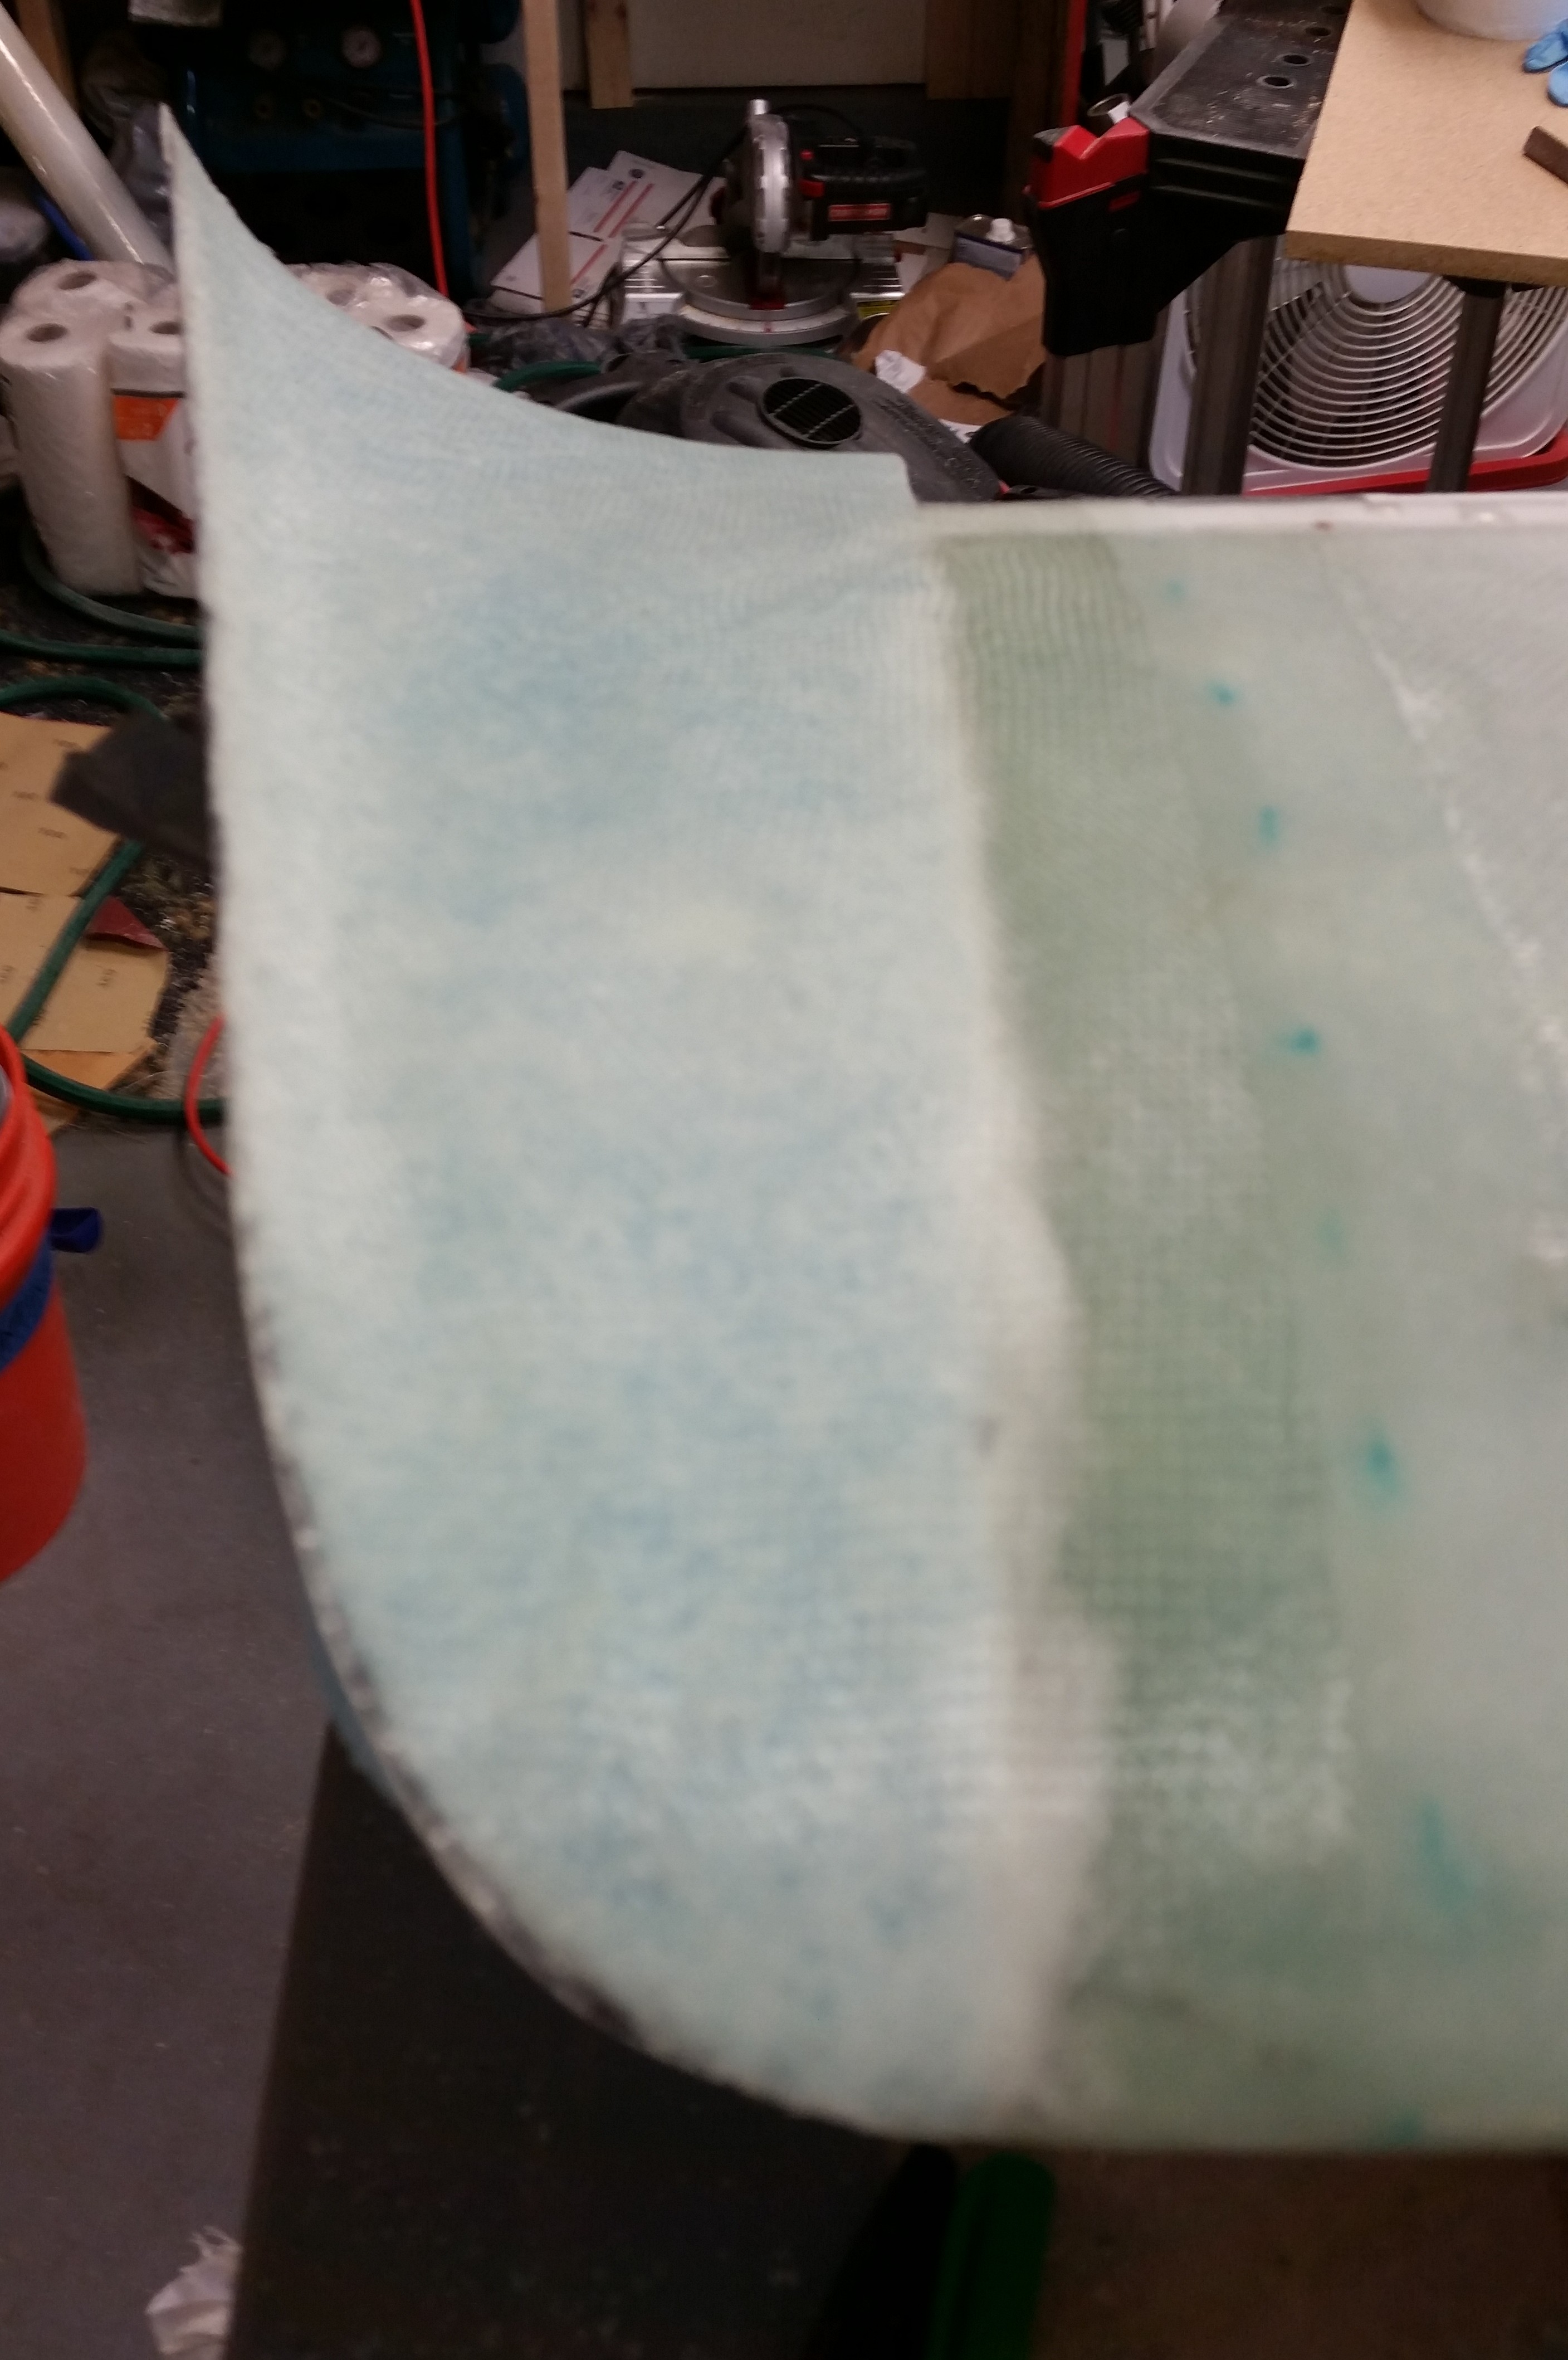
After I glassed it, I compare it to the right side and that outboard upturn was staring me in the face. Since I hadn’t feathered that final removal of foam for the sharp edged upturn, it was showing up much more prominently after glassing. To be clear, if this was the way both sides looked, it would be fine and not something that looks like a mistake. It was simply a different style, or look, than what I had on the right side.
After a couple more double takes, and comparing it to the other side again, I couldn’t take it. I peeled back the UNI, grabbed the 2″ diameter PVC tube sander (that I had made for shaping the swoosh tips) and simply feathered the micro-covered foam down to “a pleasing shape!” I then made sure it was what I wanted and matched the other side, and simply laid the UNI back into place and squeegeed it flat. It all took maybe 5 minutes and I was then infinitely happier with the outcome of the left side swoosh tip layup since it flowed with a nice gradual curve from base to tip just like the right side.
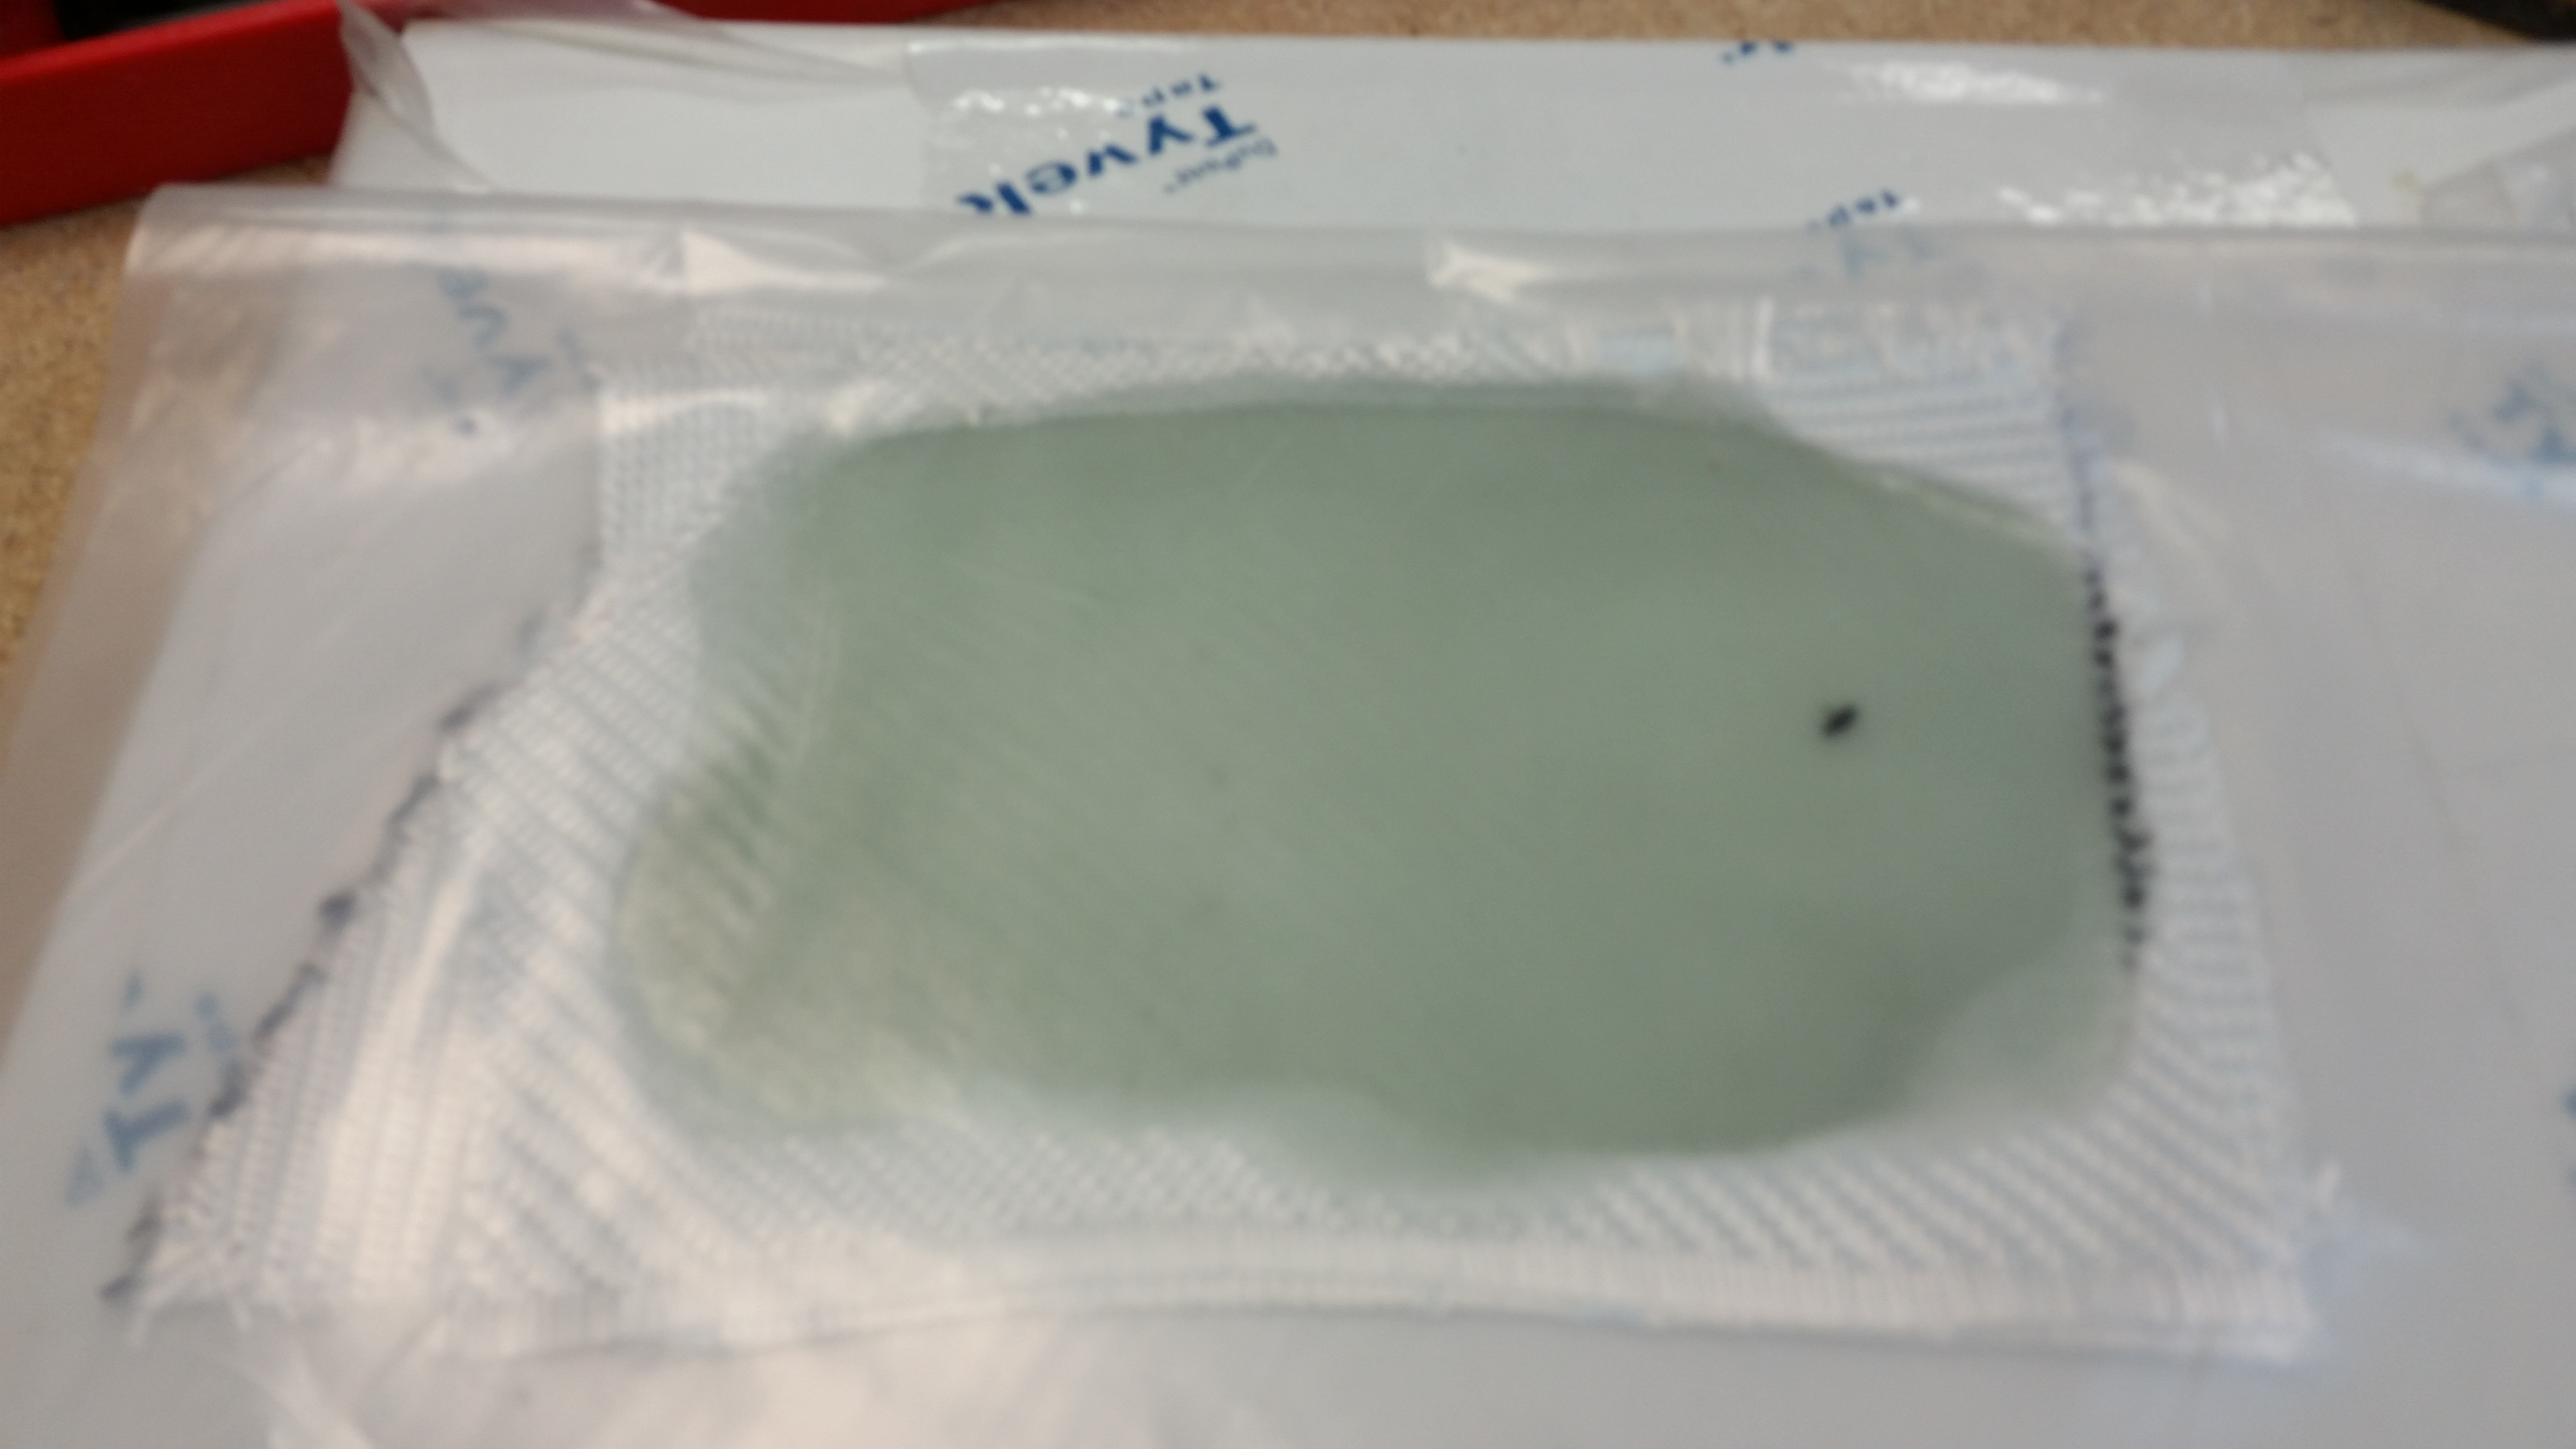
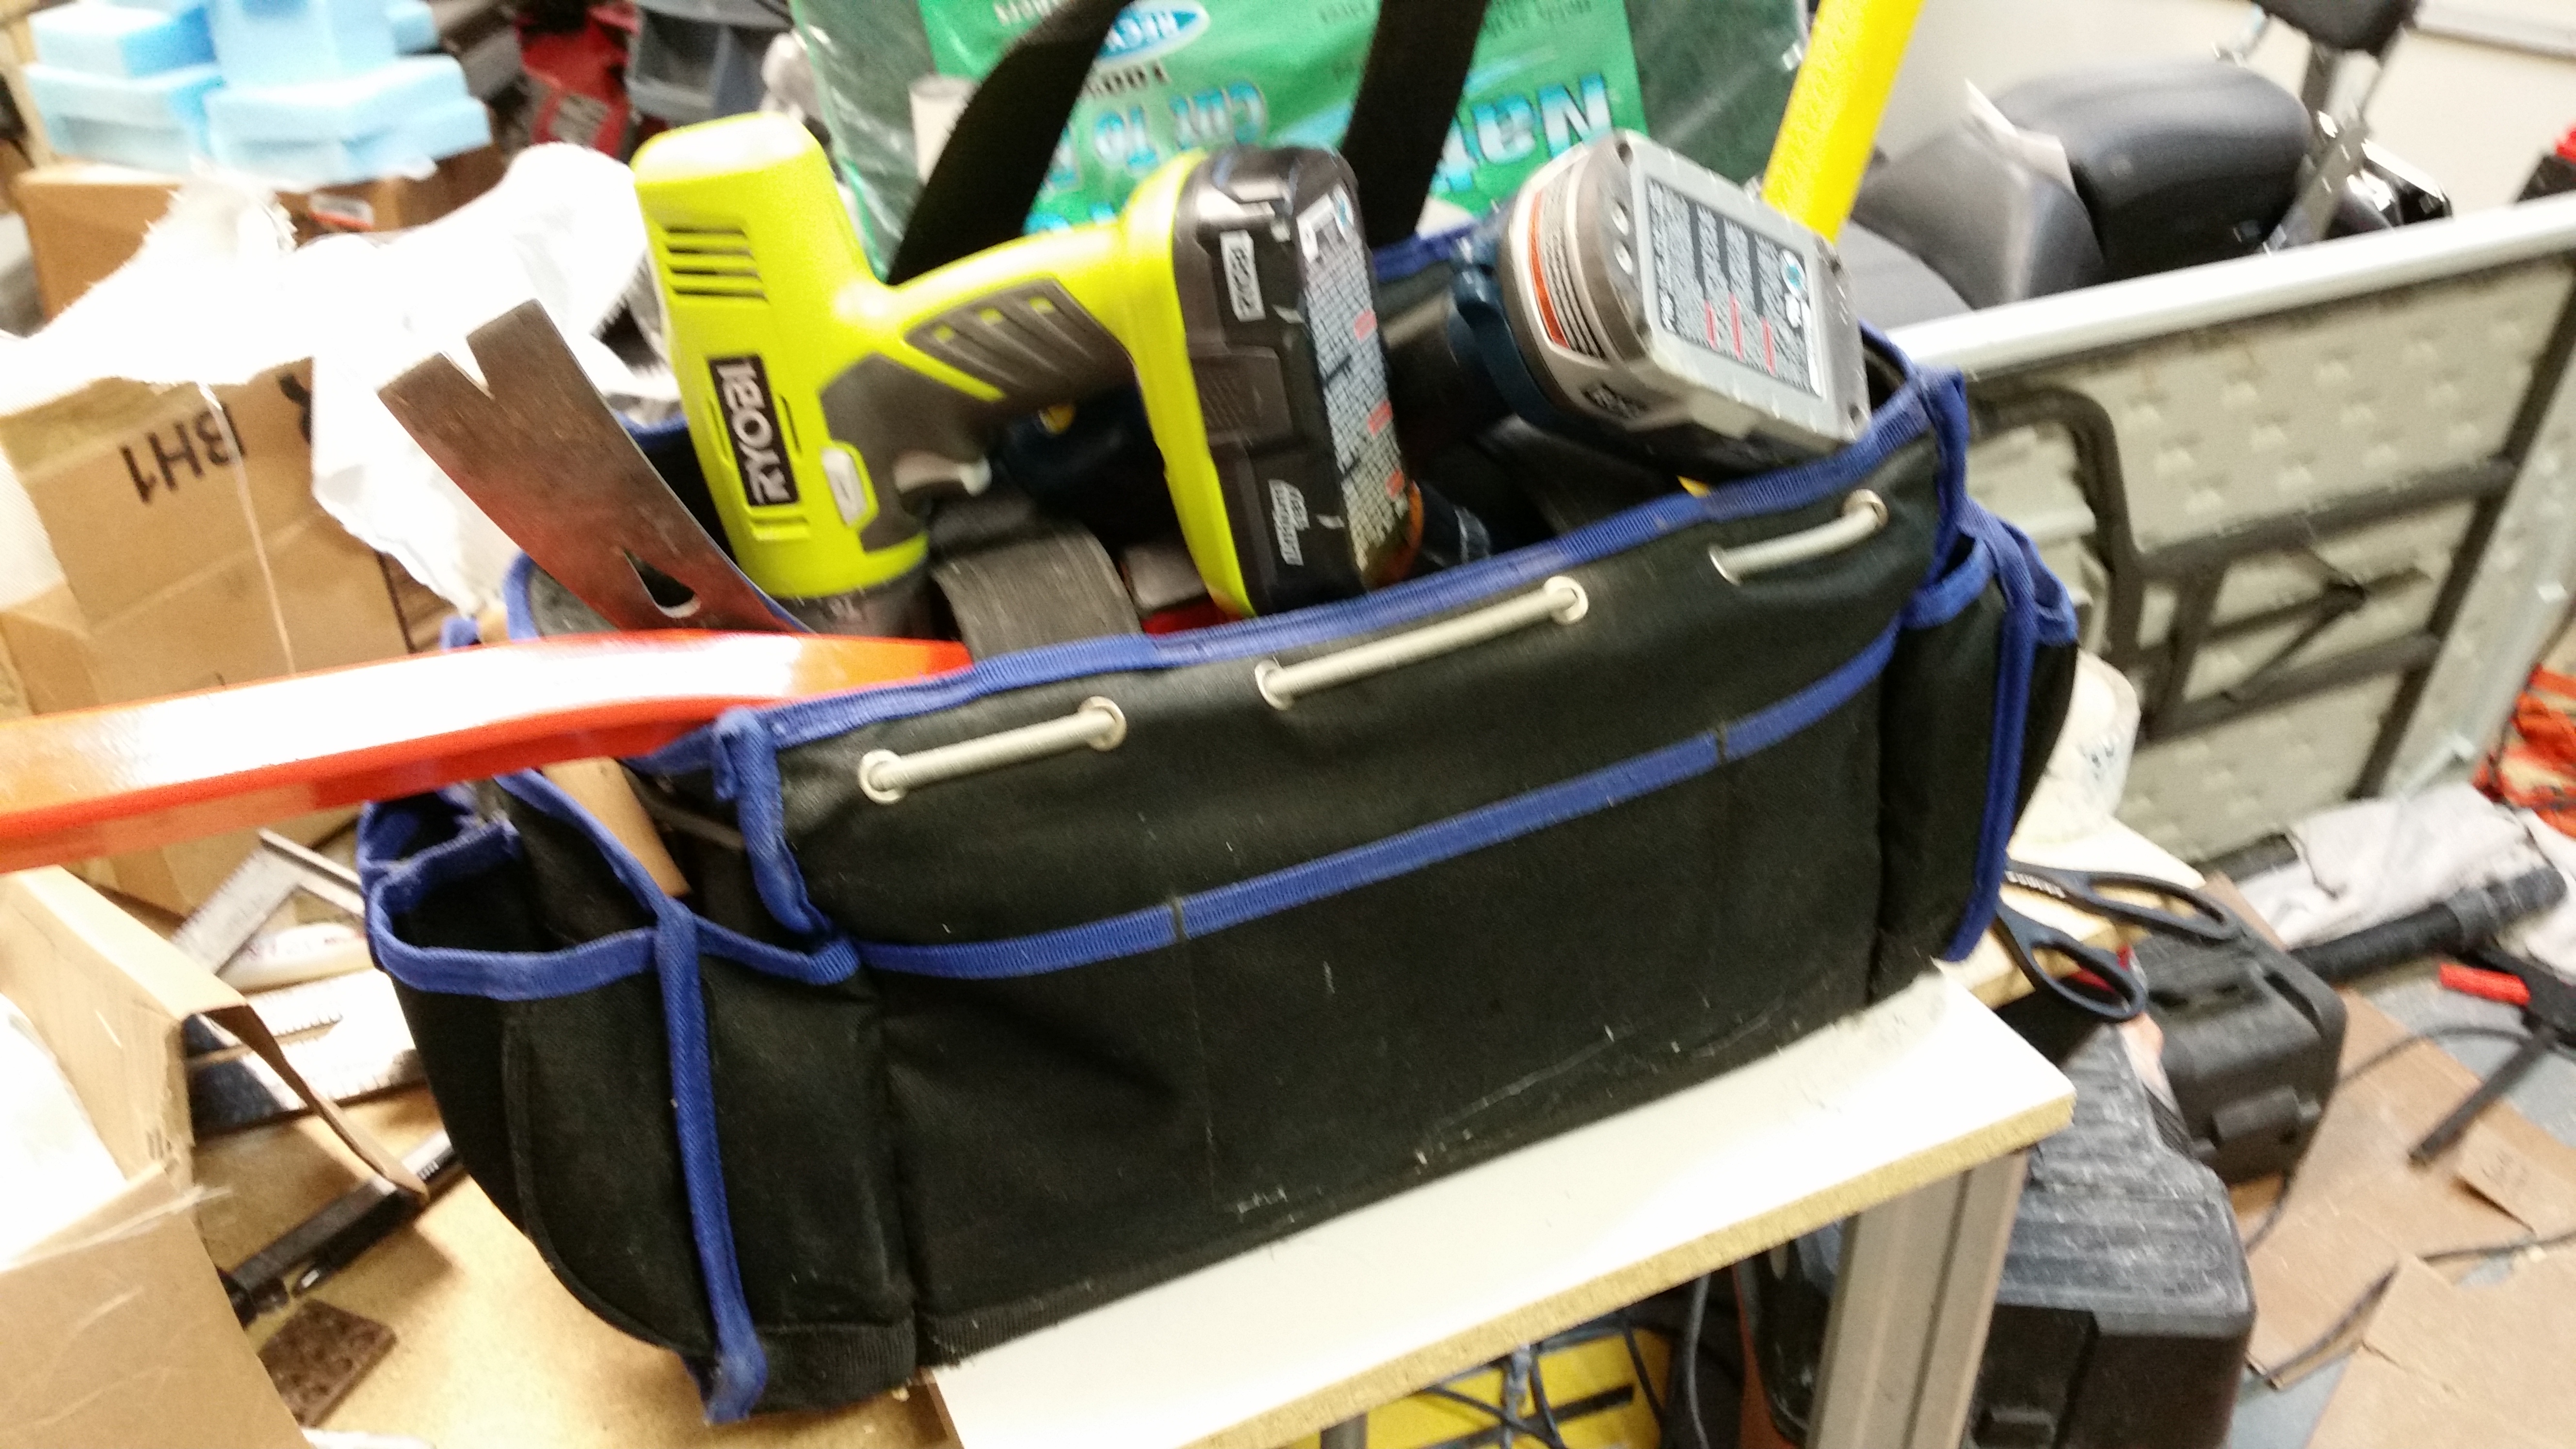
Since I had a little bit of pure epoxy left over, I grabbed the BID scrap box and a piece of plastic to make a 4-ply BID sheet, of which I would cut out a Vortilon or two. I laid the 4 plies of BID into a pre-preg setup and poured all the epoxy into the layup. After heating up the pre-preg with the heat gun it flowed well enough to wet out all the epoxy. I then put another plate on top of it and weighed it down with my heavy tool bag (pic below).
Here’s a few shots of the finished top side of the right swoosh tip.

Next will be the shaping and glassing of the bottom sides of the canard swoosh tips. Then back to working on the elevators to get the weights mounted, etc.