
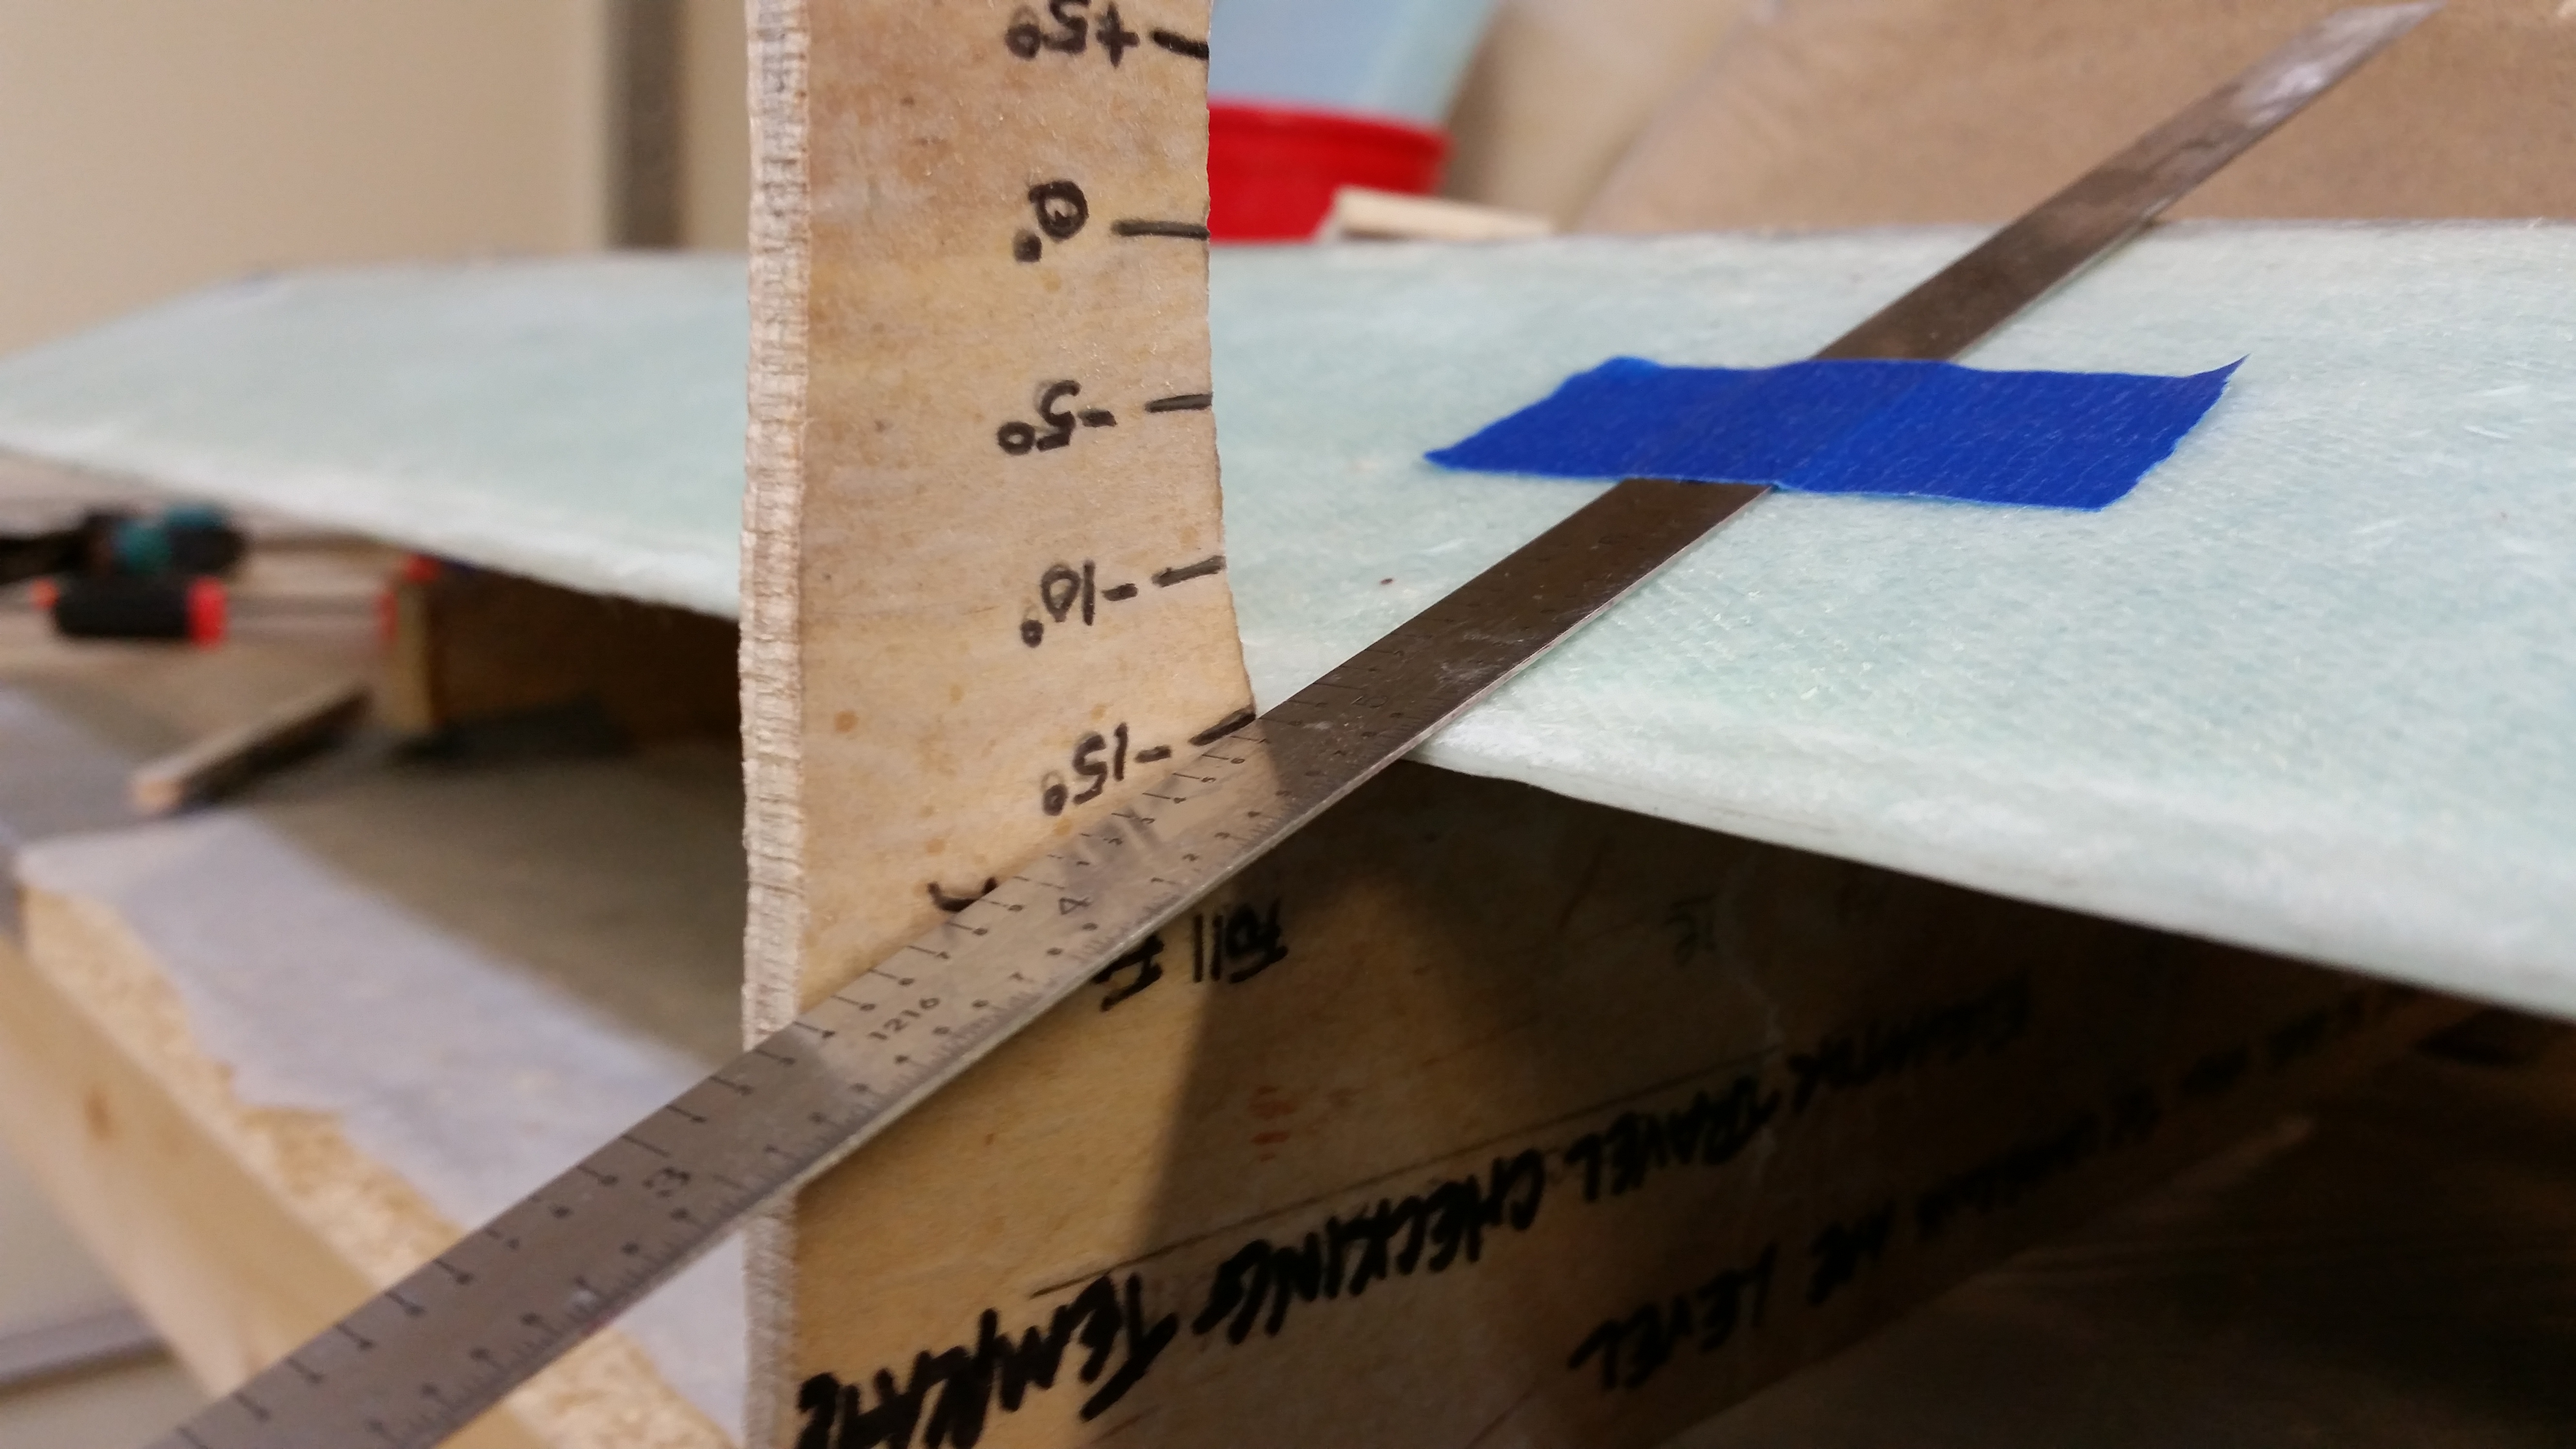
I started today off by checking the elevator travel to ensure it had maintained the 15° up travel that I had before floxing the remaining 4 hinges. I’m happy to report that not only am I still getting the 15° elevator up travel, but it’s better than when I started installing the elevators. Success!
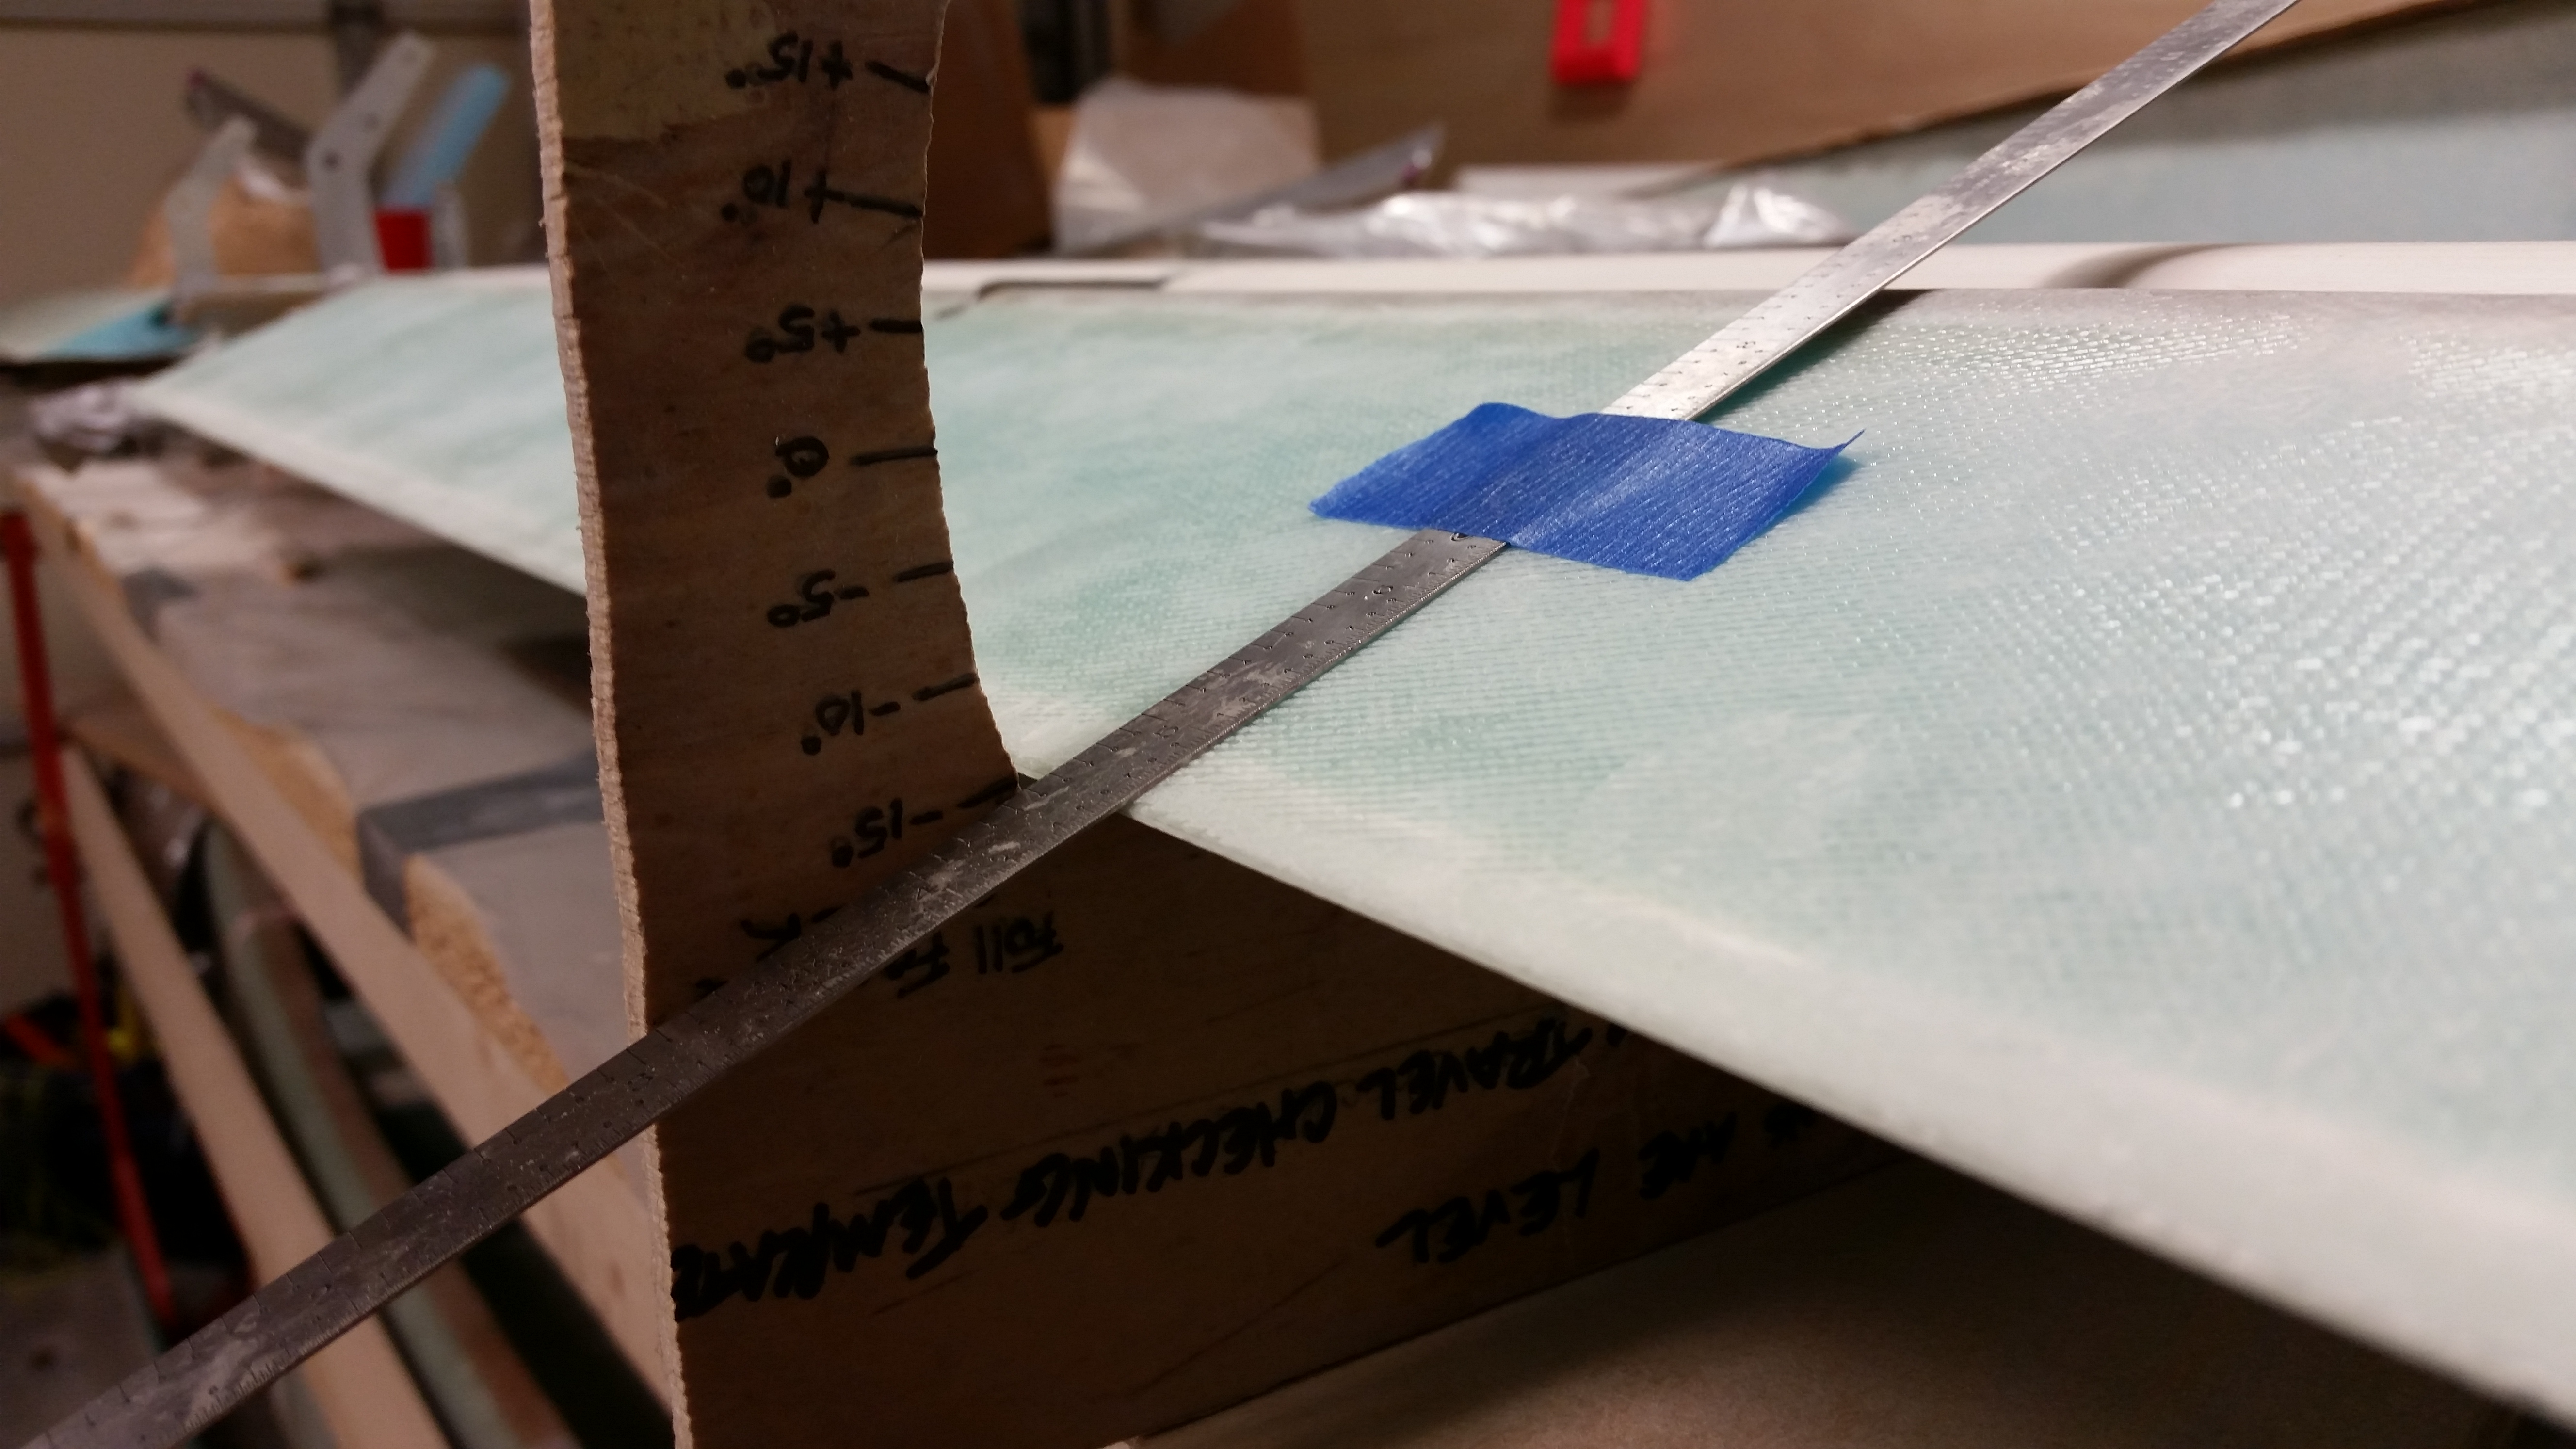
I then double checked the TE of the elevators to ensure that they are even across the entire span of both elevators. They are… so success again! (It was difficult to get a full shot of this, but I tried).
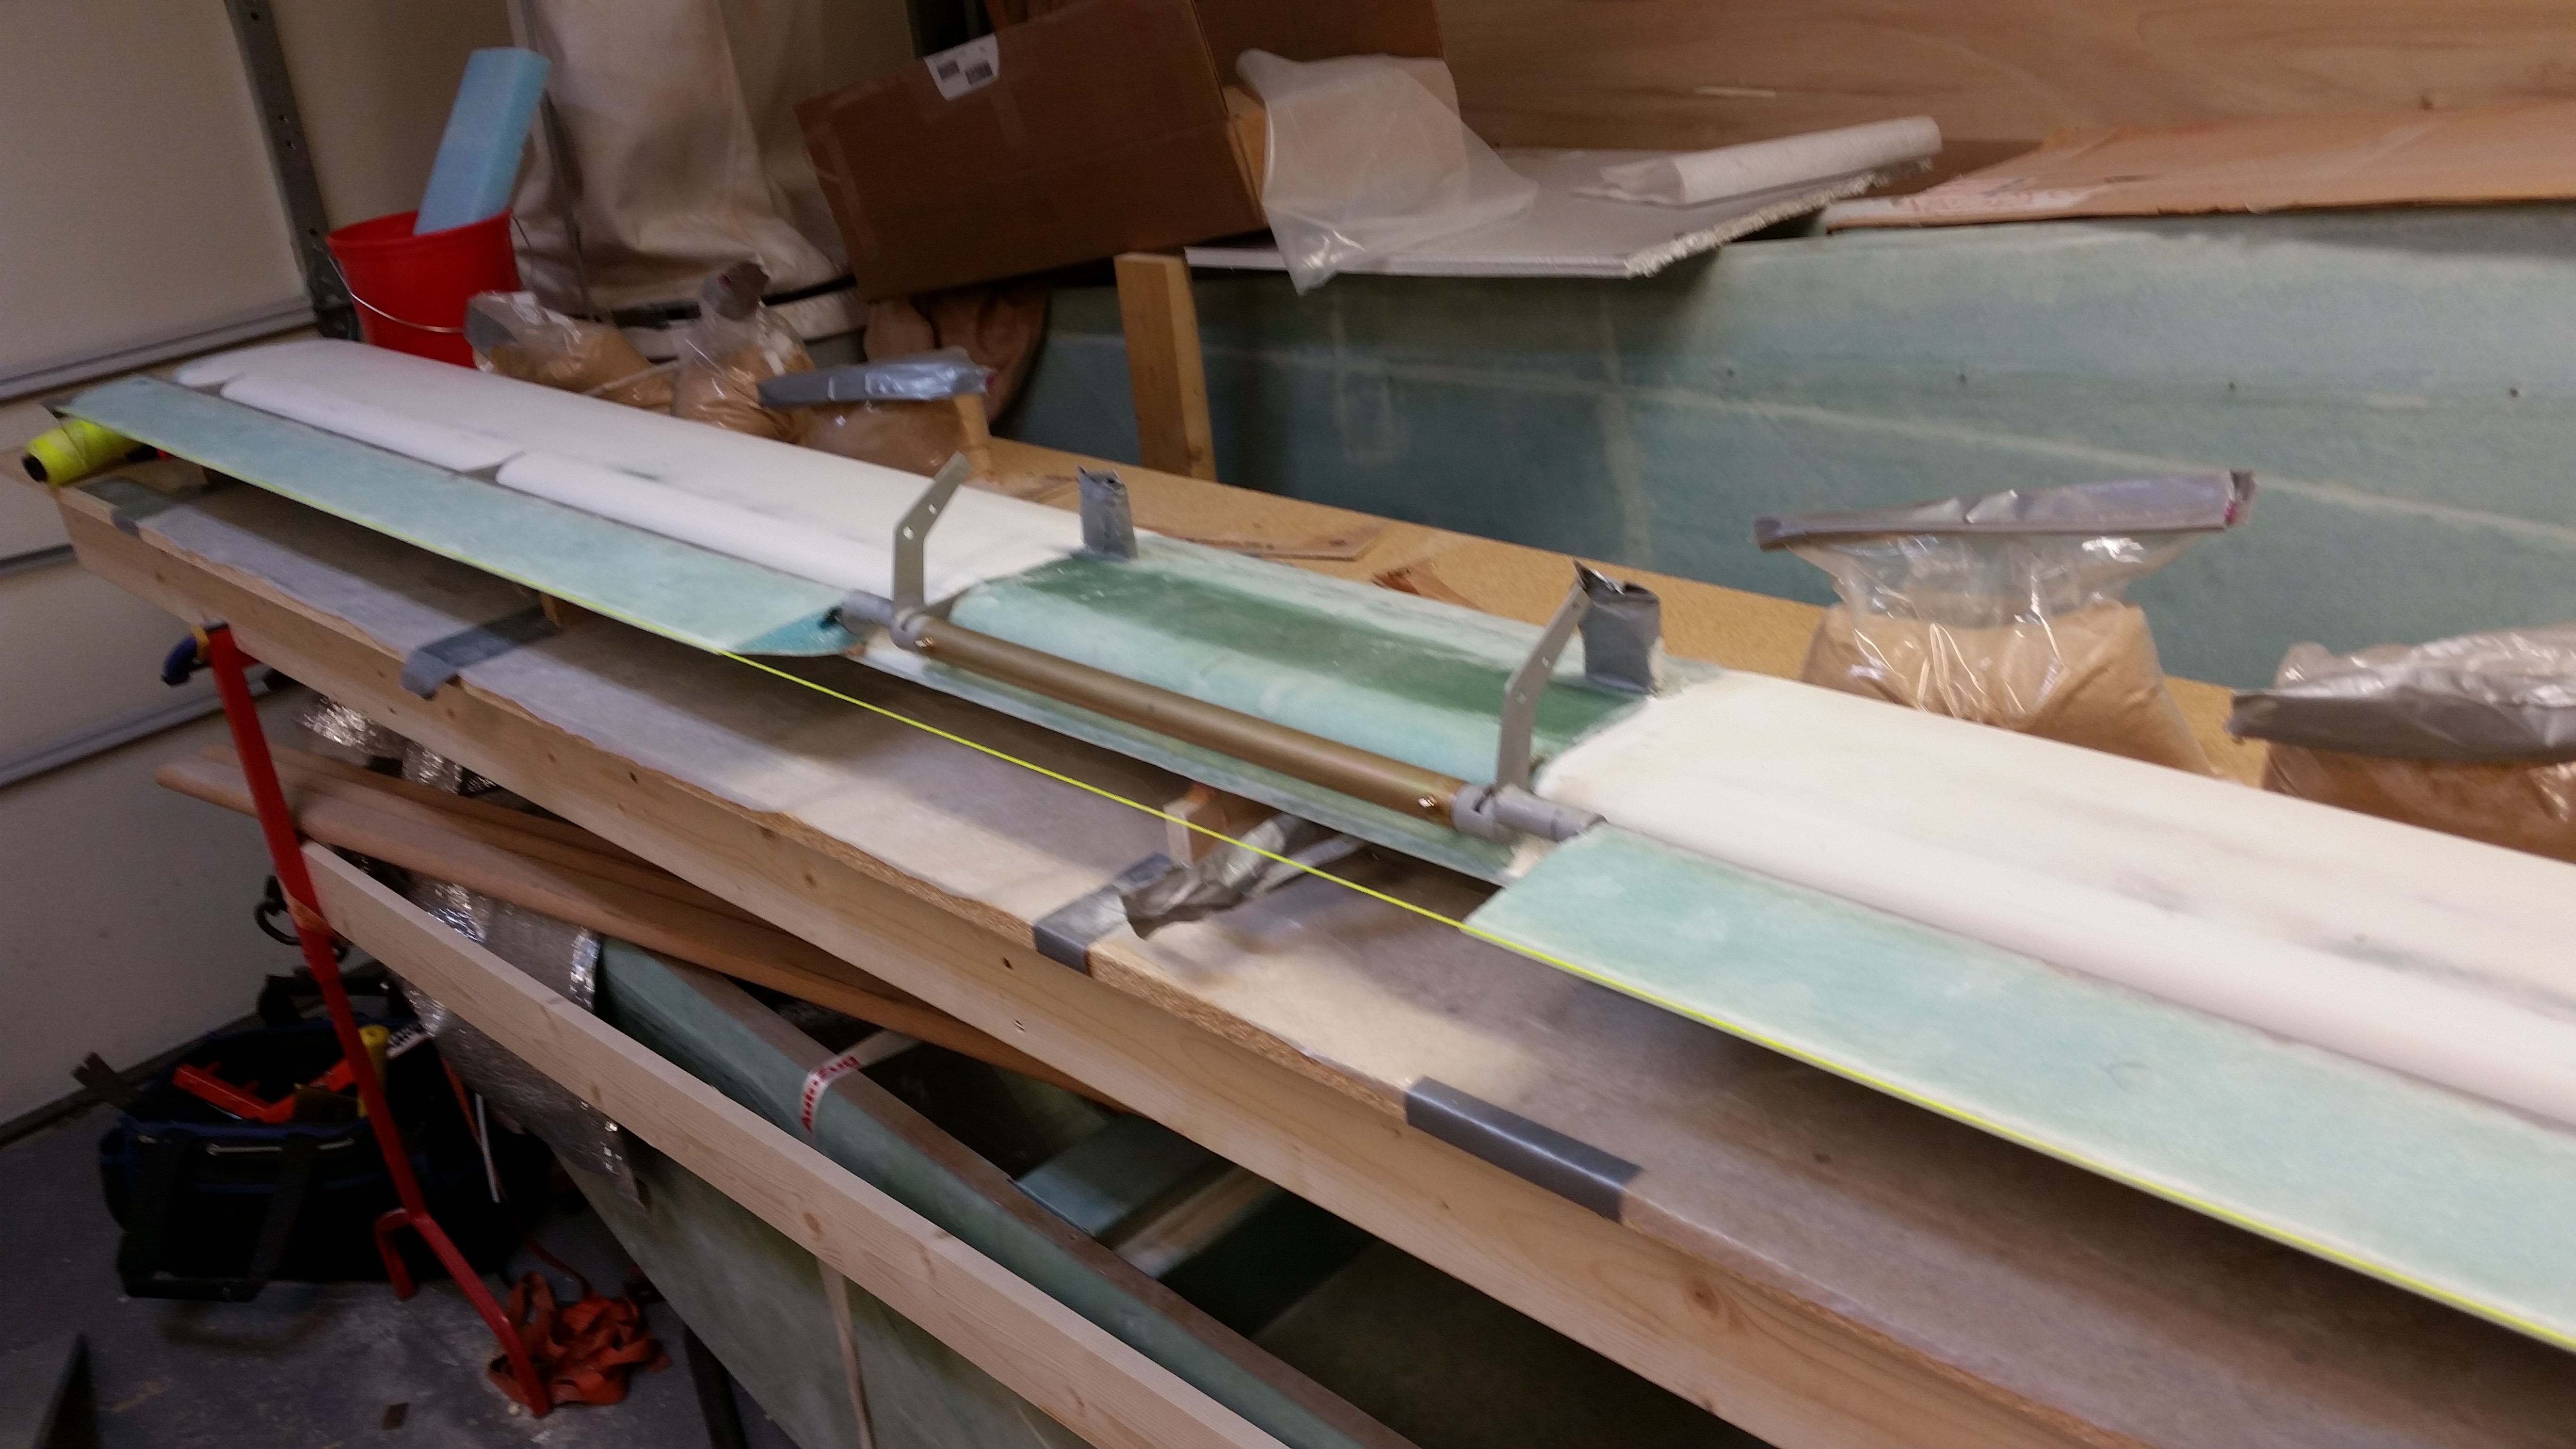
To better show the TE alignment and to check the difference in elevation (this would be viewing the TE at eye level immediately behind it, looking that both left & right elevators align in the height and are straight across… versus above which is assessing the TE alignment from straight above) I ran a yellow string. It all looked good.
Here’s another shot of my “stringing” the elevators’ TE.
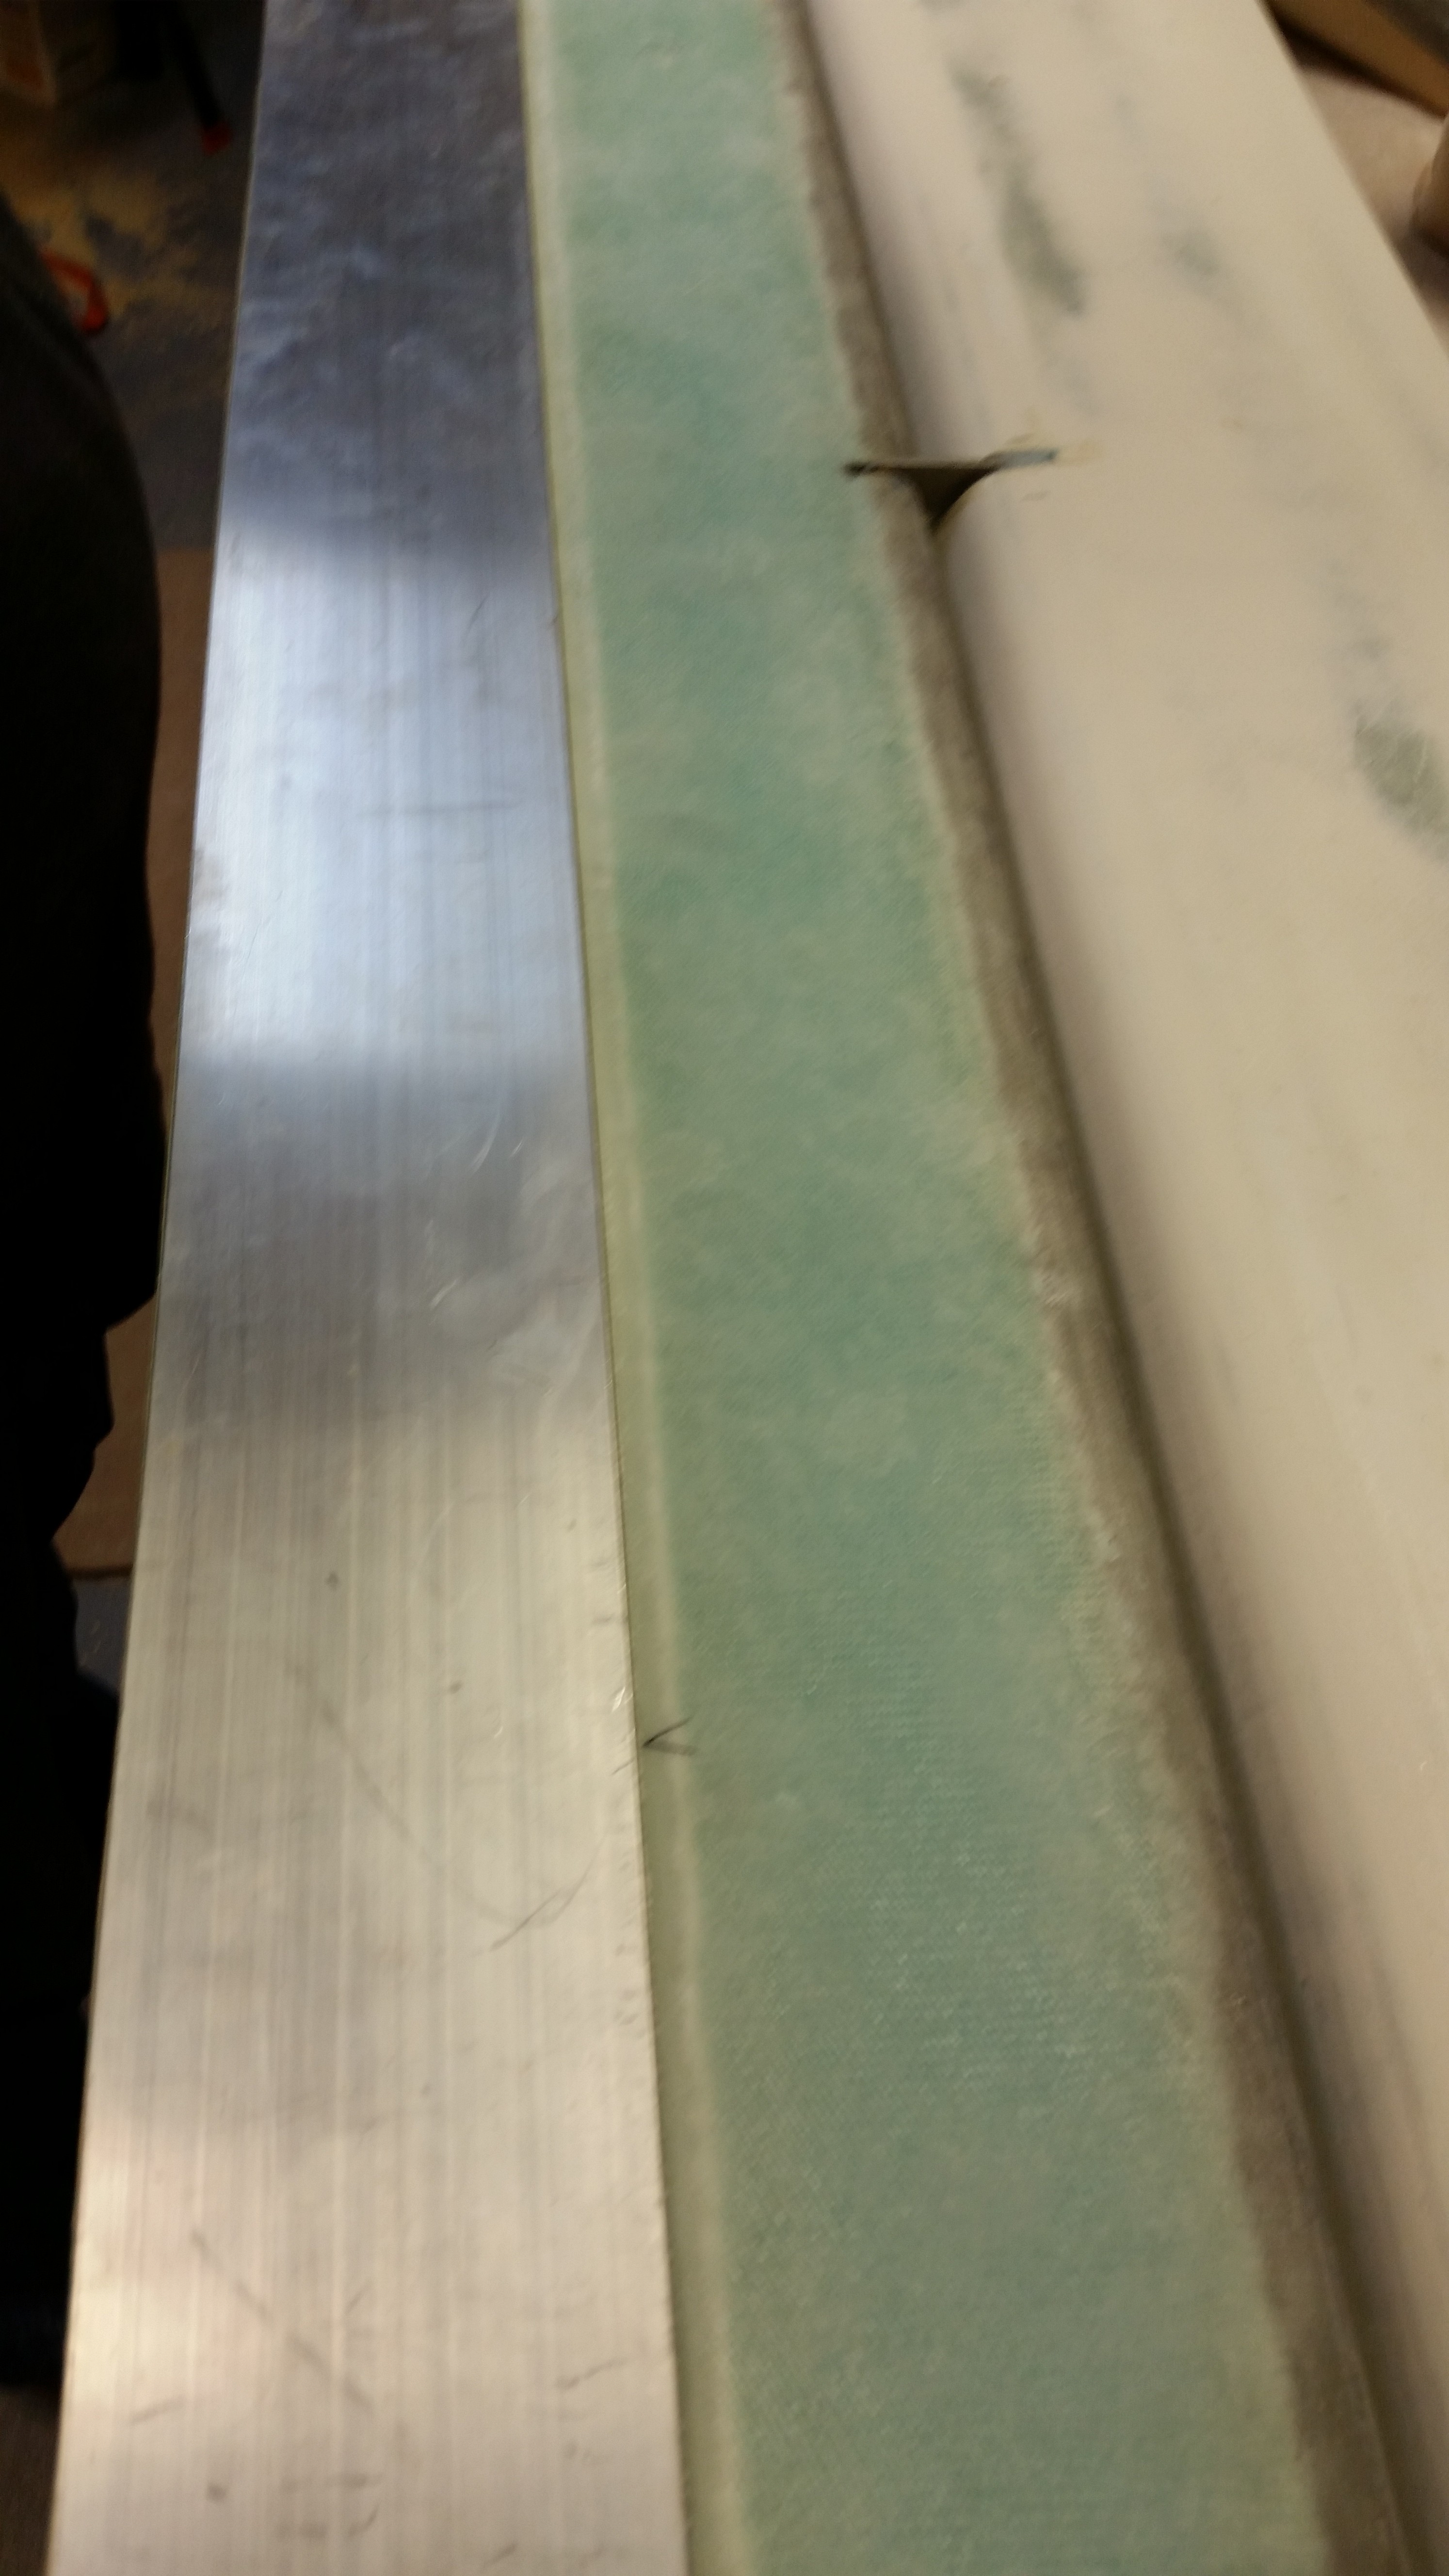
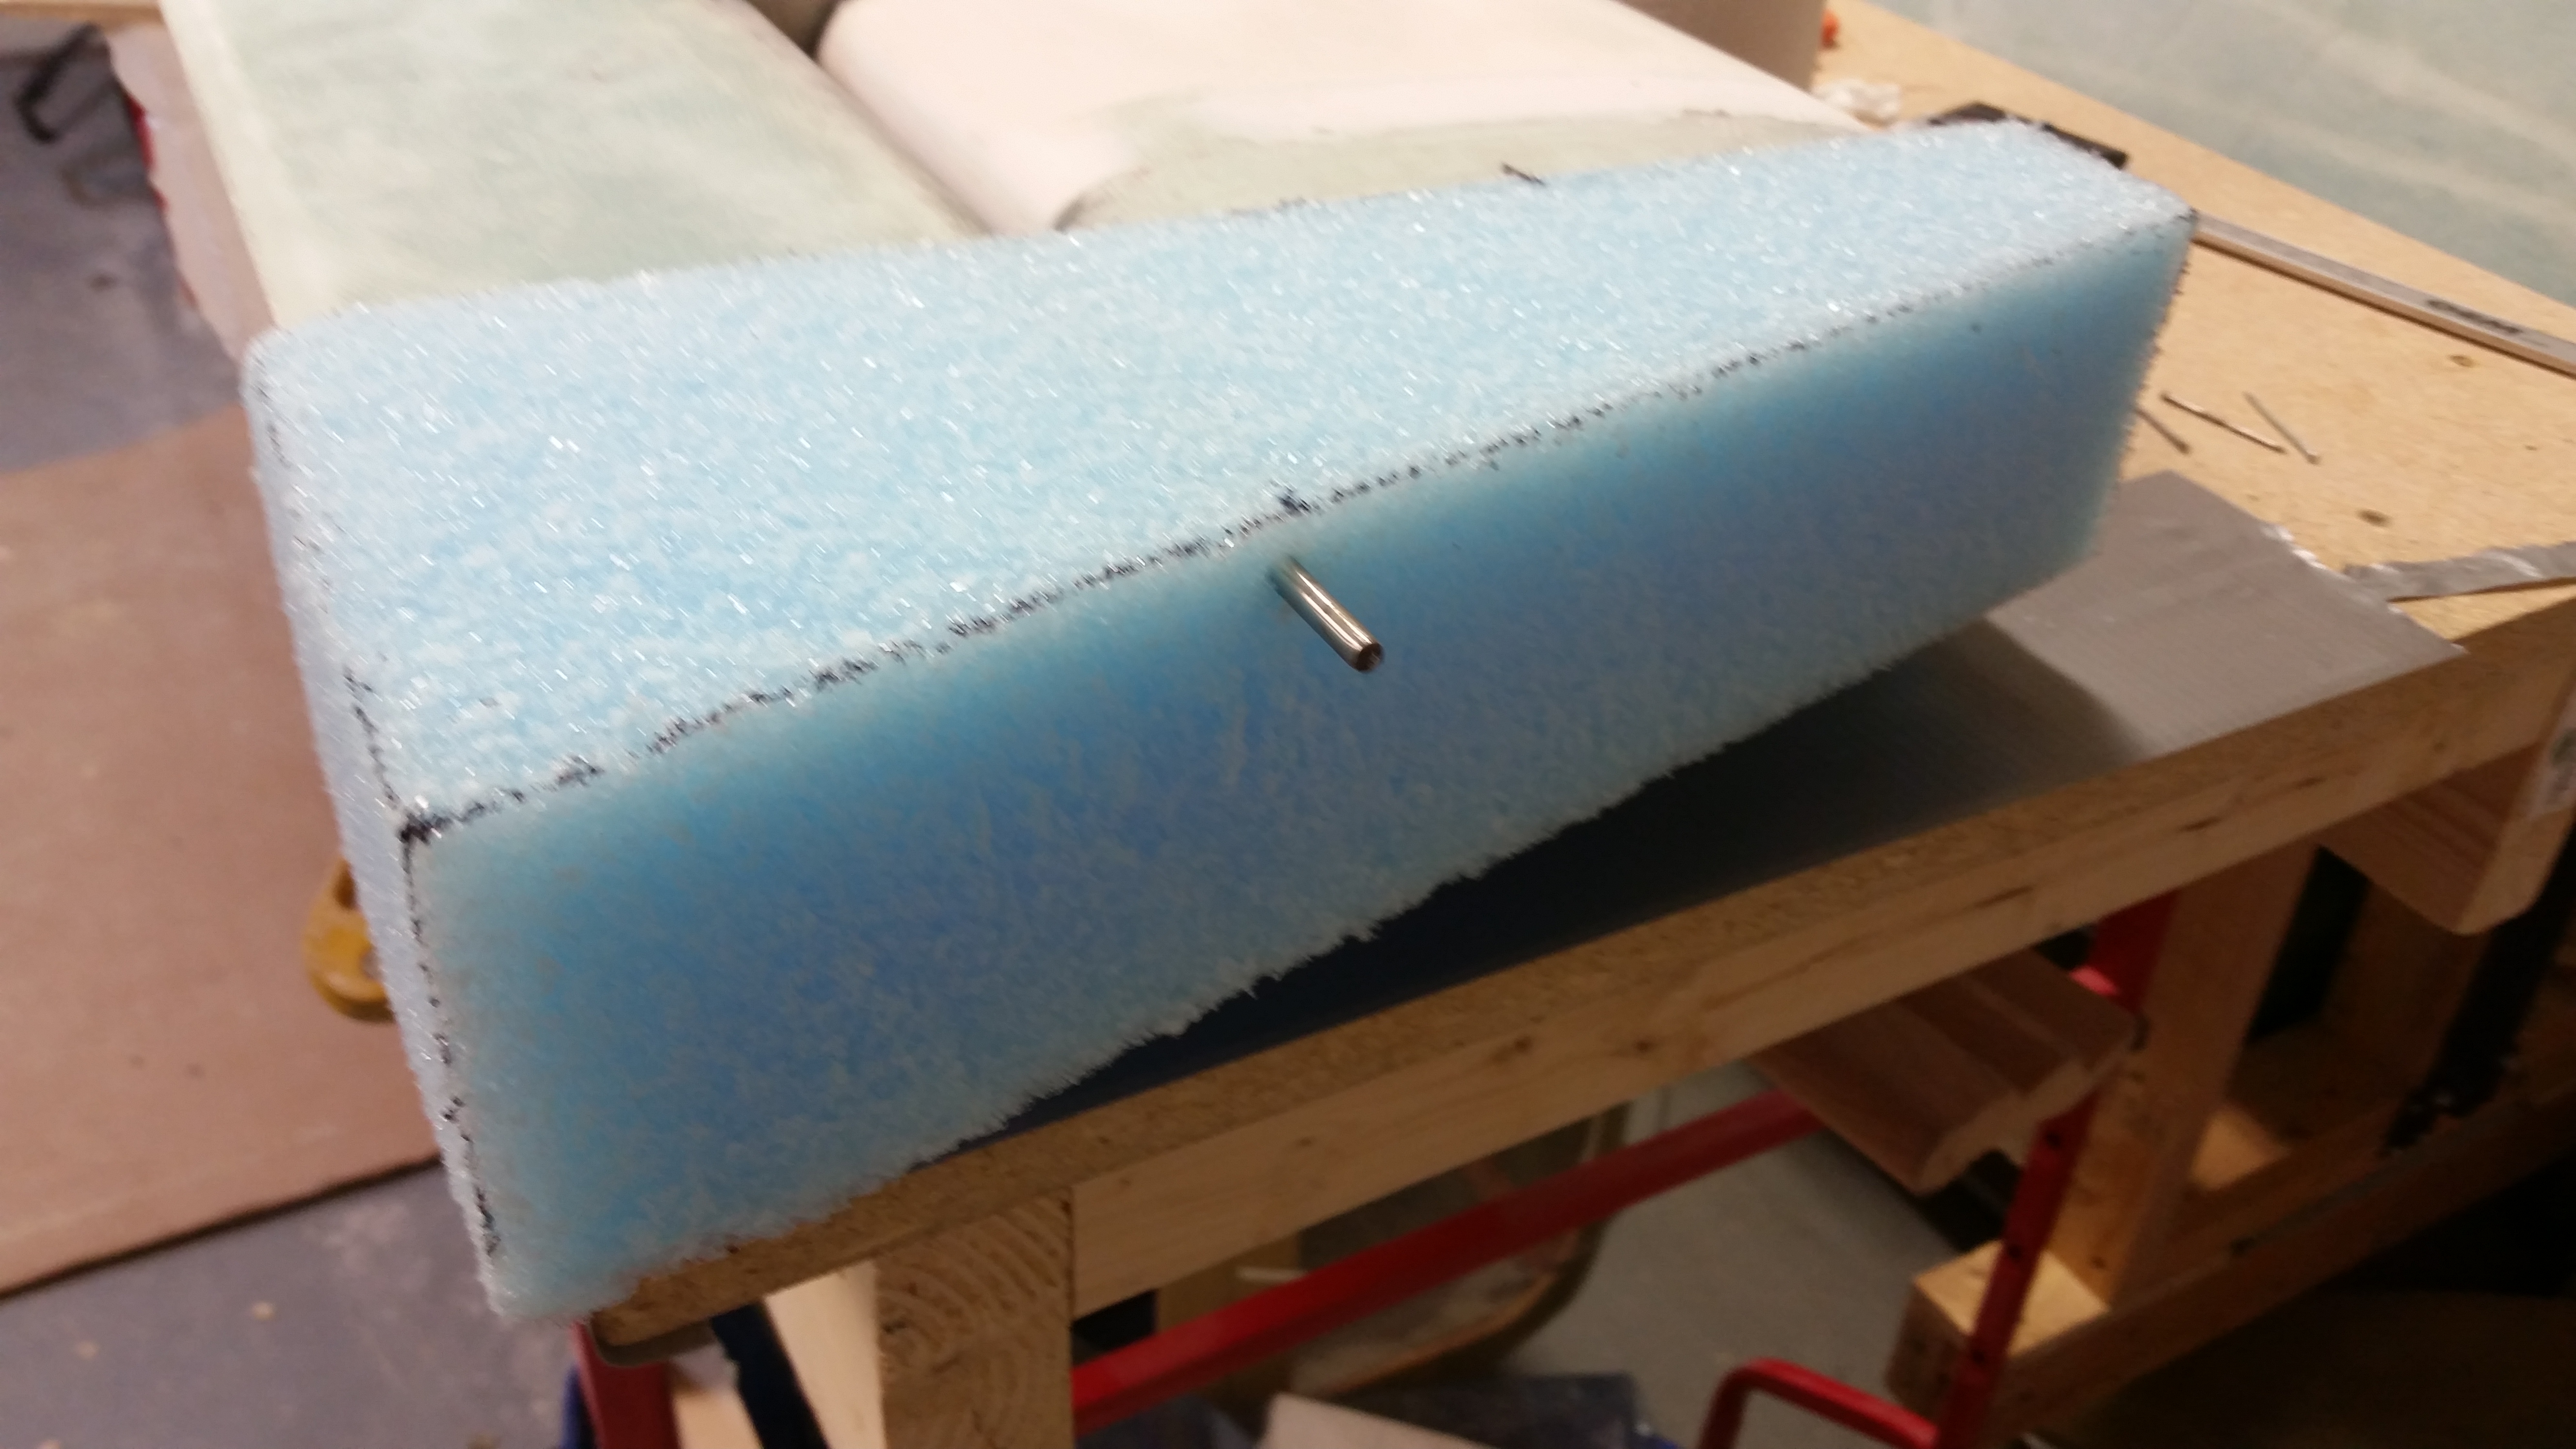
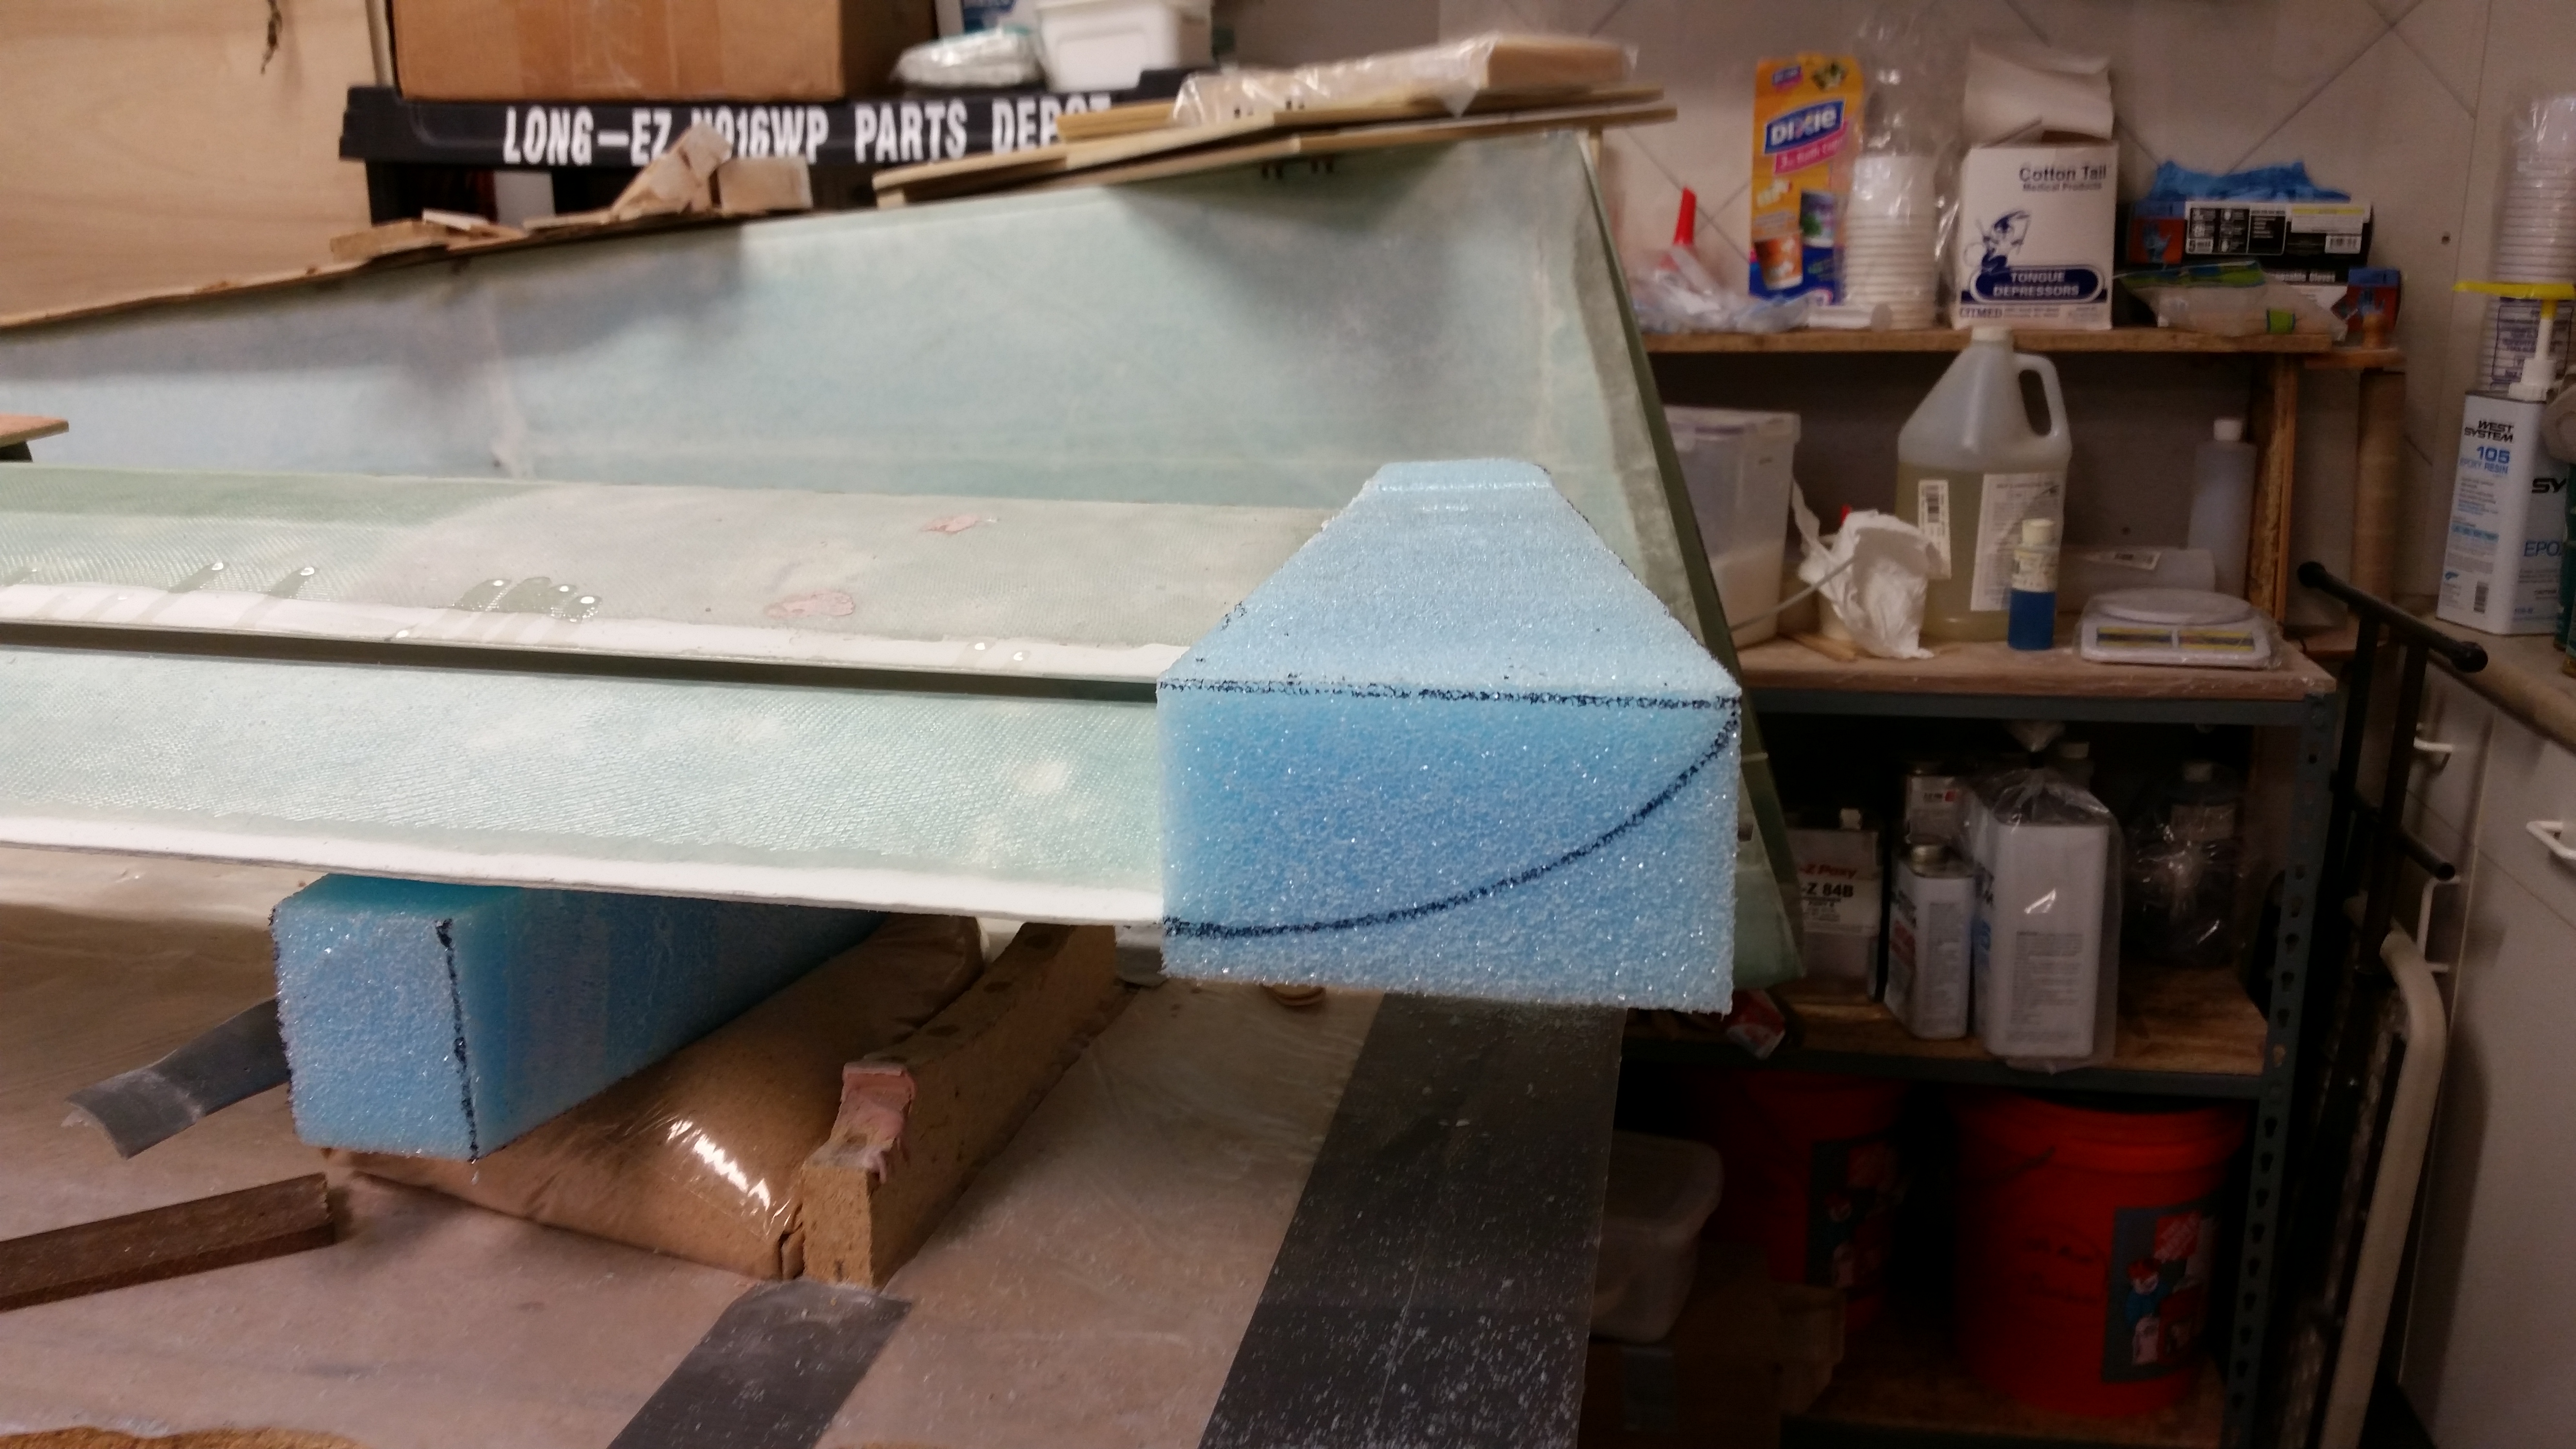
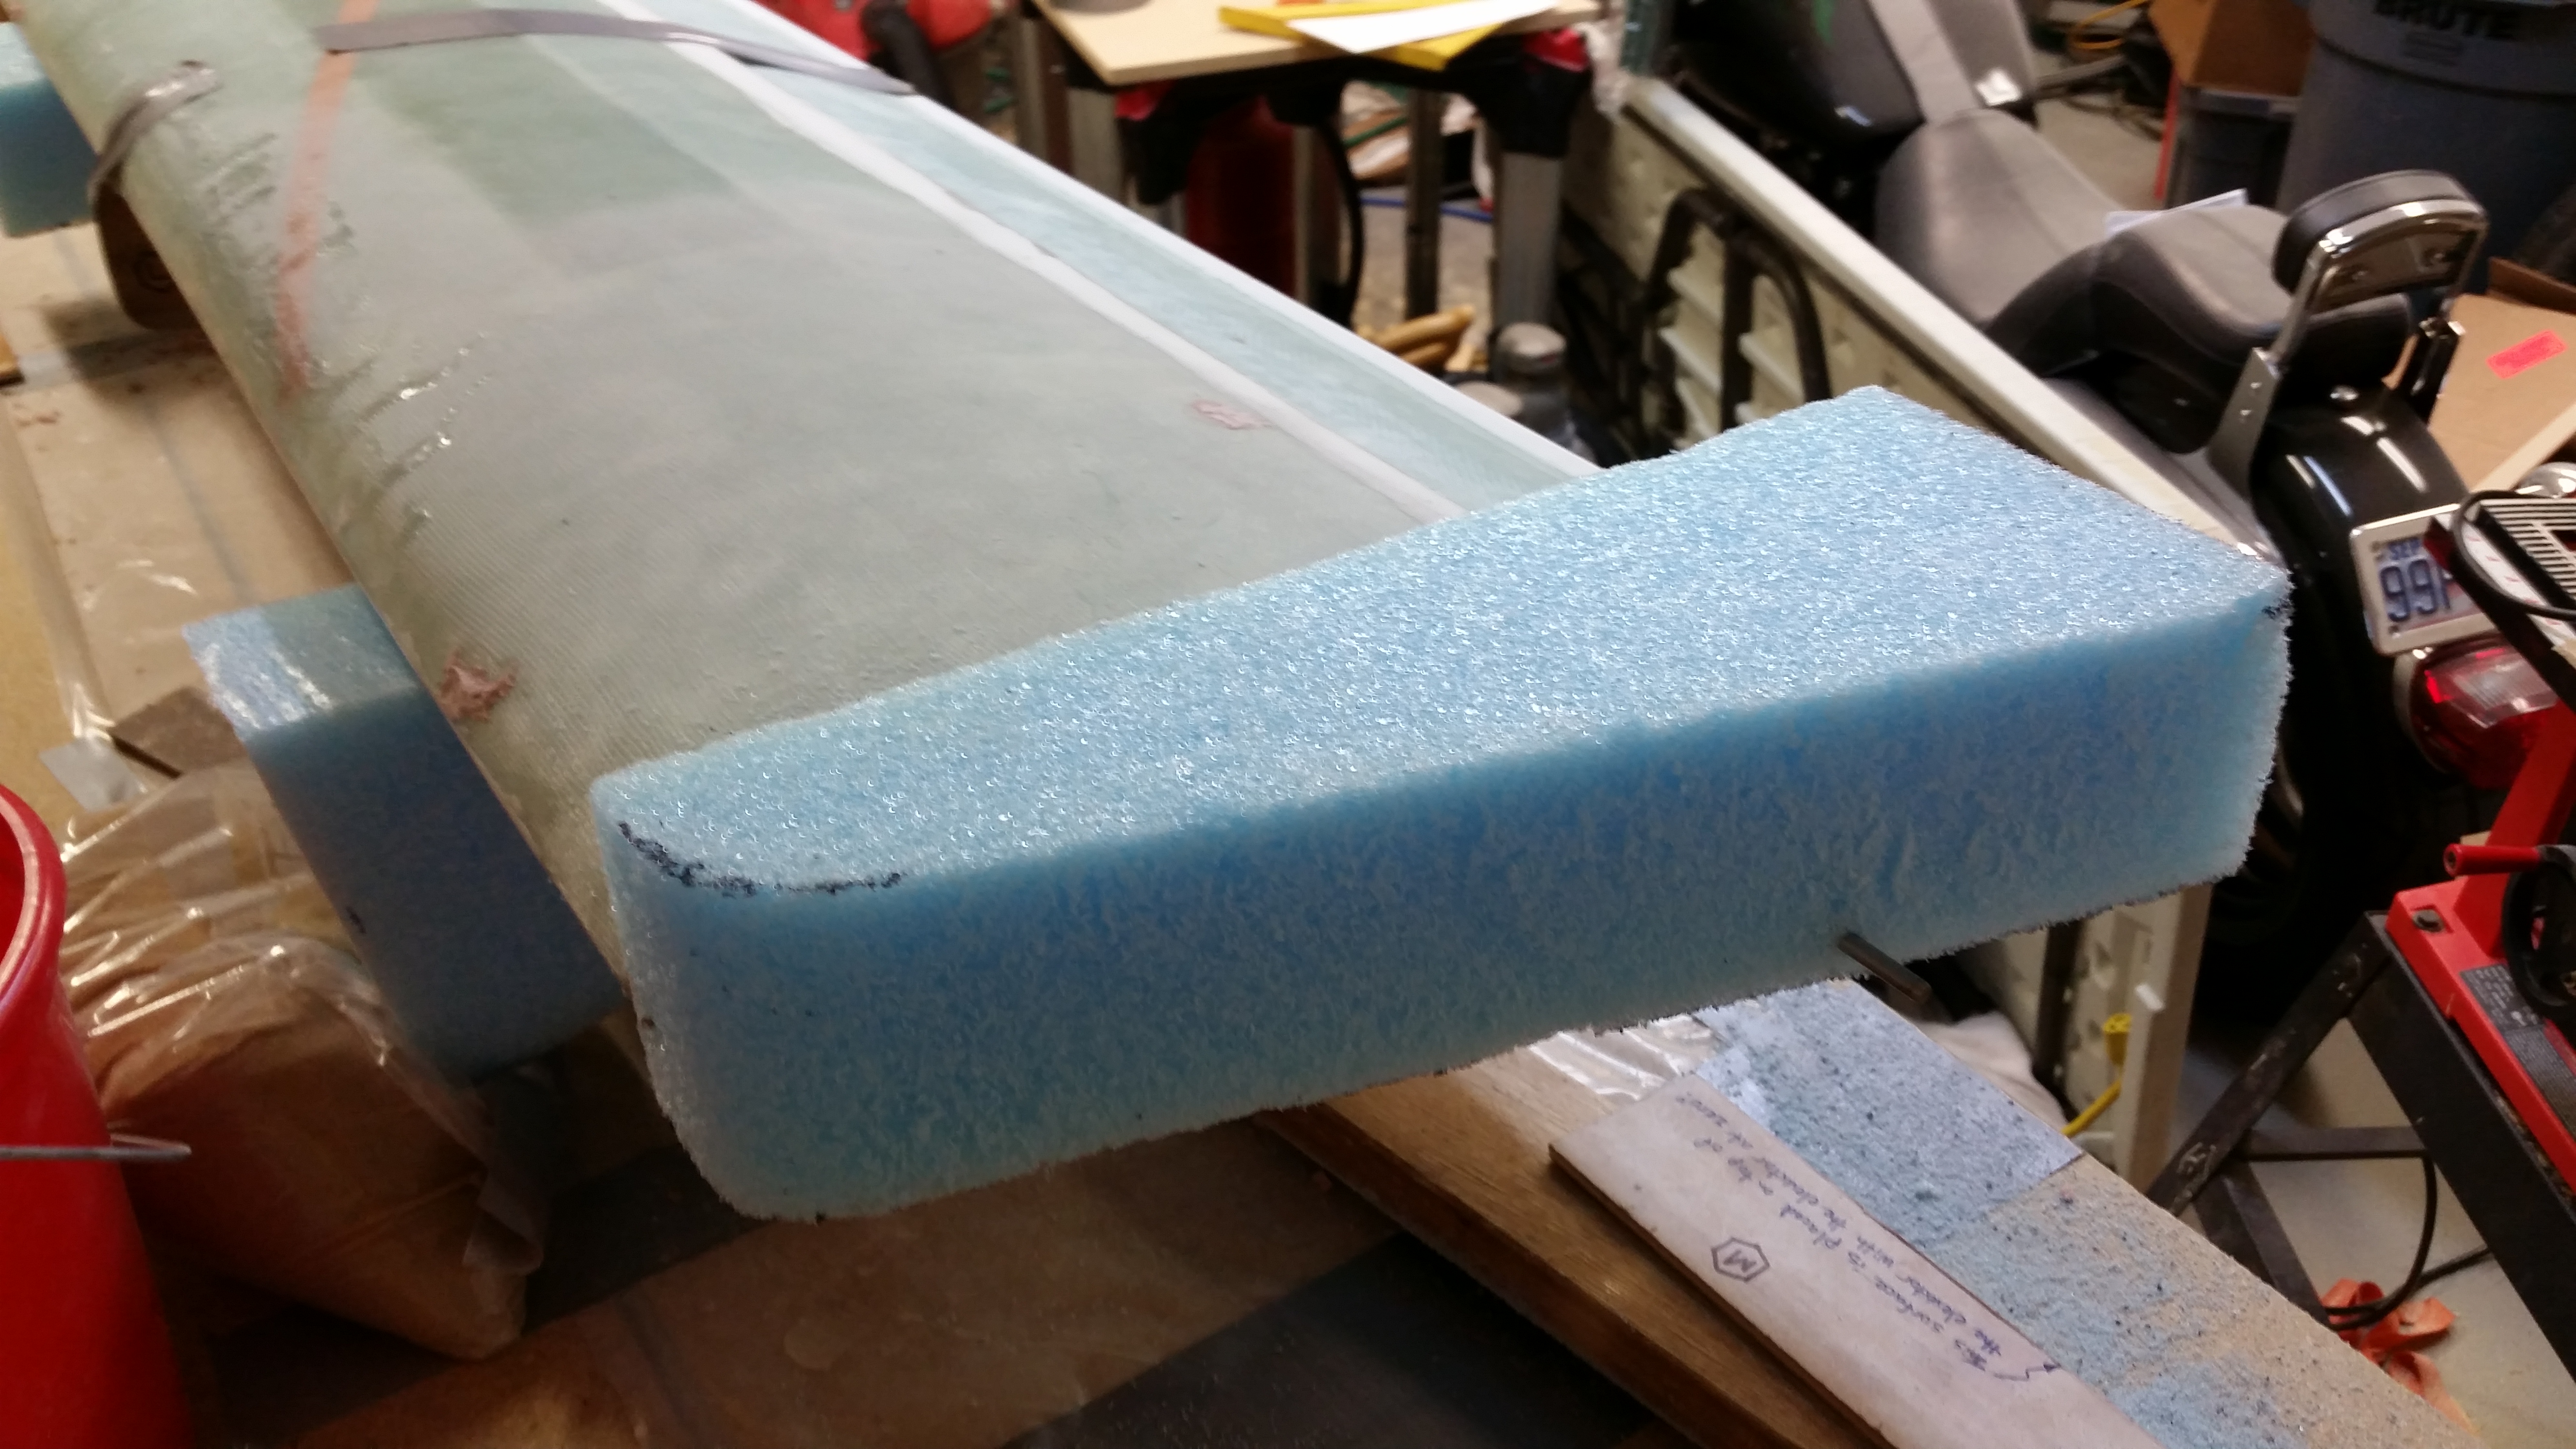
With the elevators good I started the process of attaching the blue foam canard tips. Now, when I hot wired the foam tips one came out a little narrow than the other. With my canard TE just a bit straighter (read: higher), it messed with the 1″ dimension that gets measured up from the TE to the upper side of the foam. On the narrower blue foam wedge I couldn’t squeak out this 1″, so I ended up grabbing a wood handsaw and cutting another blue foam canard end piece.
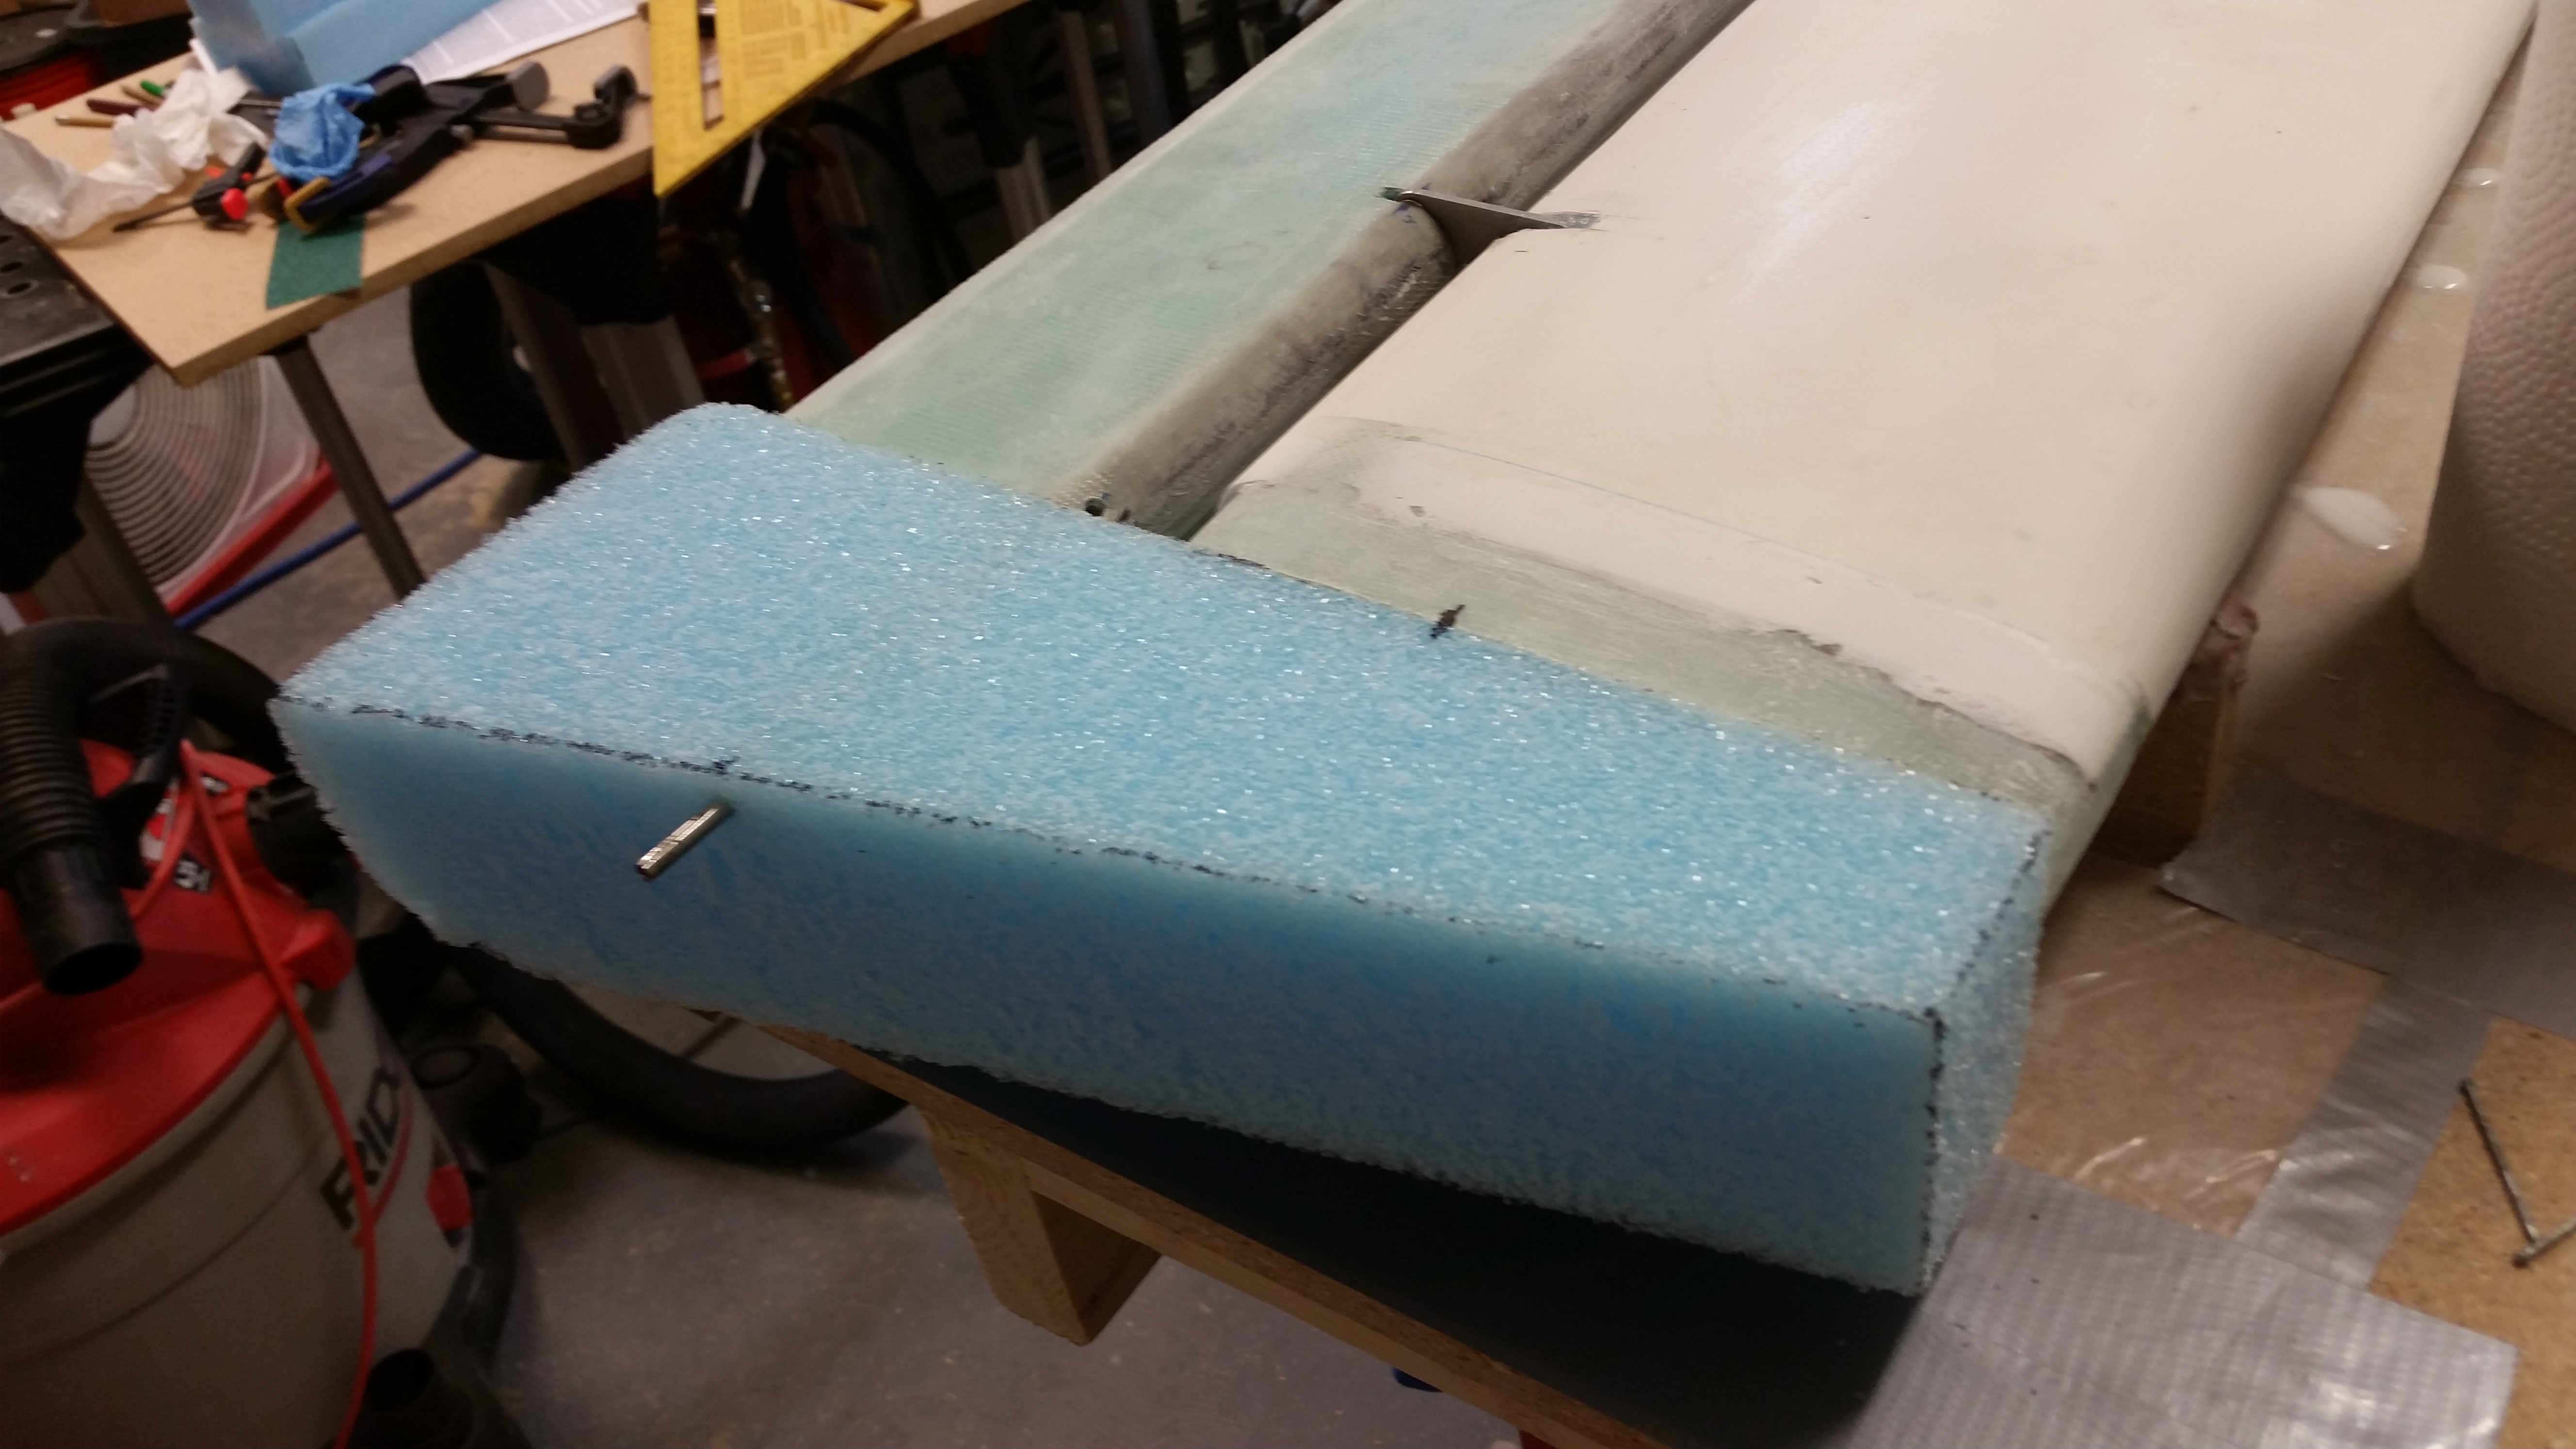
I then temporarily attached a blue foam swoosh tip blank on the left side of the canard with the elevator hinge pin sticking out a couple of inches. I noted that I had over 1″ to work with above the canard TE and ensured that my spacing was good.
One thing that you may notice that is not per plans is that I started my canard swoosh tip attachment endeavor with the canard mounted upside down. Per plans this step starts by flipping the canard right side up, but since my canard is “bolted” to the table via Bondo, I decided to start with it upside down and then flip after I had micro’d the tips on. This would allow me to see both sides of the micro bond and ensure all is good.
Here’s the right side of the canard where I repeated the same process as the left.

I then confirmed that the dimensions of the blue foam tips would work by marking it up as per plans, only in the upside down configuration. I also outlined the end profile of the canard to know where to micro the blue foam tip when attaching it to the canard end.

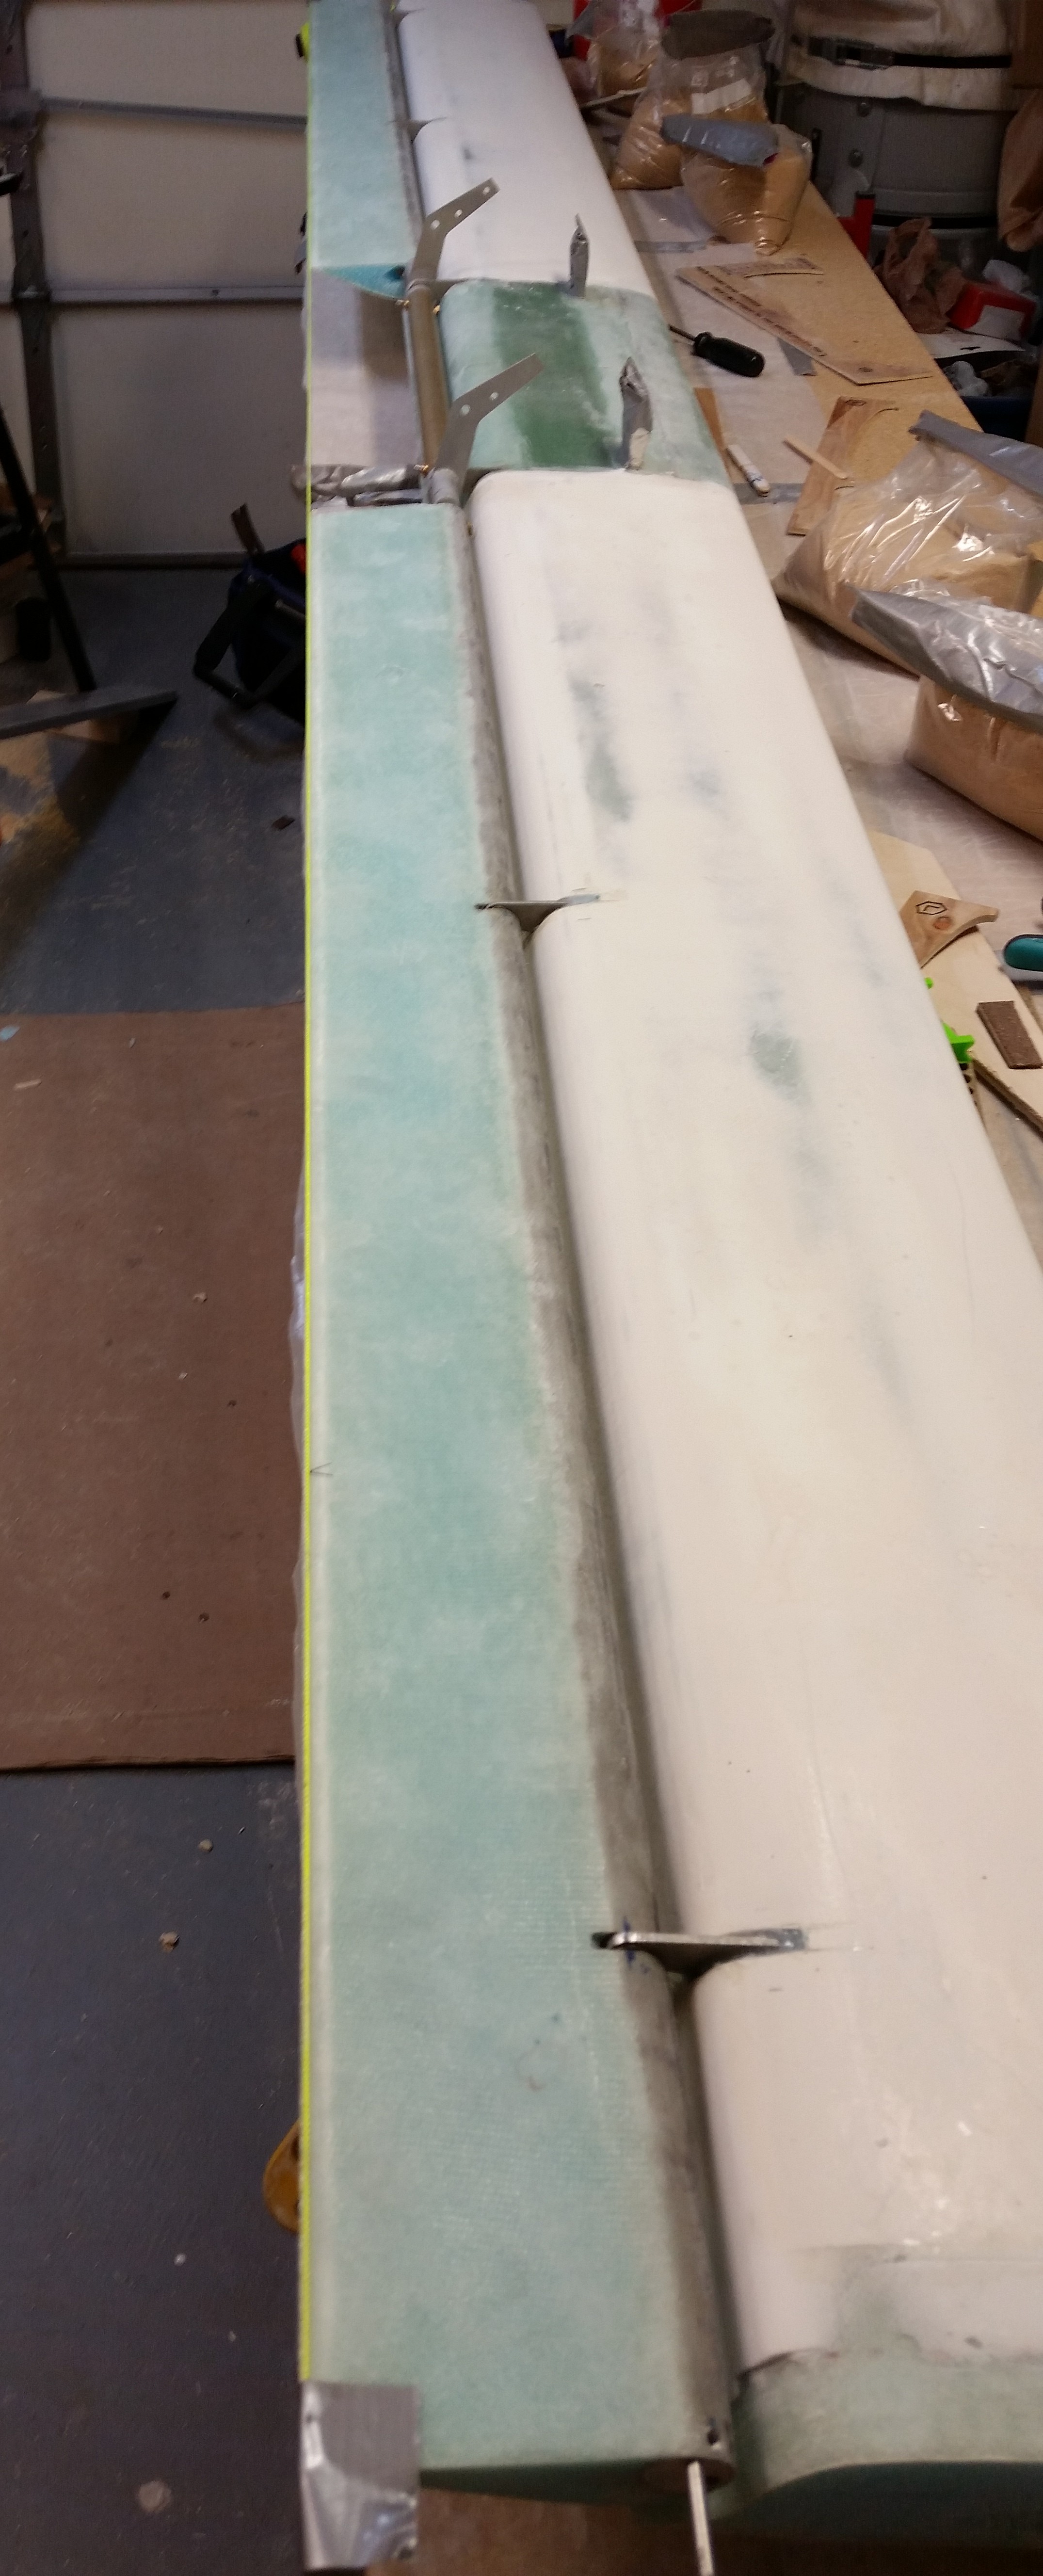
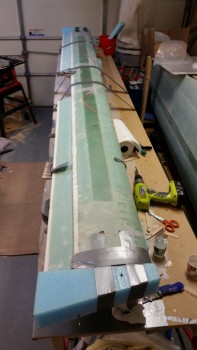
Below are a couple wide angle shots of the canard with the blue foam tips attached. The first one is the with the canard upside down, and the second pic shows the canard right side up. I guess you could say the main reason I attached the foam tips to the canard while it was upside down is time. I wanted to the tips mounted and the micro curing before taking the time to carefully detach the canard from its perch… which I obviously did after the tips were micro’d on.

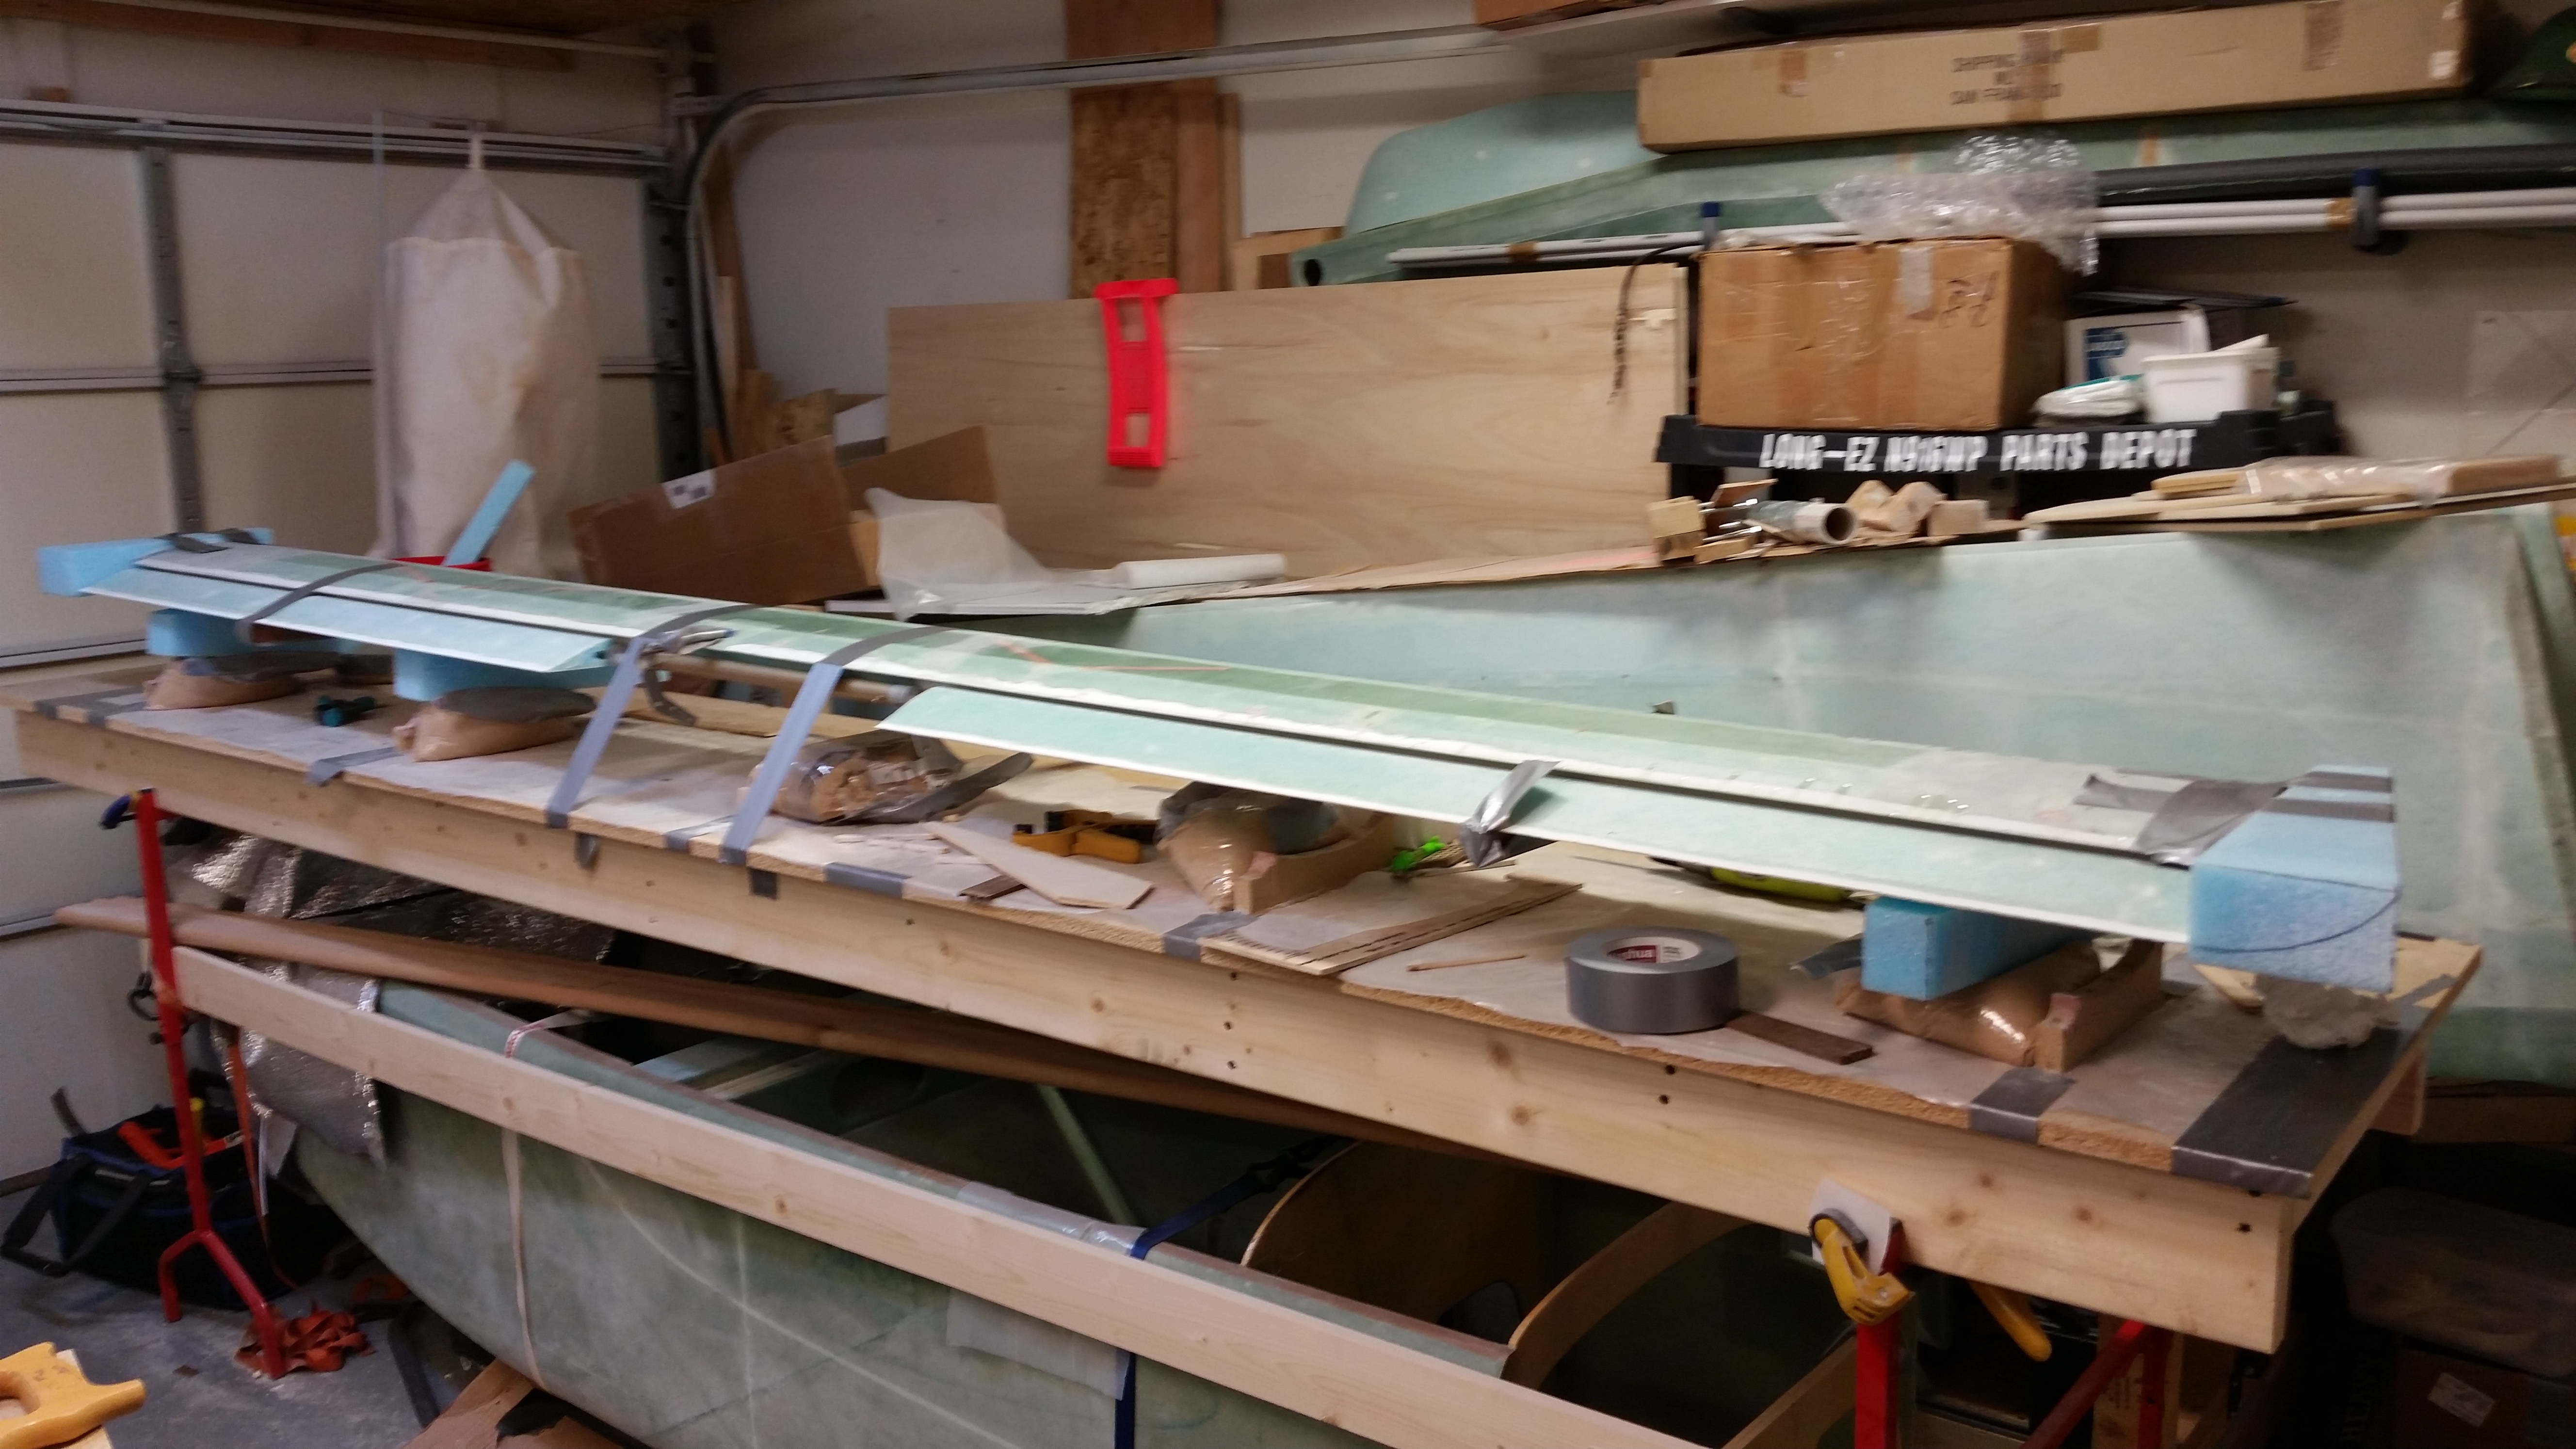
A long view . . .
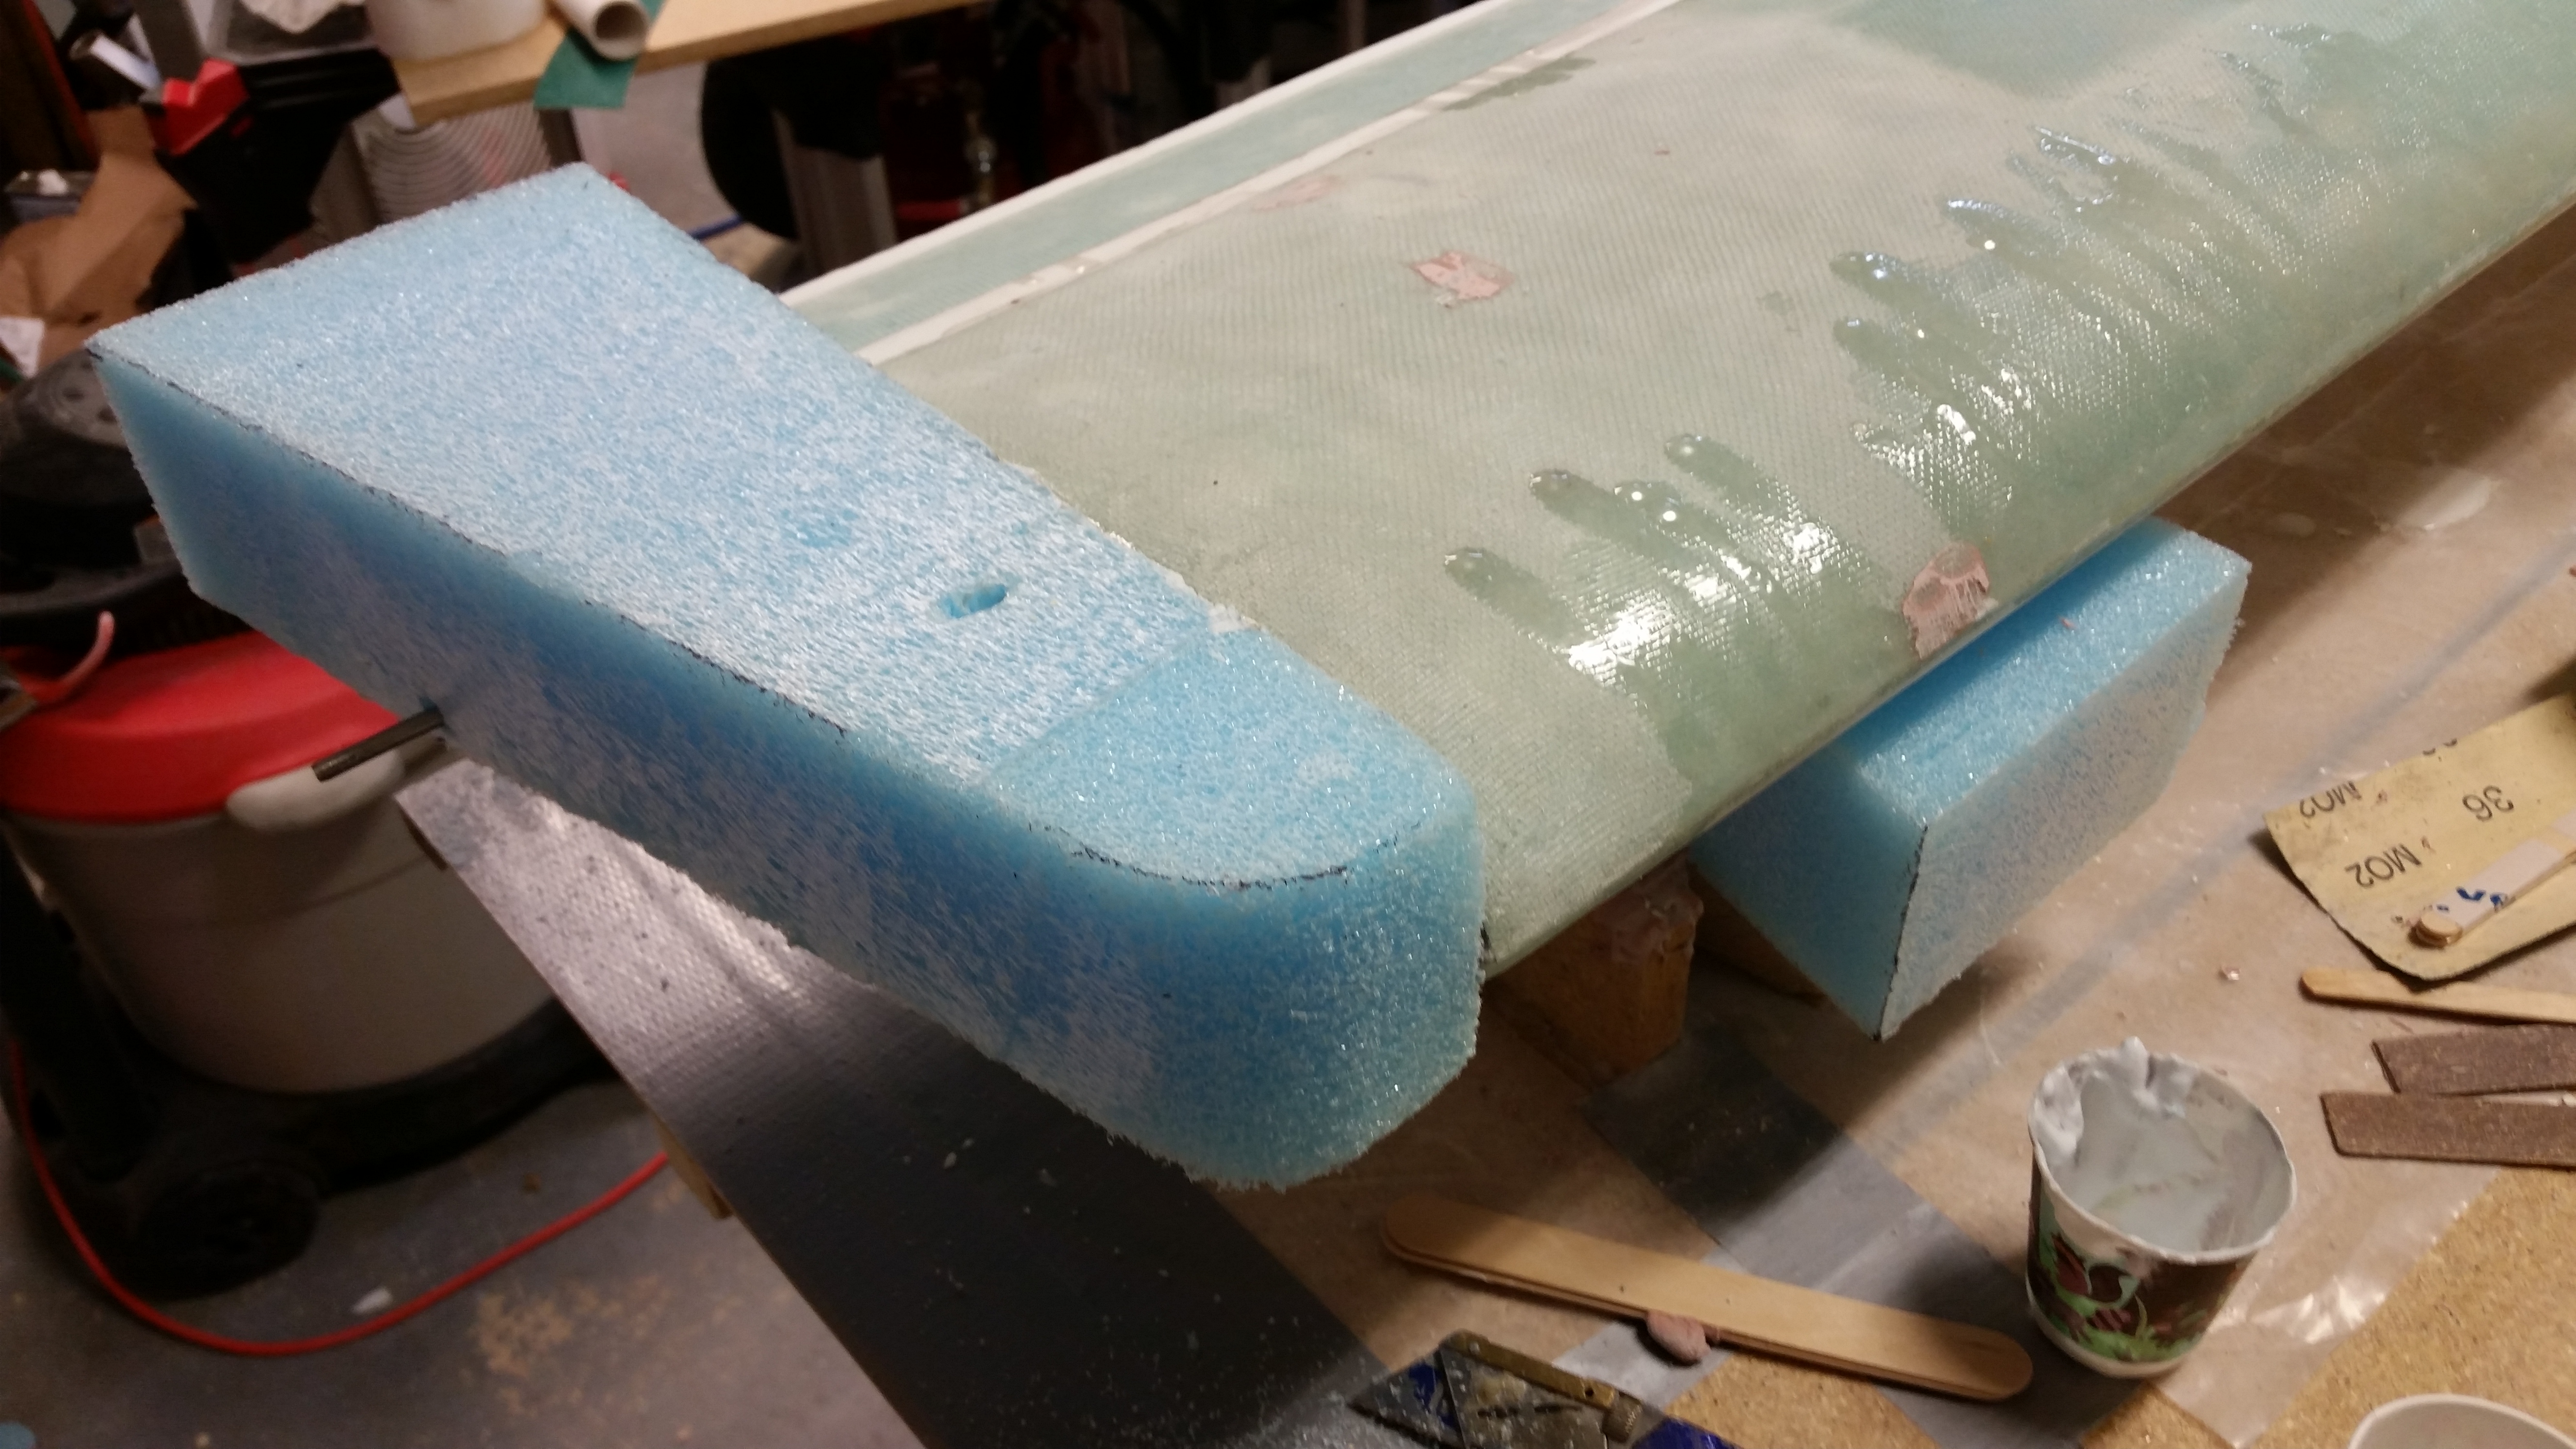
Here’s a more close up shot of the tip micro’d in place while the canard was still upside down.

After the micro cured I removed the tape securing the blocks.
I then rounded the front of each blue foam tip in line with my initial plan for the shape of the swoosh tip.
Tomorrow I plan to get the canard swoosh tips shaped and glassed, at least the top sides.