
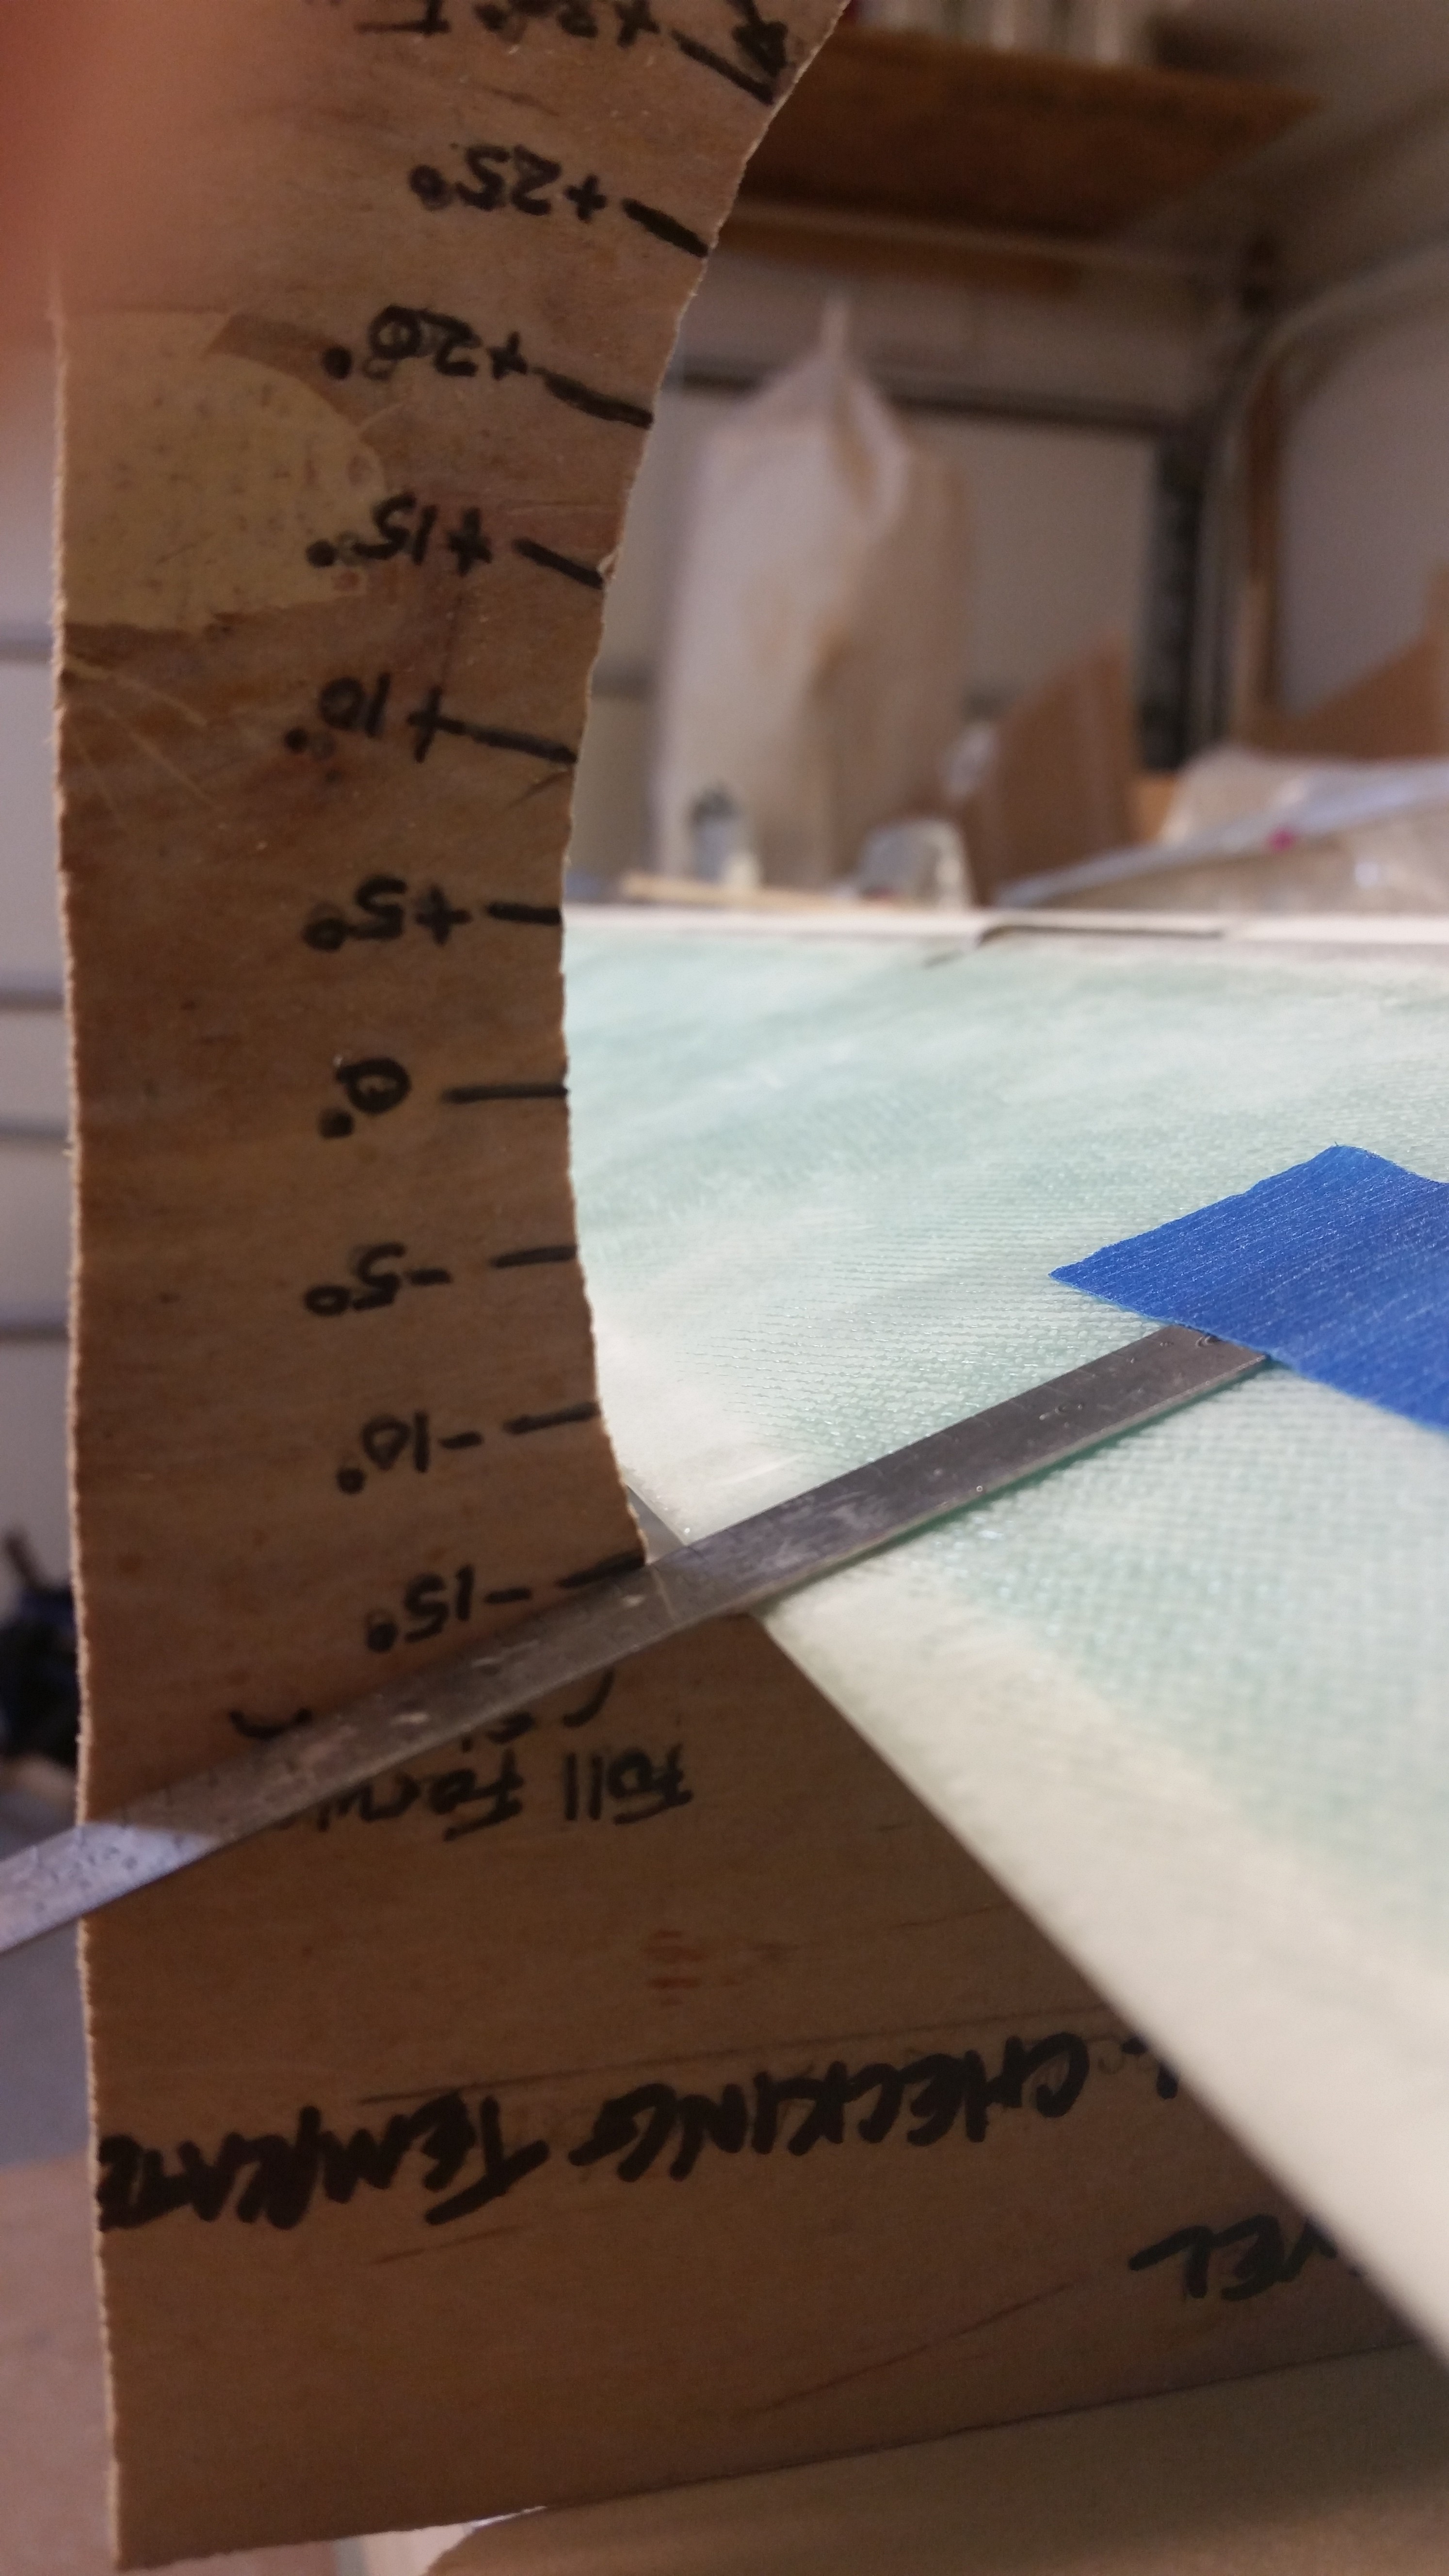
First thing this morning I checked the elevator up travel to ensure that my floxing in the middle hinge on each side didn’t gum up my good numbers thus far. The right elevator was now sitting right at 15° . . .
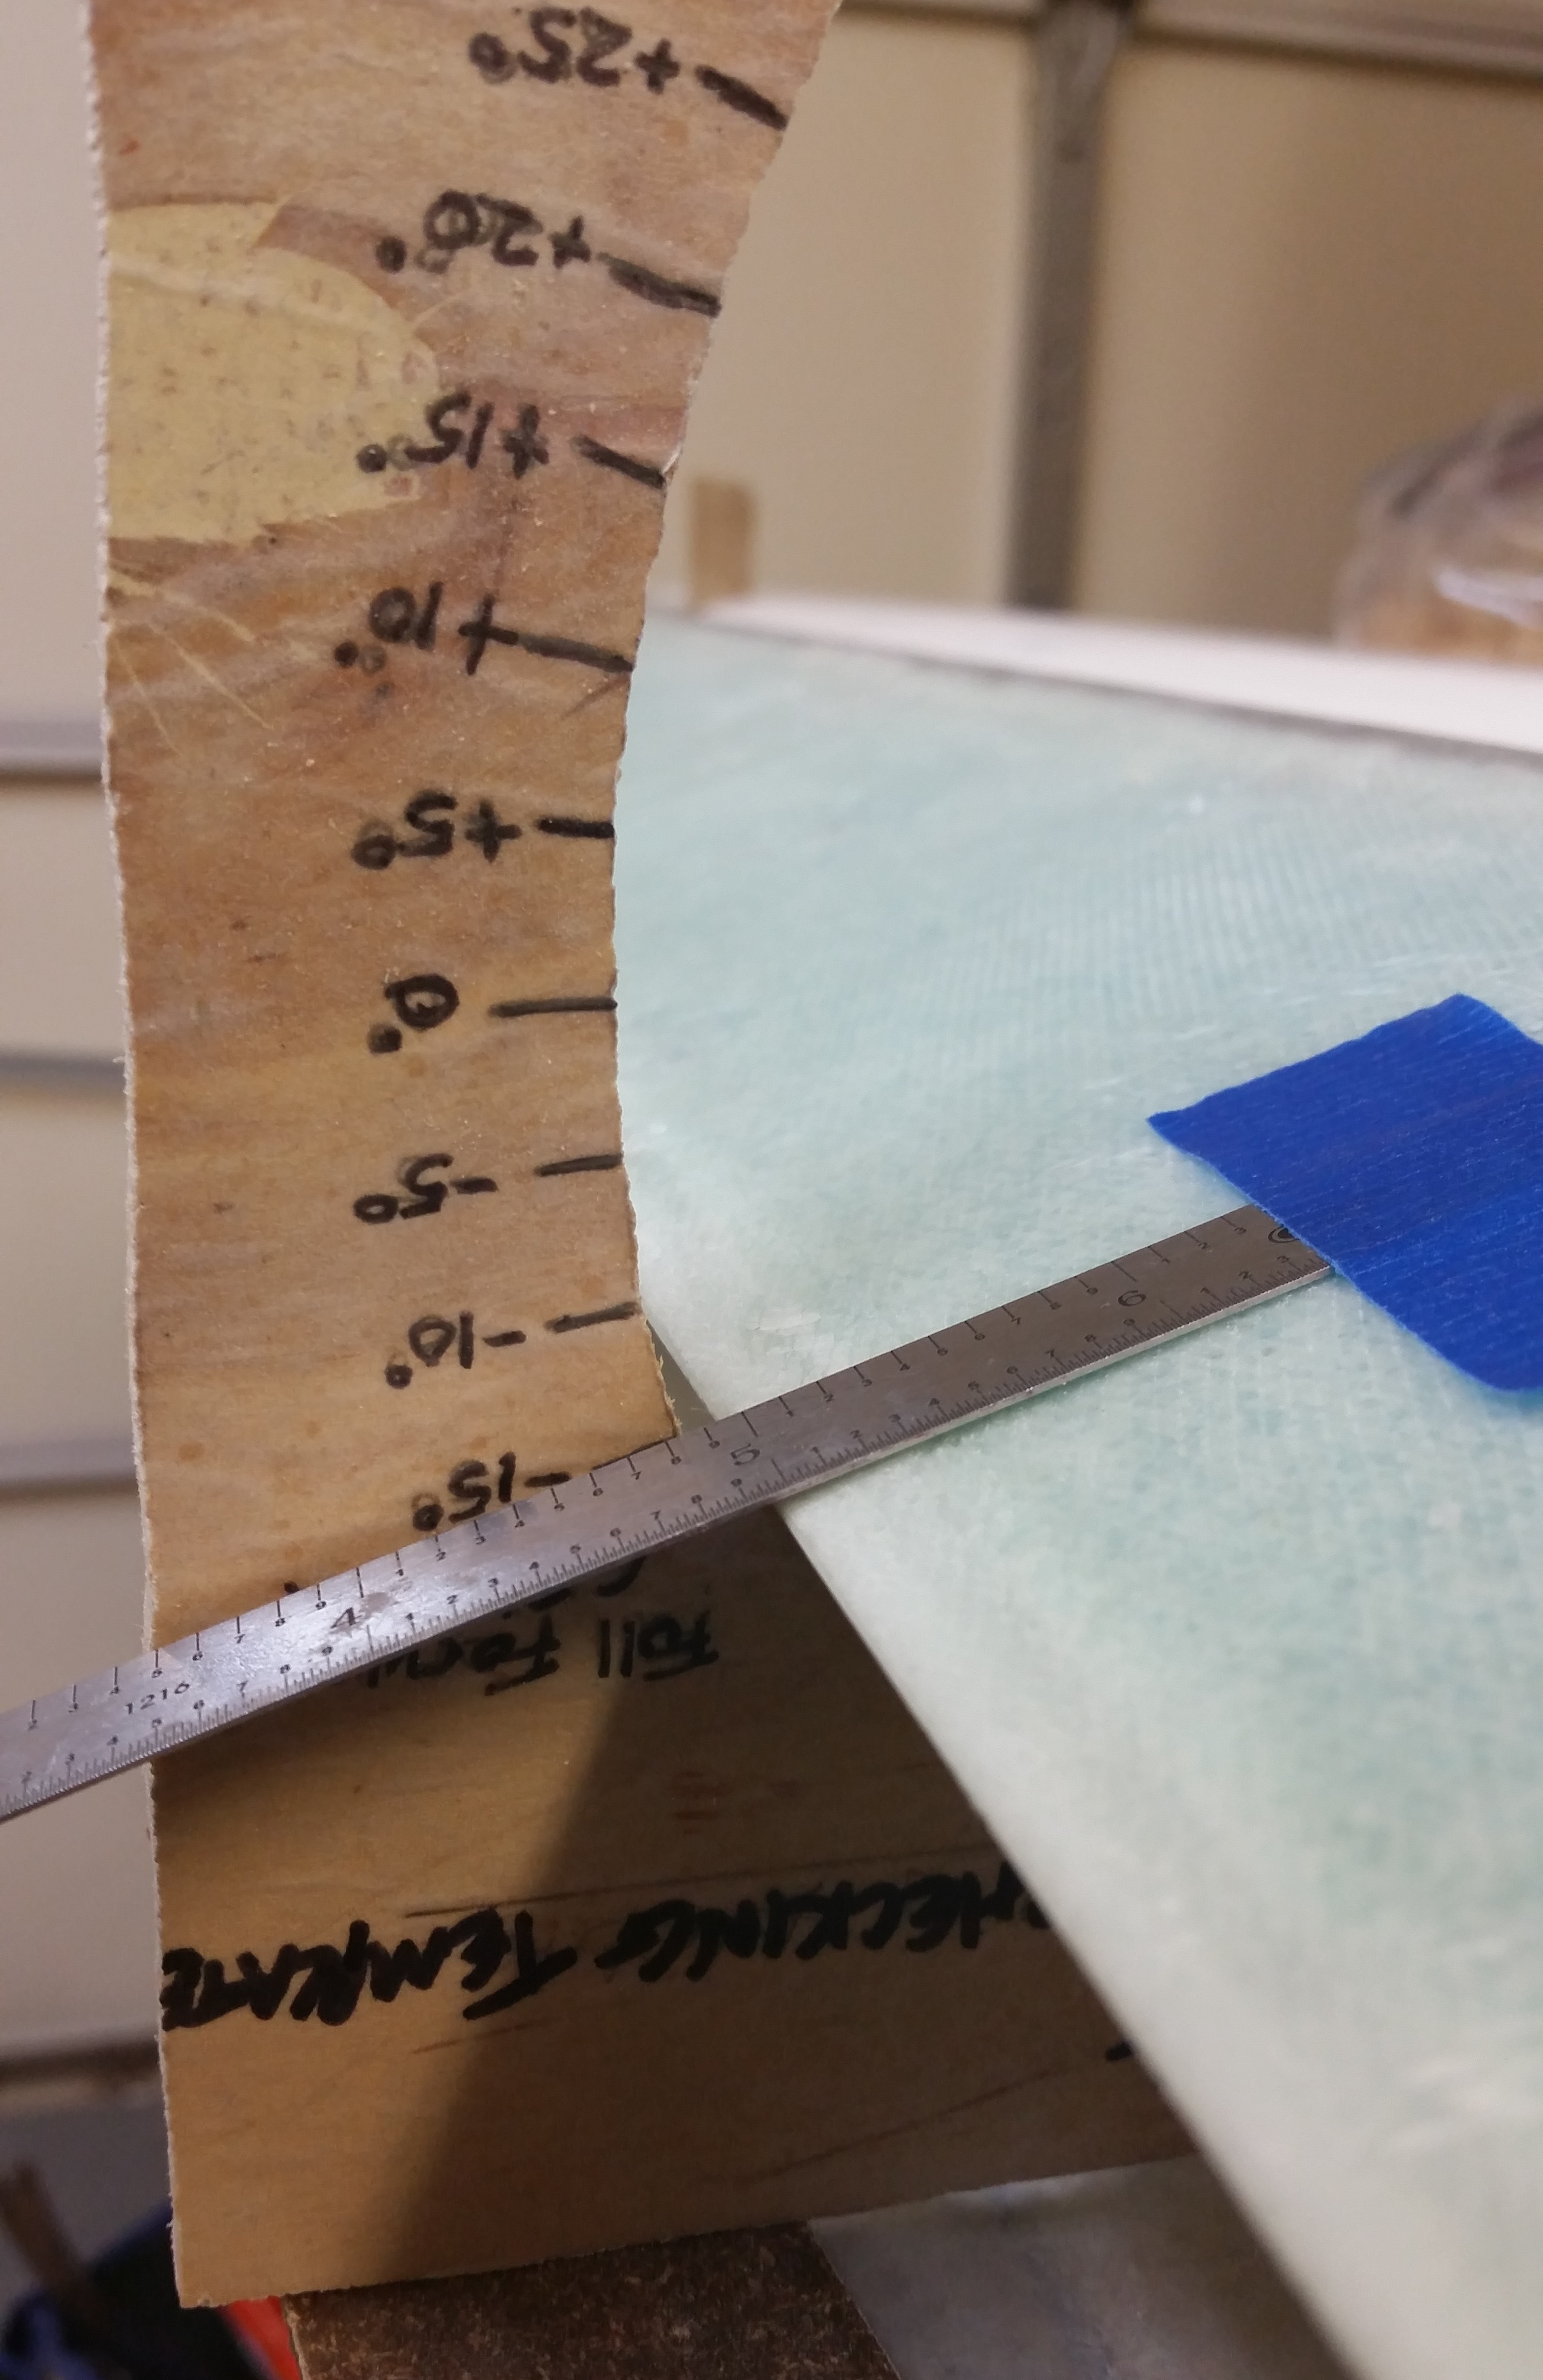
. . . while the left elevator was just a hair over 15°. So the pattern continues that the left elevator is seeing about a .5 to maybe 1° higher swing than the right. However, this could be the contour of the canard top where I have the “G” template mounted, or something else entirely. The bottom line is that the elevators are matched, travel in unison, and the most limiting point in up travel allows a full 15° up, so I’m happy.
Below is a wide-angle shot after I taped up the other 4 hinge slots in prep for flox.
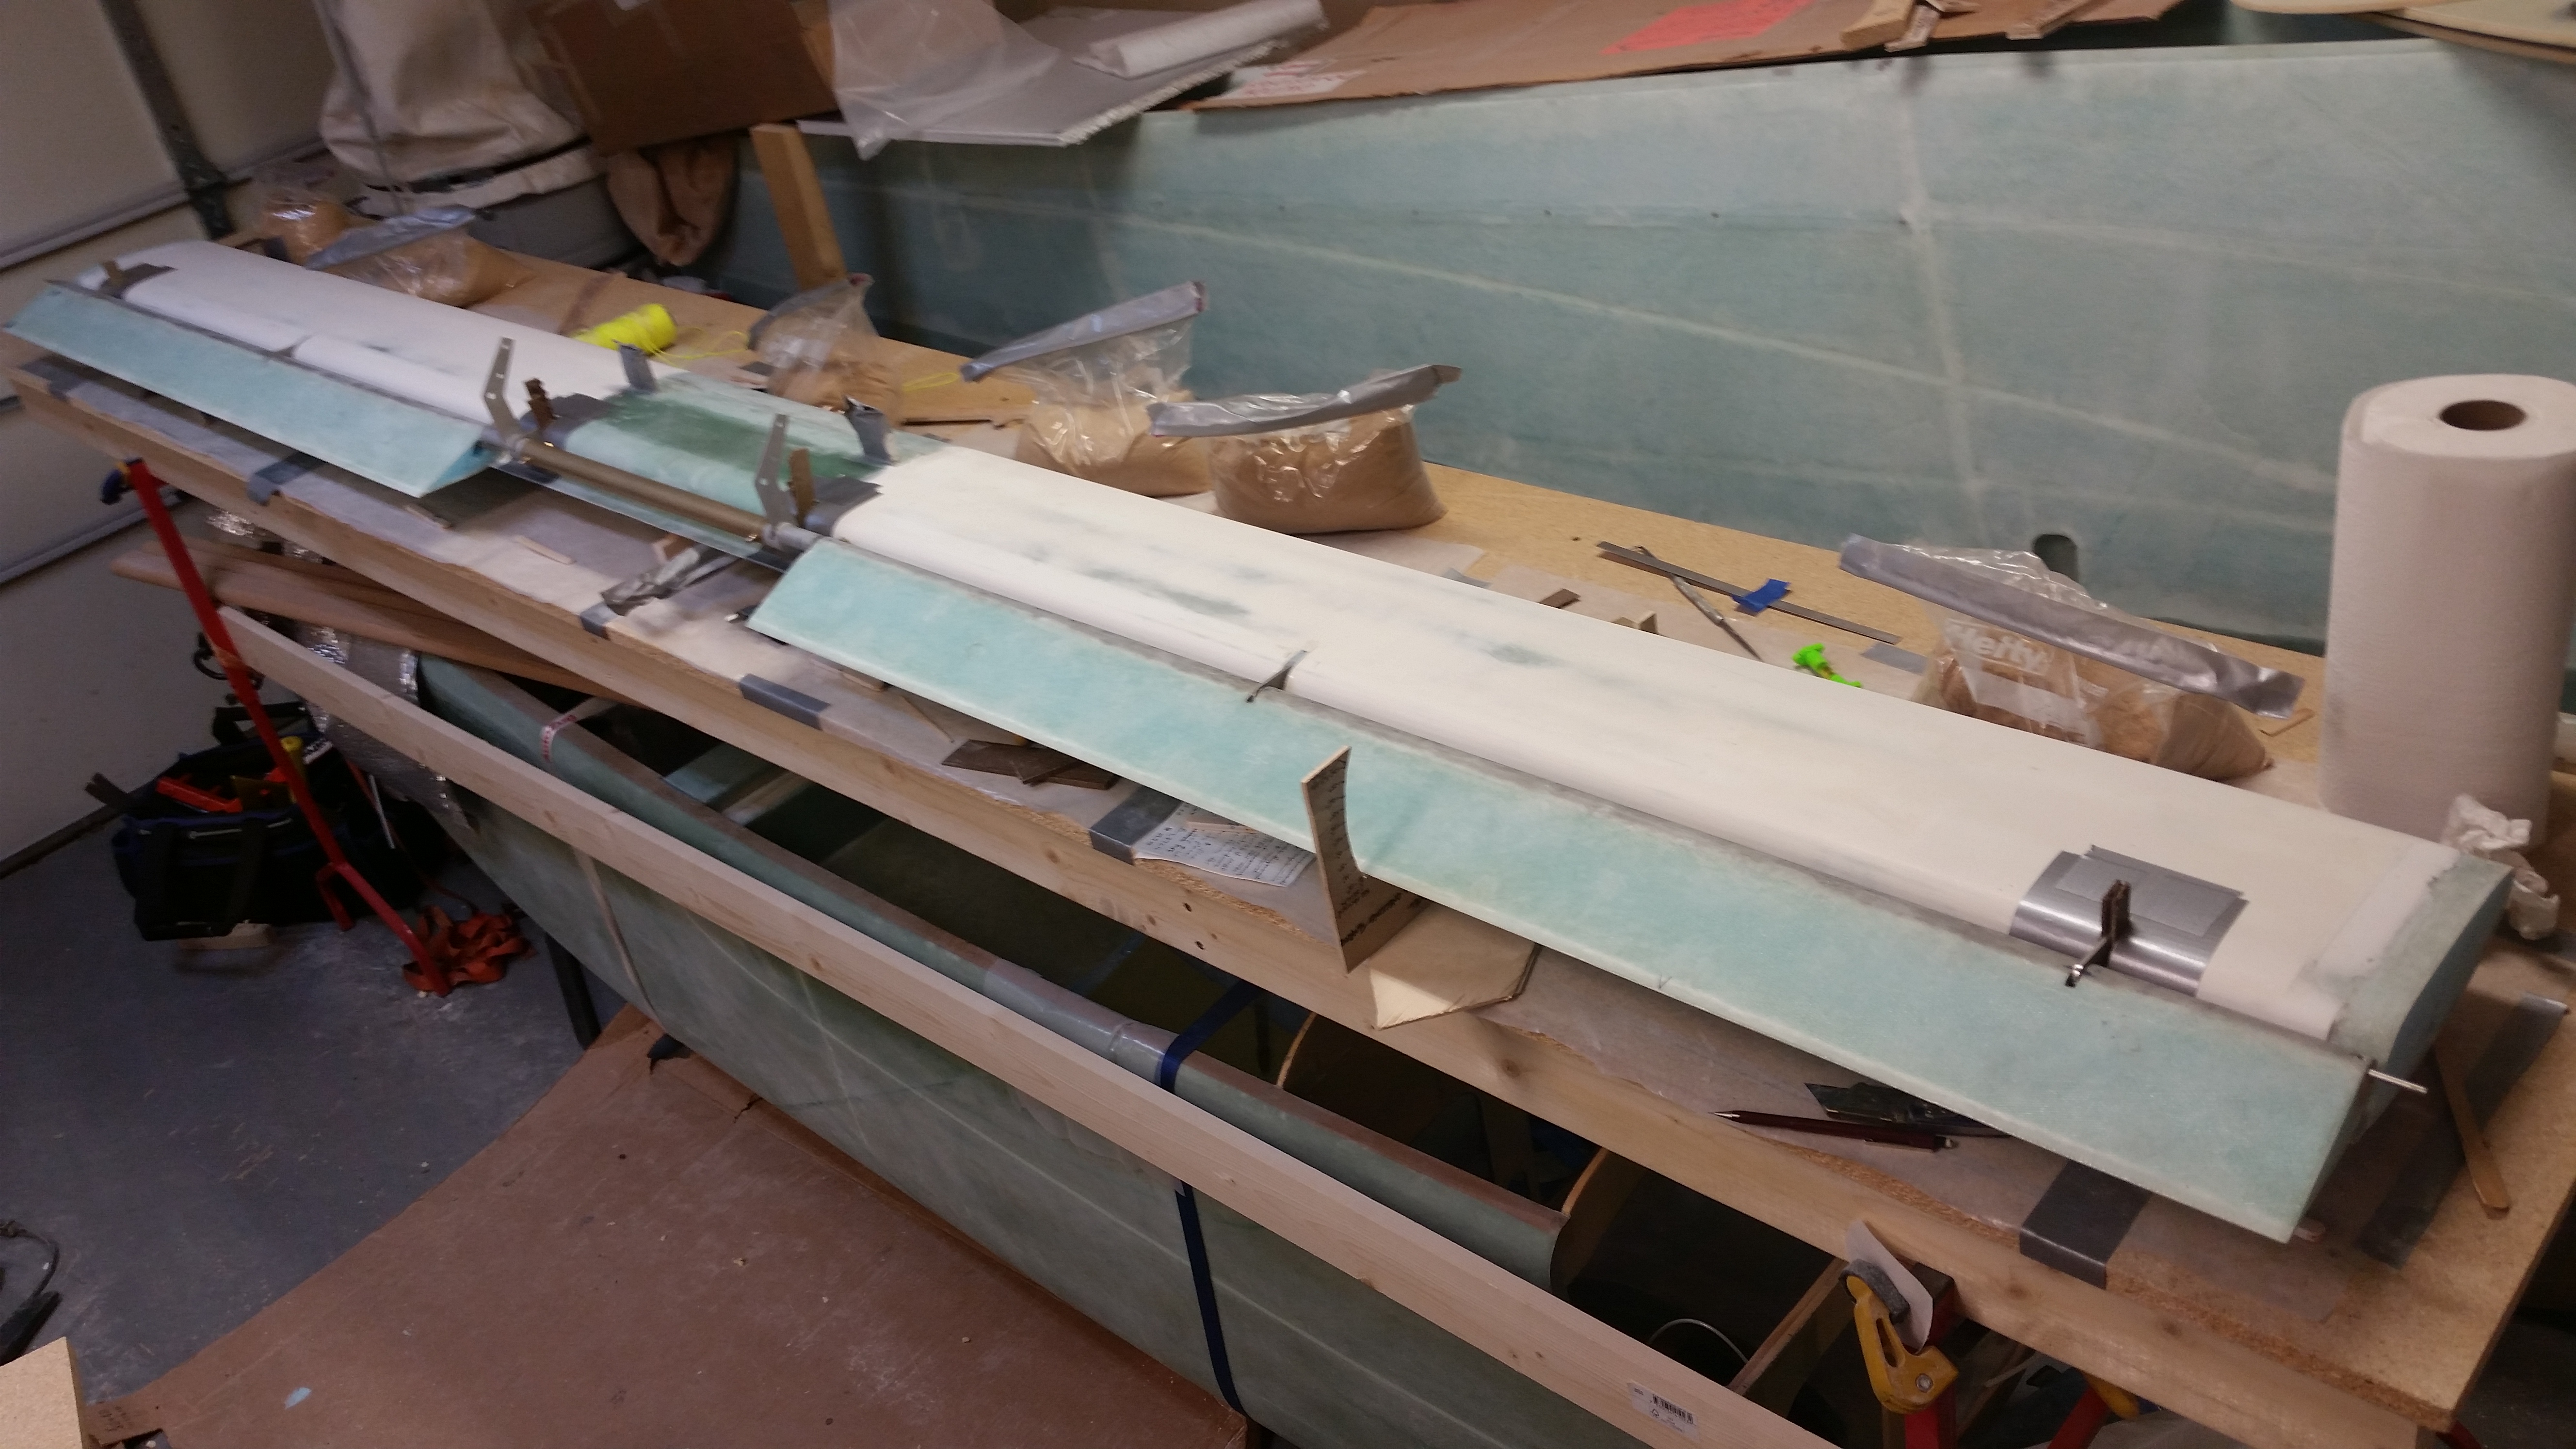
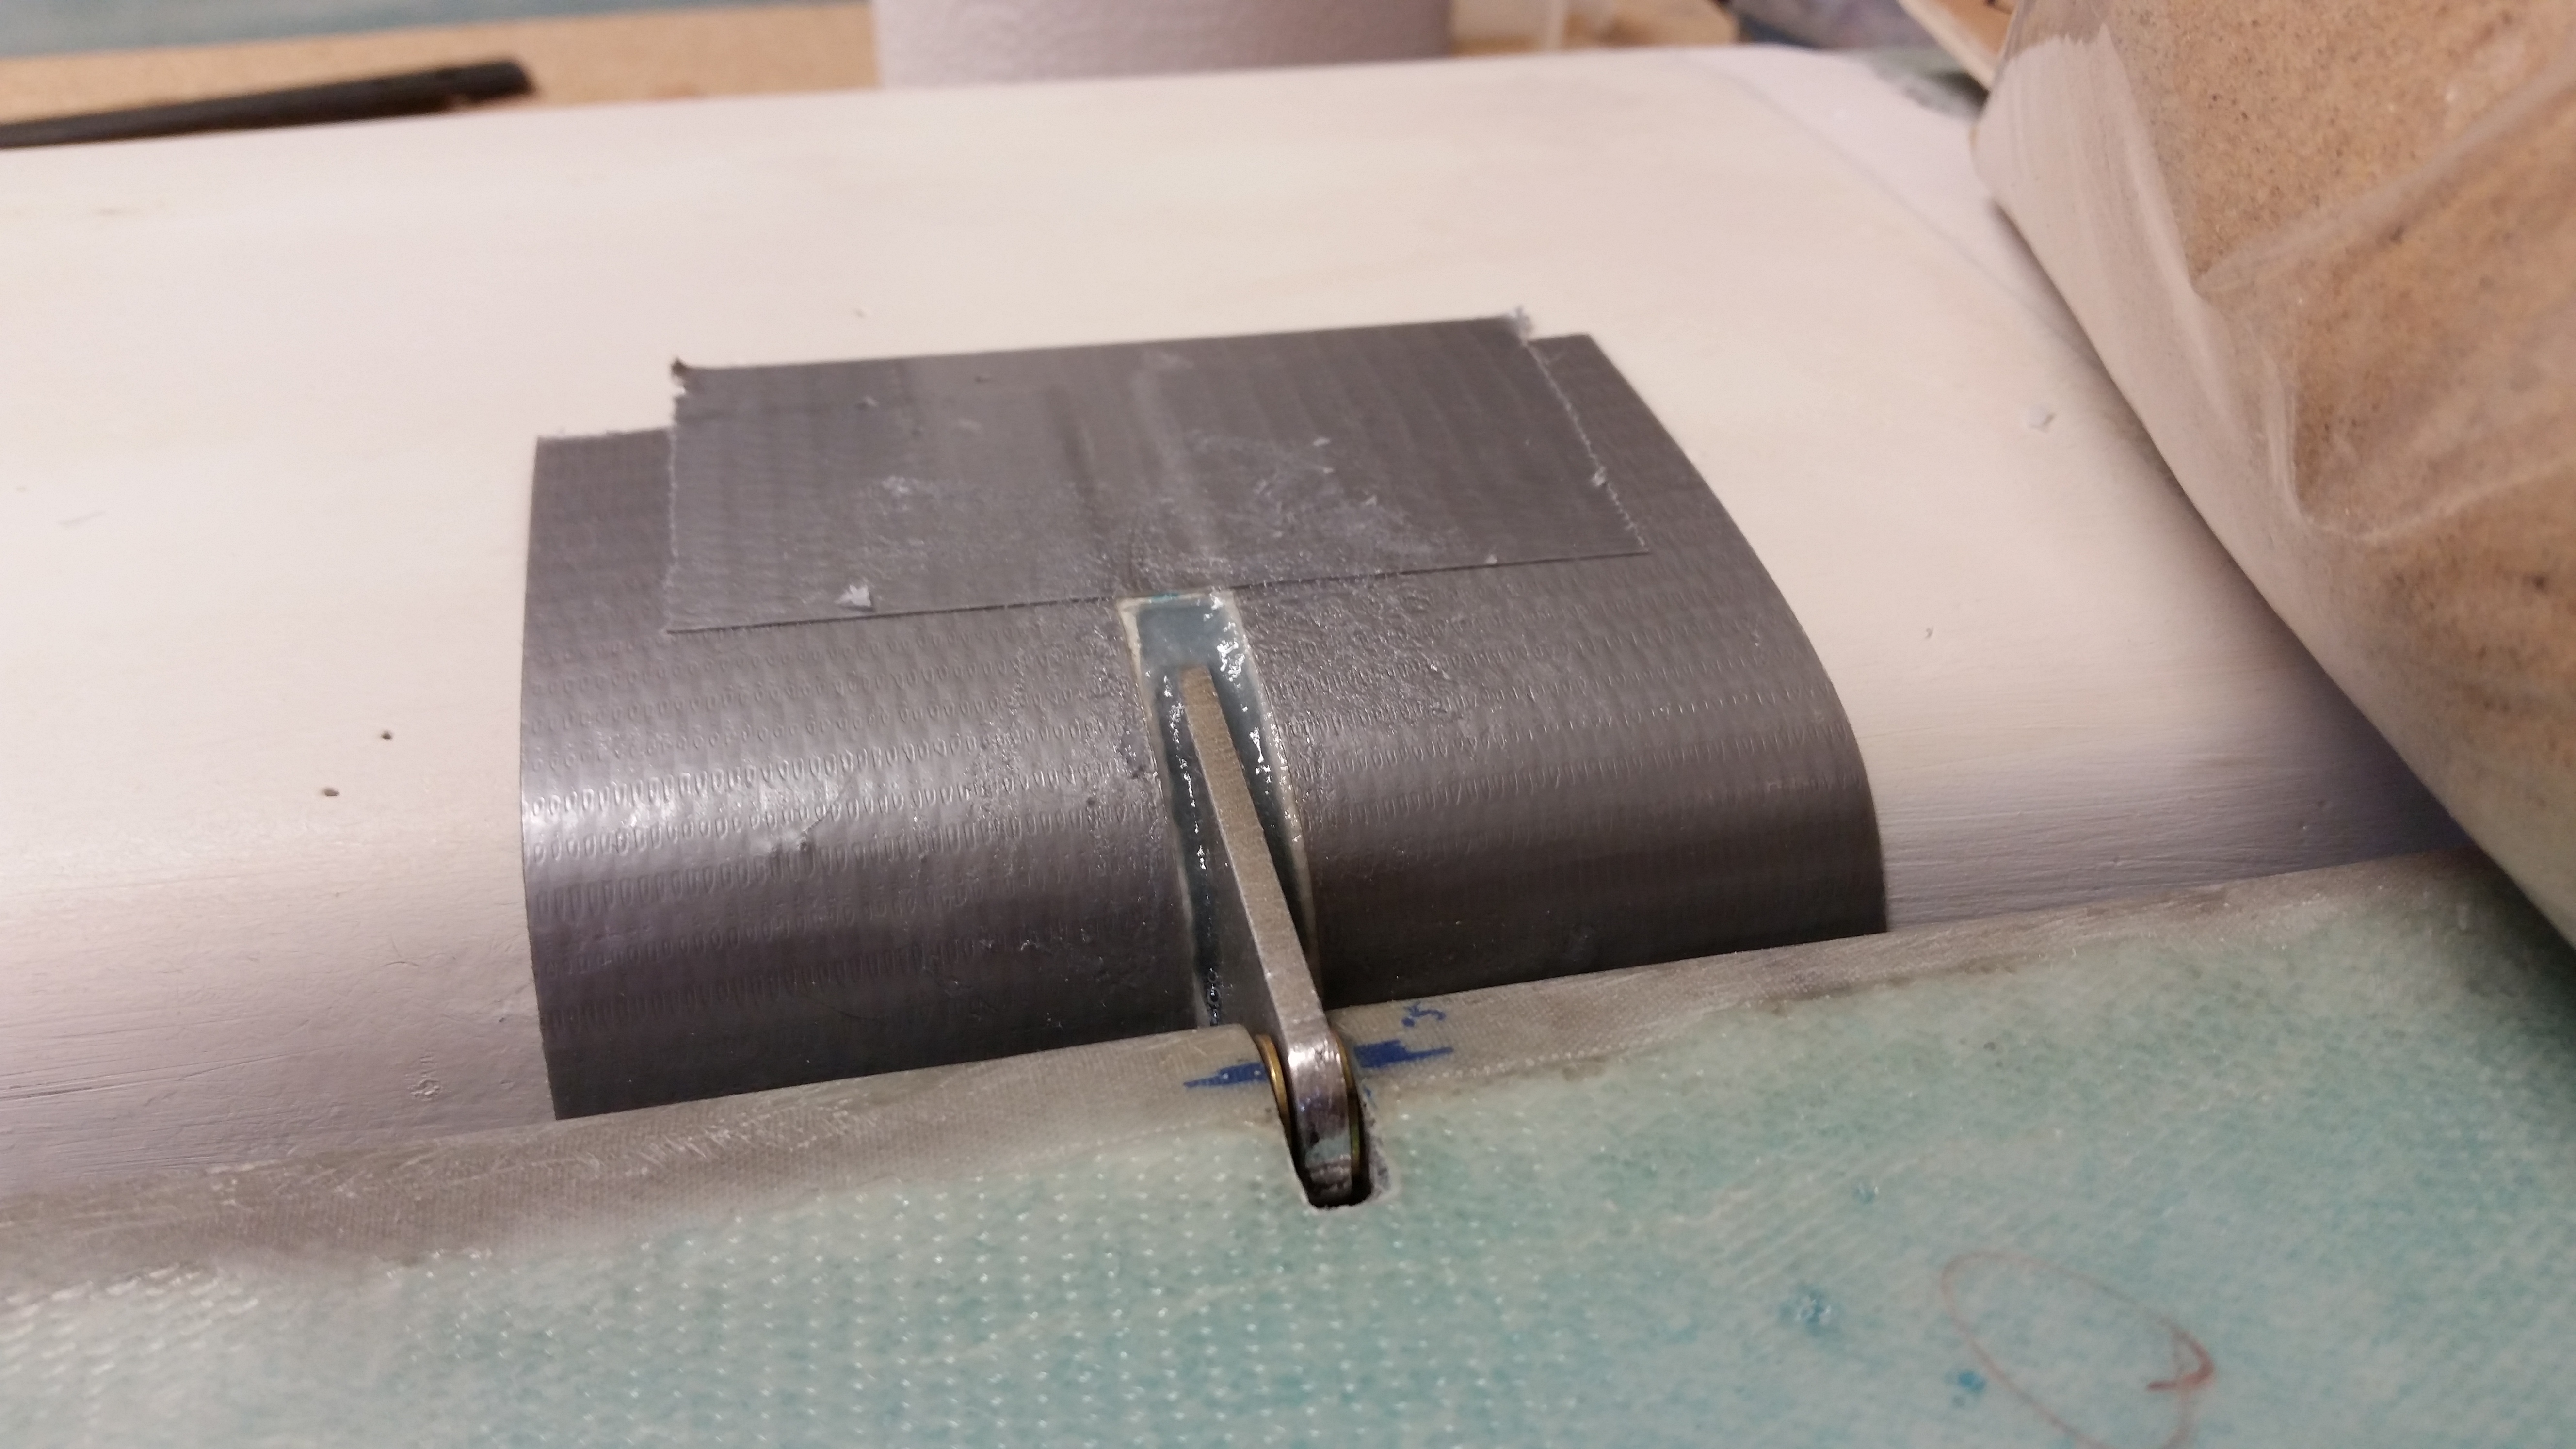
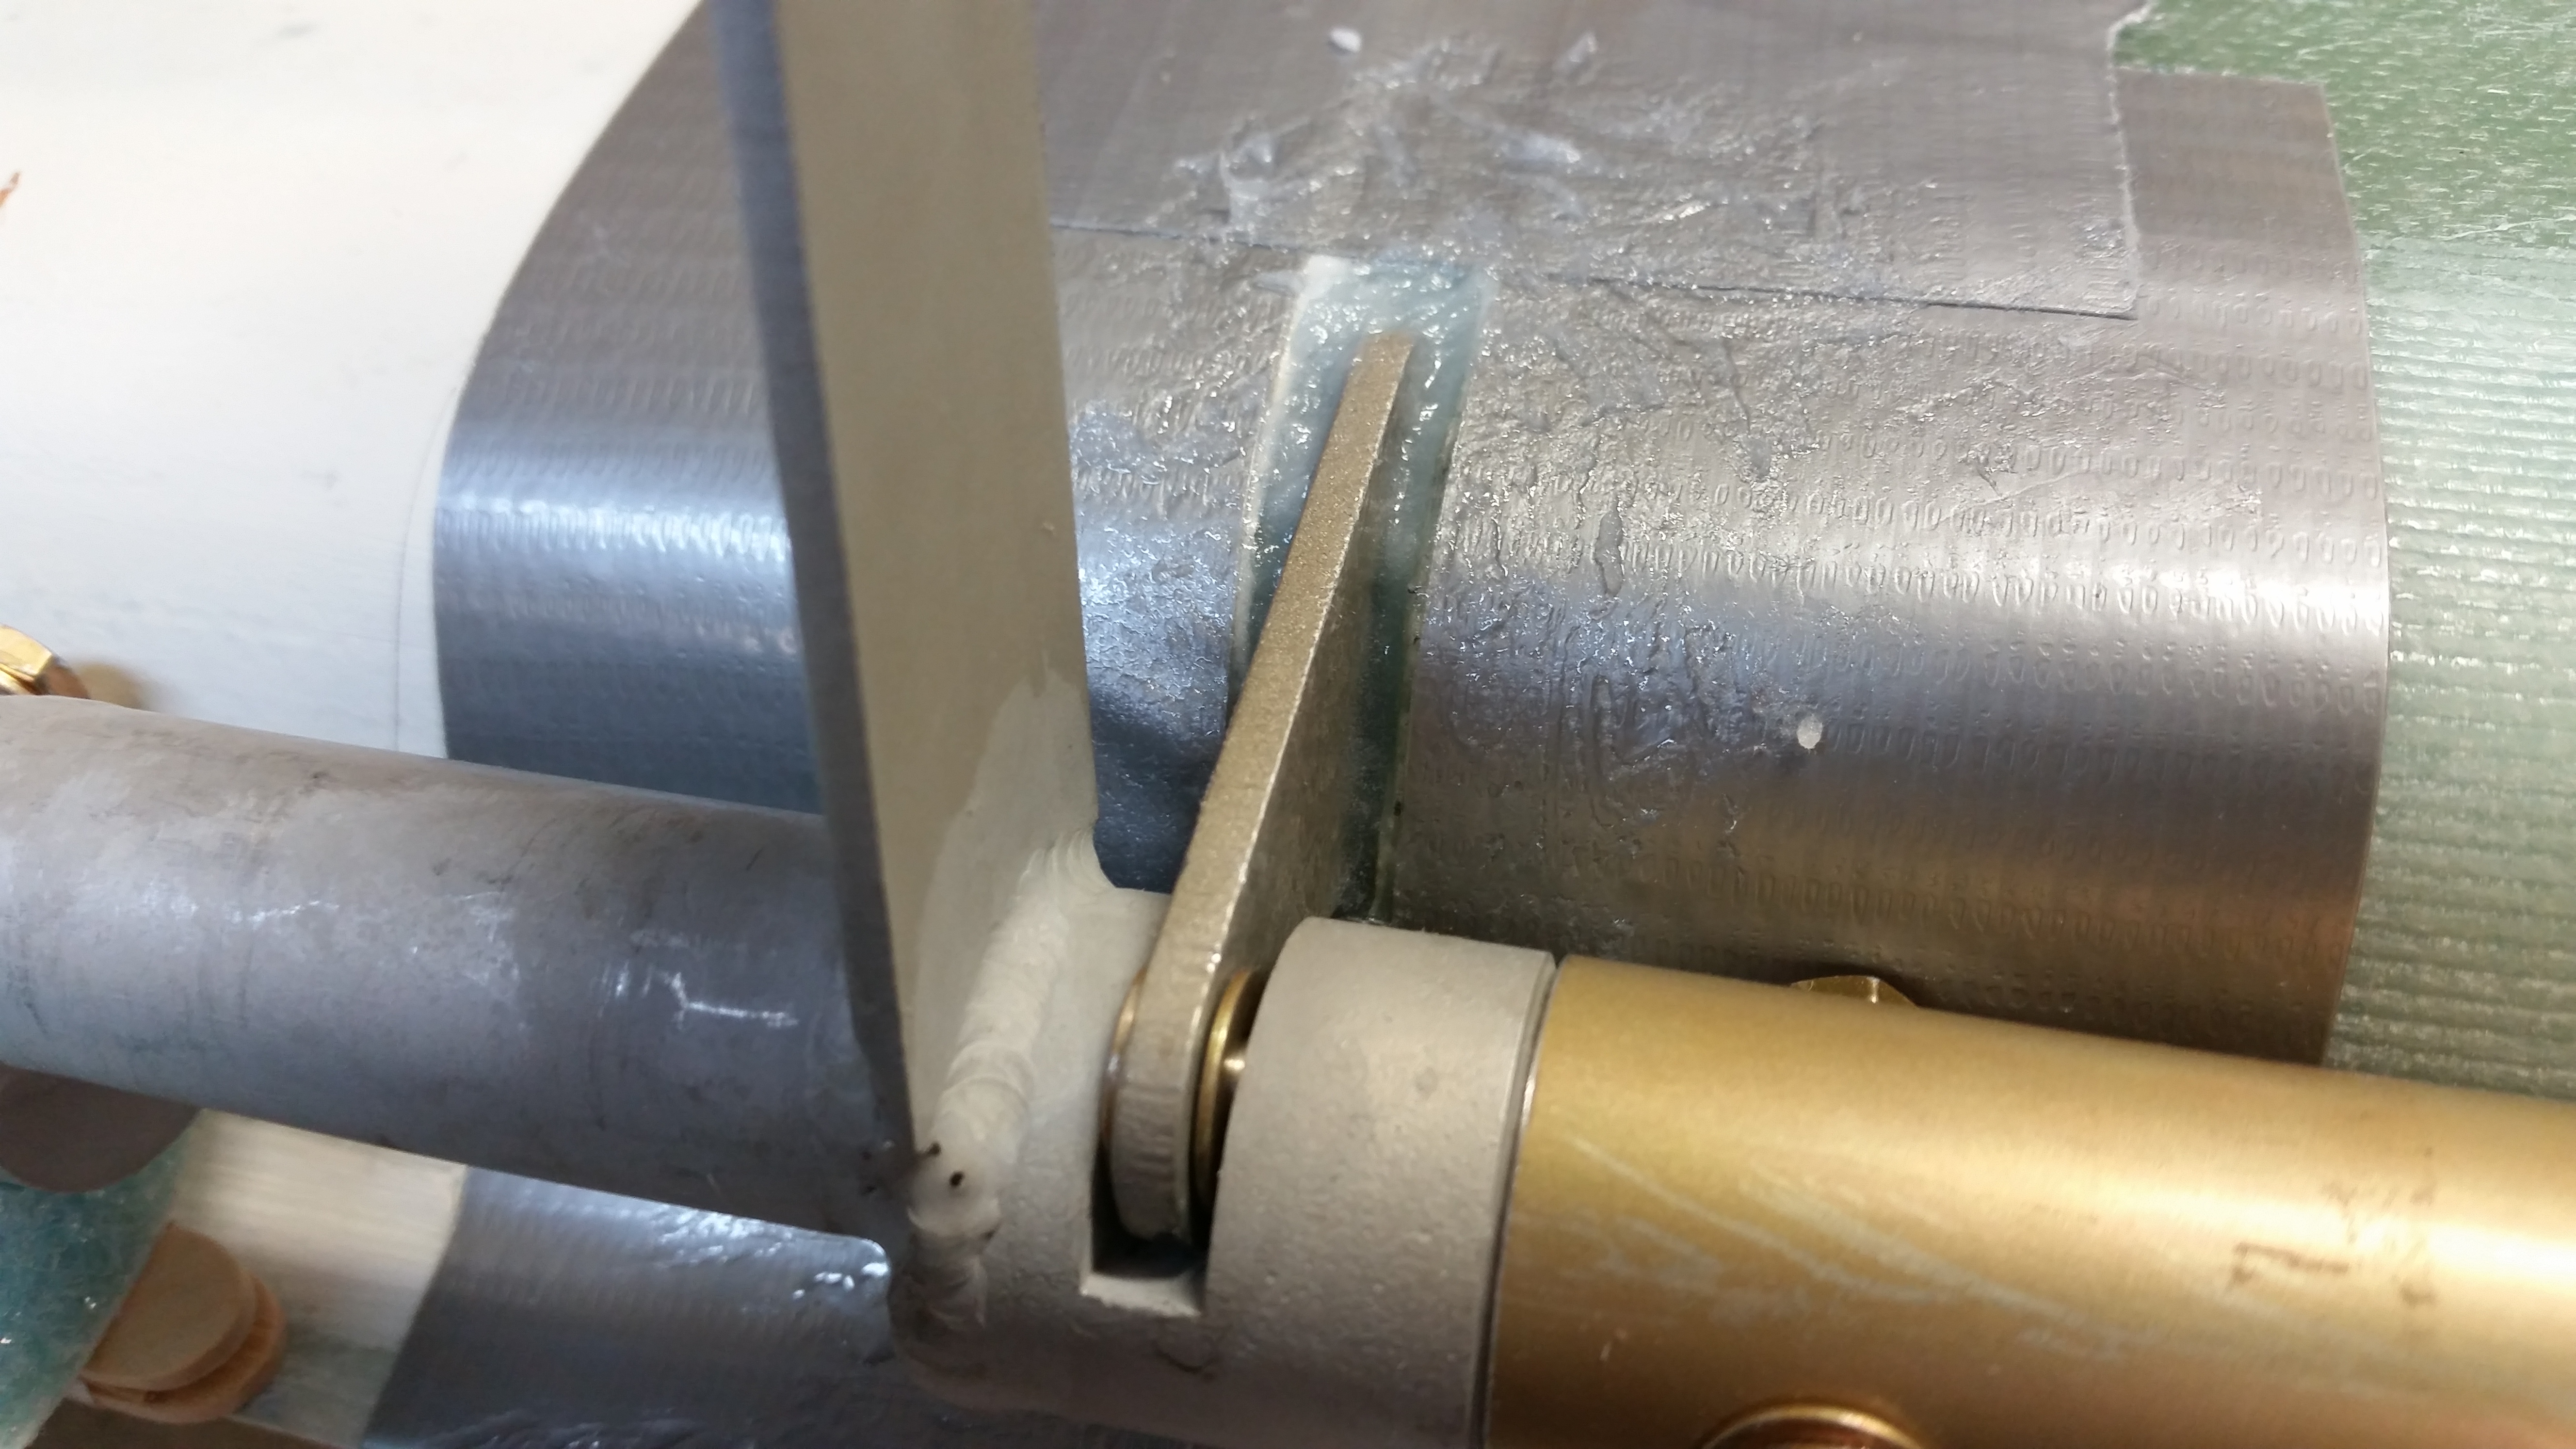
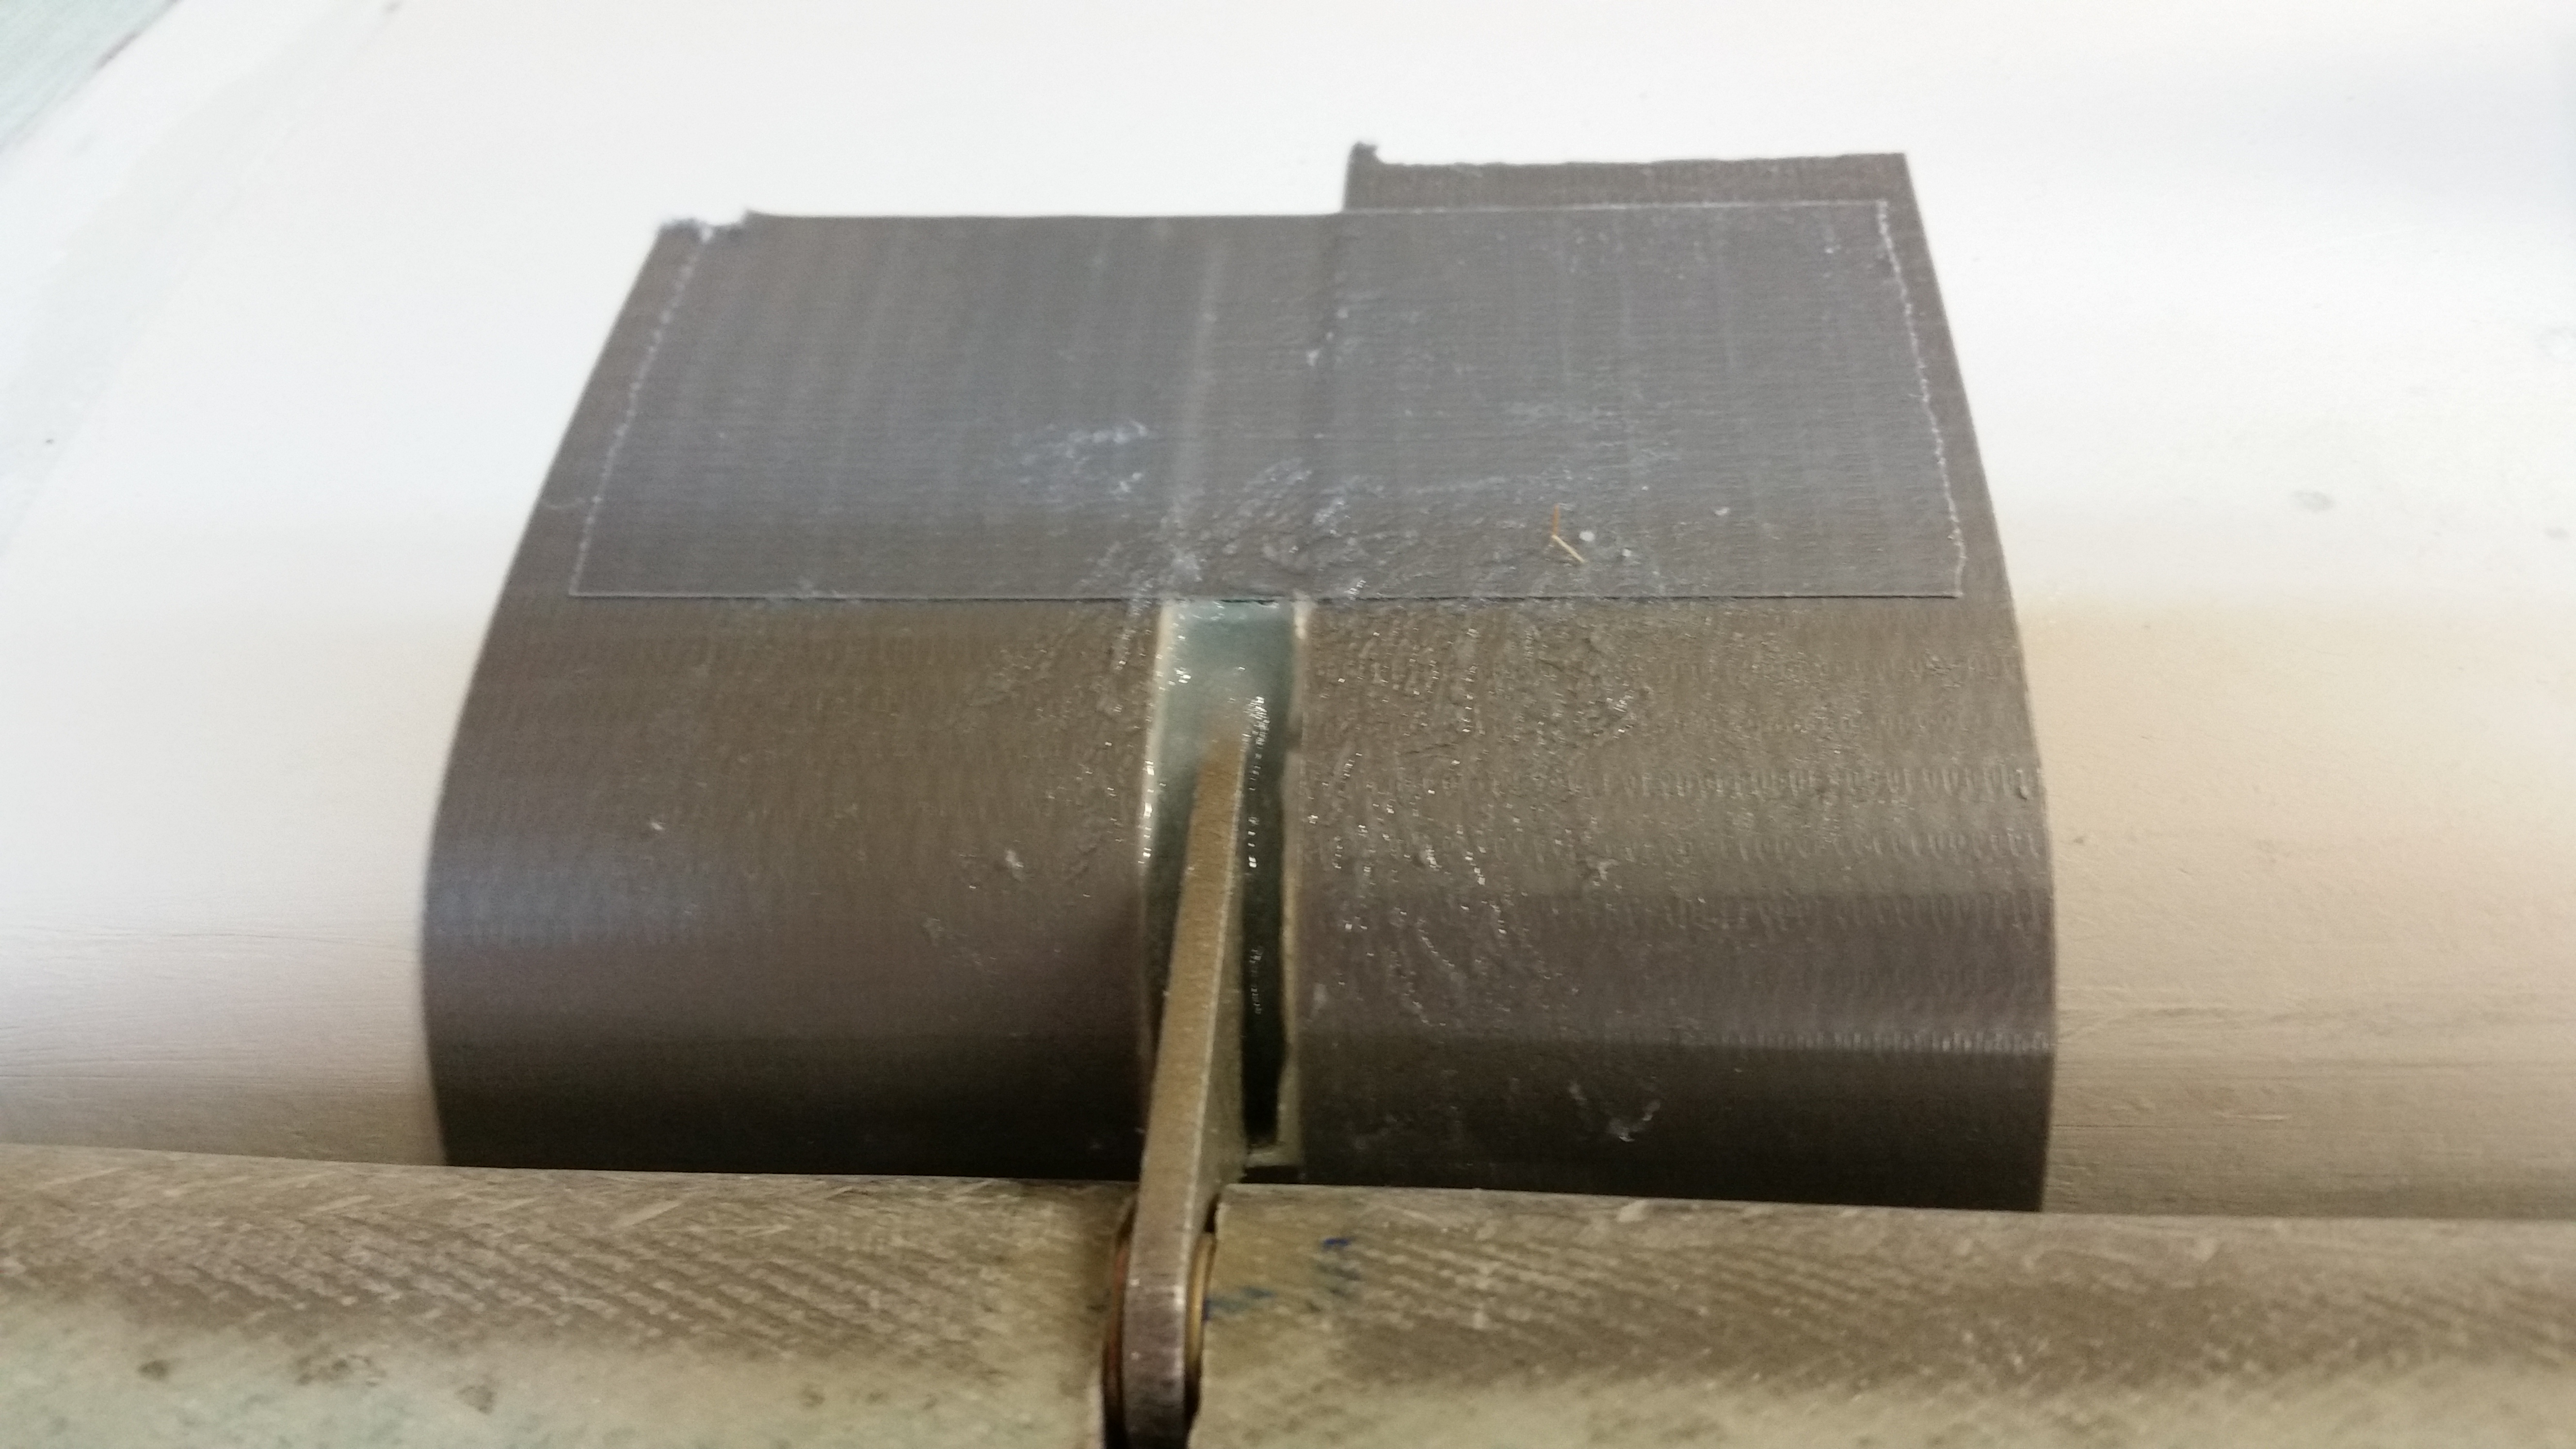
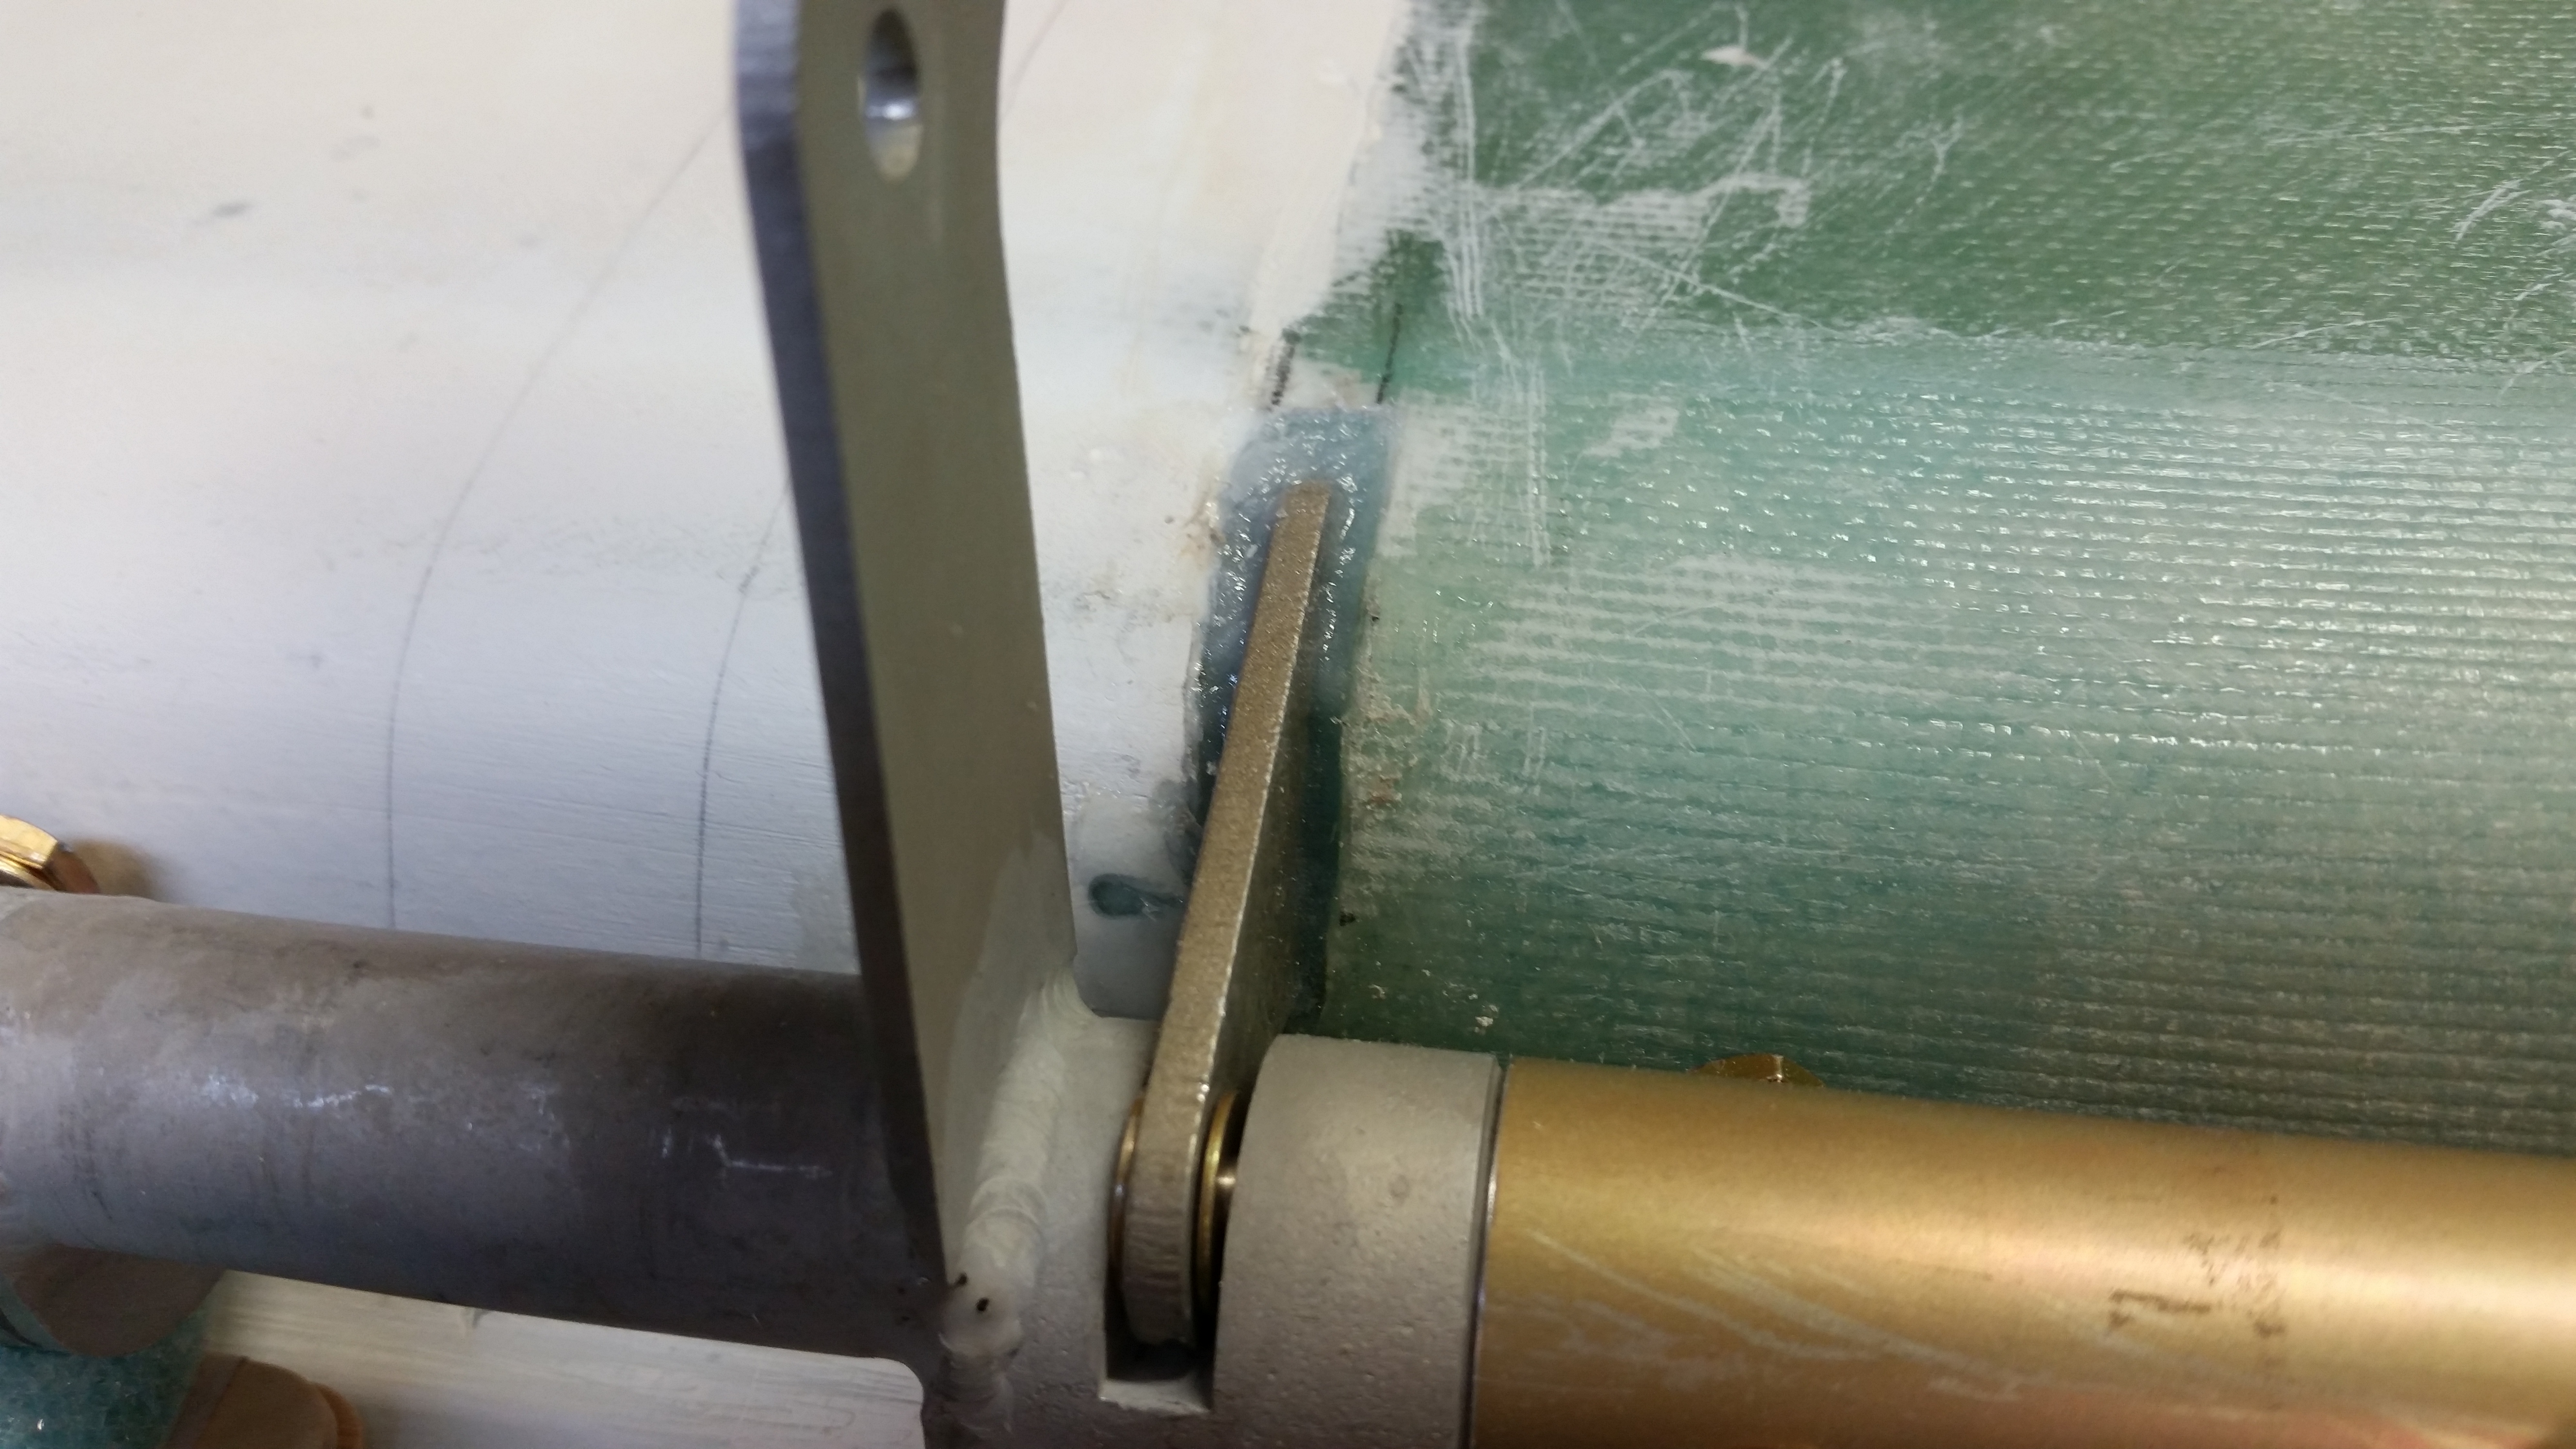
And here’s the busier mid-canard area with the two hinges that connect the respective torque offsets to the elevators and spool tube — taped and ready for flox.
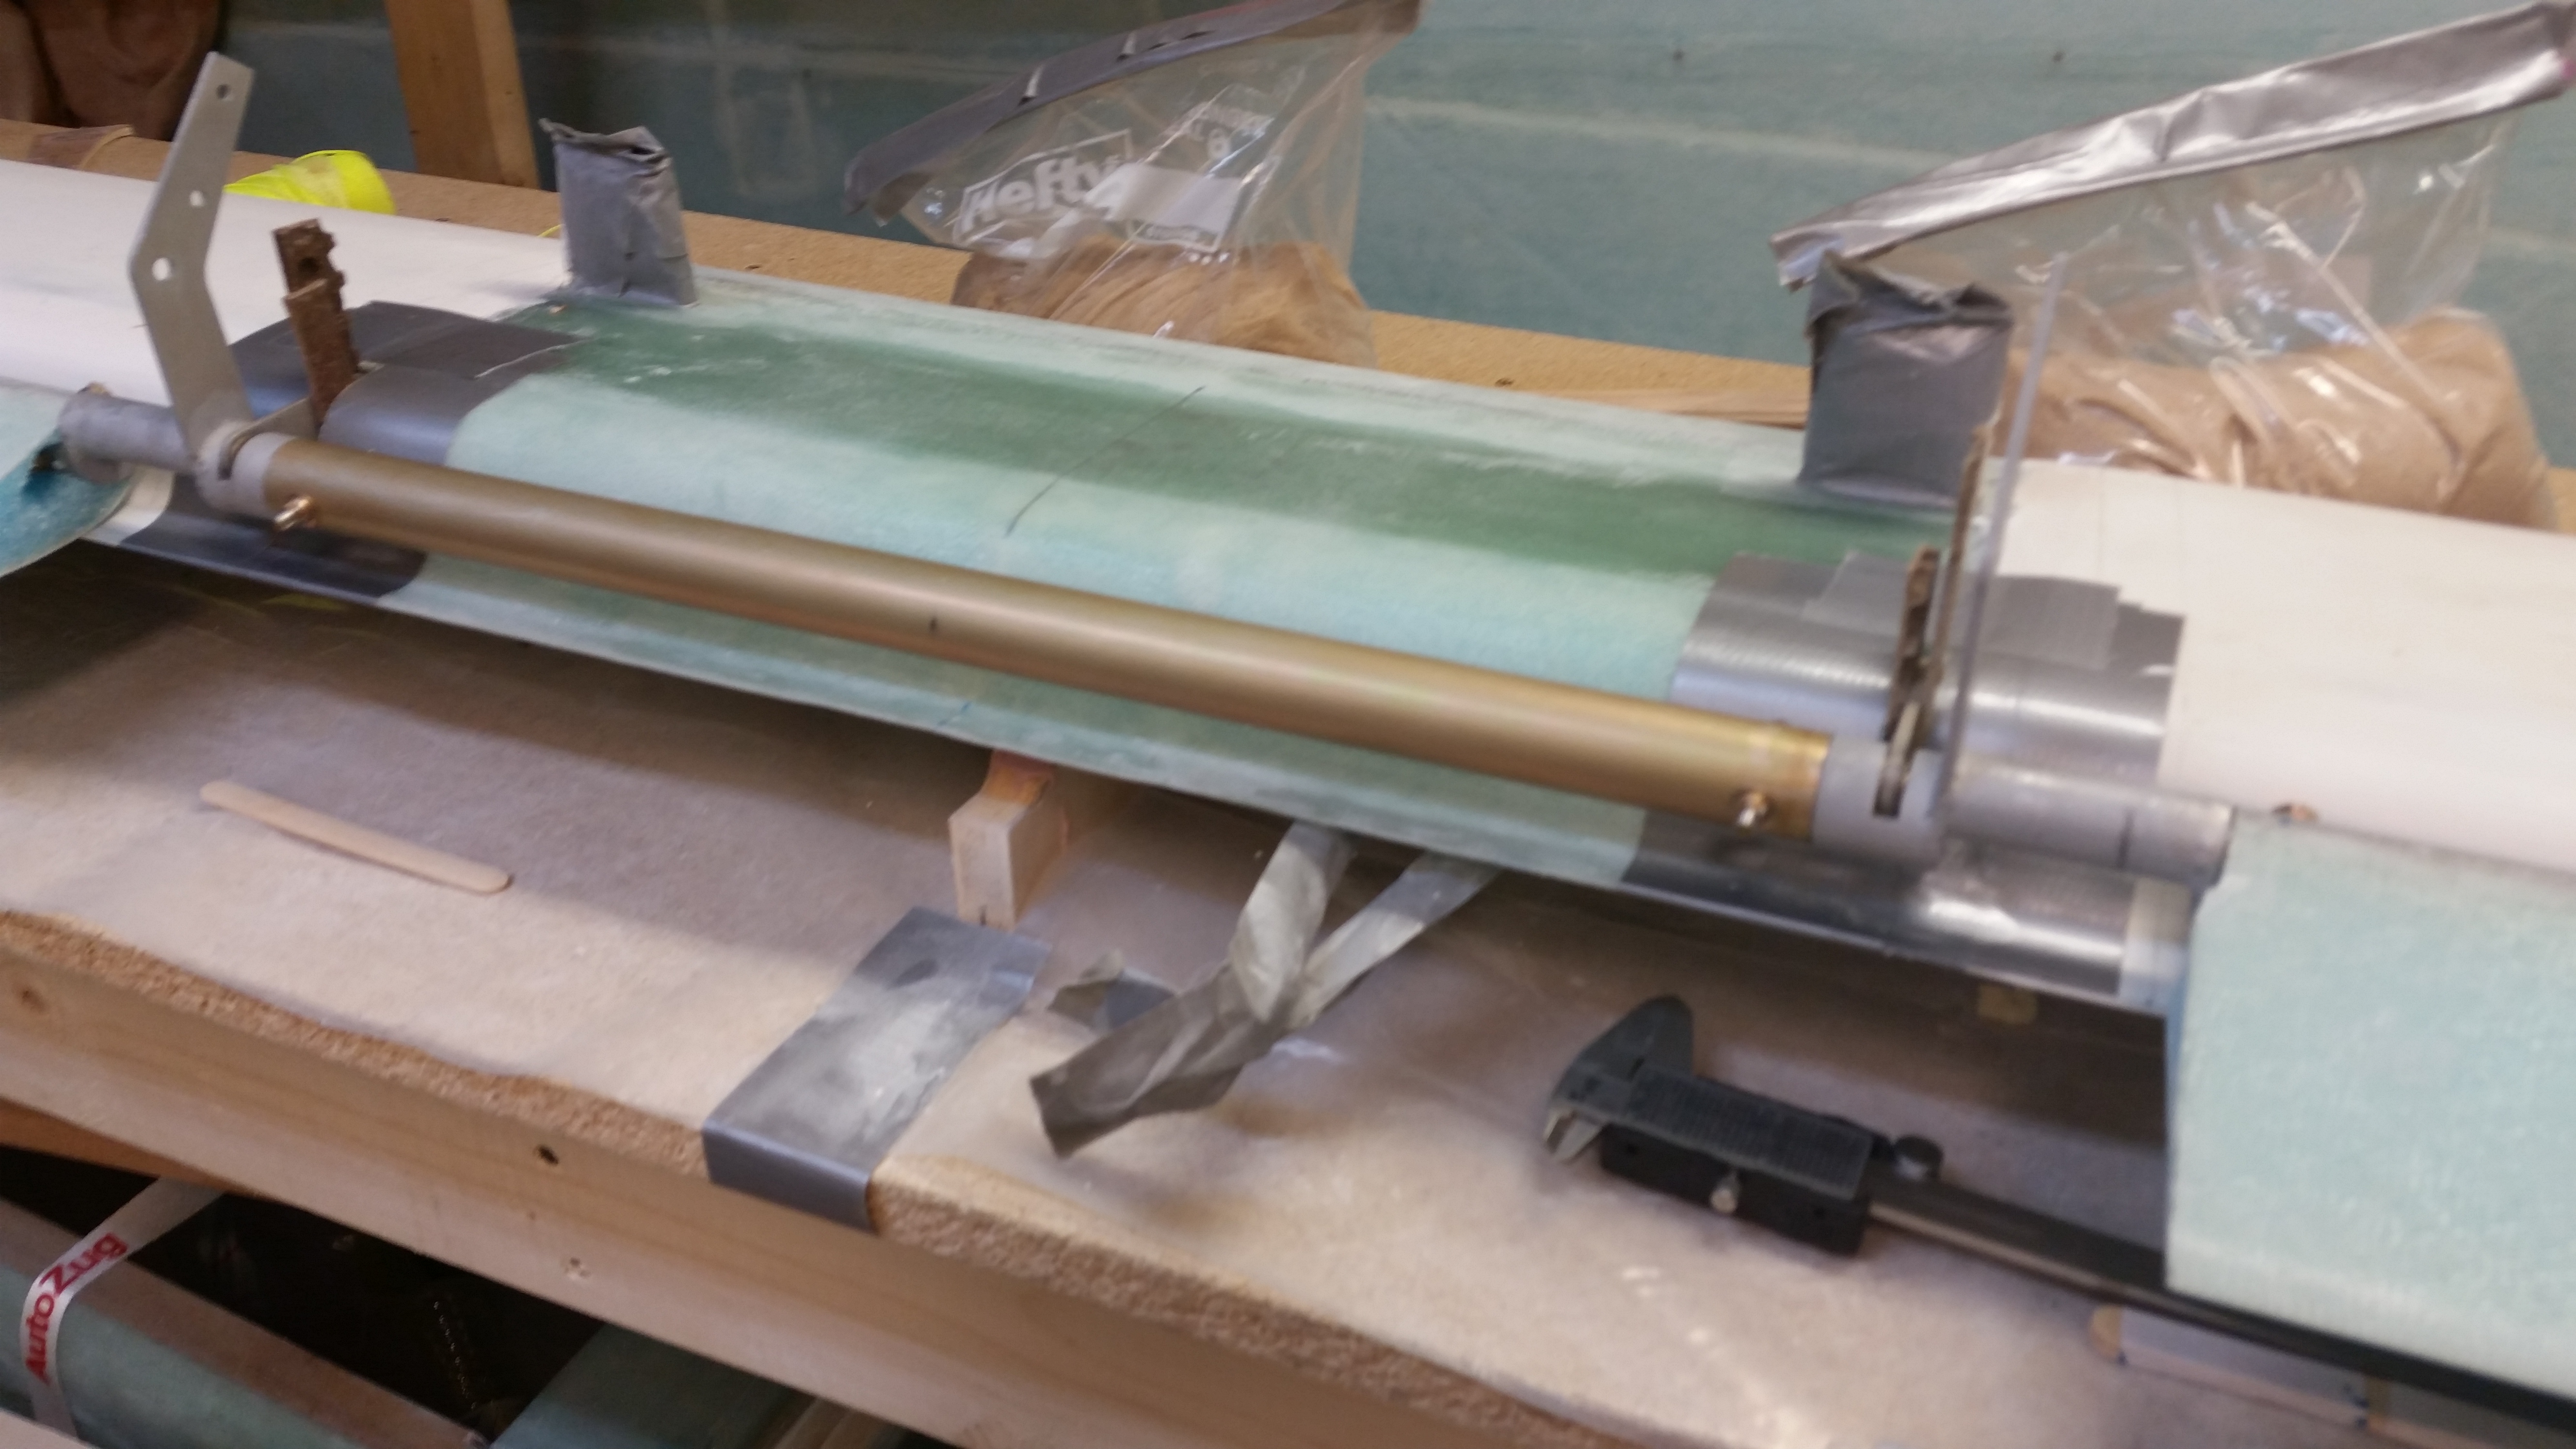
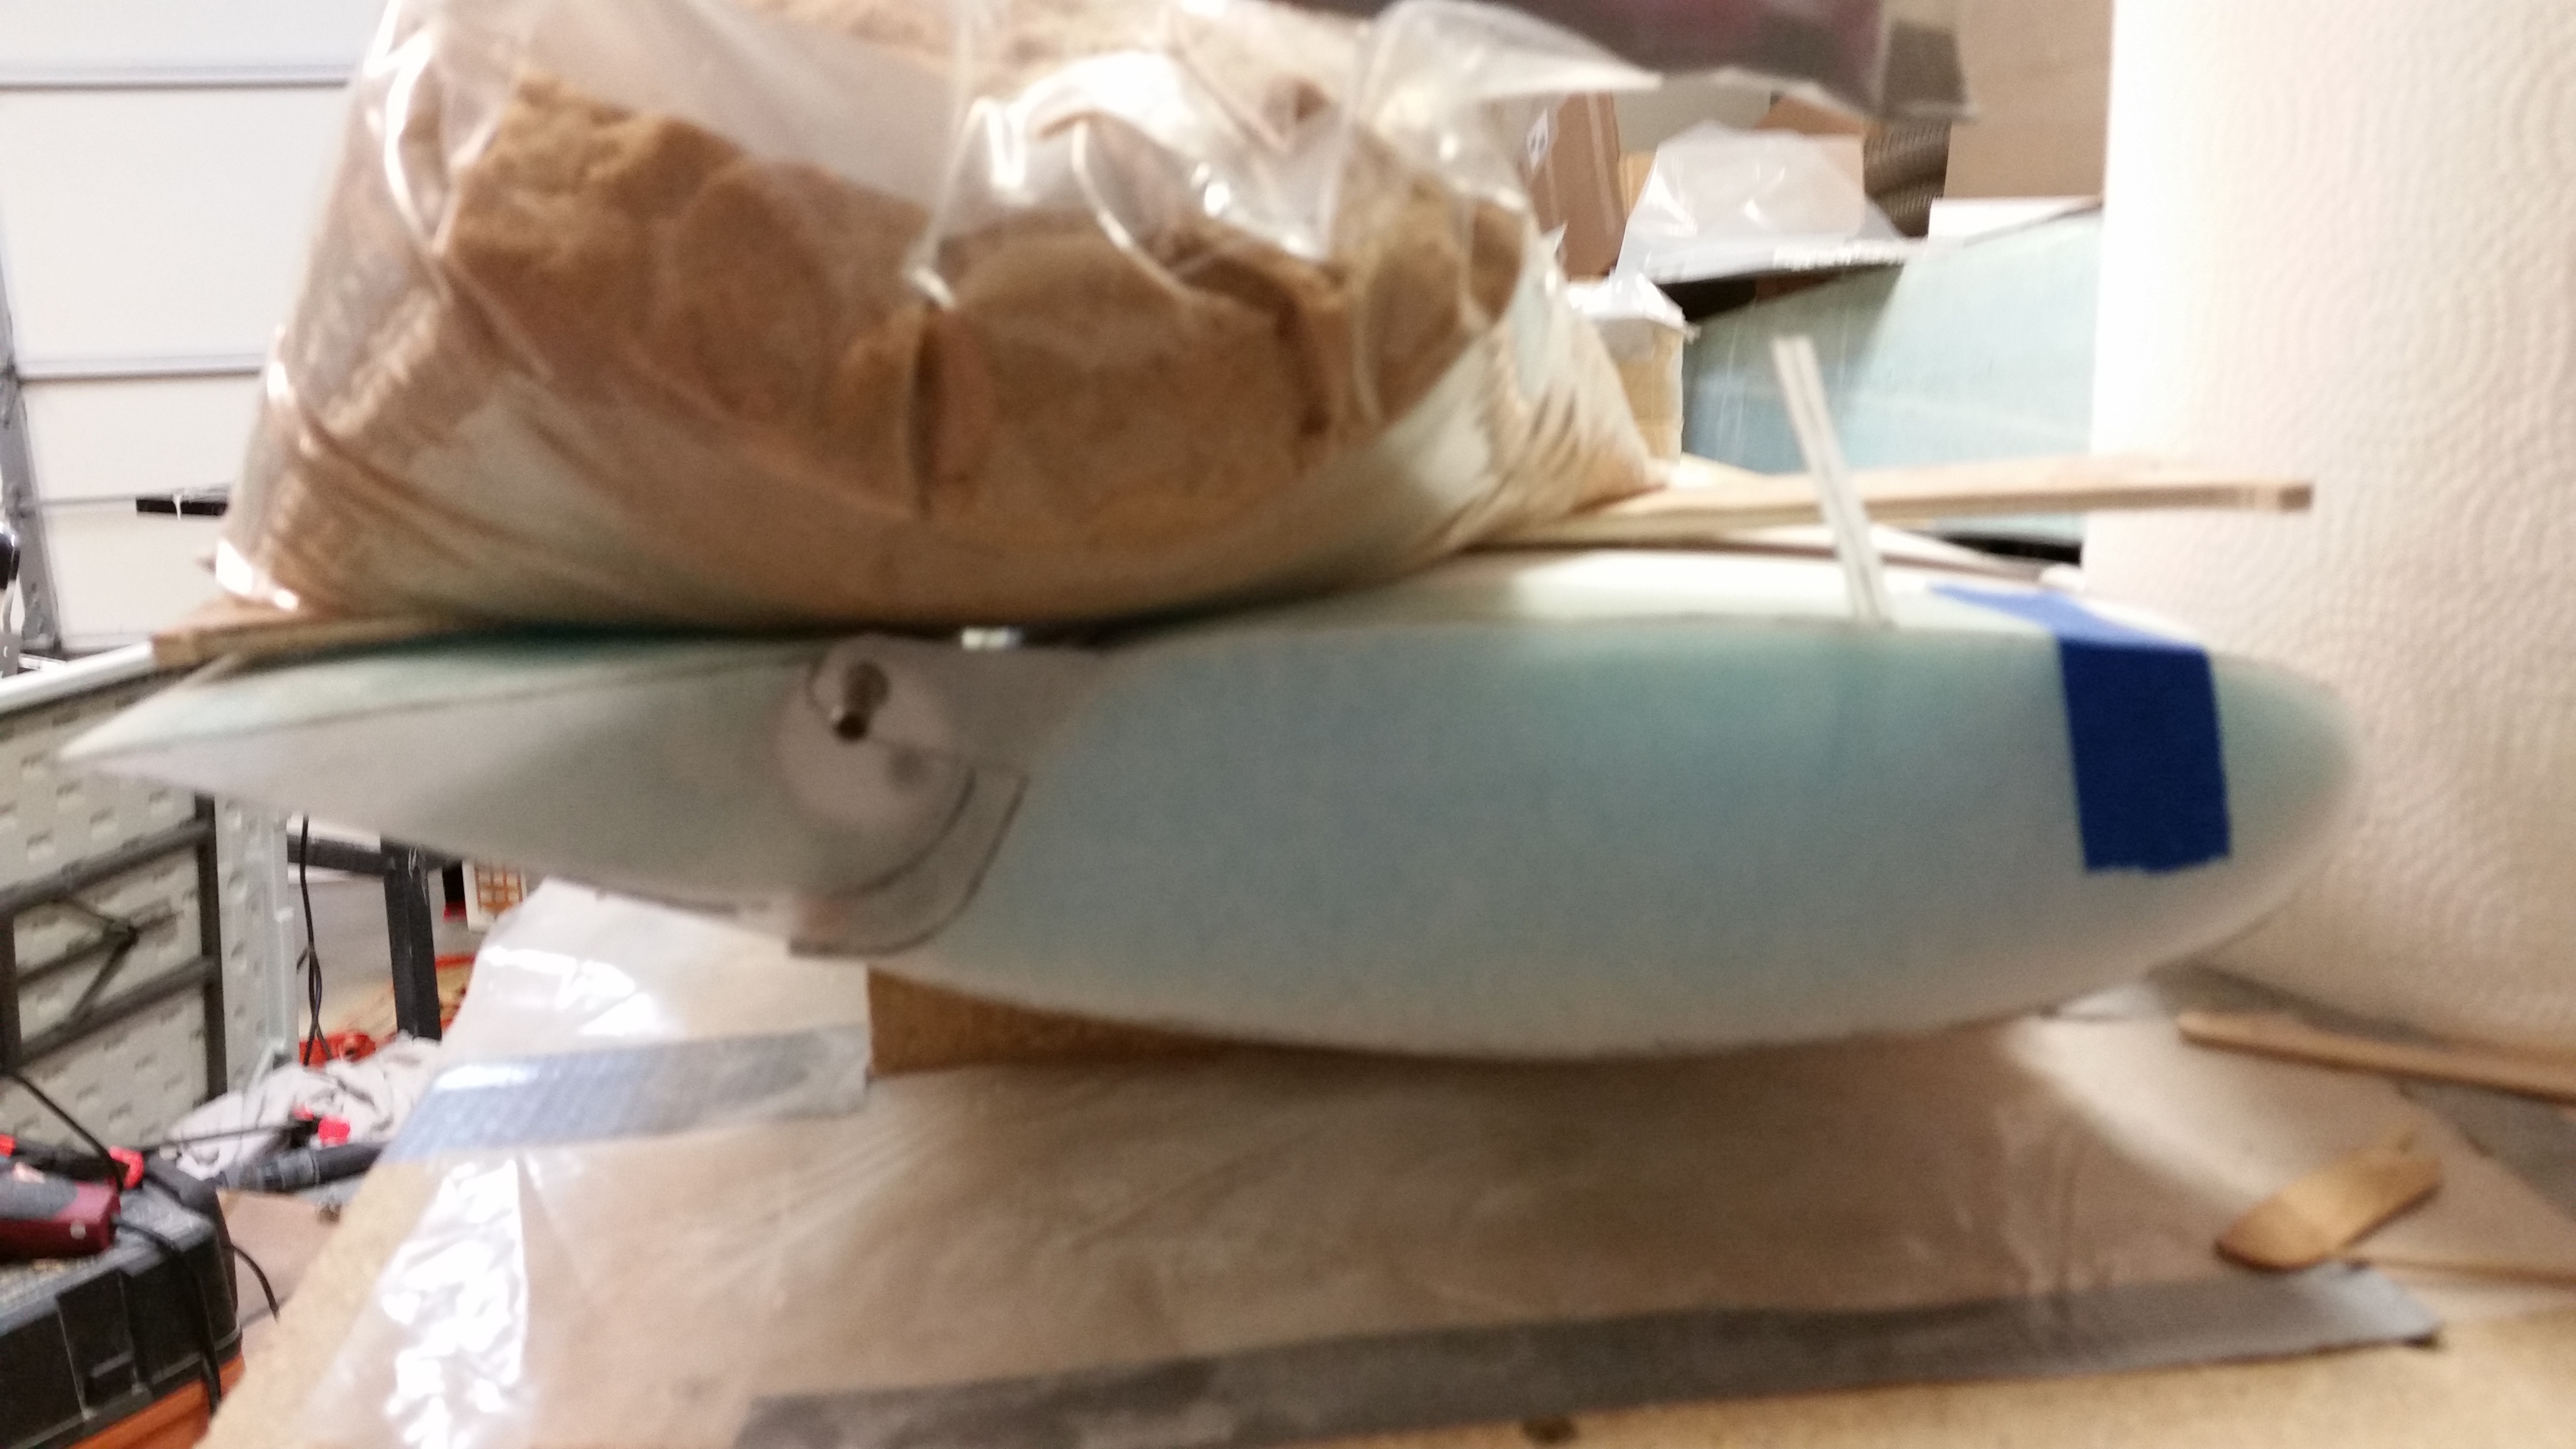
I realized that I hadn’t yet taken a good (or passible in this case) shot of the bolts attaching the elevators to the torque offsets from the front side of the elevator. Here you can make out the bolt heads at the root of each elevator at each side of the pic.

Next, I floxed in 3 more hinge tabs. The left Inboard hinge needed just a slight bit of coercive pressure to get it to line up correctly (we’re talking around 20 thou in movement), so I decided to get it set, leave it alone, and work on the other 3 hinges to limit my variables on this round of floxing.
While the 3 floxed hinges were curing I started on some prep for the upcoming steps. First, I gathered up my outboard elevator weight positioning jig (“J” template), sanded the very rough edges smooth and ensured they matched the Roncz canard plans.

Thinking I was finished with the H100 6 lb foam after I build the canard, I sent it off to an EZ building buddy of mine before realizing this past week that I needed it to attach the outboard elevator weights. Doh! So I ordered some more from ACS a couple of days ago and it arrived today.
In addition, I traced out the Top Canard Contour Template “E” onto one of the 2×3’s I used for cutting the blue foam swoosh tips and made the first half of the top canard contour sanding block.
Finally, when I was at Home Depot yesterday I looked at buying a 24″ long piece of 4″ PVC pipe to sand the swoosh tip foam. They wanted $8 for it and I wasn’t in the mood to spend that much on a one time use thing, so I simply recycled my 2″ OD PVC pipe that I used to Alodine the Spool Tube. I attached a piece of 36 grit PSA sandpaper to it and plastic wrapped to allow the paper to fully stick to the PVC tube.
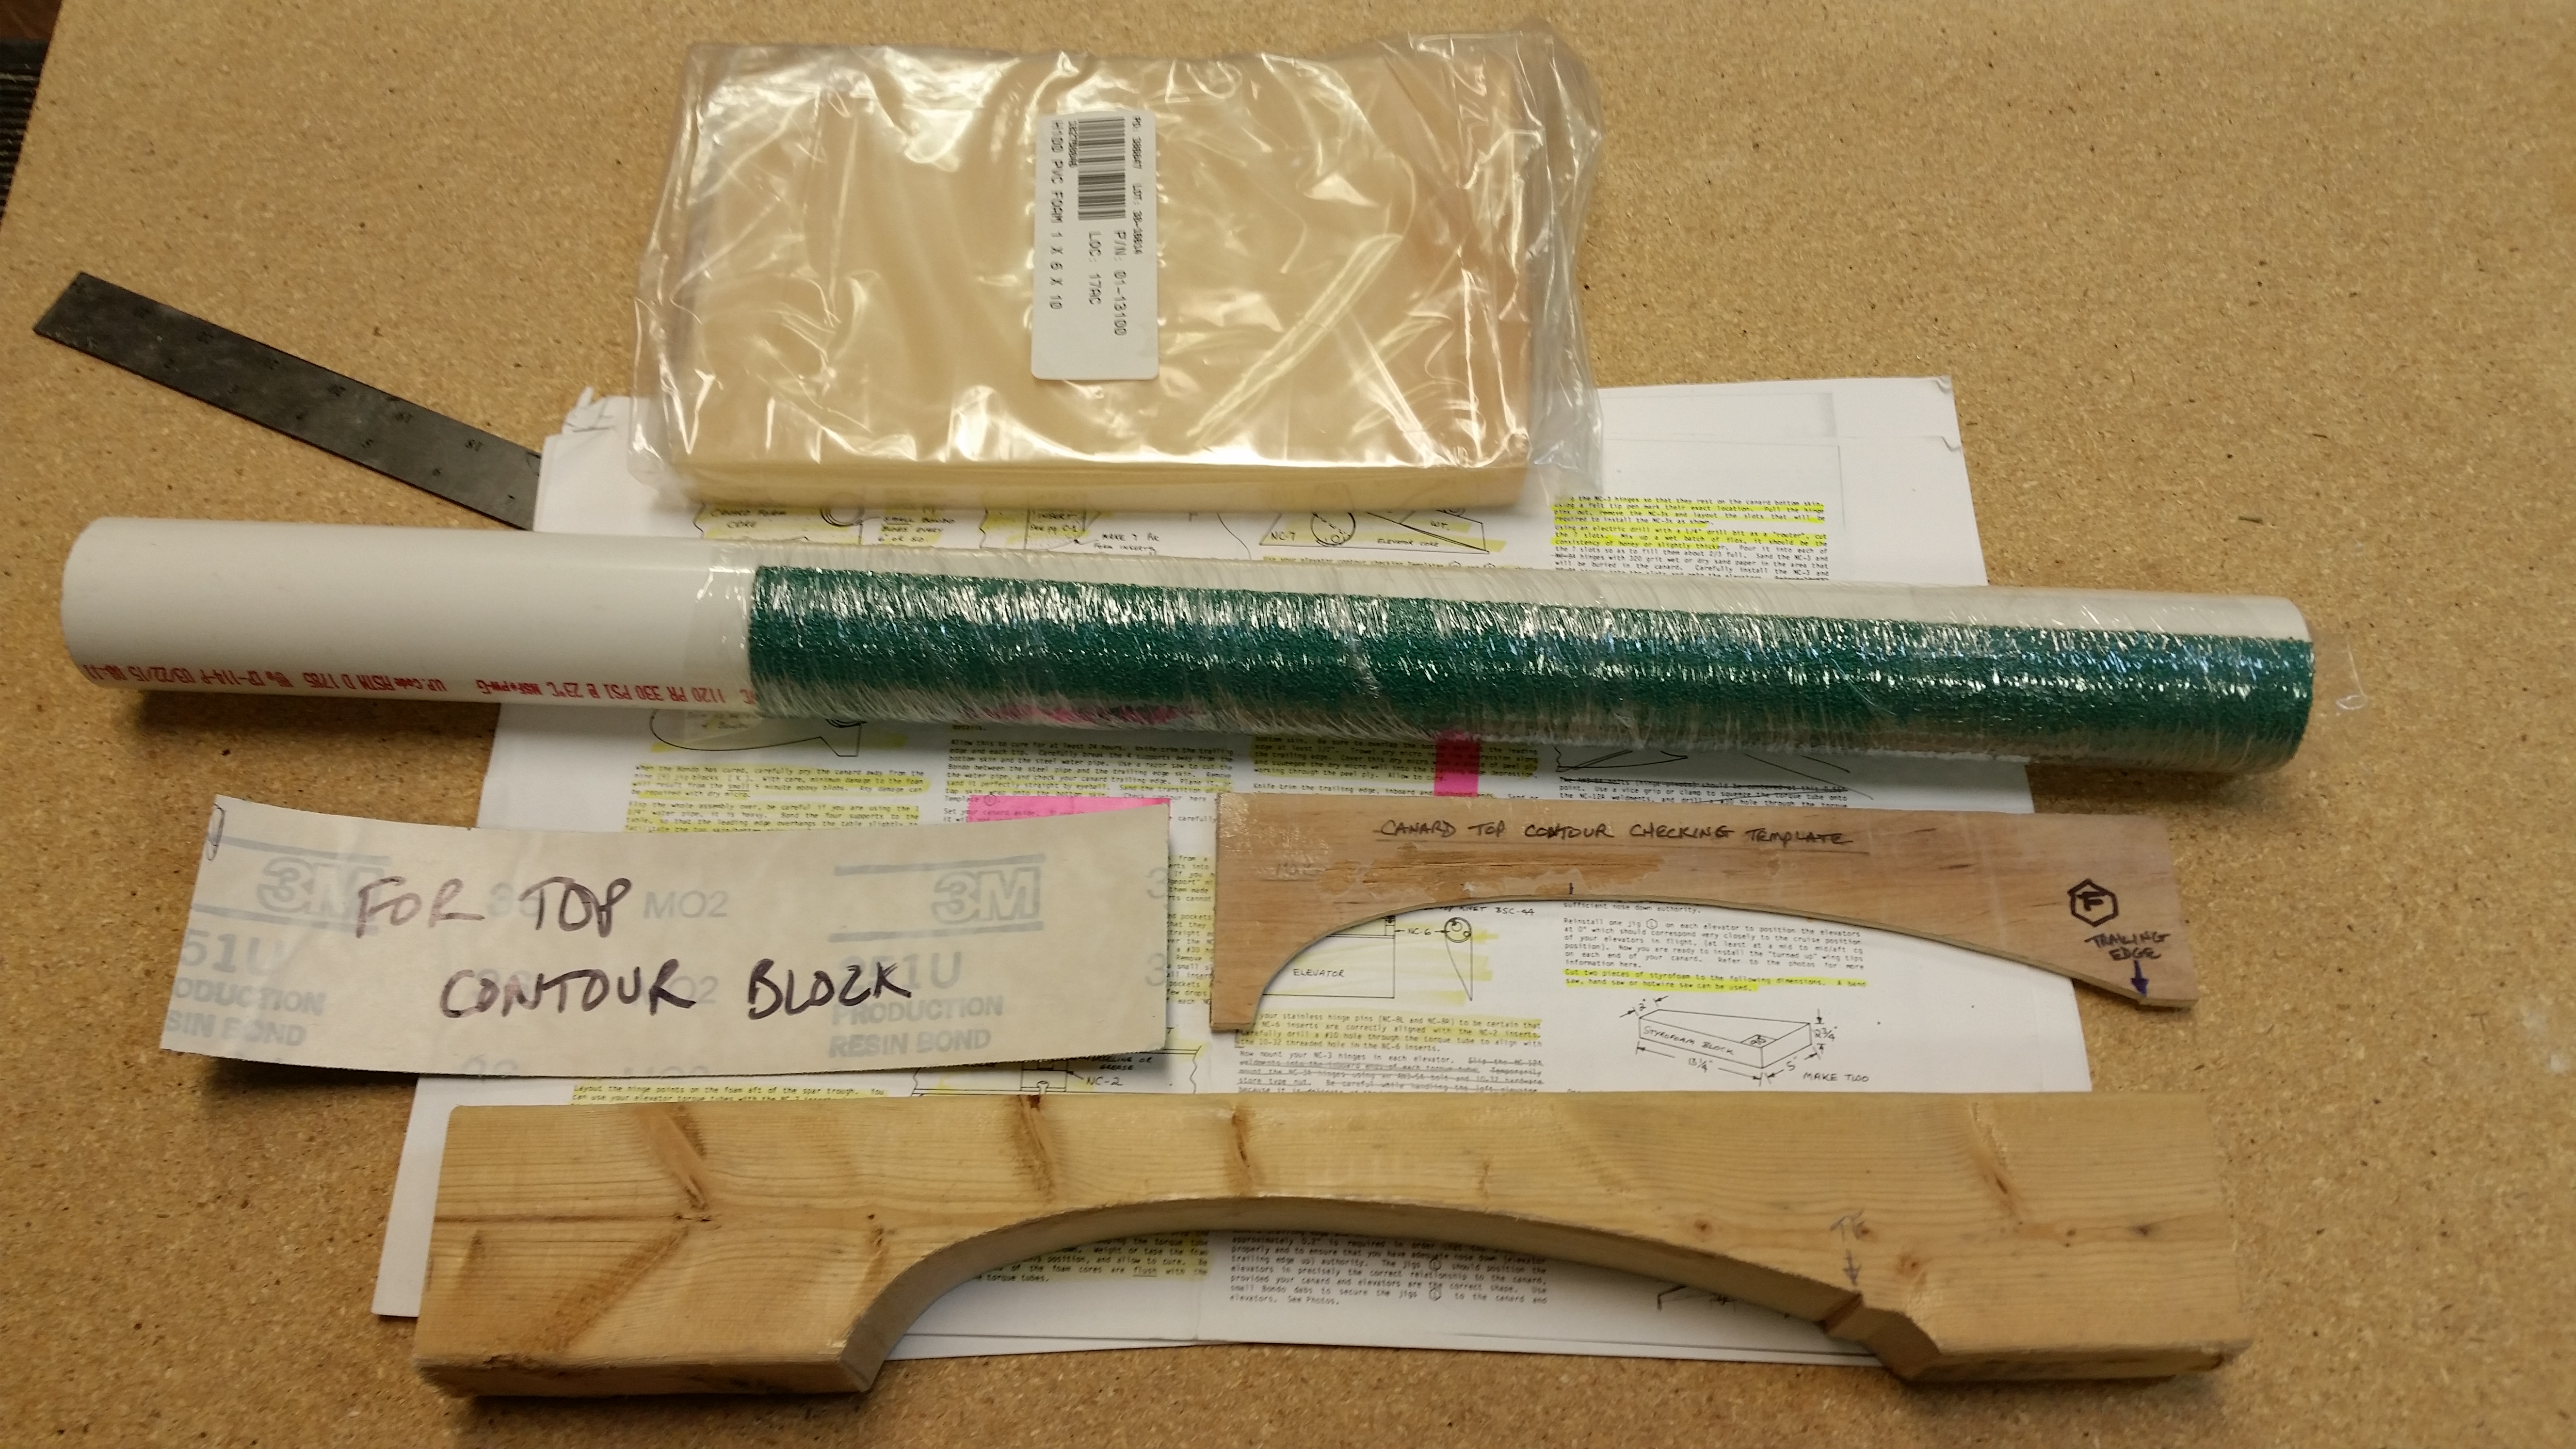
I then ripped the other 2×3 to 1.1″ wide, attached the two halves, gave the interior working edge a good sanding to get the surface evenly matched, drilled the lag screw pilot holes and then mounted the lag screw support legs. As you can see below, the canard top contour sanding block is complete.
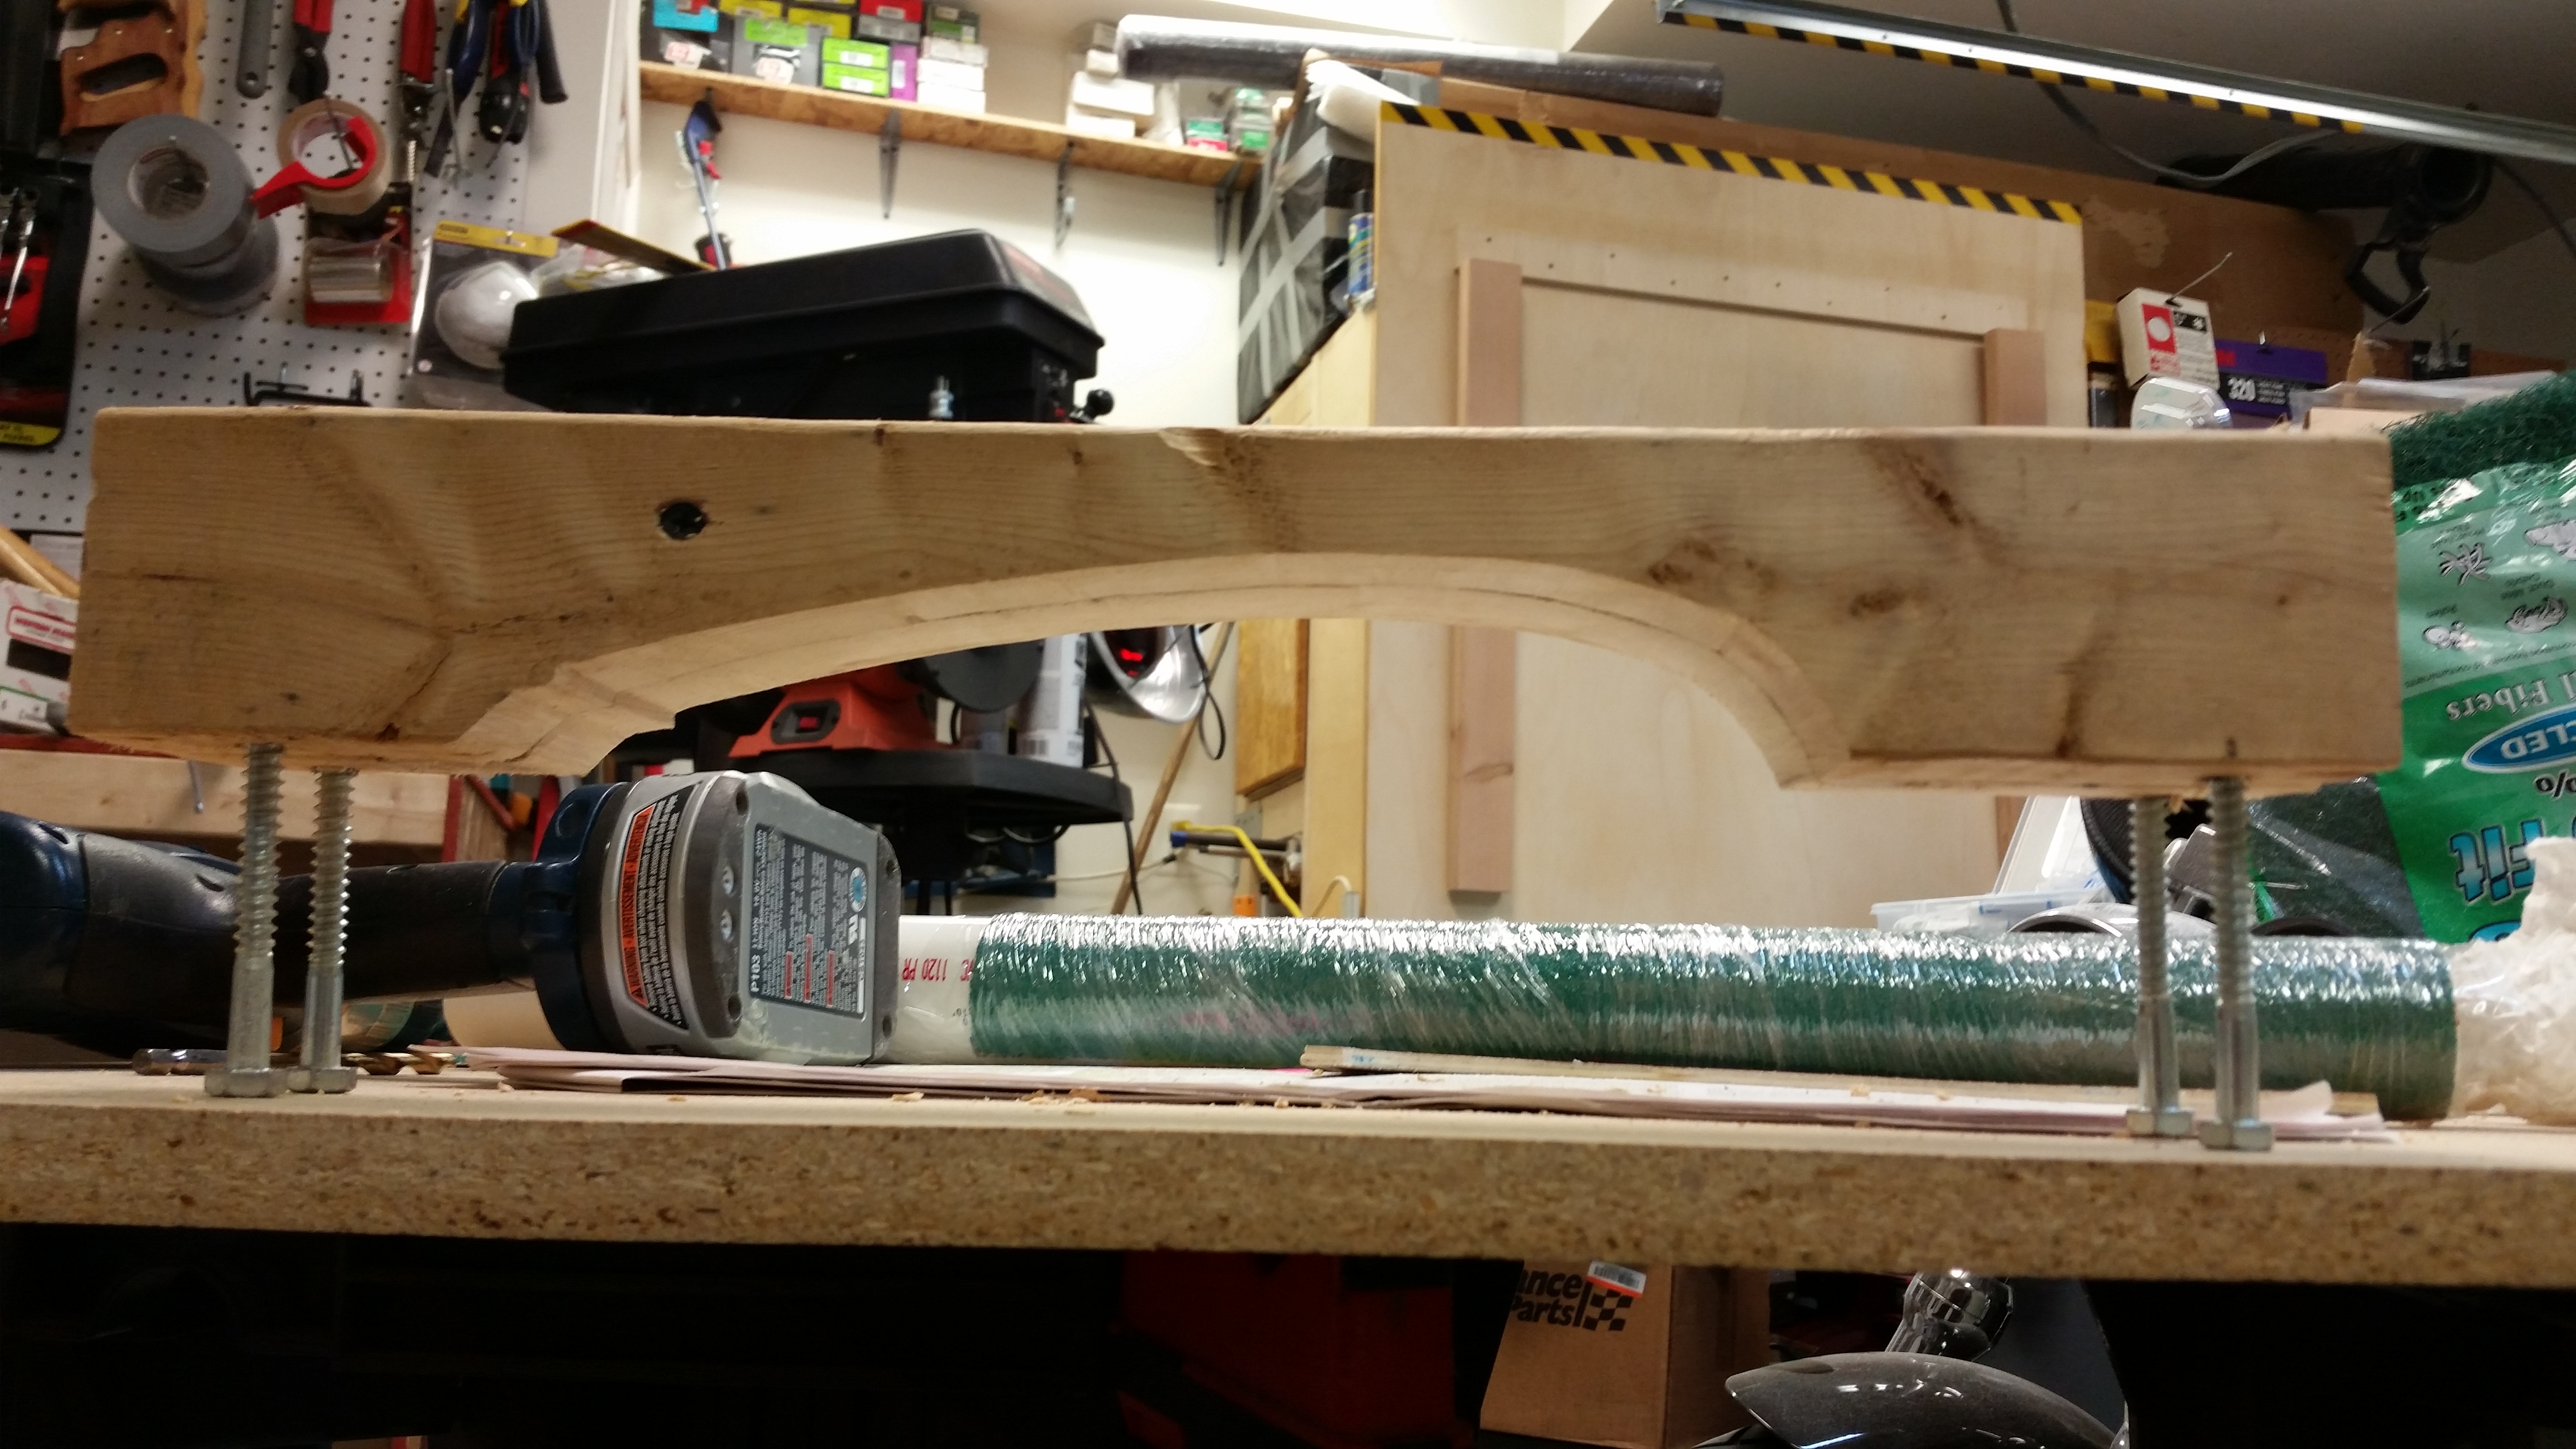

I did tweak the TE of the top canard sanding block just a hair so that my sanding of the canard top wouldn’t end up being a “let’s destroy the TE” party. Last week I traced out the actual-sized profile of the canard from the Roncz plans to double check my progress. And as per my discussion with Mike at Feather Light, you may be able to make out that my TE on the canard is definitely just a tad higher than the Roncz plans outline.
After a few hours of flox cure-time for the 3 hinges, I double checked the positioning and alignment of the elevators, pulled off the protective tape and cleaned up the dead flox goobers around the hinges.


Last hinge… I double checked all the elevators’ positioning and alignment again, and everything looked great. Since my prep tasks for the immediate upcoming steps were complete, and after floxing the last hinge into place all there was really left to do was let the hinge flox cure completely, I called my buddy Rob and made plans to meet for dinner, have a few beers and watch a movie. I did one final alignment check and then whipped up some flox, using fast hardener like I had done for the other 5 hinges. After I finished floxing in the last hinge (the left inboard hinge that attaches to the torque offset) I cleaned up the work area and then took the pic below. I was just getting ready to turn out the lights and leave the shop when I decide to do one more check on the hinge.
And boy I’m glad I did!
Since I moved the inboard hinges in about .2″ to .3″ from where I originally had planned for them to be installed, I was closer to the edge of the dense foam hard points that I installed before skinning the canard. Being closer to the inboard edge of the hard point, I gouged an area out into the blue foam to make a small pocket of flox to increase the mass and strength of the hard point to make up for being so off-center in the dense foam insert.
Well, with the right side inboard hinge there was no issue. But on the left side, the only hinge I did this with, I started off by filling up the hinge slot with wet flox right up to the lower line of the hinge slot opening in the canard. I then added some some more duct tape to make a tape “dam” about a 1/4″ higher than the bottom of the hinge slot bottom edge. I then thickened the flox just a tad and then poured it in, filling up the rest of the hinge slot.
Due to my using fast hardener, at some point the extra mass of epoxy in that blue foam pocket, or perhaps there was an air bubble, or whatever it was . . . resulted in the a volcanic eruption of the flox back out of the hinge slot! This occurred as I was cleaning up and I had no idea that it had happened. There was enough flox that came out of that hinge slot (think baby spitting up!) that it enveloped the gap between the spool tube & canard, the connecting bolt & canard, and even some of the actual hinge & canard. If I had walked out without cleaning that up I would have had an absolute catastrophe on my hands upon returning a few hours later!
At first I thought it was merely an air pocket that had burped for some weird reason, but as I was scooping all the flox back into place, I could feel that there was definitely some heat being generated. Somewhere in the bowels of my hinge slot there was a exotherm event taking place. I quickly grabbed my IR thermometer and checked the surface temp around the hinge slot. The hottest reading I could find was just over 120° F, so I doubt if any foam damage occurred since at the moment it happened, while my back was turned, it puked out at least 50% of the flox that was in the hole and certainly allowed for a lot of heat to vent out at that point. Moreover, the timeframe between it being good to then going spastic, to me scooping up flox puke was 2 minutes at most.
After getting the majority of the flox back into the hinge slot, I went upstairs to grab a very quick shower and change. When I came back down to the shop less than 10 minutes later I was getting a temp reading around 88° and no more signs of disruption. I cleaned up a little more around the hinge and took off.

When I returned, all still looked good and no issues. It definitely made for an exciting time on that final hinge floxing. I looked all around the hinge area & underneath on the top of the canard for any discoloration or burn marks from the heat but thankfully couldn’t find any. Thus, I’m closing the case of the volcanic hinge slot.
Once the hinges are fully cured I’ll double check the elevator alignment, gap and travel to ensure it’s all still good. Then I’ll flip the canard and start working on the attaching, shaping and glassing the canard swoosh tips.