
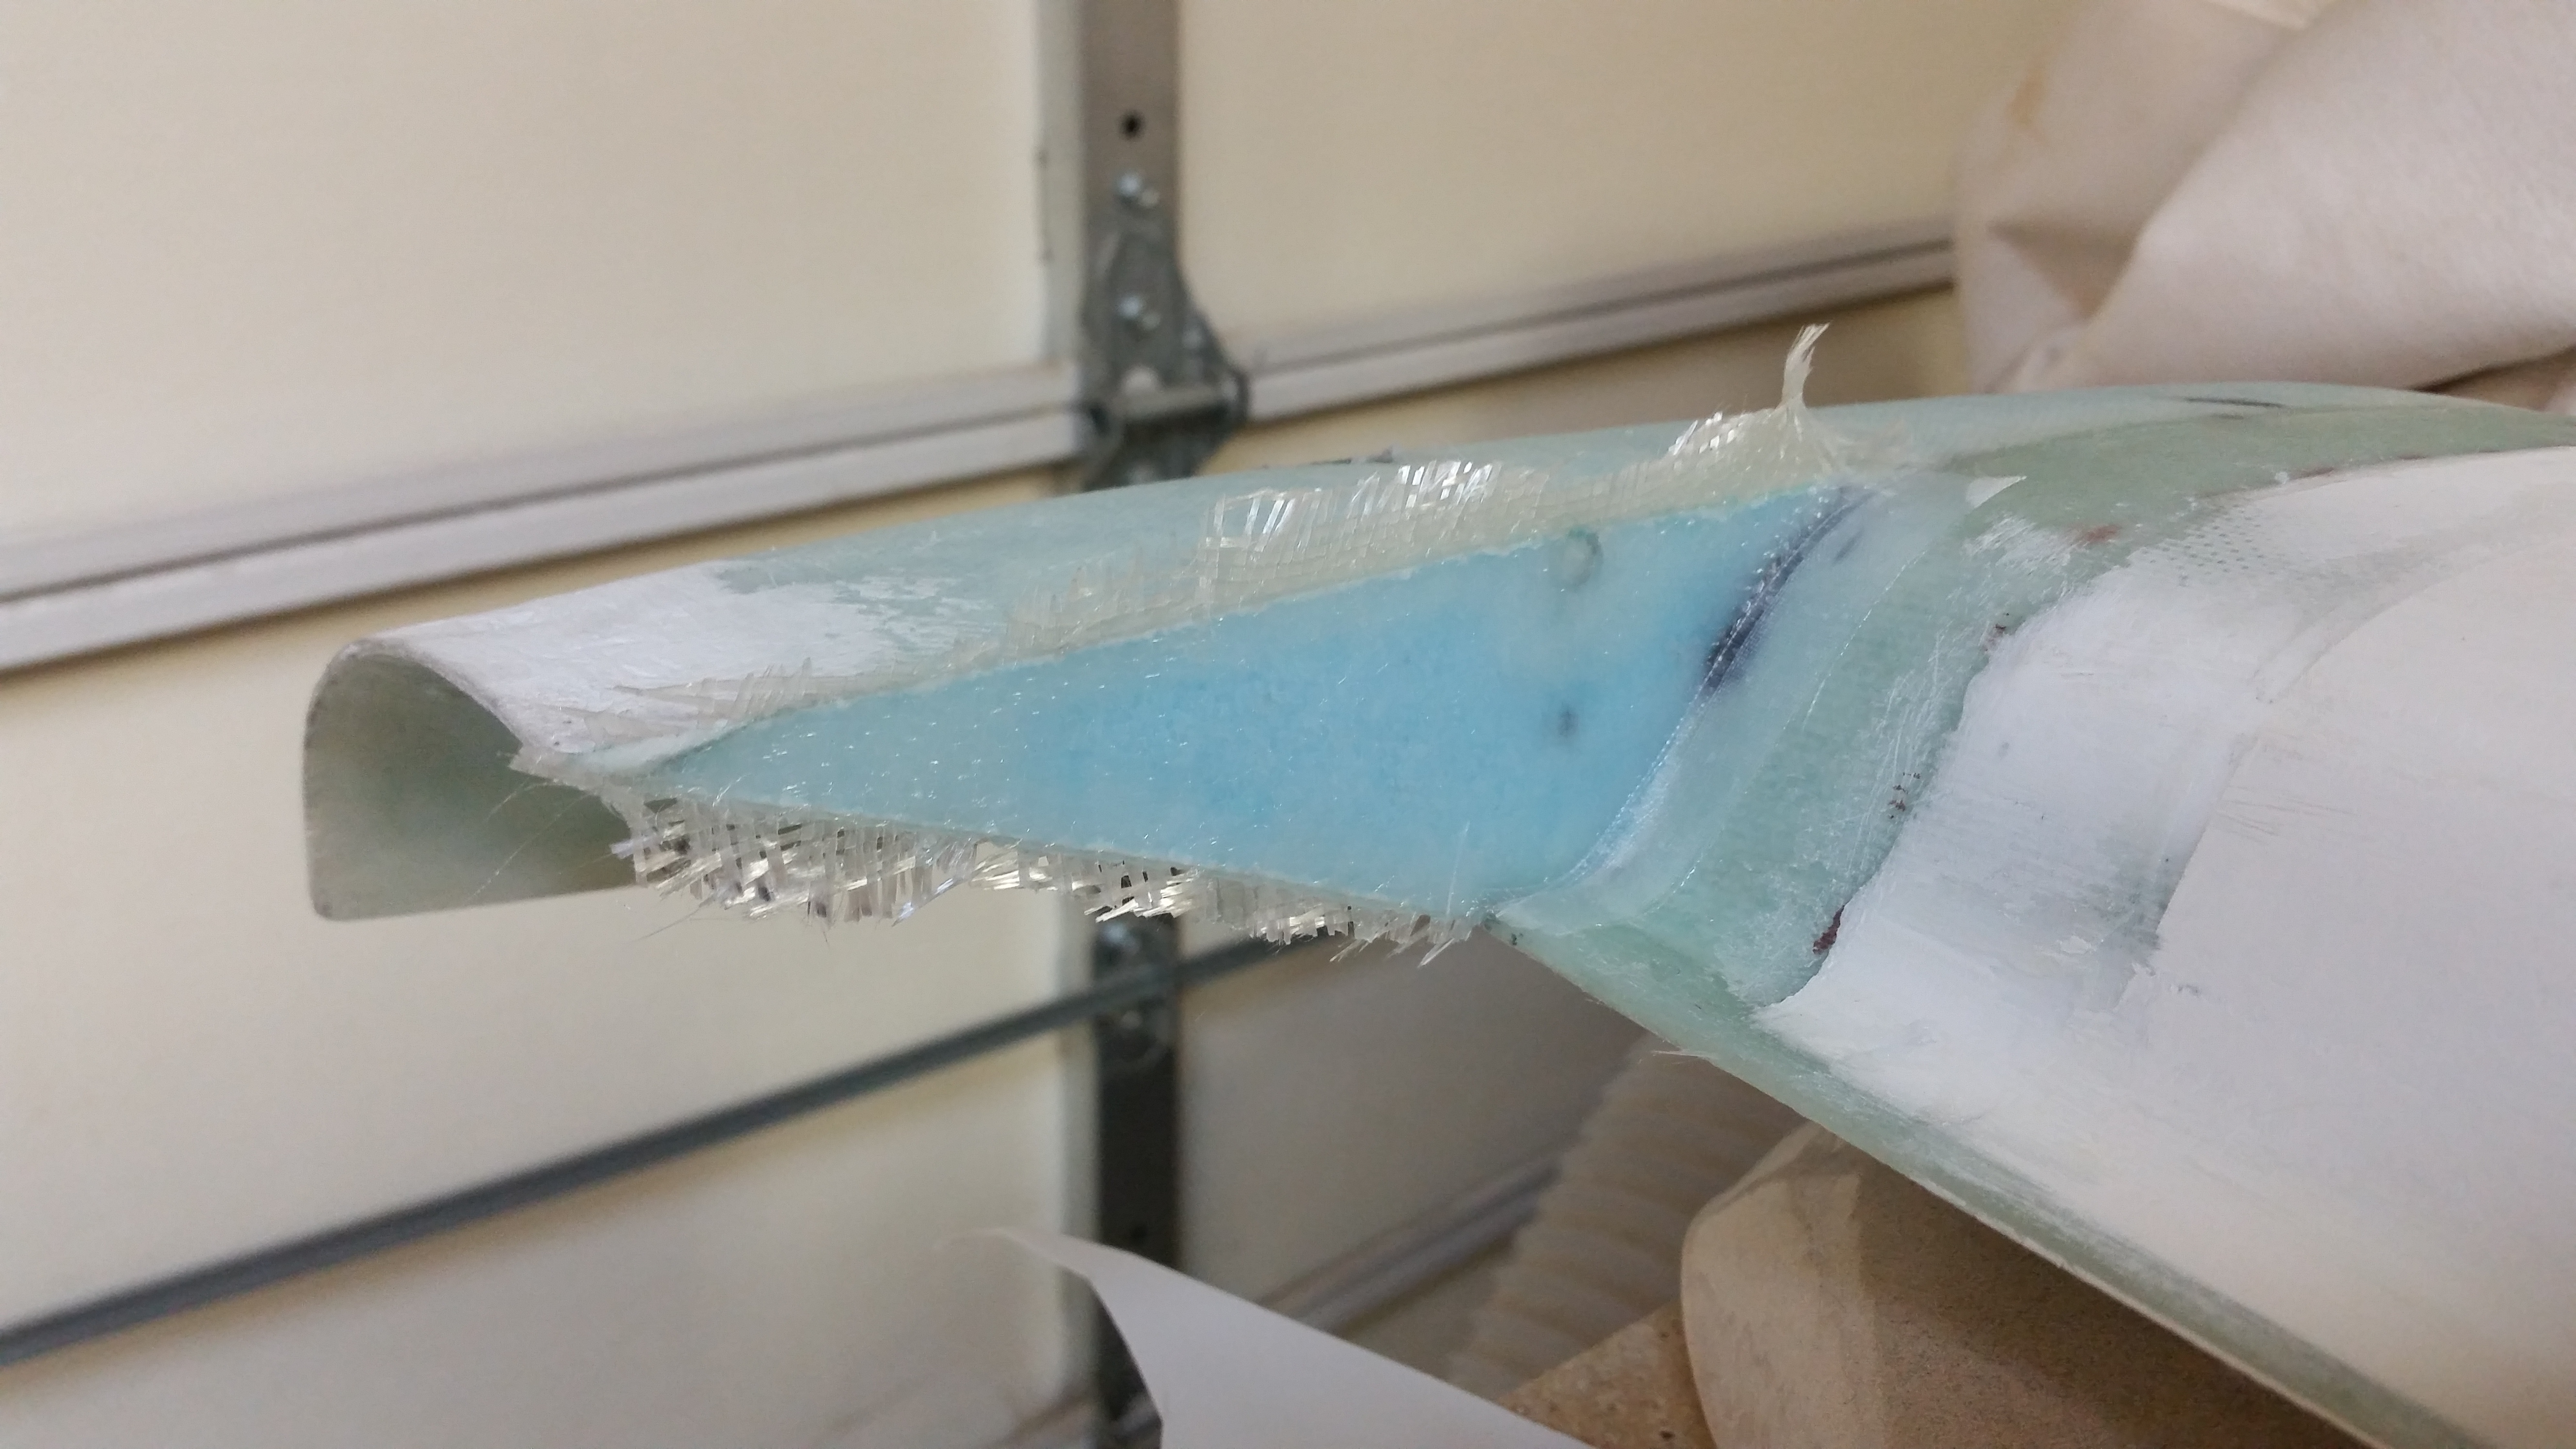
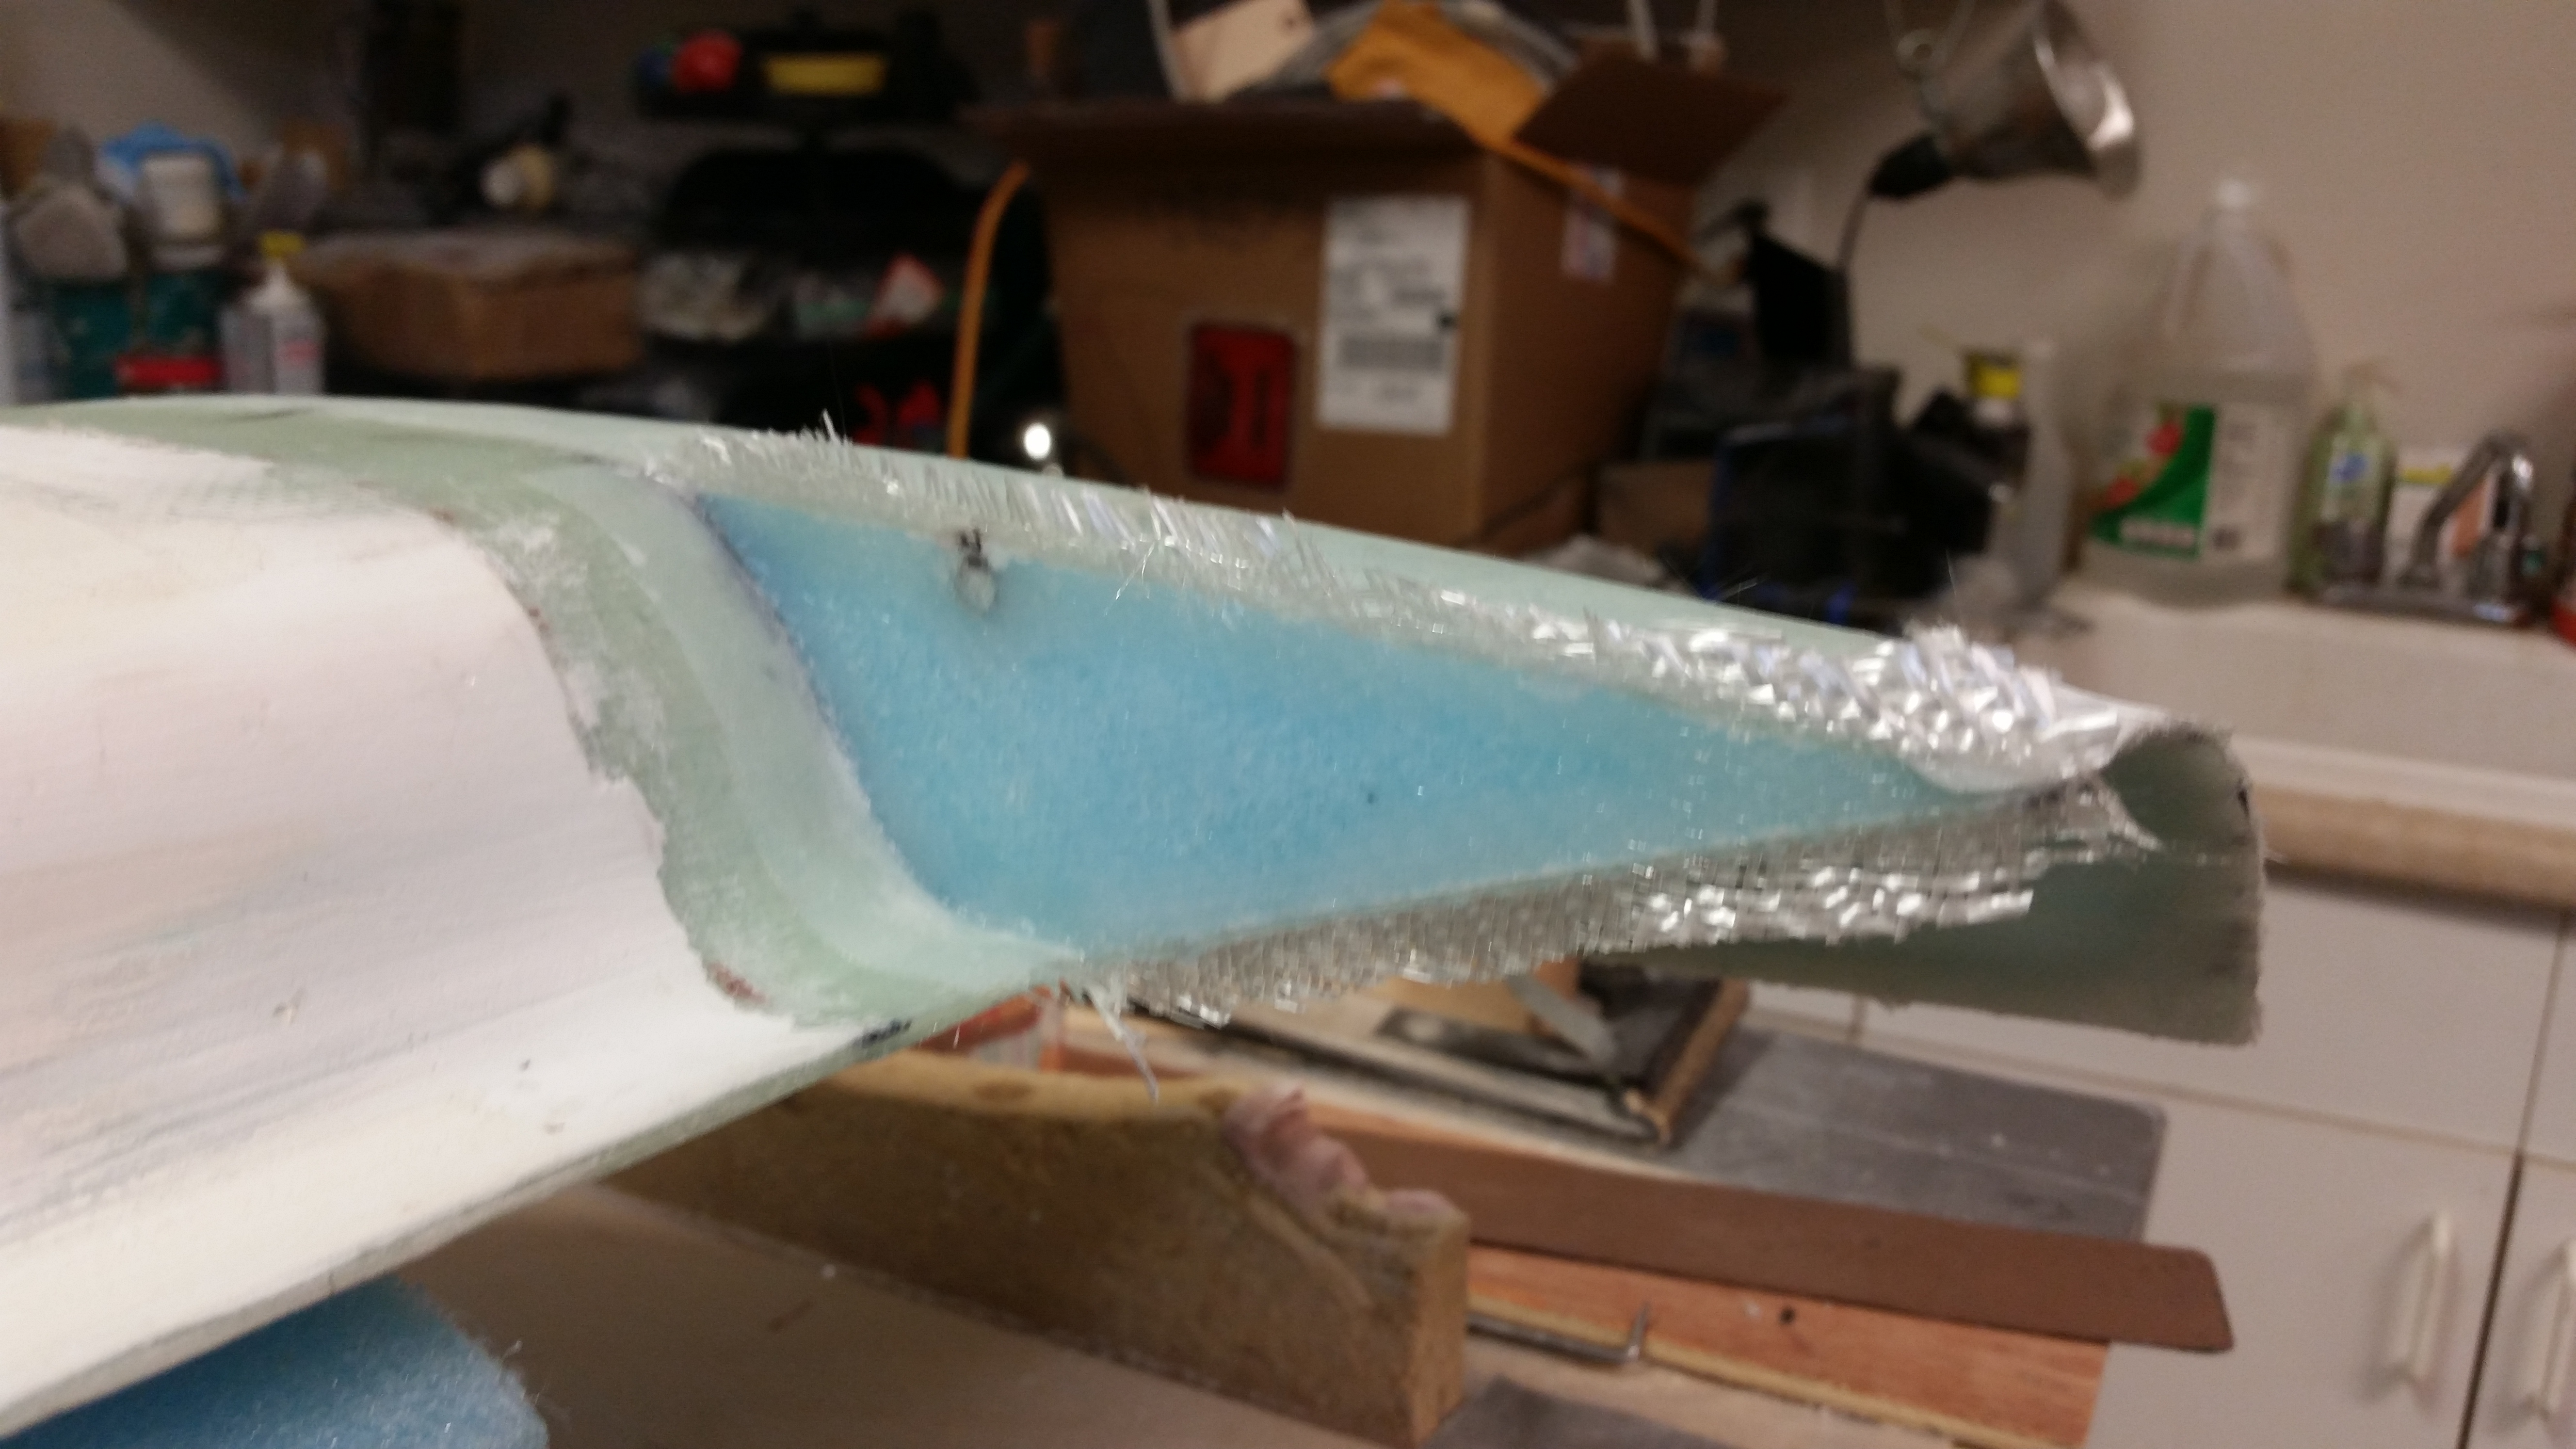
I started off today by knocking out the small 1-ply BID layup that sits just inside the swoosh tip on each end of the canard. The Roncz canard plans states to create a flox corner around the perimeter of the foam and then layup the glass.
Personally, I would have preferred to have this “mini root rib” set back a little bit somewhat like the front inboard rib of the wing, with a little bit of an edge with the vertical wall of this layup sunk back from the edge, say a 1/2″ or so. The problem is that this adds a little more time to the layup, and since I’m not sure if I would be adding to some kind of drag here or something else negative, I simply pressed forward with the plans version of this layup.
I cut a little trough around the hinge pin tube since there wasn’t a lot of meat or mass holding them into place on either side. Also, once I put the flox in the corners, there was about 1.5 square inches of foam left so I simply finished out the tiny bit of flox I had left by using it to surface prep the foam vs. spending the time to mix up micro. I KNOW! The weight I added by such reckless building should be noted! (Read: sarcasm!)
Next I focused on the elevator weights. But before I actually installed any weights I weighed them to better match them up for total weight on each side. All told there was a difference of 13 grams from one side to the other. The blue tags on each weight is the actual weight in grams of that lead piece.
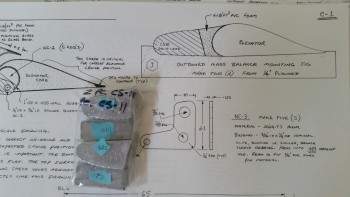
I mocked up the right elevator to get all the parts synched up, and then started cutting the tough 6 lb. yellow foam.
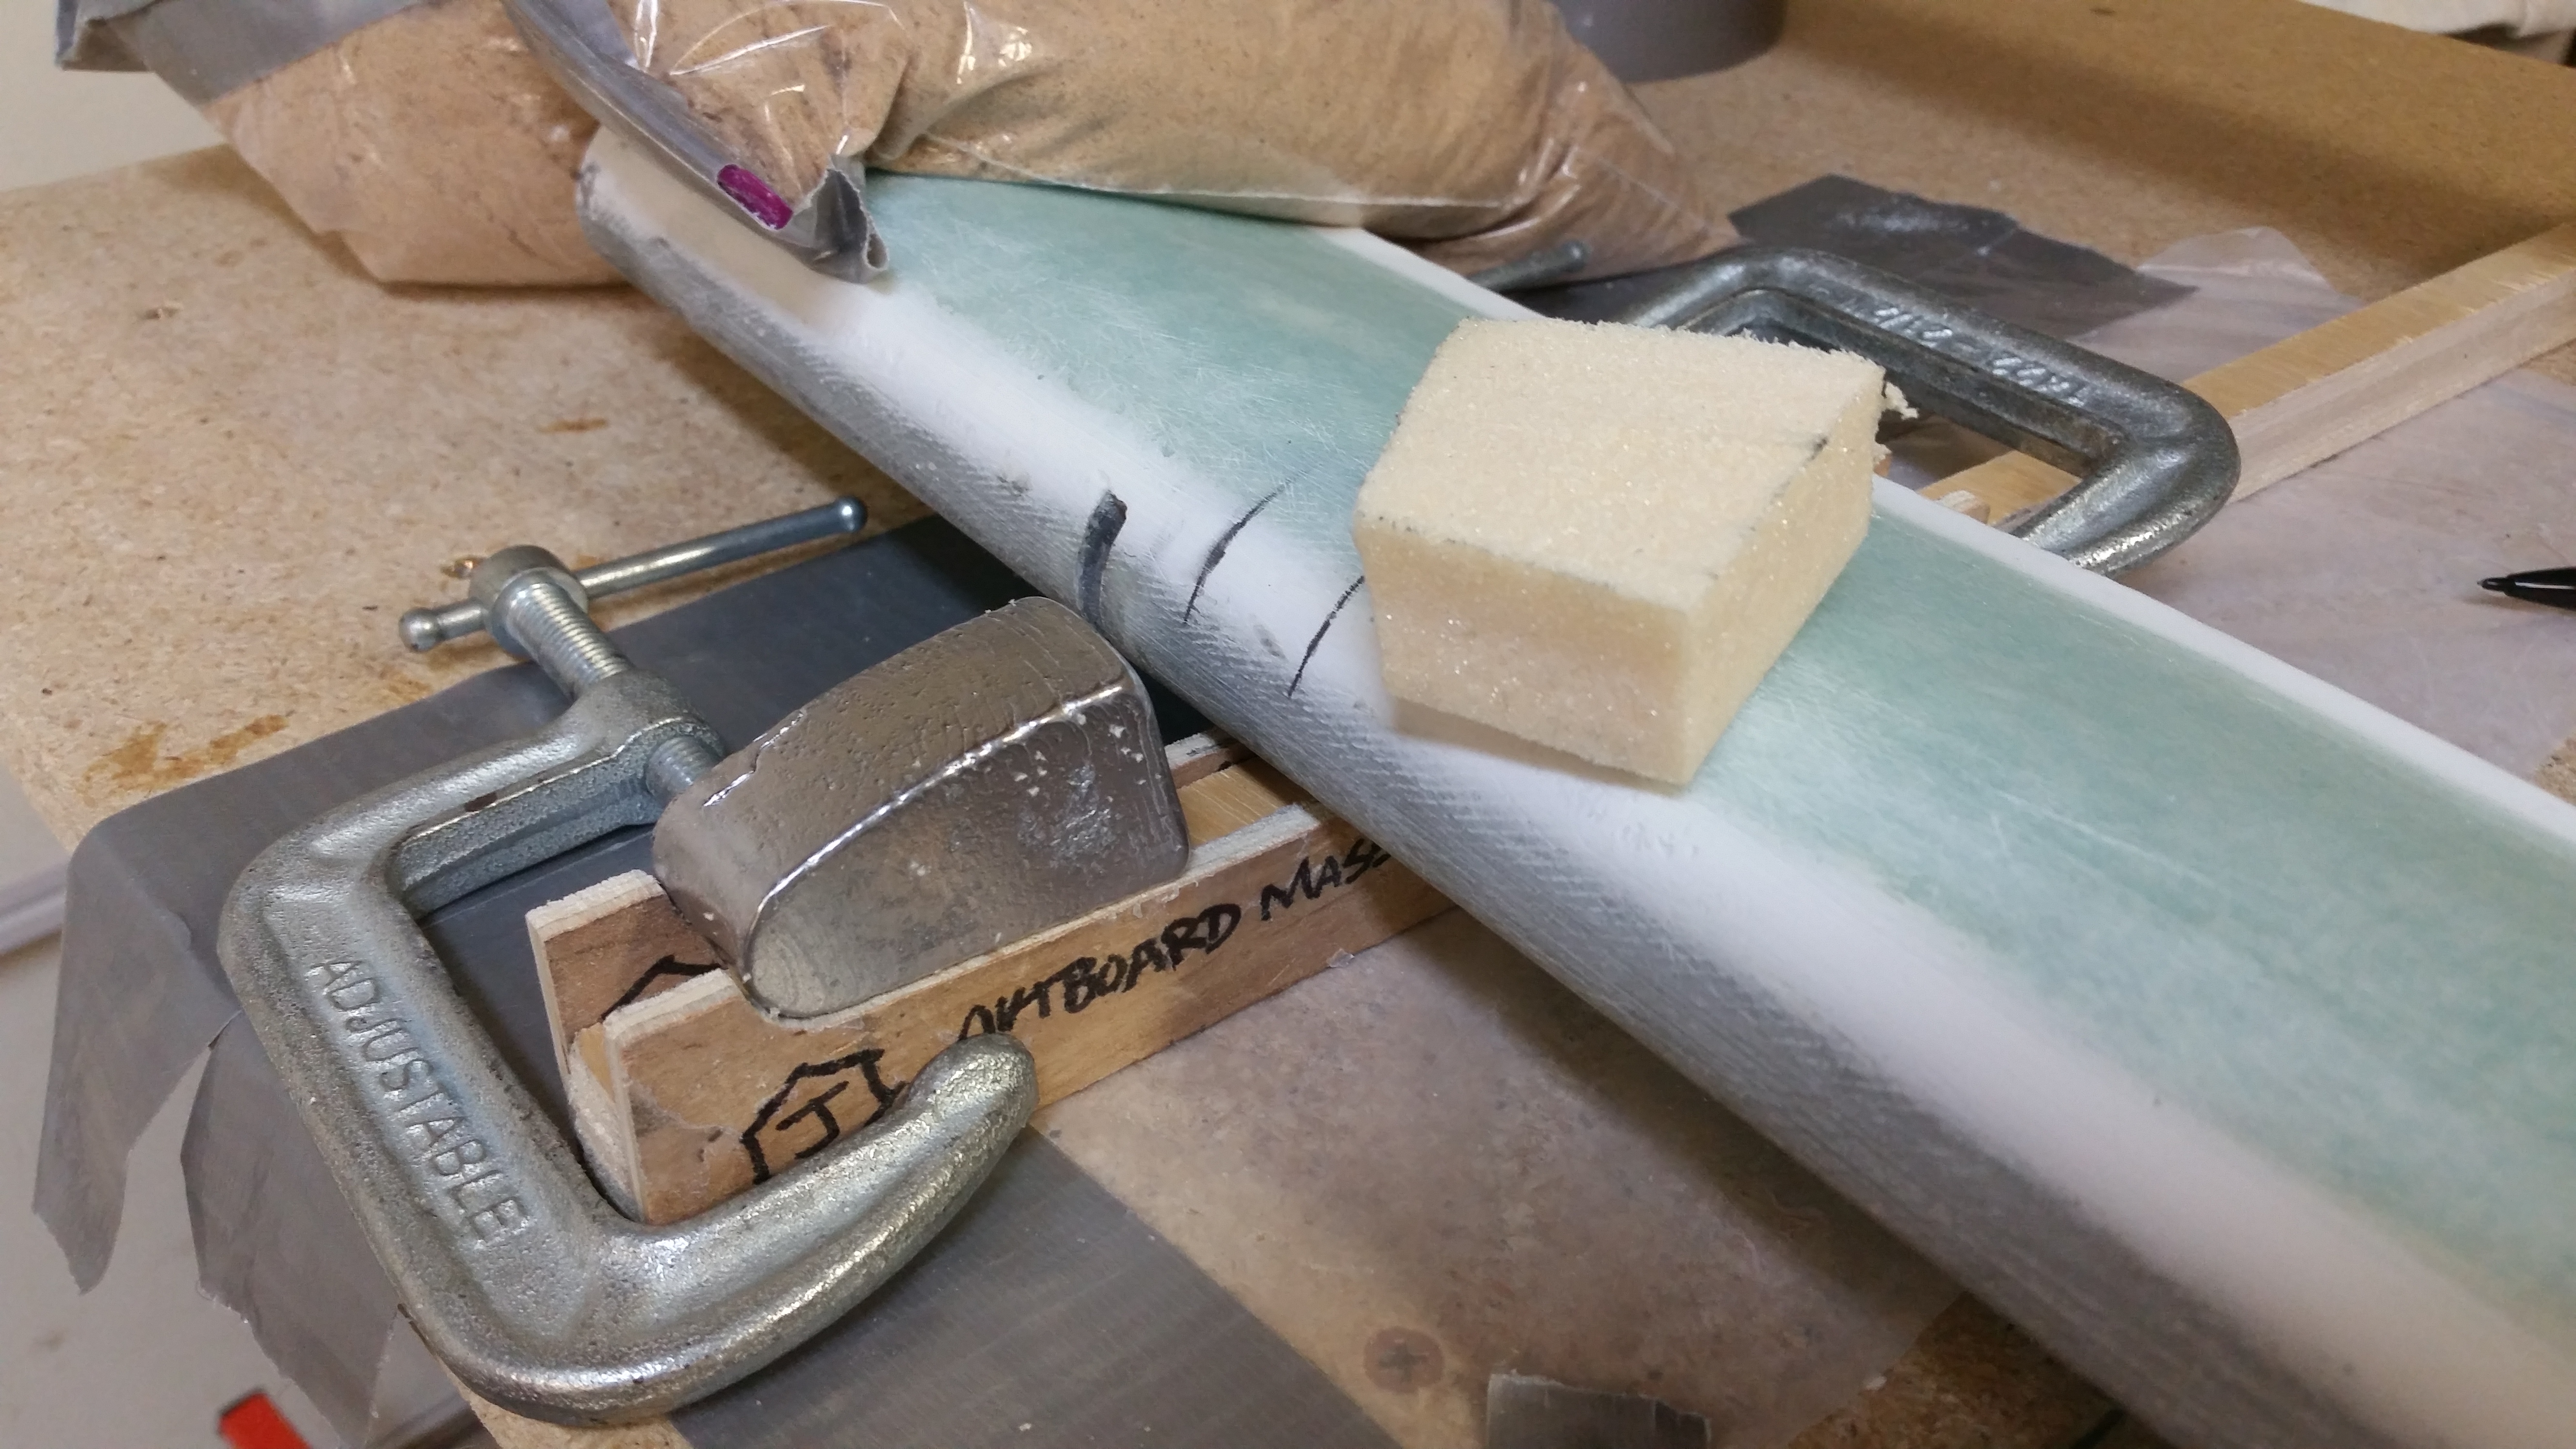
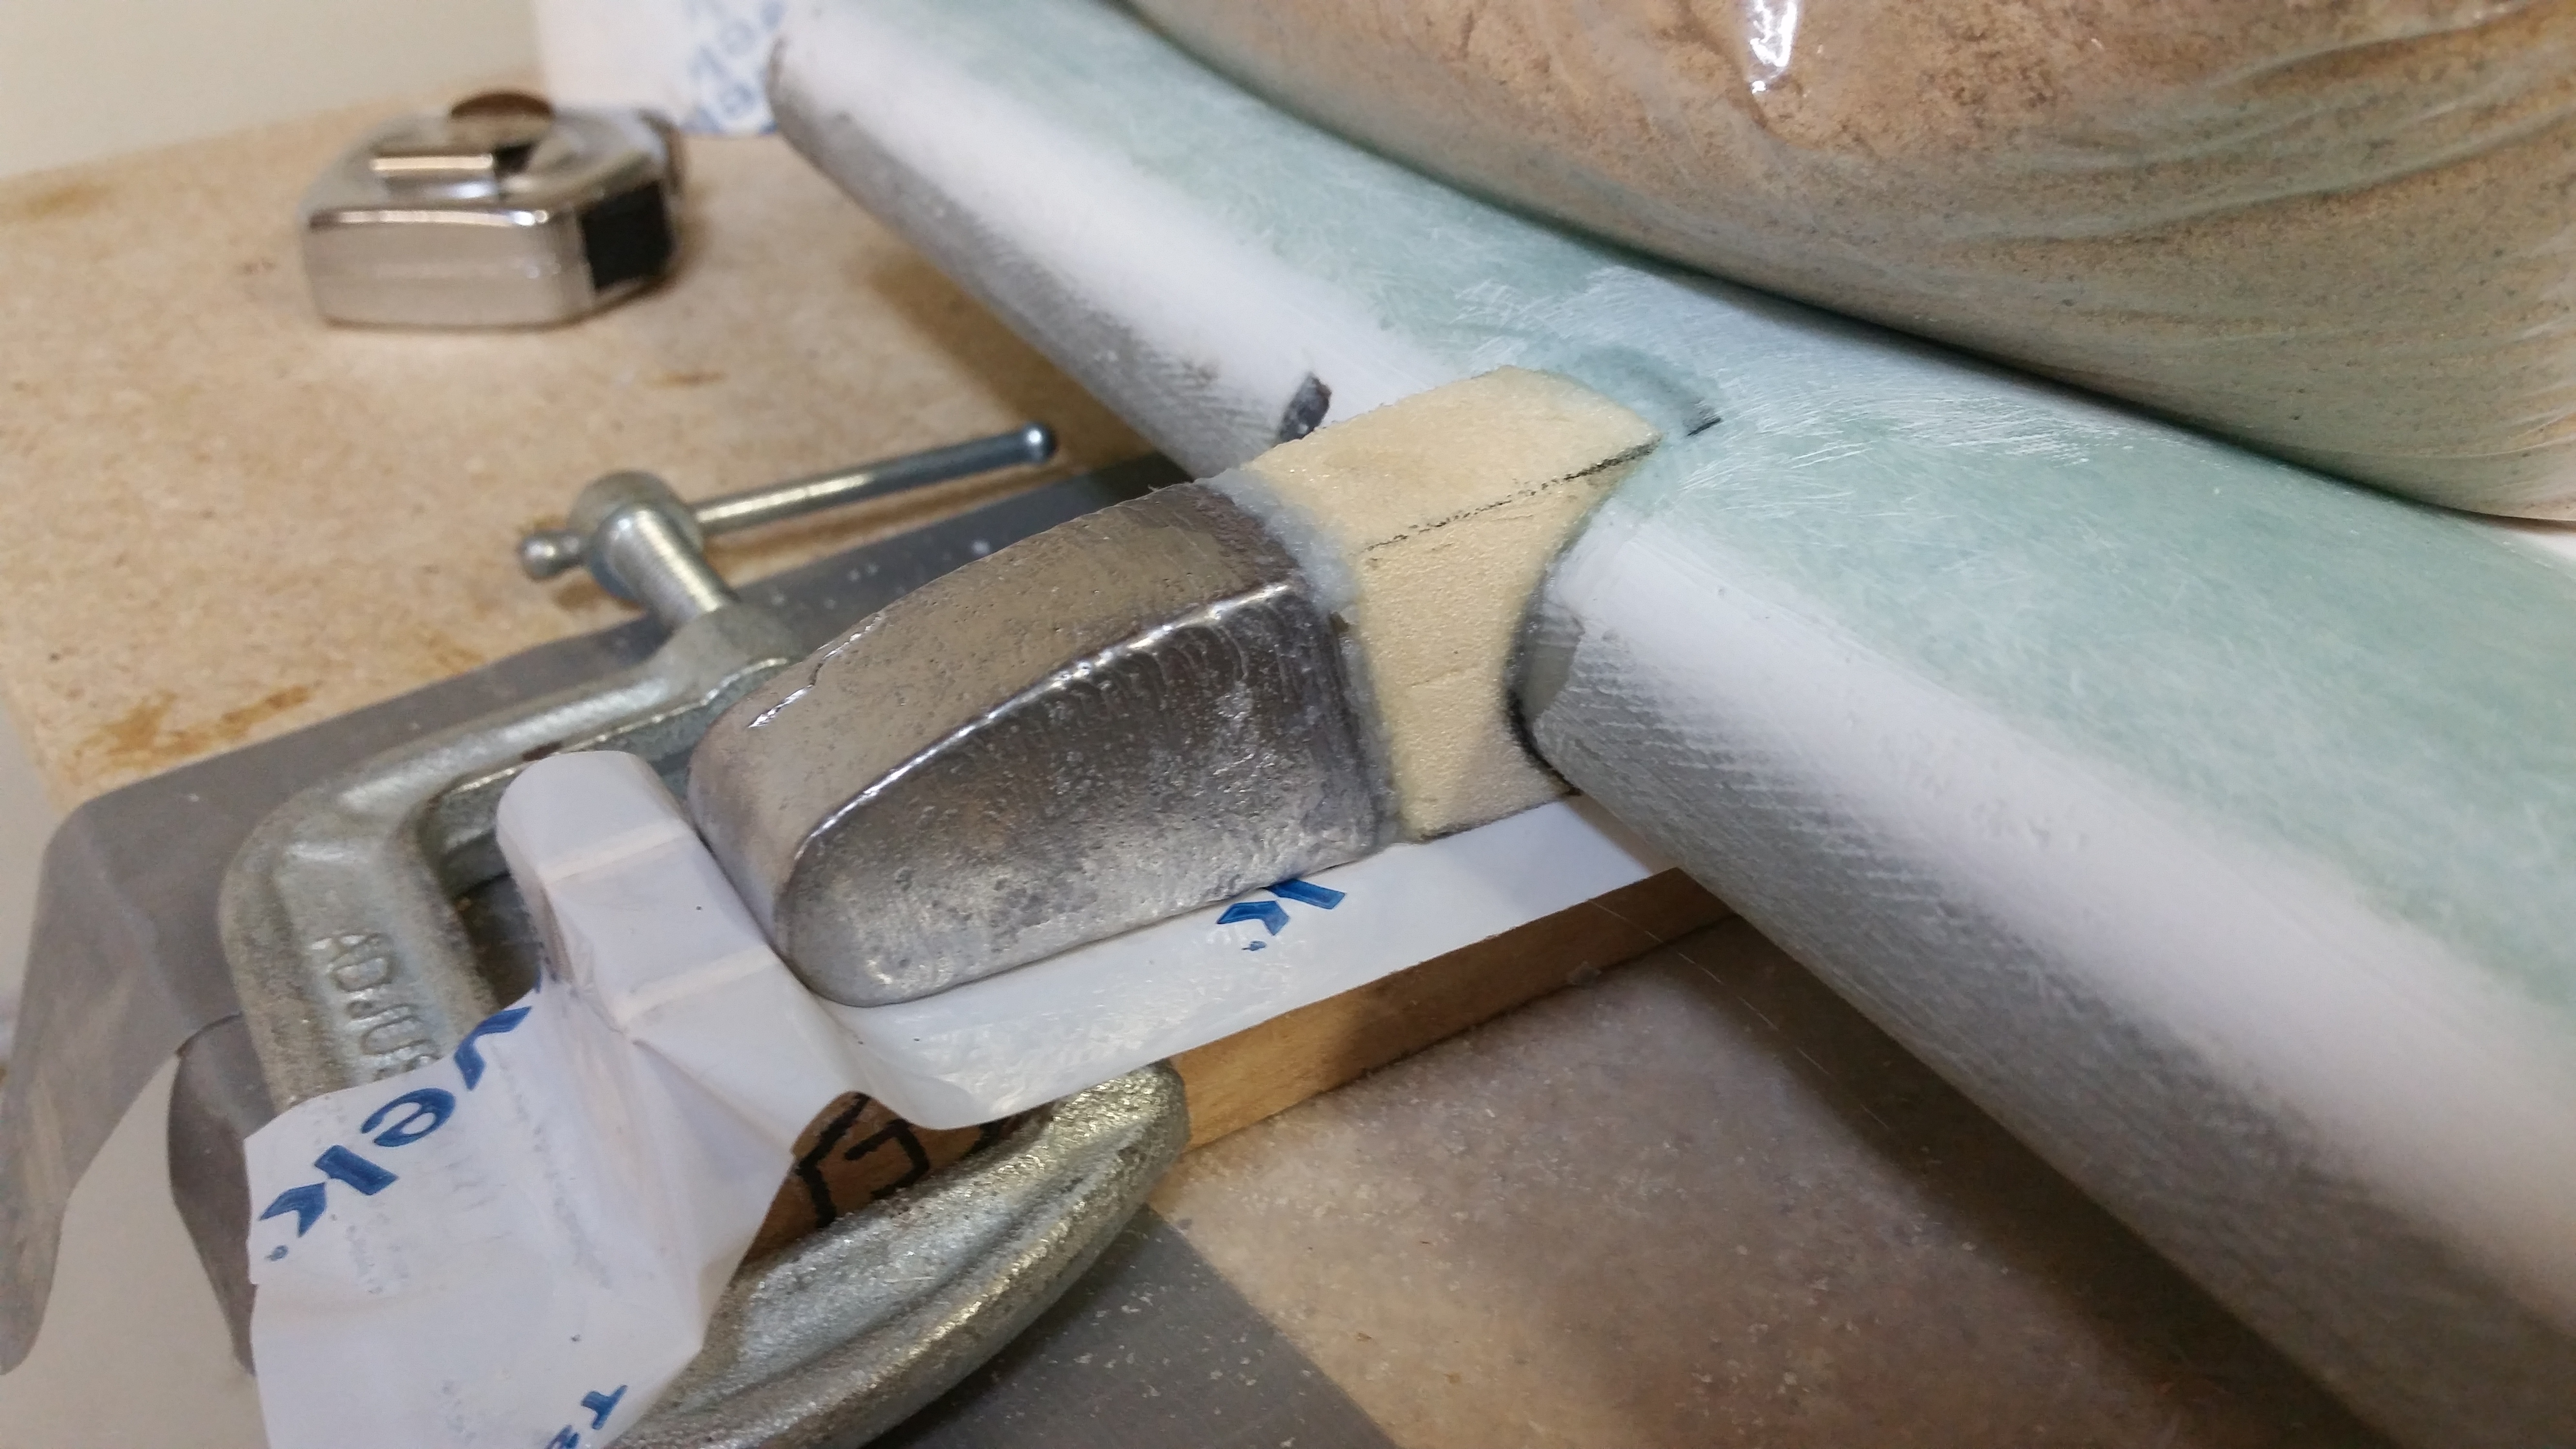
I put tape over the jigs to keep them clean and also enable removal of the weight assembly once it’s floxed to the LE of the elevator.
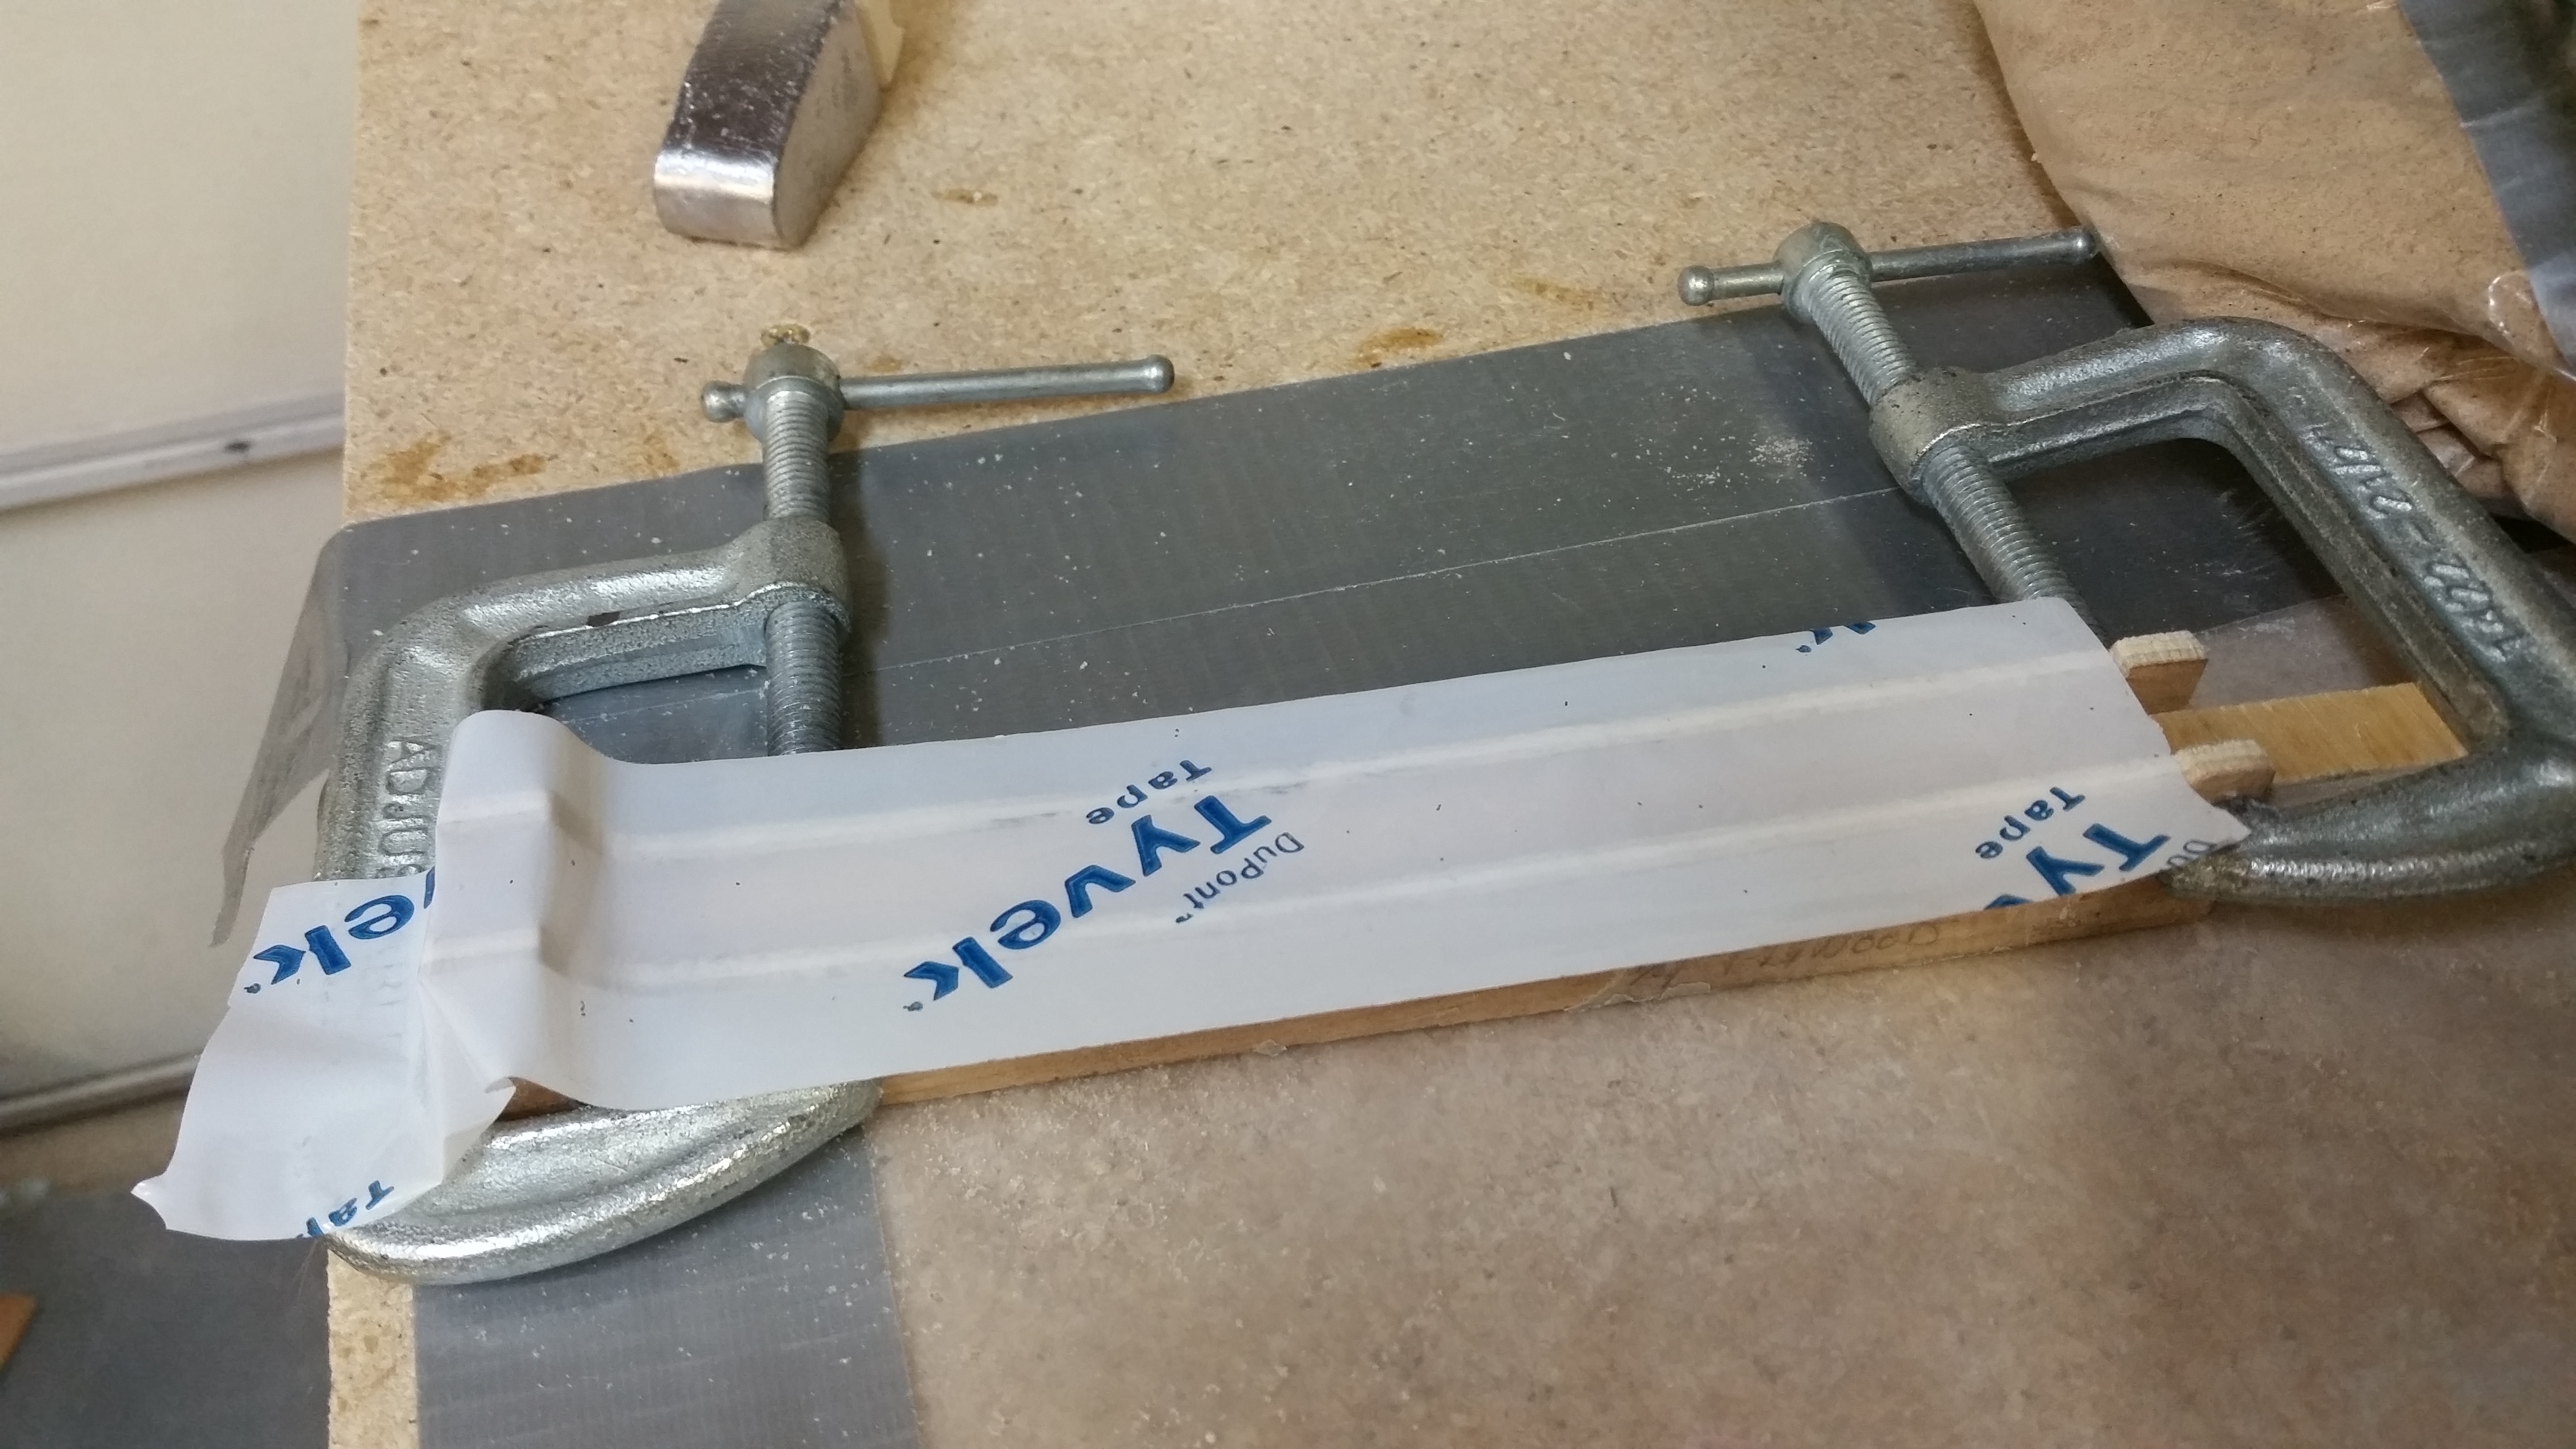
I then prepped the elevator by giving it an extra good sanding in the area that will get the 2-ply strip of UNI holding on the outboard elevator weight.
Once all the prep was complete, I floxed the elevator weight in place (I surrendered my 5-minute glue here in Virginia when I moved to Germany and never seem to get around to picking up another bottle).
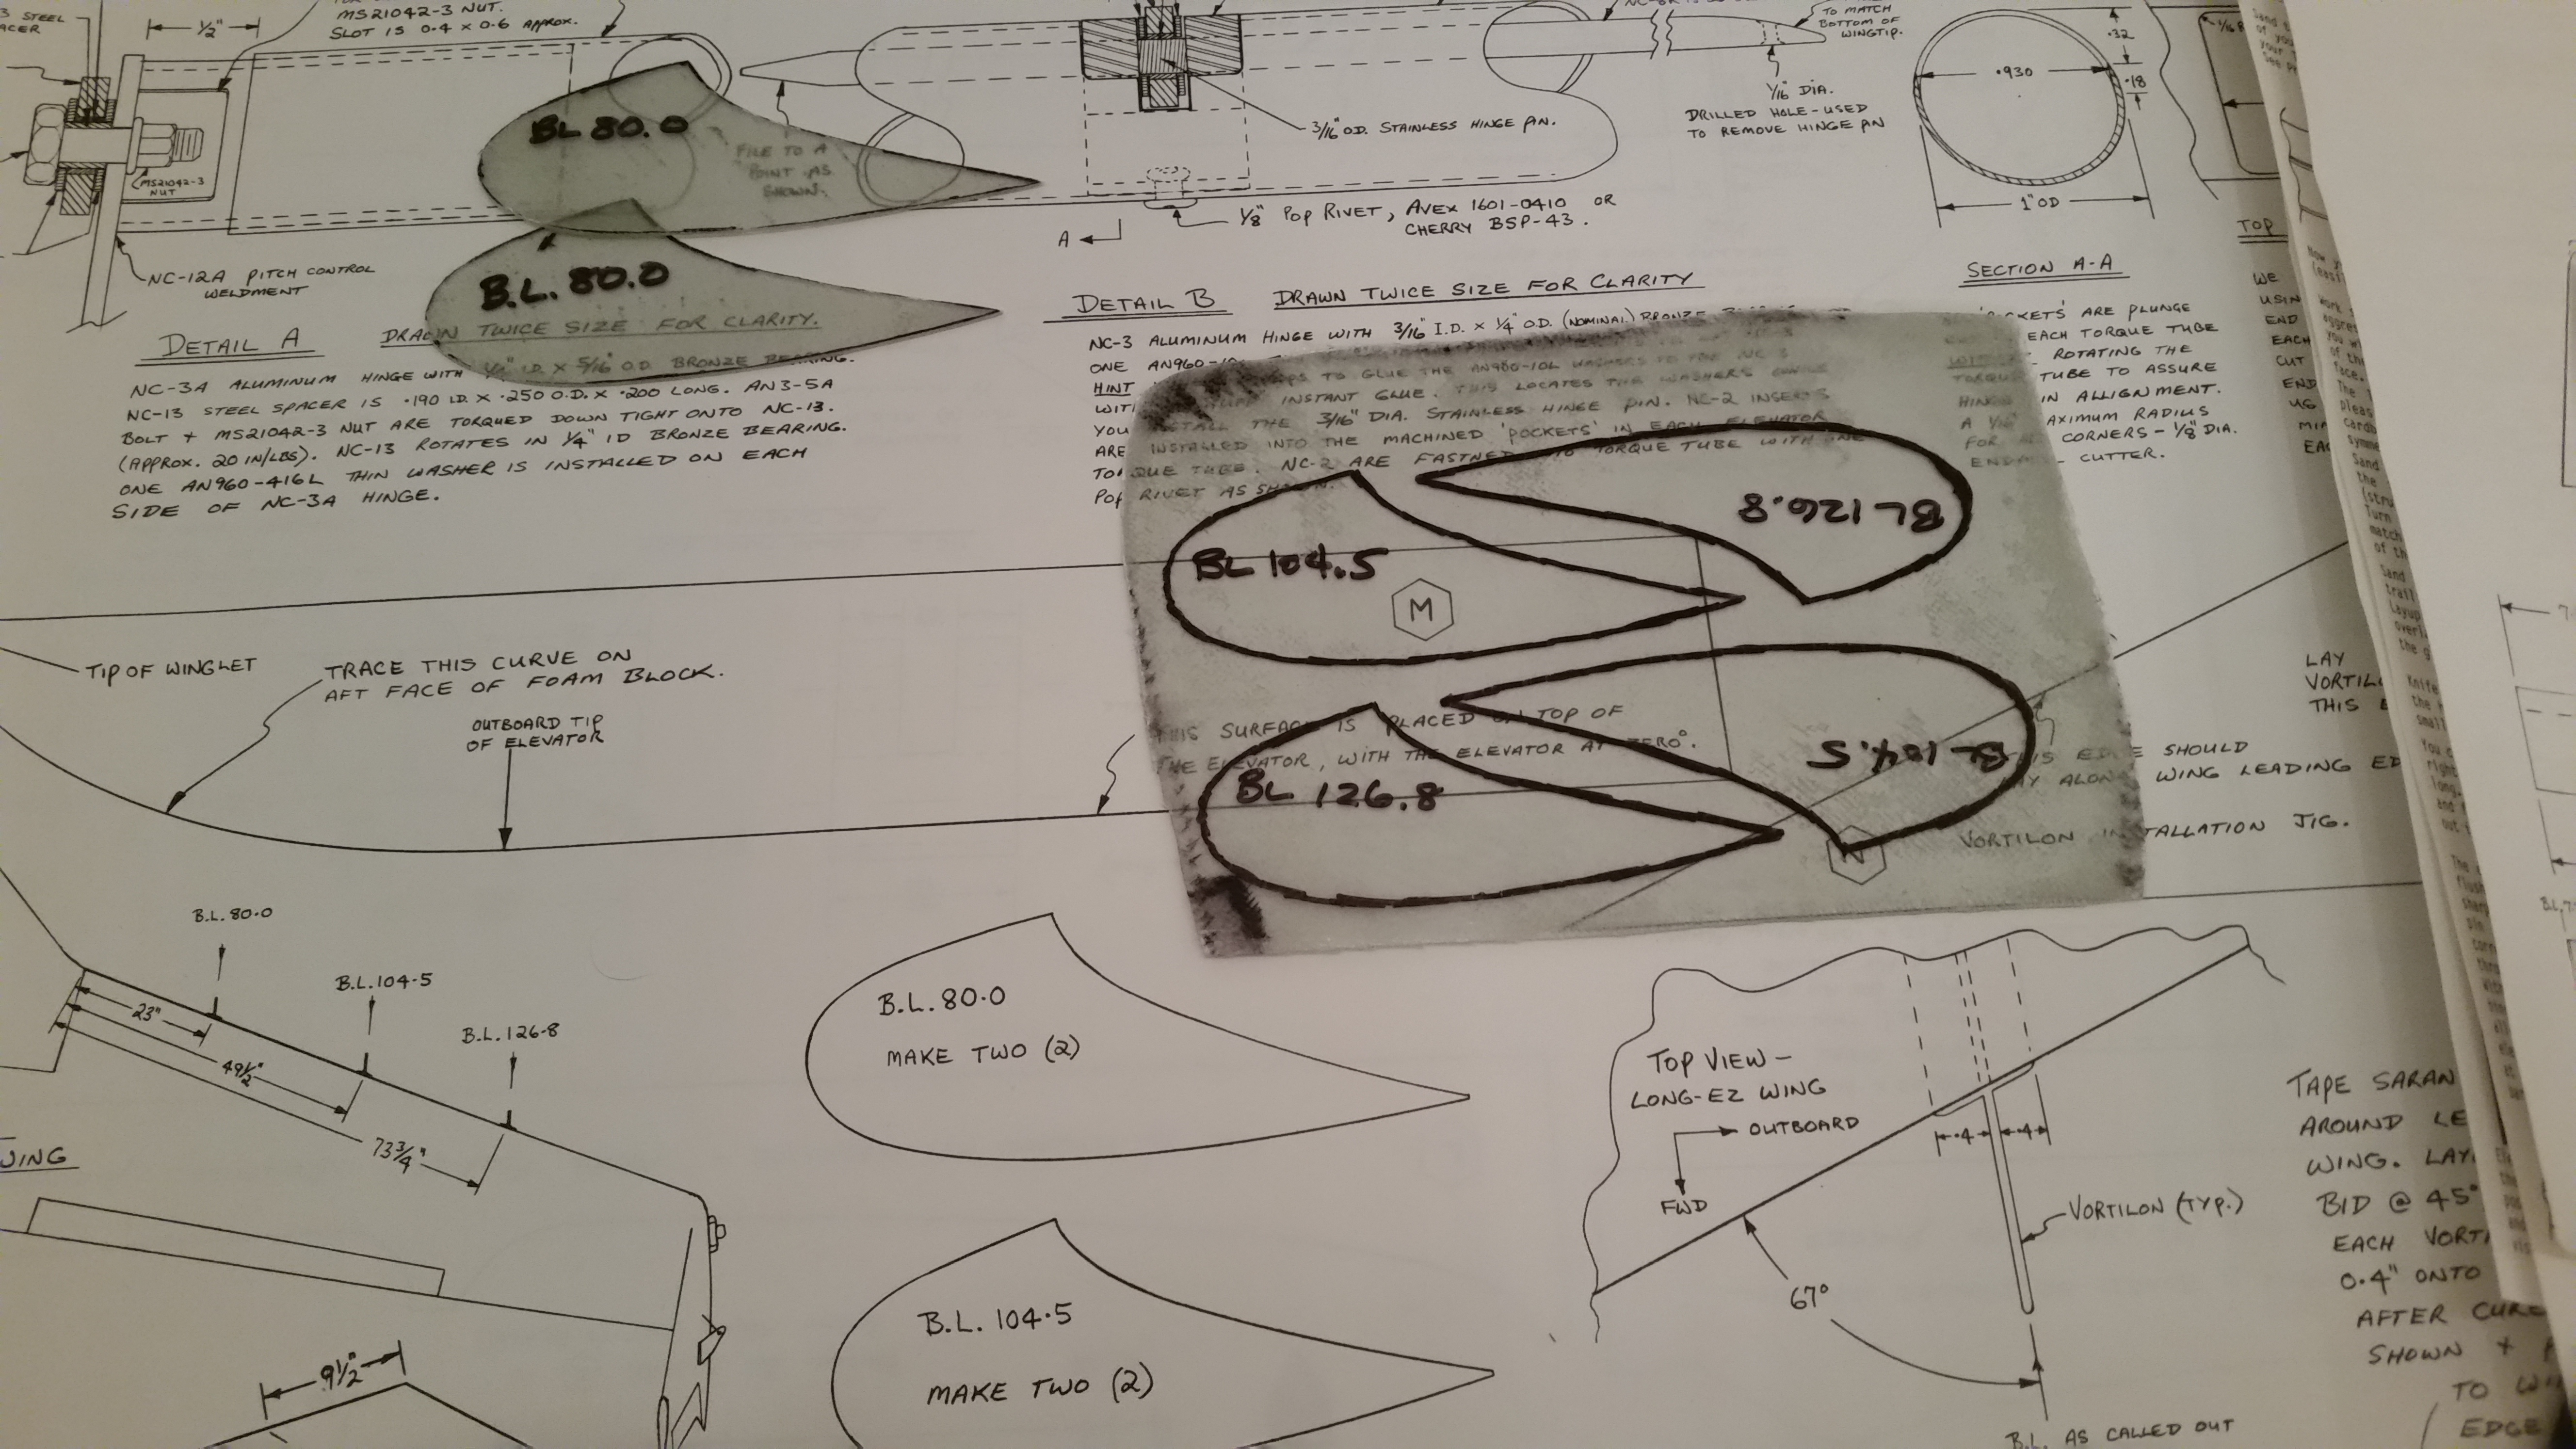
While the elevator weight flox was curing, I traced the remaining Vortilons onto the 4-BID sheet I had just laid up. I then used a jig saw to cut them out (last time I did it by hand with a coping saw). When I traced them I used a Sharpie to make thick lines, so they’re cut just a hair oversized. I’ll dial in the exact shape when I go to install them.

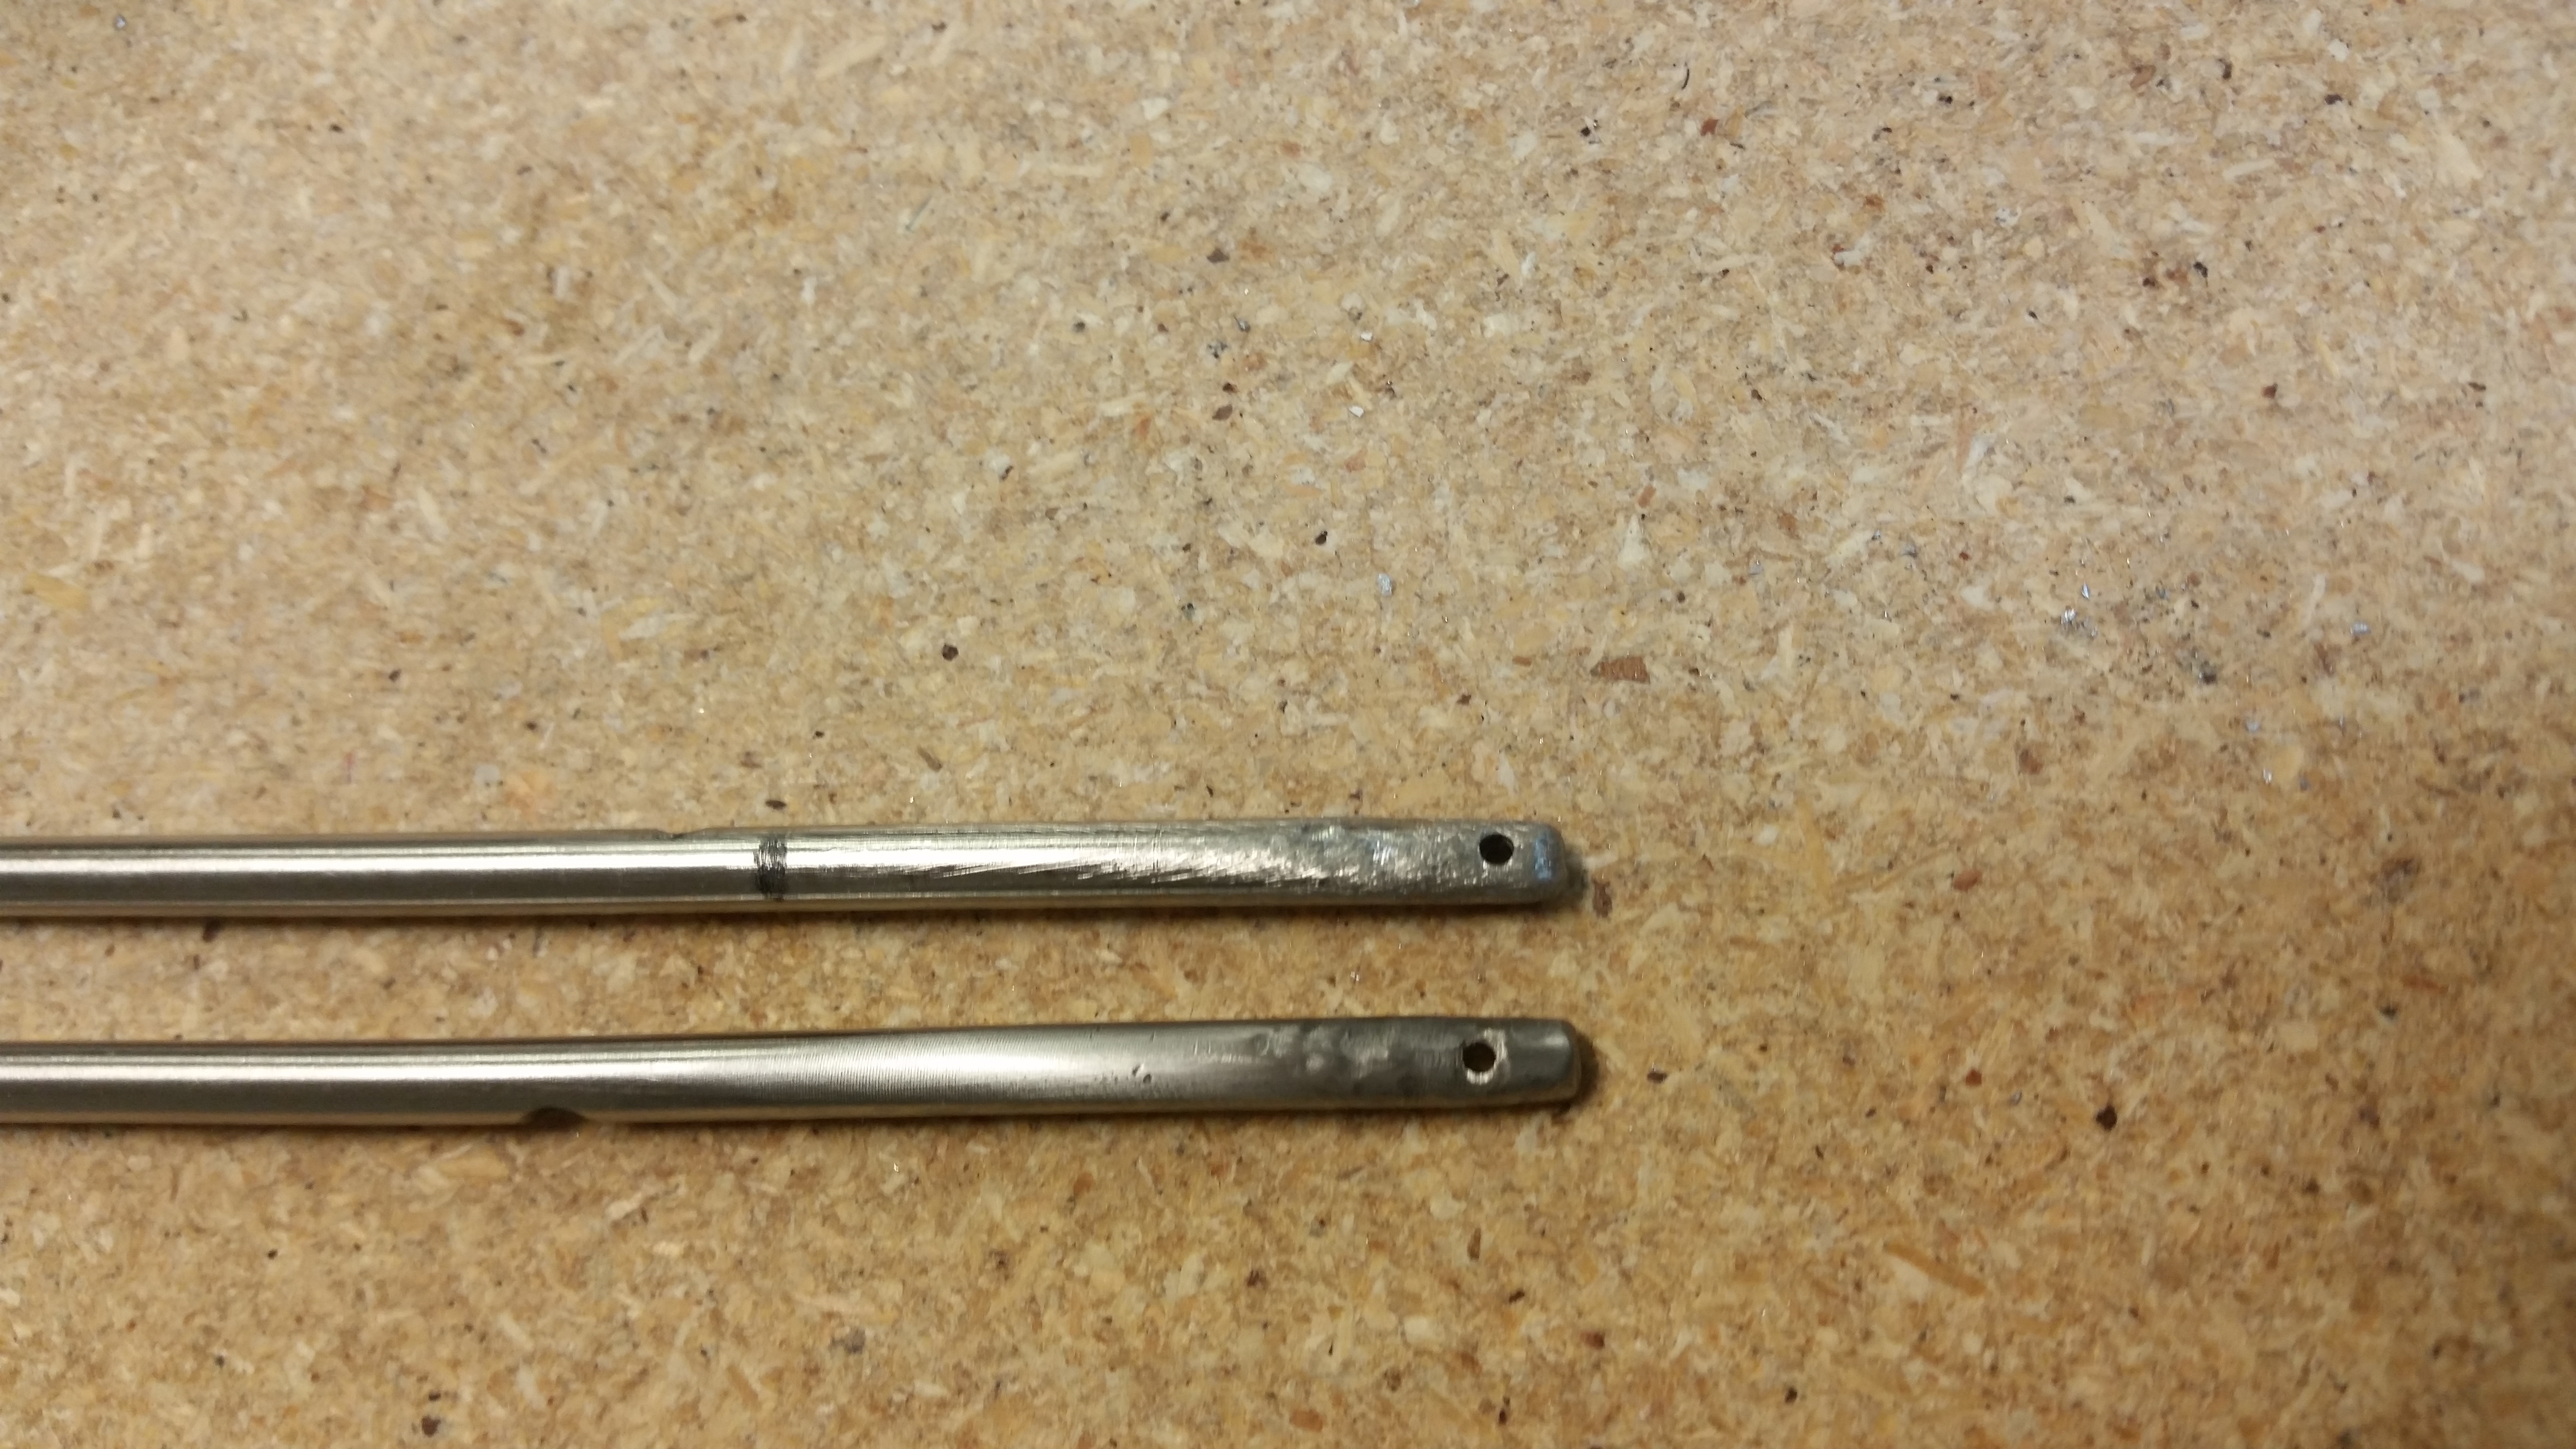
I then went back to work on the hinge pins. The right pin needed to be cut shorter since I had already made the notch for set screw and didn’t like the way that every time I moved the elevator in a distinct up or down fashion the flat tip flagged out past the canard tip glass into the airstream. I went back and looked at the plans again, and what I had looked pretty darn close to the diagram. However, to be fair the plans do say to keep the tip out of the airstream. So I simply cut it shorter & redrilled the 1/16″ hole more inboard.
Regardless, here are the two functional hinge pins. I still have to clean them up to beautify them, but besides their need for a surface makeover they work as designed.
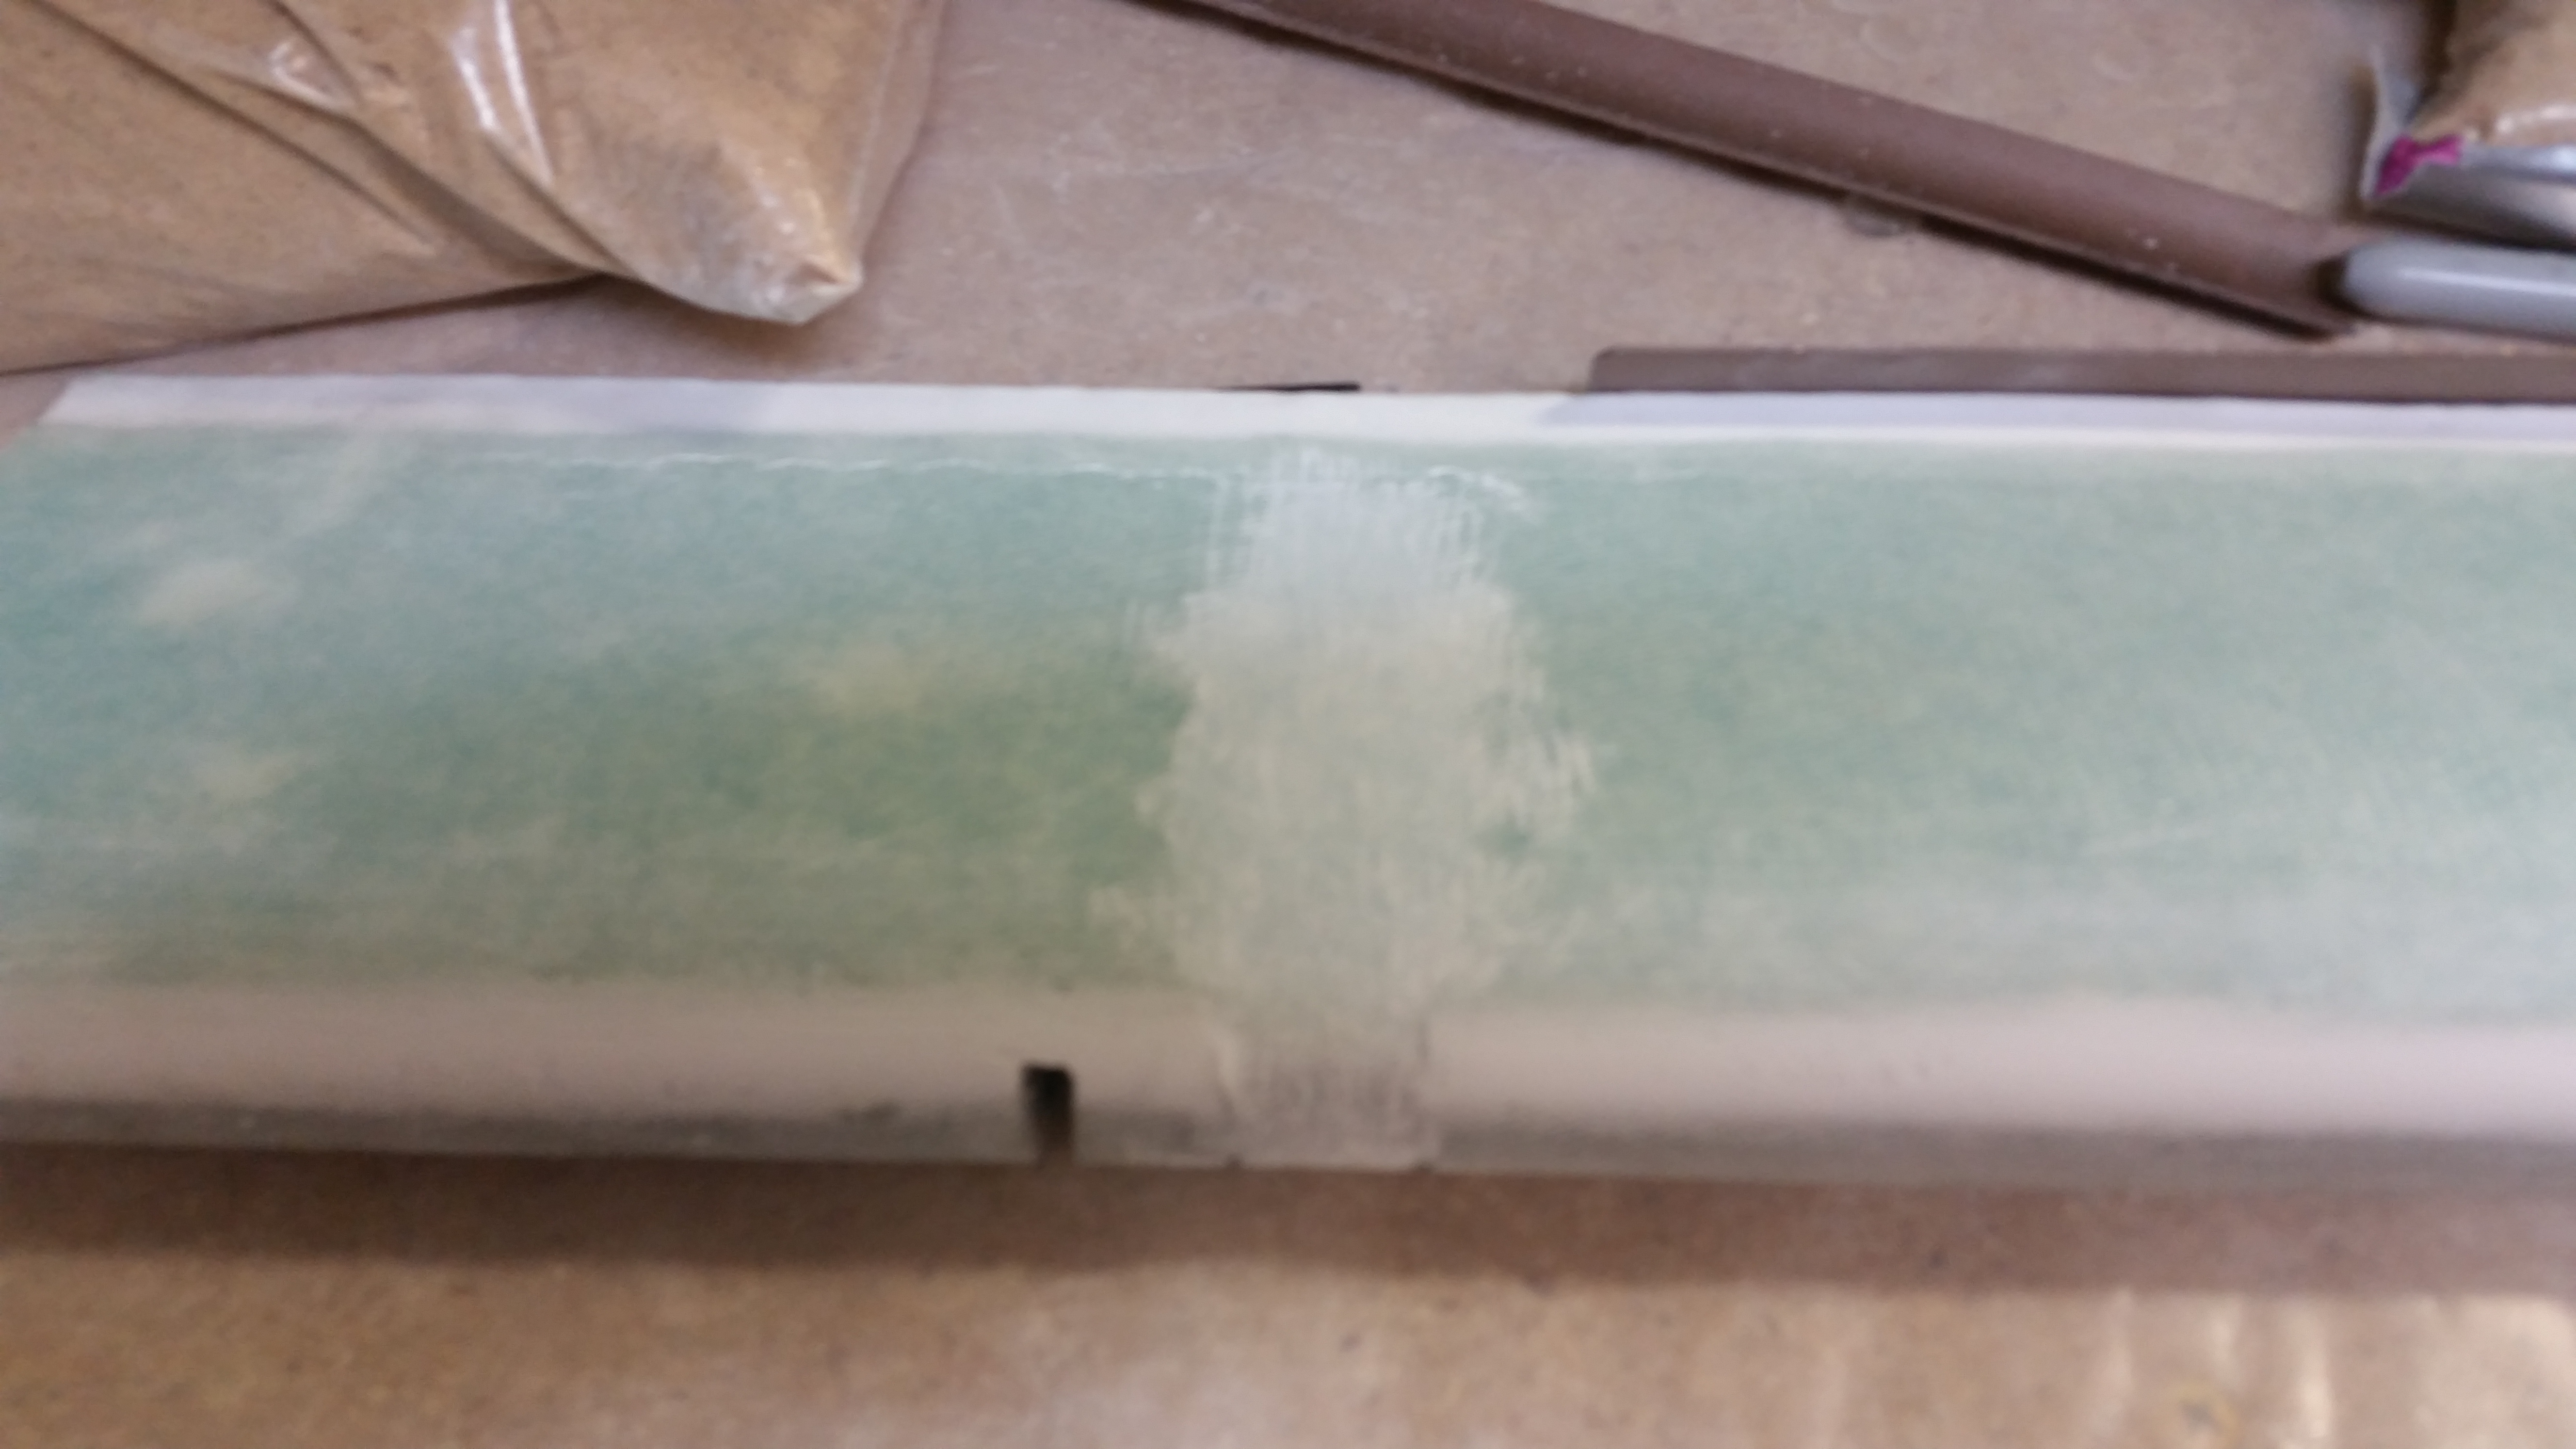
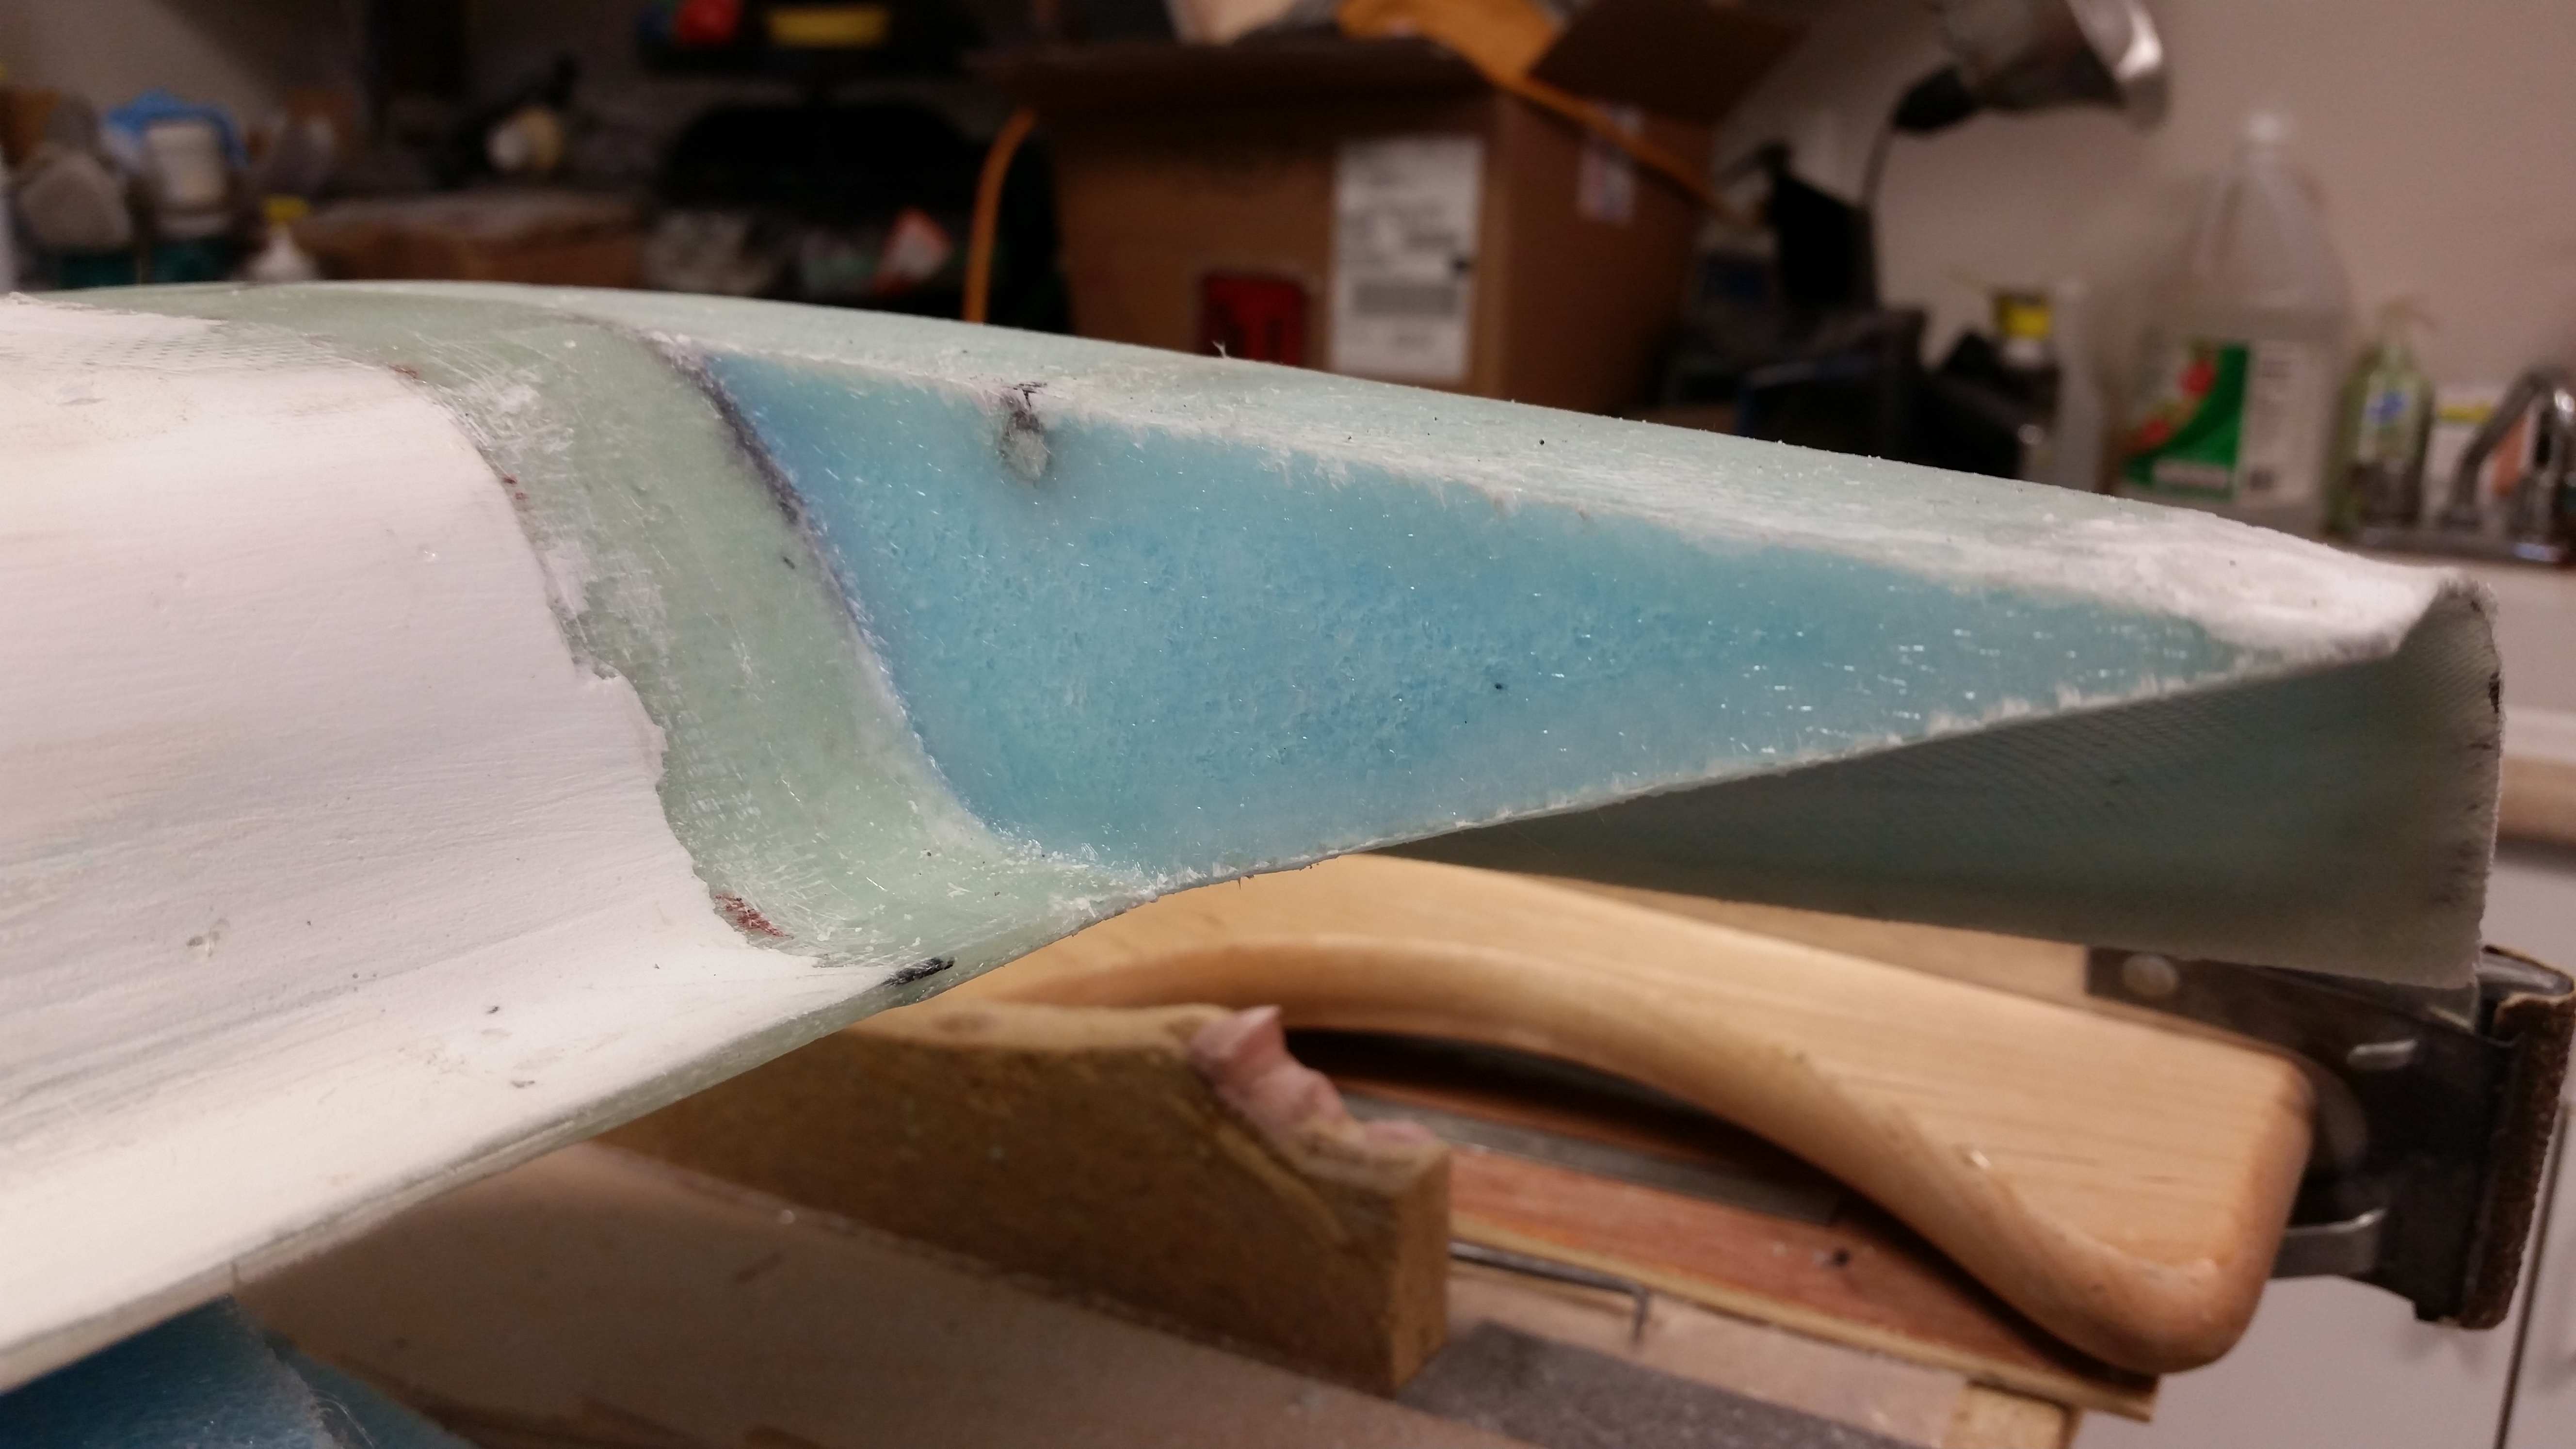
Also, here’s a shot of inboard swoosh tip layup after I knife trimmed it. The other side looks pretty much the same.
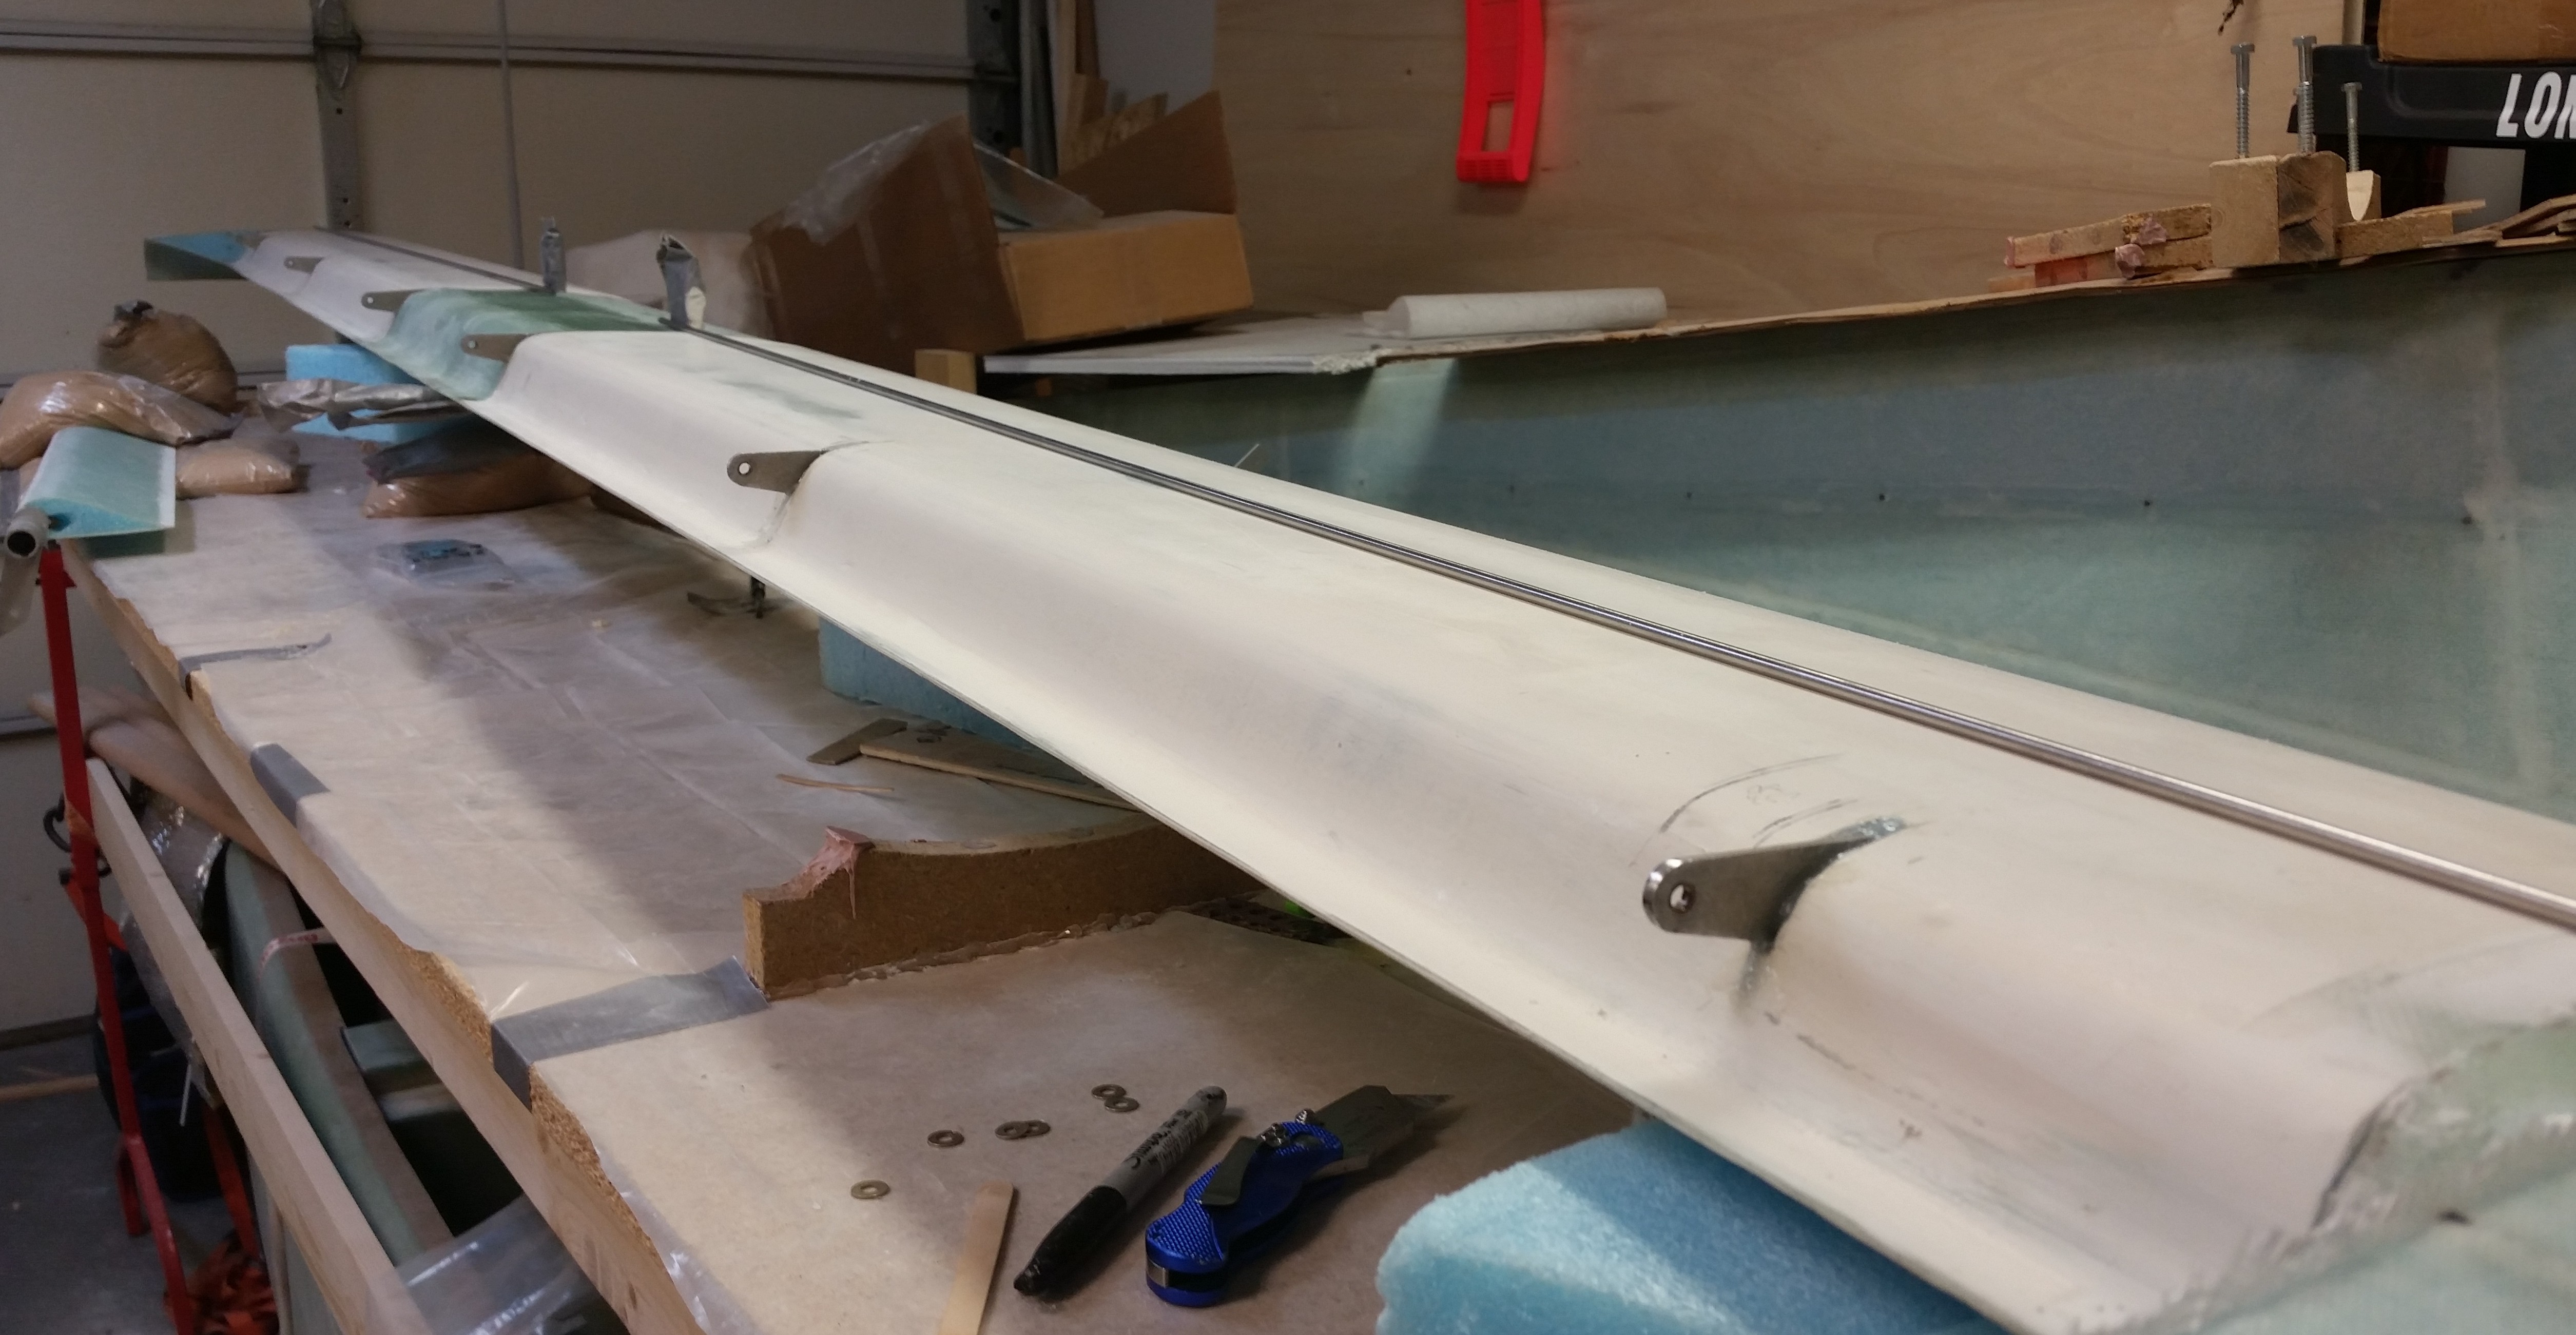
As I was working on other stuff, I noted that this was the first time I had seen the canard in this state: elevators removed and the hinge tabs showing. Something different so I snapped a pic.
The plan for tomorrow is to simply finish all the number of little jobs that will get Chapters 10 & 11 into the history books. I’ll finish adding the elevator weights and cut the slots into the canard for the outboard elevator weights, glass those slots, etc.