
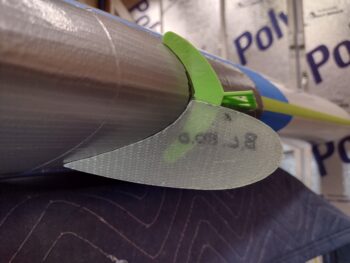
I figured I failed to show my 67° leading edge vortilon jigs in my last blog post, so here is one hot glued to the left leading edge with the attached vortilon glassed on the outboard side.

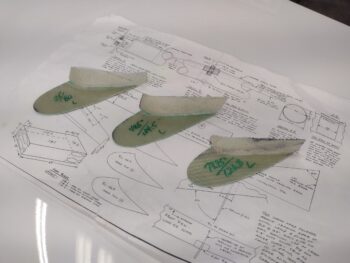
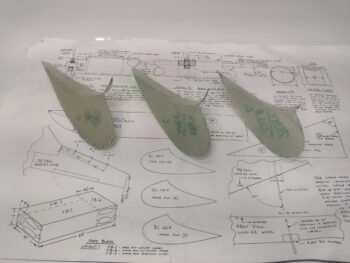
Speaking of the jigs, I finished printing out the third one for the right wing vortilon glassing this AM. Here are those:

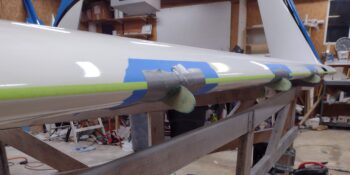
And here we have the left wing vortilons with the outboard 2-ply BID layups cured.
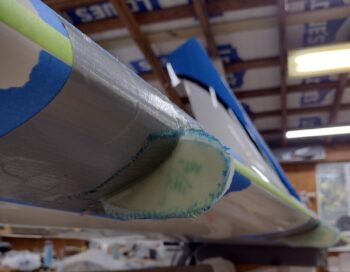
I then used the newly glassed outboard mounting flanges to tape the left wing vortilons in place, after I sanded the inboard surfaces and cleaned them with Acetone.

Here’s a shot looking at the ready-for-inboard-glass left wing vortilons…

As I did on the outboard vortilon layups, I prepregged the 2 plies of BID, that I cut using my templates, and then wet them out in prep for laying up.

Which I did next. I also peel plied all 3 inboard 2-ply BID layups.
With the left wing vortilons taken care of I prepped the leading edge of the right wing, taping off the mounting areas of the 3 vortilons. I then hot glued the 67° jigs in place centered on the appropriate B.L. distances as outlined both in the CPs and the Roncz canard plans.

After sanding the outboard vortilon surfaces, I then hot glued them to the 67° jig bottom tabs.

And as I did on the left wing, I then laid up the 2 plies of BID on the outboard sides of the right wing vortilons… note that this pic was many hours later after the glass had mostly cured and I razor trimmed the layups.

As I did on the left vortilons as well.
I then left the completely glassed left wing vortilons and the outboard glassed right wing vortilons to cure overnight.