
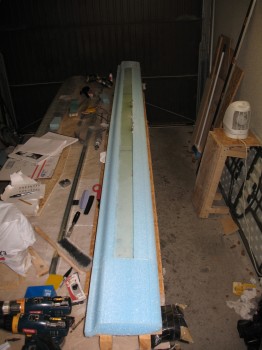
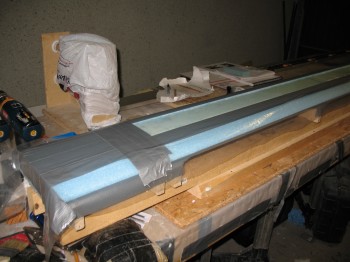
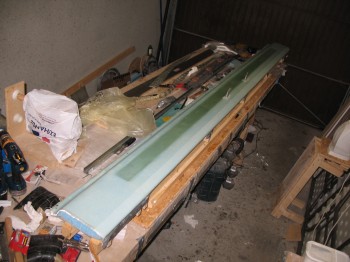
I checked the Roncz Canard 11″ tips that were micro’d on yesterday. Everything cured well so I pulled the nails that were holding the foam pieces together. When I leveled out the canard, I could see where the 11″ canard tips were slightly off from the rest of the canard. So I took my time and very carefully sanded the canard tip bottom surfaces to match the rest of the canard. I did this for both the Left & Right side.
I then precut the 7 each 3″ UNI tape lengths: 108″, 108″, 98″, 90″, 80″, 60″ and 12″. Since the Roncz Canard plans state to simply layup the number of lengths that will appropriately fill in the spar cap trough, I can make modifications to my UNI tape lengths if and when they may be required. I wanted to have as much of the prep work completed, since I will take Burt’s advice in the Roncz Canard plans and layup the 3″ UNI tape spar cap glass and then roll right into glassing the lower skin of the canard.
I carefully sanded the LE edge to knock off any excess foam from the hotknife cutting process, then vacuumed the entire canard and taped half-way up the LE.
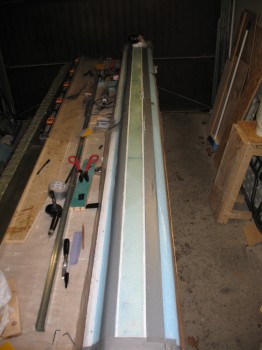
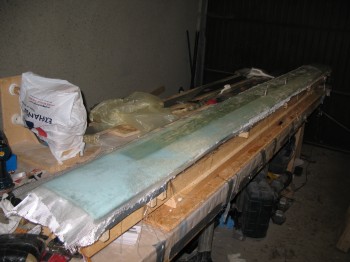
I tacked on a 1″ strip of peel ply down the entire TE, but with only 1/2″ on the TE and the other 1/2″ hanging overboard. Once I finished with the peel ply, I taped around the spar cap & used plastic to protect the canard foam surface.
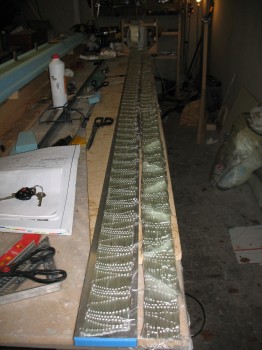
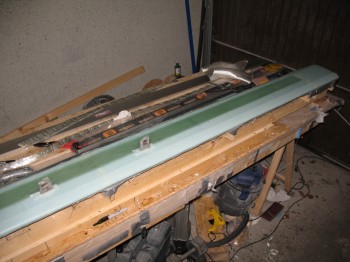
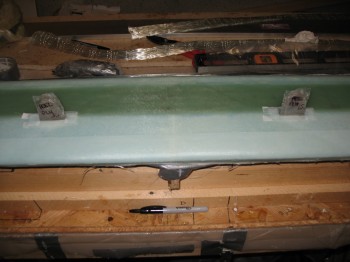
I bagged (like a wedding cake frosting bag) thick micro around the edge of the spar cap. I then laid up the spar cap using the contour template regularly to check the amount of glass in the trough.
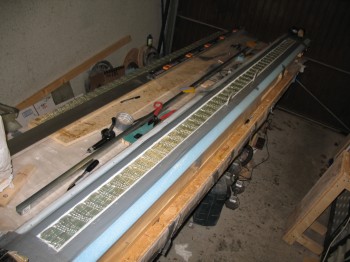 I was using a whole new batch of 3″ UNI tape that I ordered just before I left Tampa, and I have to tell you I didn’t like the new stuff at all. There must be a new supplier to ACS because the roving threads continuously broke while trying to remove them from the glass weave, and I even found a piece of scotch tape holding the glass weave together (thankfully only once), which of course I cut out.
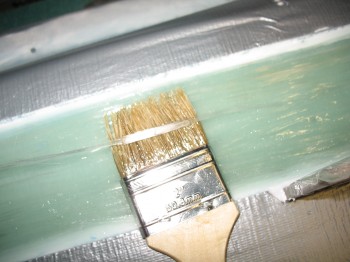 Once I was finished laying up the spar cap, I took a very short break, then carefully removed the protective tape and plastic from around the edge of the spar cap trough. I then used micro paste to fill in the joints & dings, and then microslurried the remaining canard bottom blue foam surfaces.

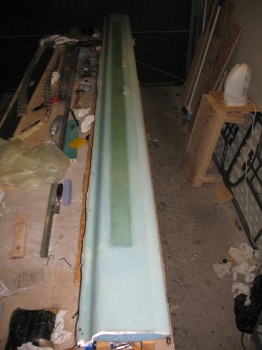
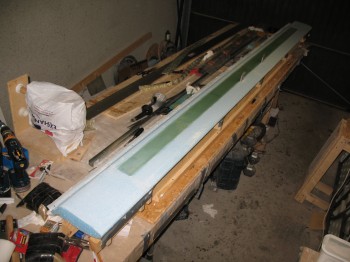 I then laid up the bottom canard skin which was fairly straight forward: 1 long layer of UNI, 1 long layer of BID (4 pcs total & only overlapping in the center, not on the Outboard flight surfaces), then 1 long layer of UNI again, for 3 total layers. The UNI is somewhat of a pain to work with at times, since it’s cut with the strands of glass, so the glass continuously wants to peel off the sides of your layup. Dale Martin recommended that I do like many builders & cut the UNI here just a tad wider and then masking tape the edges to keep it from unraveling. I was too lazy & cheap to do that, so I just powered through.
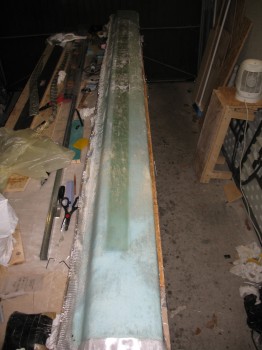
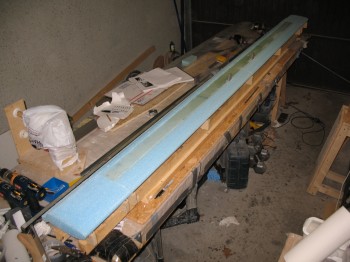
Once I glassed the lower skin layups, I knife trimmed the edges to 1/4″ and peel plied the LE with 2″ wide peel ply tape. I also peel plied around the canard mounting tabs.
After a few hours had passed, I used a razor knife to cut the glass along the middle of the LE adjacent to the line of duct tape underneath. While I was pulling away the duct tape, dead glass and peel ply, I had about a 10″ section of LE foam that simply decided it wanted out and peeled off with the tape. I will have to fix that area before glassing the top of the canard.
With that, I double checked the layup and then let it cure. One thing I did notice is that in a couple of areas the spar cap is a hair thicker than it should be. So there’s about a 0.05″ ridge along the spar cap edge under the skin. The bond looks good, there is just that small ridge that I will have to contend with when finishing the canard.