
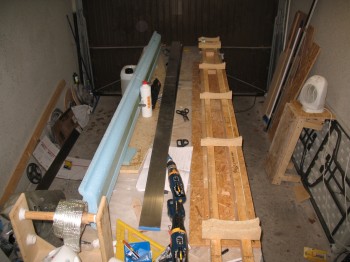
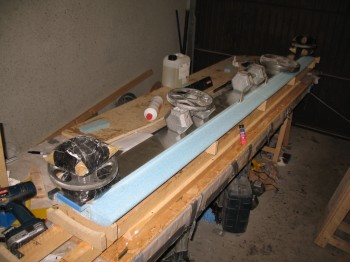
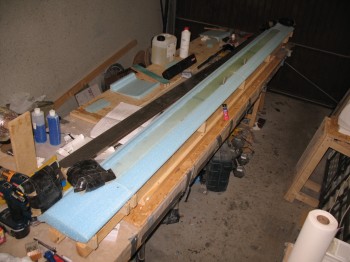
I started today by removing the canard from the jig. I then cleaned up the jig & extended it from 108″ to 126″.
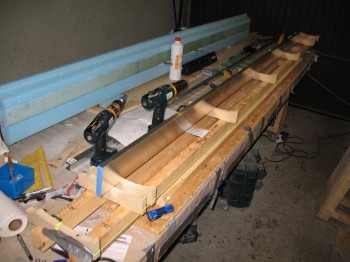
I then cleaned up & sanded the 9 each K-jigs, which will spaced out as per the Roncz canard (not Chap 10) plans to support the canard as it’s upside down getting glassed–which is the next step.
As you can see, I clamped the K-jigs together and sanded them as one piece so they would be the same shape all the way down the row. This will remove nearly all the inconsistencies in the cuts since I had to cut each one individually on the band saw.
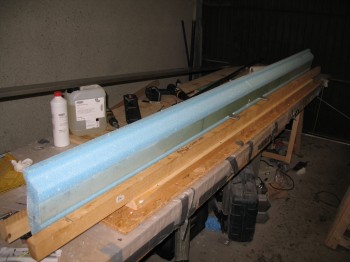
 I then mounted the K-jigs to the canard jig base using a hot glue gun. I used a string & my aluminum straight board to ensure they were all straight & level.
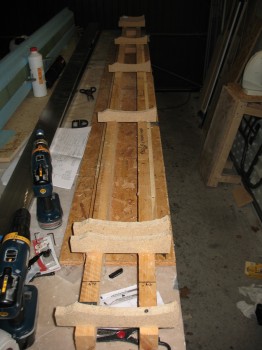
In the pic below there appears to be 2 extra K-jigs mounted to the end of the jig base, but those are there in preparation for the 11 inch canard tips that will get bonded to the end of the current canard structure. Actually, the 11″ tips are more like extensions, because the actual TIPS of the canard will be shaped & glassed into place (with the ends flaring up) after the elevators are mounted.
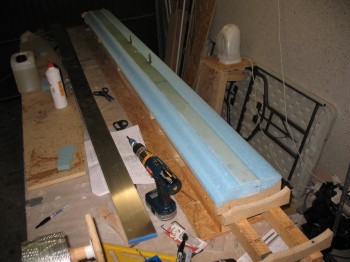
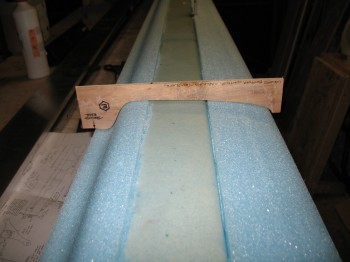
I used the Canard Bottom Contour Checking Template to see how the bottom of the canard was measuring up before I mount the canard to the K-jigs.
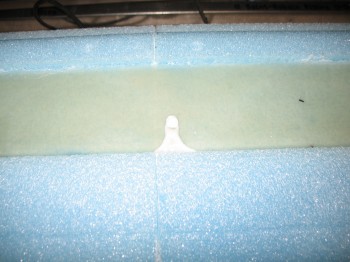
I also took a minute to remove a big unsightly run of dead micro that needed to go away.
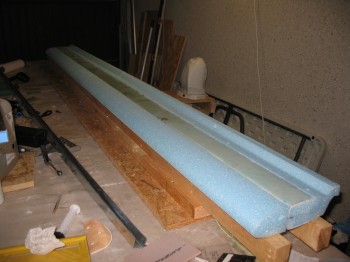
I then weighed down the canard after using 5-minute glue to bond the canard to the K-jigs.
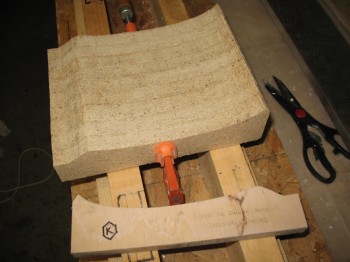
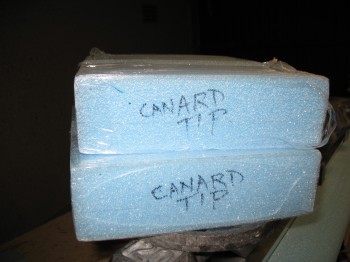
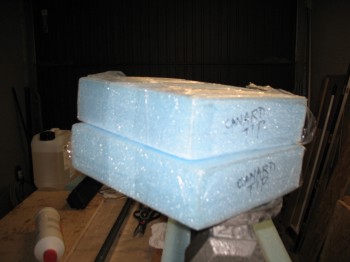
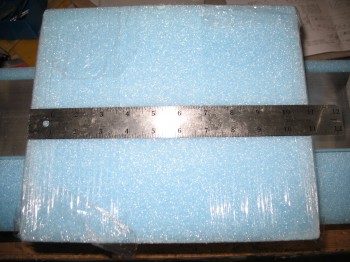
 I then grabbed the 11″ canard extensions & removed them from their foam encasements.
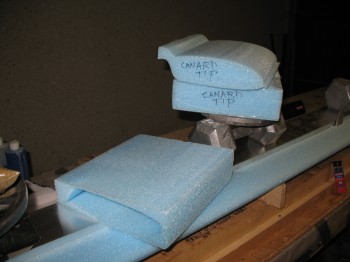
It was then that I had a total brain-fart, disregarding all my jedi-training, and grabbing the bottle of “Hot Stuff” glue (Superglue) to mount the 11″ foam extensions. Right after I mounted the canard tips on the Outboard K-jigs, I realized in short order what I had done (luckily, most of Hot Stuff glue soaked into the particle board K-jigs, so the damage was minimal). After my duh moment was over, I whipped up some flox to keep the canard tips mounted since I had already micro’d & nailed them into place. I also double-checked that they were straight & level on the LE, TE, top & bottom.
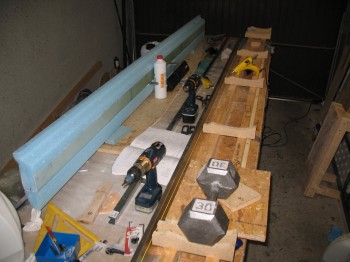
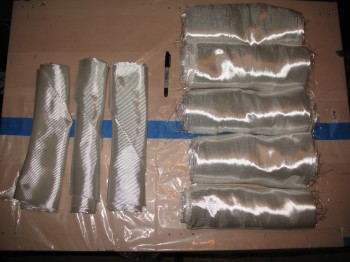
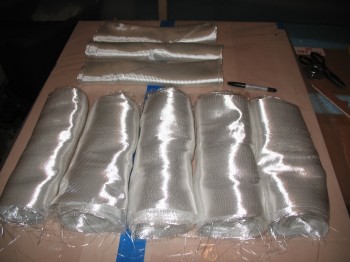
 As the canard tips and structure cured to whatever degree it had left to the K-jigs, I went down to the cutting table and spent a couple of hours cutting the glass for the canard skins. I cut all the UNI for the top & bottom skins (5 pcs 12-1/2″ x 134″), and enough BID for the bottom skin (3 pcs 13-1/4″ @ 45°).
I pre-deployed the slow hardener, 3″ UNI tape, etc. to the garage.