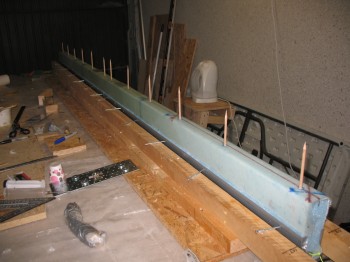
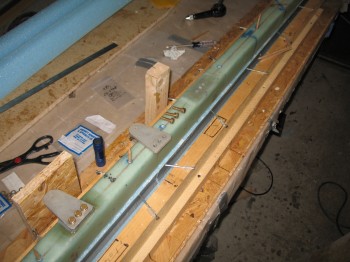
I started out today by drilling a 1/4″ hole at each marked spot on the top/front of the canard (in the present configuration) for the 12 each 1/4″ sharpened wood dowels that will align the front part of the canard (or “nose” or LE) to the shear web section of the canard. This is exactly the same process as the main wings, only on a smaller scale. Of course the wings don’t use the wood dowels to line up the front part of the wing to the shear web (unfortunately … seams to be much easier).
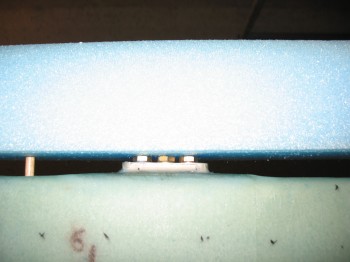
I then reinstalled the metal mounting tab jigs & their wood supports, set up a stop on my 1/4″ drill bit and drilled the 6 bolt holes for the canard mounting tabs (NC-CLT) into the ~12 plies of glass over each nutplate.
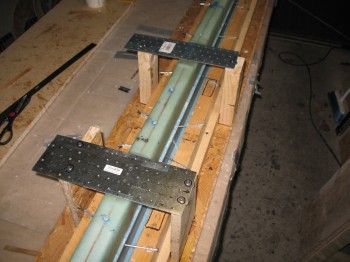
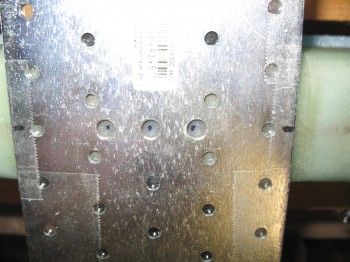
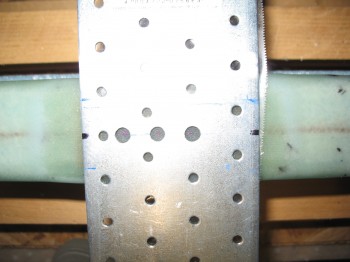

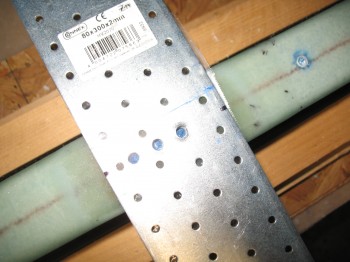
Then came the real job . . . cleaning the Blue RTV out of the holes in the nutplates. It was probably something akin to a cartoon in how the Blue RTV just did not want to be extricated from those bolt holes. Needless to say, it took A WHILE to get all that rubbery, stubborn Blue RTV out of those holes. My best tools in doing this were my scribe and a cheap set of dental picks I picked up from Harbor Freight.
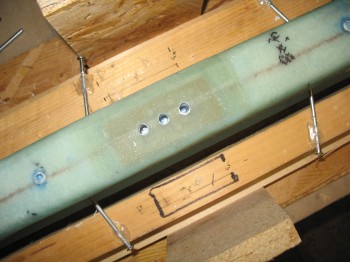
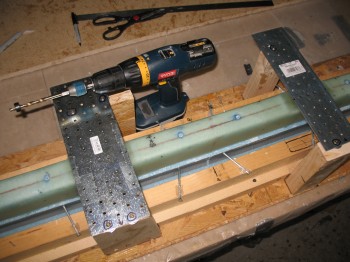
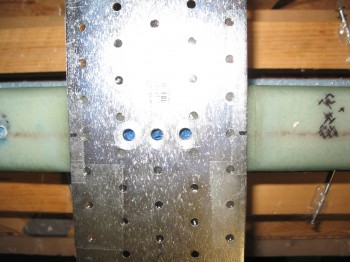
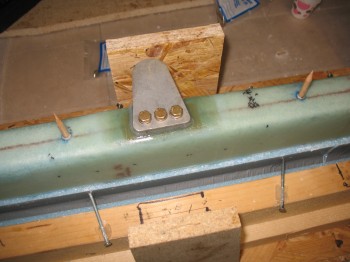
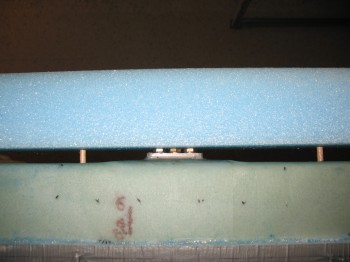
After finally getting all the Blue RTV out of the bolt holes, I mixed up some flox and attached the canard mounting tabs onto the shear web permanently.
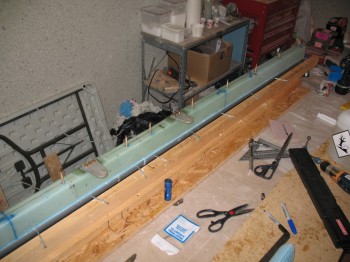
As I quite often do, I mixed up a little bit too much flox, so I used it to mount the 12 sharpened 1/4″ dowels into their holes.
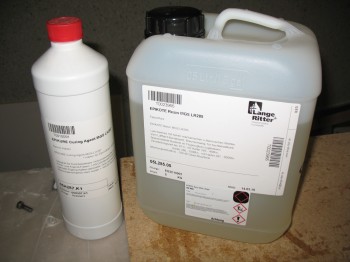
After I got both of the canard mounting tabs installed, along with all the 1/4″ alignment dowels set into place, I took a break and ran to Stuttgart to pick up some more MGS 285 epoxy and slow hardener (Stuttgart is almost 2 hours away).
Now that I was reloaded on epoxy and hardener, and my canard mounting tabs & alignment dowels were cured, I set forth to attach the front leading edge (LE) of the canard.
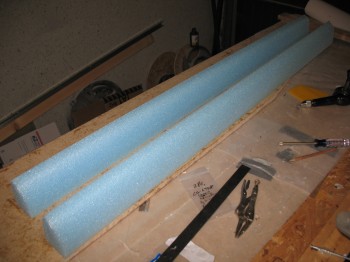
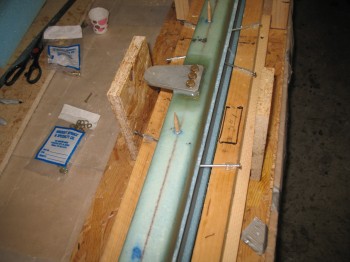
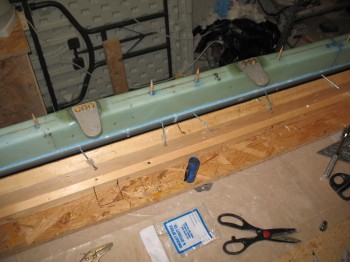
First up on the order of battle was to notch the LE edge foam pieces at the mounting tab locations so they could fit around the mounting tab and also lie flat on the shear web surface. As with many things in this build, it was a trial & error endeavor of taking a little foam out, then setting the foam LE back on, trimming a bit more foam, testing the fit, etc. Although the process may be a bit tedious, it really didn’t take that long… maybe 15 min for each side.

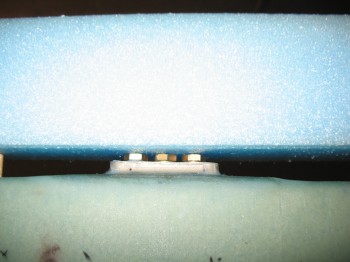
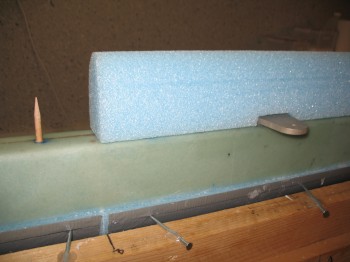
Of course this is where the alignment dowels play a huge role. I can see where trying to do this without the dowels–which weren’t used as per plans in the original Chapter 10–could be a lot more difficult, because it’s not about just getting the foam cut out for the mounting tab, but aligning the front canard foam piece correctly front & back (technically top-to-bottom), and the Outboard & Center alignments correct as well. The dowels made it very EZ to just slip the second half of the canard LE foam into place and have a nice flush fit at the CL between the two canard LE foam cores.
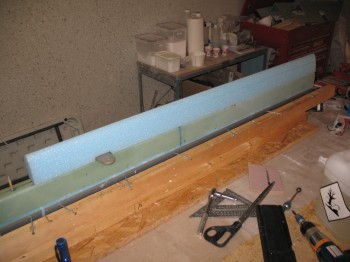
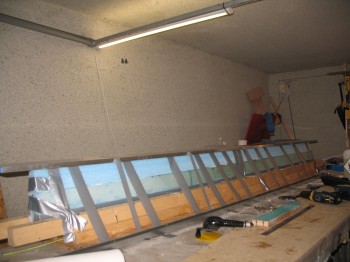
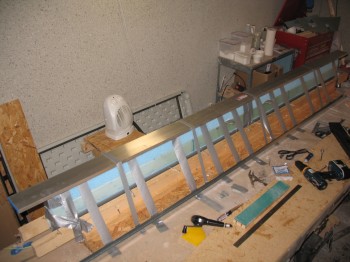
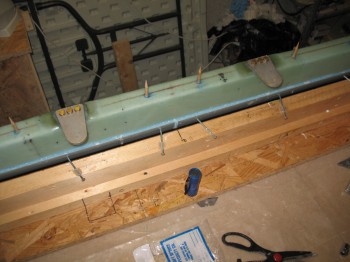
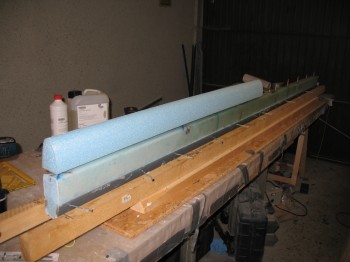
Once I got the notches set for the mounting tabs, and was sure the LE cores were aligned properly, I micro’d both foam LE cores into place. As you can see, I used a fair amount of duct tape to ensure the LE cores had some decent pressure as they cured.
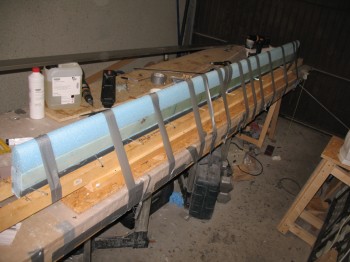
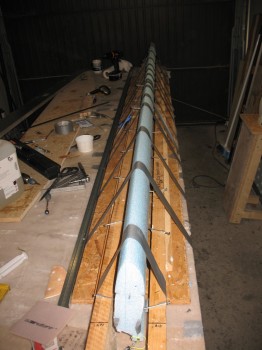
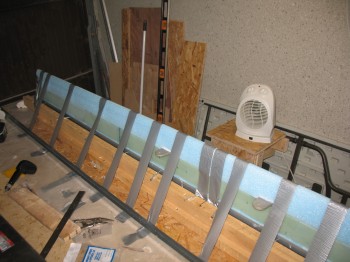
I checked to ensure the canard LE was straight. I was using both my 6′ long level & my new long aluminum straight “board” that I picked up from Praktiker, when I realized I could place the aluminum straight board on the top of the LE without damaging it, which added a little bit more weight and when taped at equidistant points helped to ensure the LE stayed straight.