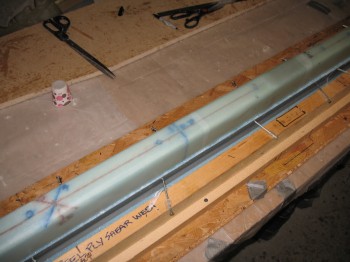
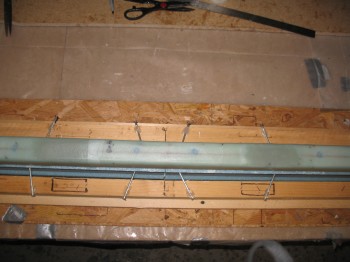
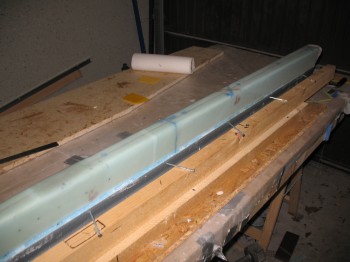
I started out by checking the cured micro sample in the cup. It looked good.
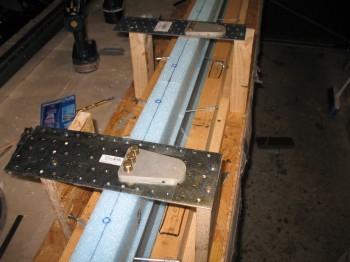
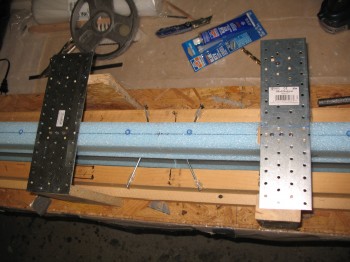
Then I removed the nutplate mounting assemblies.
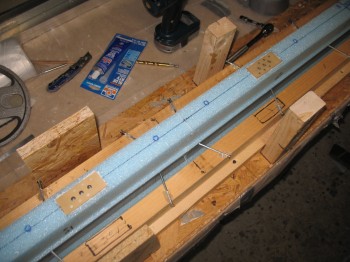
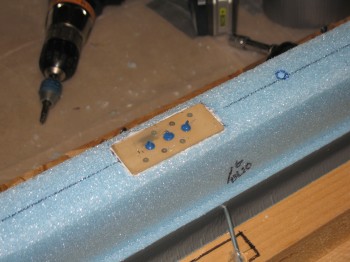
The nutplate installation into the foam looked good on both sides. I cleaned up the edges a little bit from some micro squeezing out along the edges, but it only took about 5 min to have it all looking spiffy.
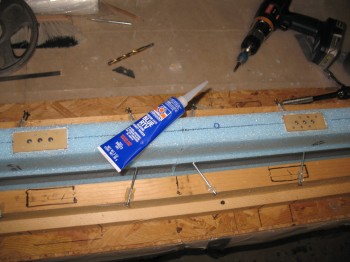
I forget where, but a canard builder had offered a builder’s tip to use Blue RTV to seal the bolt holes so they’d be preserved and no epoxy would get in and muck them up. So I sealed all 6 of the bolt holes in the nutplates with the Blue RTV. It was a little tricky to work with, and once it got on something, it didn’t want to come off.
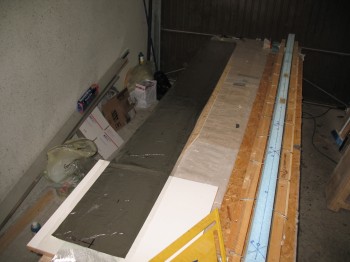
I then grabbed my shear web glass that I cut last night and set it up for a pre-preg layup, just as I had done with the wing shear webs.
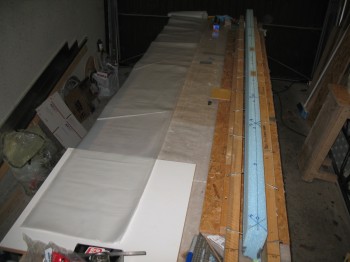
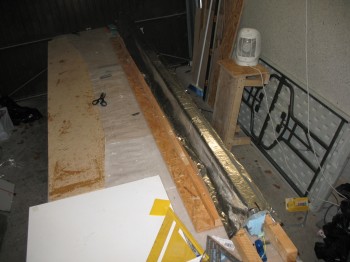
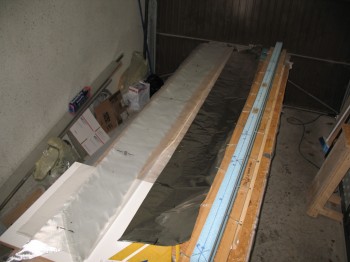 I then mixed up some epoxy, wet out the shear web UNI and transferred it over to the aluminum foil. I then transferred the pre-pregged glass to the canard.
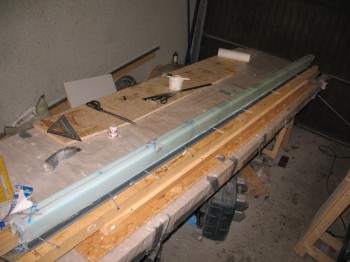
Once I glassed the shear web UNI layup, I dutifully added peel ply as per the stern note I left myself on the canard jig!
You can see in the picture below that each nutplate is covered by a pad that is made up of 9-plies of 1-1/2″ x 4″ BID covered by a single ply of 4″ x 8″ BID. This makes for stout hard points to mount the canard mounting tabs to. The plans call for using micro around the edges of the 9-ply BID pad as somewhat as a fillet for the top 1-ply piece of BID. I cheated a little and used flox to give a little more oomph. (Call me chicken, but this is one area that I don’t want to be weak in any way).

