
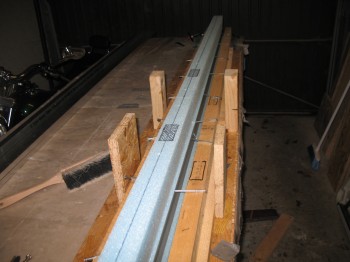
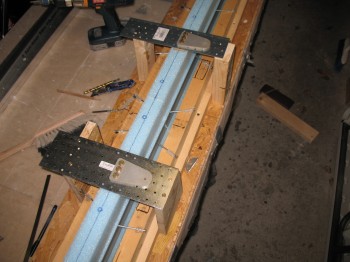
I measured some scrap wood & cut 4 pieces for the canard mounting tabs/nutplate mounting supports and then mounted them to the canard jig base.
 I then took 2 pieces of scrap metal and drilled 3 holes into each using one of the NC-CLT mounting tabs as a template (so the 3 holes line up with the 3 bolt holes on the mounting tabs).
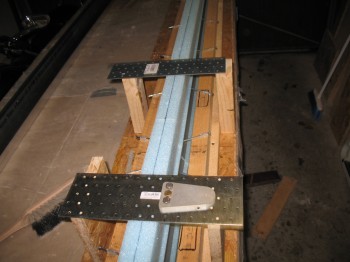
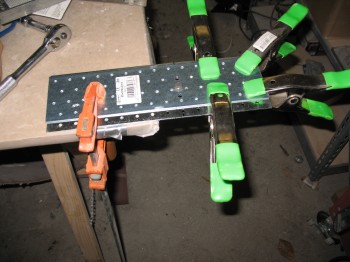 I then mounted the nutplate, canard mounting tab, bolts, and washers to the metal cross plate to mount to the nutplates.
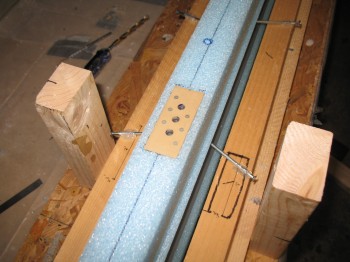
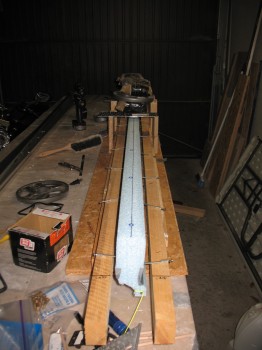
 I dug out foam in the canard face so that the mounting tab nutplate would sit flush in the hole. Note: Standard distance from canard CL to nutplate is BL 6.5, but I went with BL 6.8 because my F22 is 0.6″ wider than stock (22.2″ vs 21.6″).
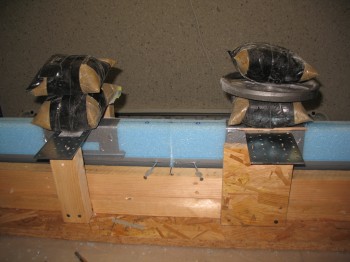
 I did a dry run to ensure everything was lining up correctly and that my jig mounting posts were the correct height. It all looked good.
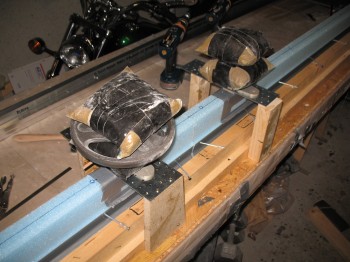
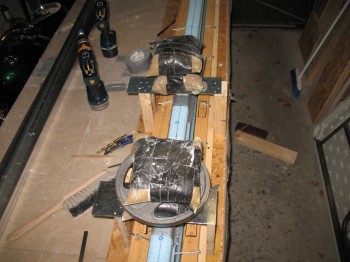
 I micro’d in the nutplates (which were mounted to the steel cross templates and the mounting tabs) into the canard foam and then weighed the entire assemble down to ensure the nutplates sat flush with the foam.
 After I had everything situated for the mounting tab nutplate install, I went to my downstairs shop and cut the UNI glass for the shear web. I then pre-deployed the shear web to the garage.
After dinner I checked the micro left over in the cup. It was still just a tad spongy, and the temp had dropped a bit, so I cranked up a couple heaters to warm things up a tad.