
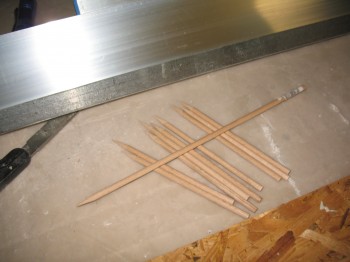
I picked up some 4″ nails and another, longer straight aluminum straight edge “board” from Praktiker today. Now I’m ready to start my Roncz Canard build in earnest.
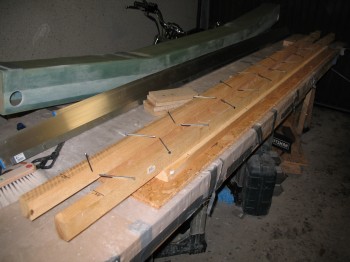
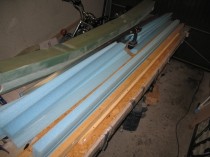
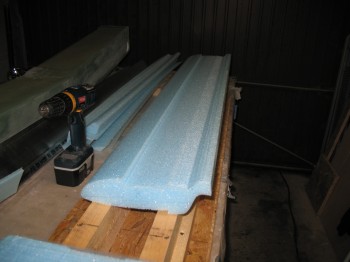
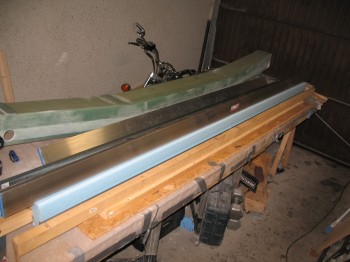
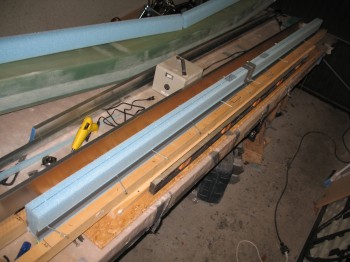
After finalizing the Roncz Canard Jig prep, I pulled the foam canard cores out and started aligning them on the jig.
BTW, the Roncz Canard build uses a completely different set of plans than the original plans. Now, that being said, the Roncz Canard Plans quite often refer back to the original plans Chapter 10 to accomplish many of the build steps.
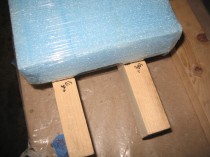
I broke out my sharpened wooden 1/4″ dowels I made last September.
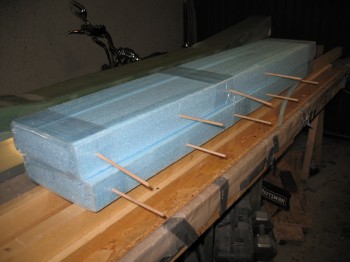
You may have noticed that I had pre-marked the centerline and then went 54″ out in each direction. Obviously, added together the entire length of the middle core of the canard is 108″ total (these pics are of just the middle core so far).

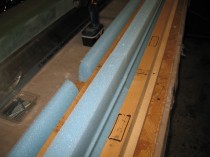
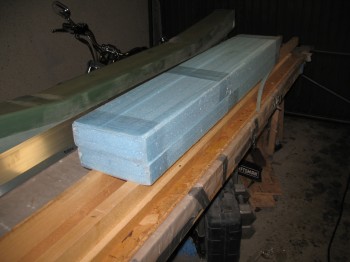
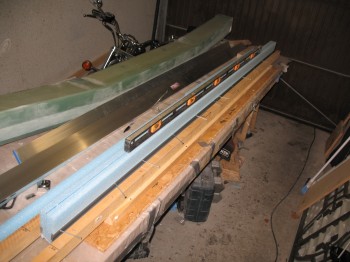
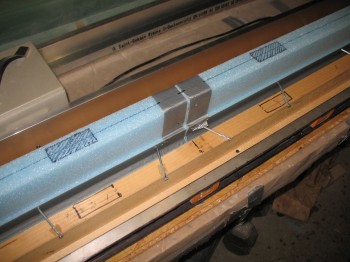
After removing the front rounded nose of the canard from each side I taped up around the bottom lip of the canard (on the aft section of the foam core) for what will be yet another shear web layup (my last on this bird!).
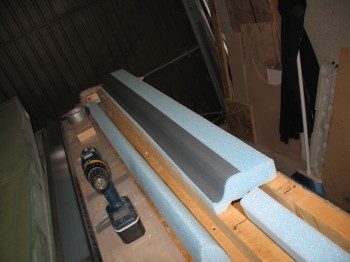
I marked a line down the CL on the top of the shear web. Technically this line is supposed to be at WL 19.4, but I have no idea where that is. And reading what other builders have posted on the forums, neither do they!
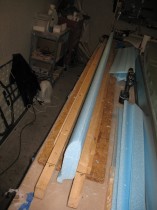
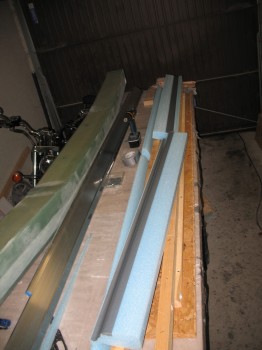
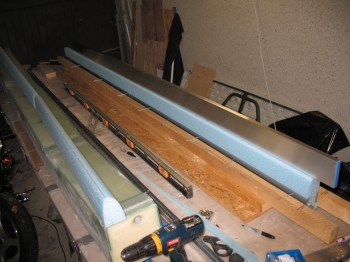
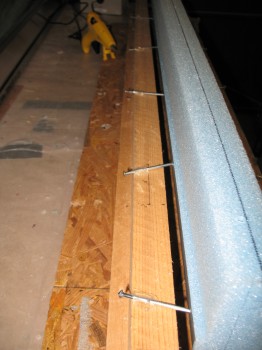
I leveled out the foam canard core to ensure it was straight along the entire top edge and then held it in place with the 4″ nails stuck into the side of the core and into the protective tape . . . just below the edge of the tape (and the edge of the shear web).
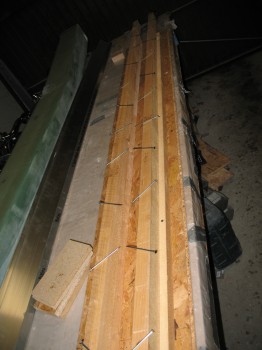
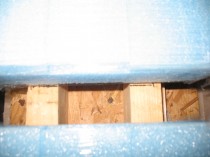
I hot glued all the nails to the jig for just one half of the canard foam core.
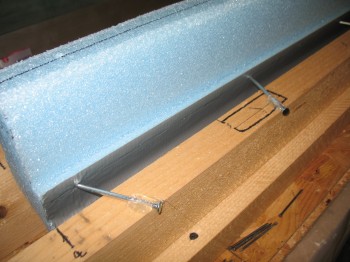
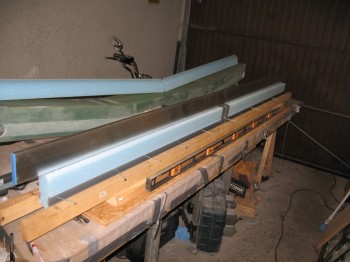
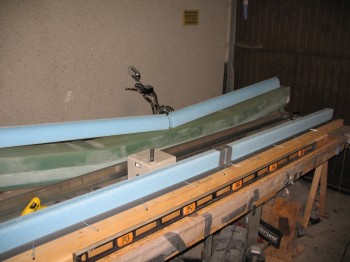
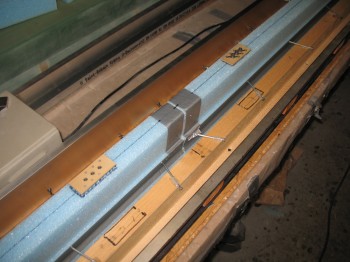
I then whipped up some micro and bonded the 2 foam core sides together. As you can see, this is much more easily accomplished when one of the core halves is held securely in place and immobilized. Once I set the two halves in place (taping along each connecting edge to protect the foam) I then hot glued all the nails in place to the wood jig for the other foam core half.

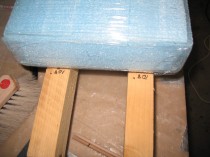
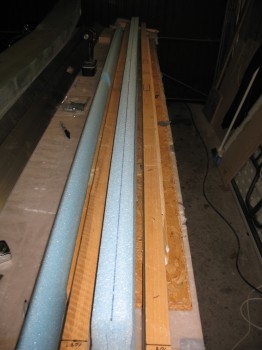
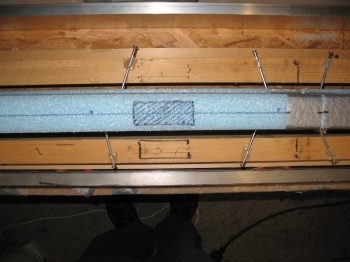
 I then marked up the locations of the NCT tab mounts to show where they will be situated (these are the tabs that will hold the canard to the fuselage, at/on bulkhead F22).
 Before closing up for the evening I turned the HEATER ON! (This definitely ain’t Tampa!)