Today I had to go pick up some more items at the BX on base & Praktiker to prep for the canard build.
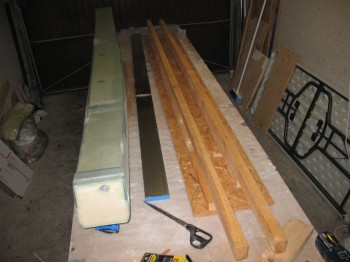
It had been over 6 months since I stepped foot into my garage workshop, and this was what it looked like:
I was in a mad dash when I left here trying to get on with my deployment to Tampa, so I took a fair amount of time cleaning up the garage work shop to get it back into build shape.
My first order of business was glassing in the 1-ply BID corner tapes at the corner junction between the interior bulkheads and the interior surface of the front face of the spar. The CS spar is of course a torque box in many respects, so it’s made to carry & handle twisting and other various loads, so I’m not trying to make these corners solid immovable forces, I just want to add another solid attach point to the front face of the spar, which is merely bonded on via micro to the foam edges of the top & bottom surfaces. To be sure, there’s glass that wraps around the outside of it, but there’s no interior glass-to-glass attachment along the interior front face of the spar.
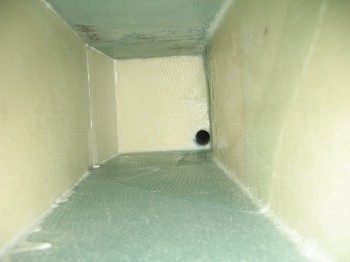
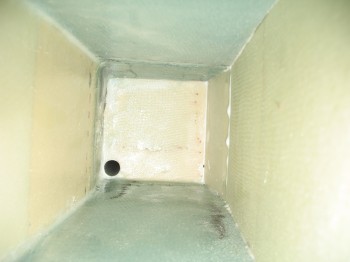
This is an interior shot looking towards the right side of the spar. The inside front face of the spar is to the left.
← Front
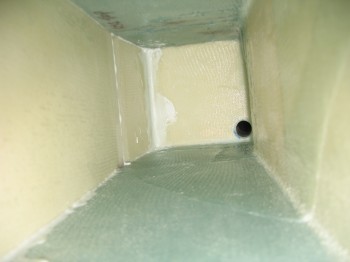
This is an interior shot looking towards the left side of the spar. The inside front face of the spar is to the right.
Front →
Again, the goal here is to glass a 1-ply BID tape layup into the corner of the bulkhead and front interior face (opposite the antenna & electrical cable conduit hole). Also, this is not per plans. Adding these two 1-ply BID corner tapes is an additional mod to the plans.
I cut 2 pieces of BID, set them up into 1-ply BID pre-pregs. I then started by filleting the corners with a small amount of micro, that had just a dash of flox and Cab-o-sil mixed in to give it some umph.
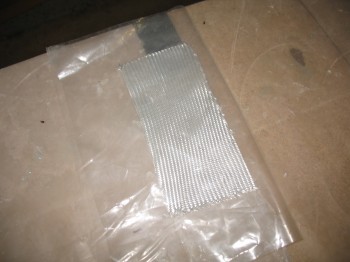
The actual order went along like this: I mixed the micro first, holding back some epoxy to wet out the pre-preg setups. Once the micro was ready to go, I wet out the 2 separate plies of pre-pregged BID. Then I filleted the corners, with my 1-ply BID tapes at the ready once the filets were in place.
Now, the challenging part of all this was that I couldn’t see anything that I was doing. These two layups were done completely in the blind & only by feel, having to reach my arm way up into the interior of the spar on each side. One of the reasons I had the camera on hand was to use it to check my work.
I laid up a 1-1/4″ x 5-1/4″ 1-ply BID tape into each corner on the left & right side of the spar.
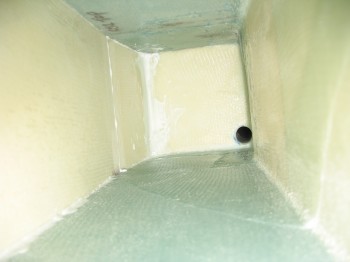
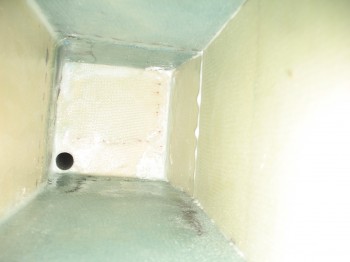
The first two pics above show the right side corner BID tape, while the pic immediately above shows the left side corner BID tape.
Once the interior corner BID tape layups were glassed, I set the spar aside and started building the jig for the Roncz Canard build.
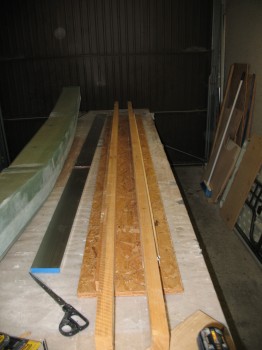
 To make the canard jig as straight as possible, I mounted the 2×4’s first in an “L” shape to each other (one “L” for the front, one “L” for the back). I then mounted these 2-piece 2×4 “L” shapes to a straight panel of OSB flooring material. This all worked to make a pretty darn straight jig for the canard build.