
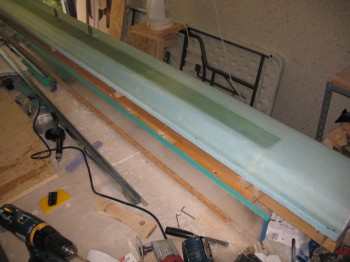
I checked the canard to ensure everything was good with the layup from yesterday. All was good except for the LE foam damage.
 I pulled the 2″ peel ply off the front LE & around the mounting tabs and took a few minutes to clean up the peel ply boogers.
 I then “Fein” sawed/razor cut each of the canard ends so the glass was flush with the foam. I also clamped a straightedge onto the trailing edge (TE) and cut it as well.
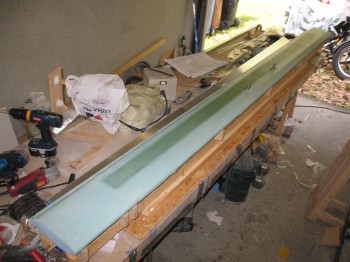
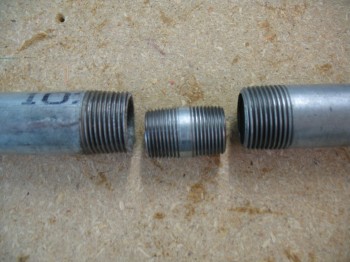
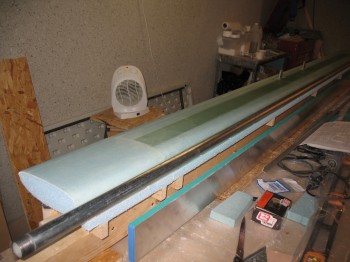
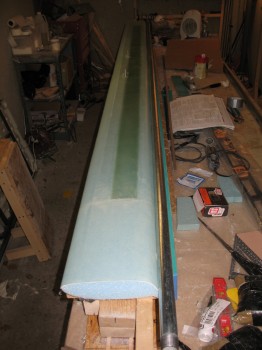
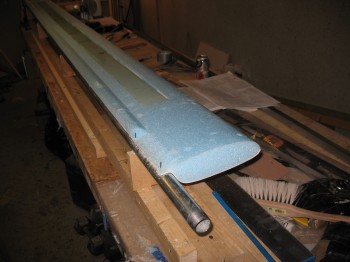
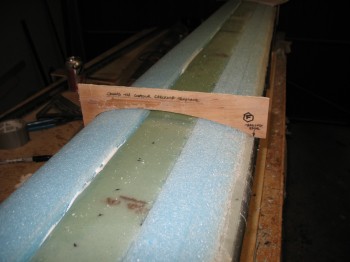
 I had looked high & low for weeks to find a 130″ long pipe that would work as the TE alignment pipe. I even borrowed a pipe from the Civil Engineers on base, but it wasn’t straight when I checked it out at the house. So I went to Praktiker & bought a 2000 mm (~78-3/4″) and 1500 mm (~59″) 1″ water pipe. I used a 3/4″ threaded connector to help keep the 2 pipe pieces together & straight. I cleaned the pipes with acetone & then Simple Green and then mounted them together.
 I then bondo’d the whole assembly to the TE lip of the canard, using my aluminum straight “board” to make sure it was all straight.
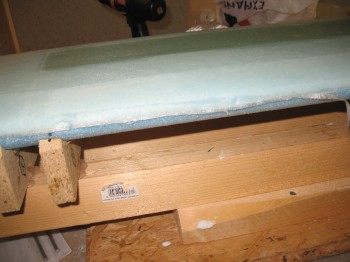
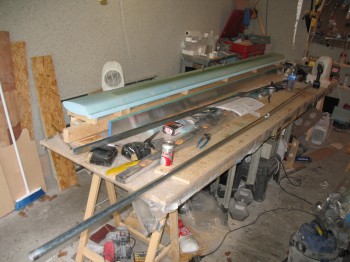
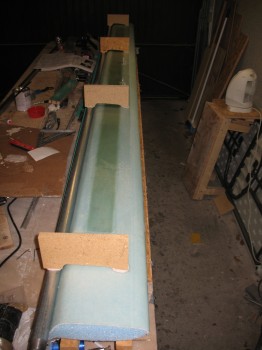
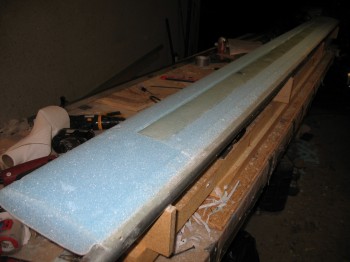
 I trial fit, and then cut crescents in the wood support boards, that would hold up the canard when it was flipped over right side up.
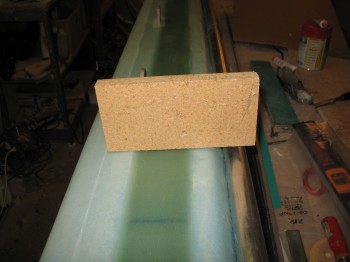 After I got the 4 support boards prepped, I bondo’d them to the bottom canard surface on one side and the metal pipe on the other.
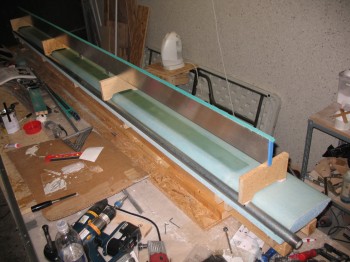
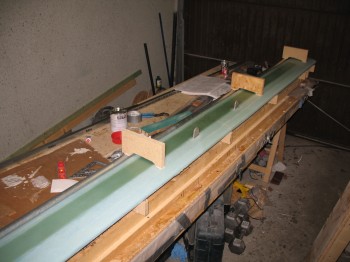 I then flipped the canard right side up & secured the end wood supports to the original wood canard jig base.
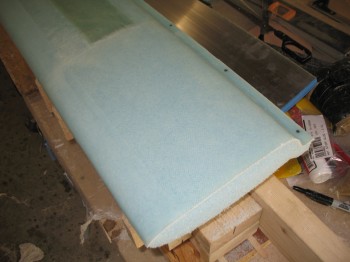
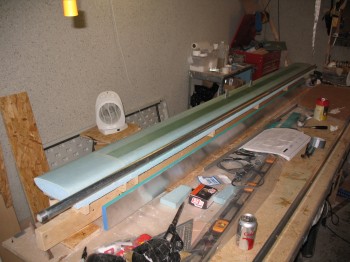
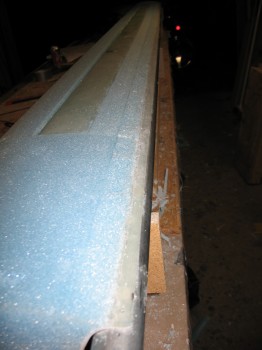
 I cut off the fishtail at the topside TE.
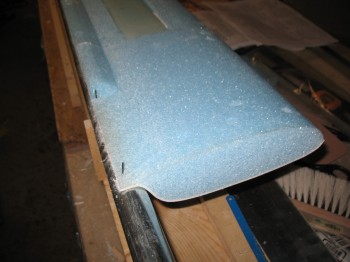
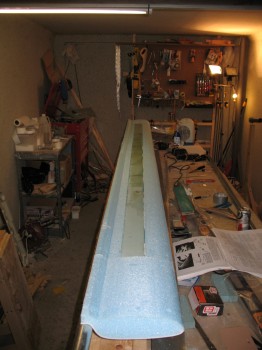
 Once I got the fishtail foam removed, I then removed all the tacks and peel ply from the TE.
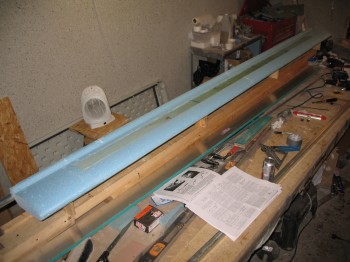
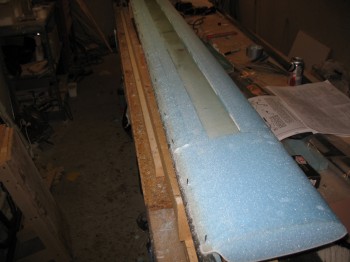
 I used the top contour checking template to finish sanding the remaining foam off the TE area left by removing the fishtail.
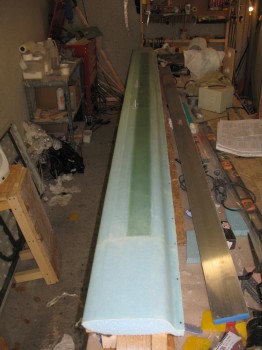
 Before the final mounting of the canard to the original base, I took it out of the garage and flipped it around end-to-end so that I could work on the LE with it at the front edge of the table, facing both the lighting and closest to the epoxy table. Then I spent about 2-1/2 hours using straight edges, string, and a laser level kit to get the canard as perfectly aligned as possible. I had about a 0.15 inch drop at each end, so I shimmied the each end support strut with a couple of stirring sticks, which seemed to do the trick.
I am interested in your thoughtful and well contoured widening of your fuselage. Together. With widening the fuselage a foot to accommodate the weight of a 320 Lycoming. I may be average height and weigh. The trouble is my sons are 6’3” & 6’5”.
You may be interested in a Long EZ that Bill Allen has built in England powered by a Wilksch Airmotive Diesel engine. One pilot is flying around using cooking oil for fuel!
Just a thought. I watched Glen Waters build his wonderful Berkut. Glen was Mario Andretti’s mechanic when he became F1 World Champion driving for Lotus. He asured me that for an extra 22lbs he could design a Berkut fuselage that is as safe in a crash as on open wheeled racing car. A tantalising thought.
Thanks again for for your very interesting web site.
Best wishes,
James.
James,
The fuselage width won’t really affect the installation of an O-320 motor. Lots of original O-235 Long-EZs eventually switched over to O-320s without widening the fuselage or firewall. In fact, the nice thing about having an O-320 is that it is more beneficial to have a longer nose. The longer nose would then give you more leg room. Burt and Dick Rutan are both quite tall, so you’re fairly close just by building a per plans nose… add a longer nose and I think you could tweak it fine to fit in a 6′ 5″ pilot.
Good luck!
Wade
Wonderfully interesting selection of how toes from the many talented Lond Ez and fellow Canard Builders.
On the engine front Red Bull Racing has done much to move the game on by adding power and “lightness”
Look forward to running across your Long on your side of the pond.
Your Blog is a real inspiration to all us dreamers who look forward to following in your footsteps.
With thanks,
James. Boswell
Thanks for the kind words James. I look forward to getting moved ASAP so I can start back on the build!
Regards,
Wade