
Today was one of those days where I finally knocked another task off my list that I’ve been needing to do for a long, long time: the final nose glass layup.
But first, I started out by digging out the remainder of the foam just aft of the flox “corner” I made on the inside of the right strake pilot vent inlet hole.
I then filled in the resulting void with micro and peel plied it.
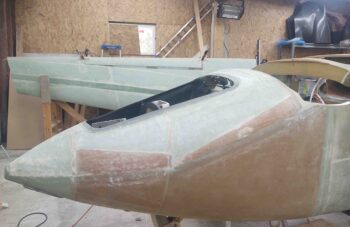
I then spent nearly an hour cleaning, sanding and prepping the top of the nose for its final glass.
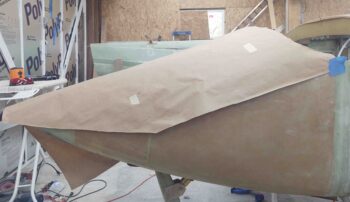
I first re-used the paper that my recent order of 10 yards of BID came wrapped in from ACS. I taped it in place covering the nose.
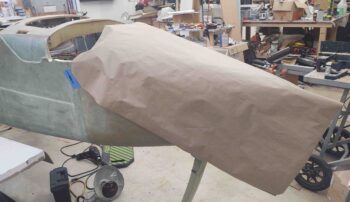
Then cut away at it to make a template that I would use to cut the final ply of BID.
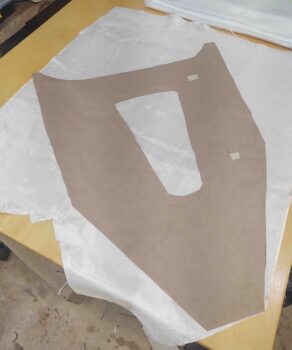
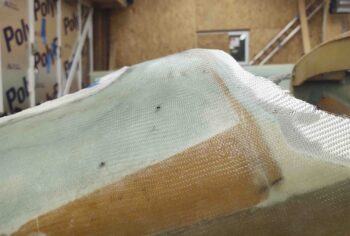
The BID you see here is the final of the 5 yards I recently ordered a while back.
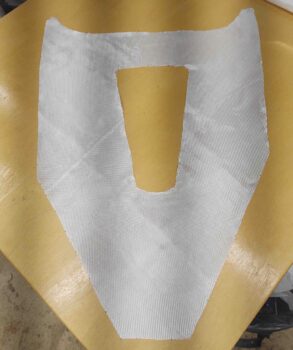
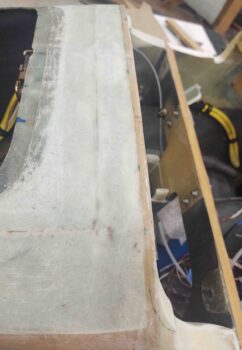
And here we have the final ply of BID for the top of nose layup. Although I don’t show it, I also had another ply of BID that went around the nose hatch opening creating a reinforcement border of a couple inches. Added to that is a strip of 2.5″ wide UNI that went across the top of the nose bridge and skirted the top edge of the nose hatch opening. This UNI “strap” is just a hair less in length than the width of the final BID layup below.
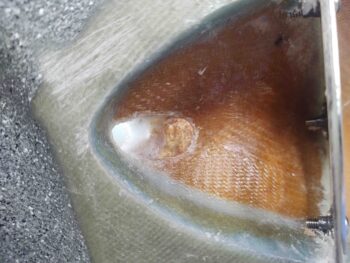
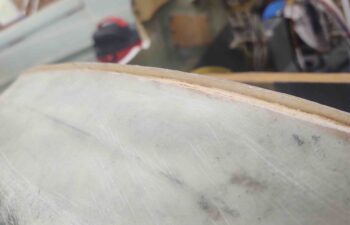
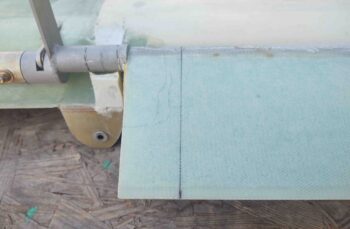
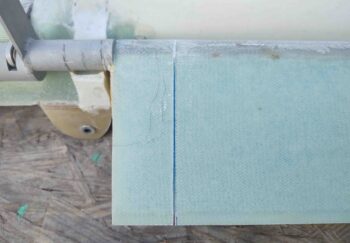
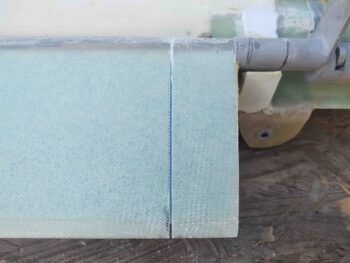
Before I laid up any glass on the nose, I marked the aft edge of the nose –just forward of the canard– with a 0.3″ line to create a flox corner/edge.
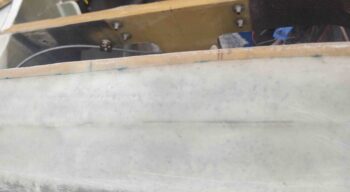
Here’s another shot of the line I marked up for the aft nose flox corner/edge.
I then used my Fein saw to cut the glass and foam away at the aft edge of the nose. I then sanded the inside of the vertical glass edge to clean it up for a good grip with the flox.
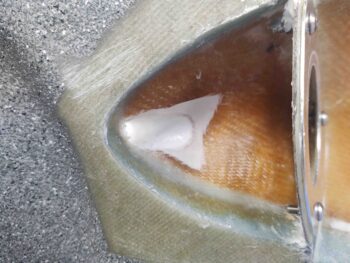
I whipped up some flox and slathered it into the aft nose edge flox corner.
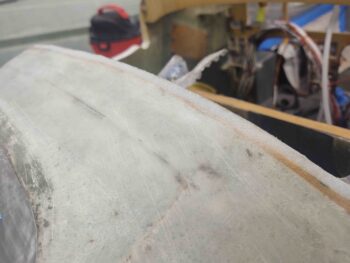
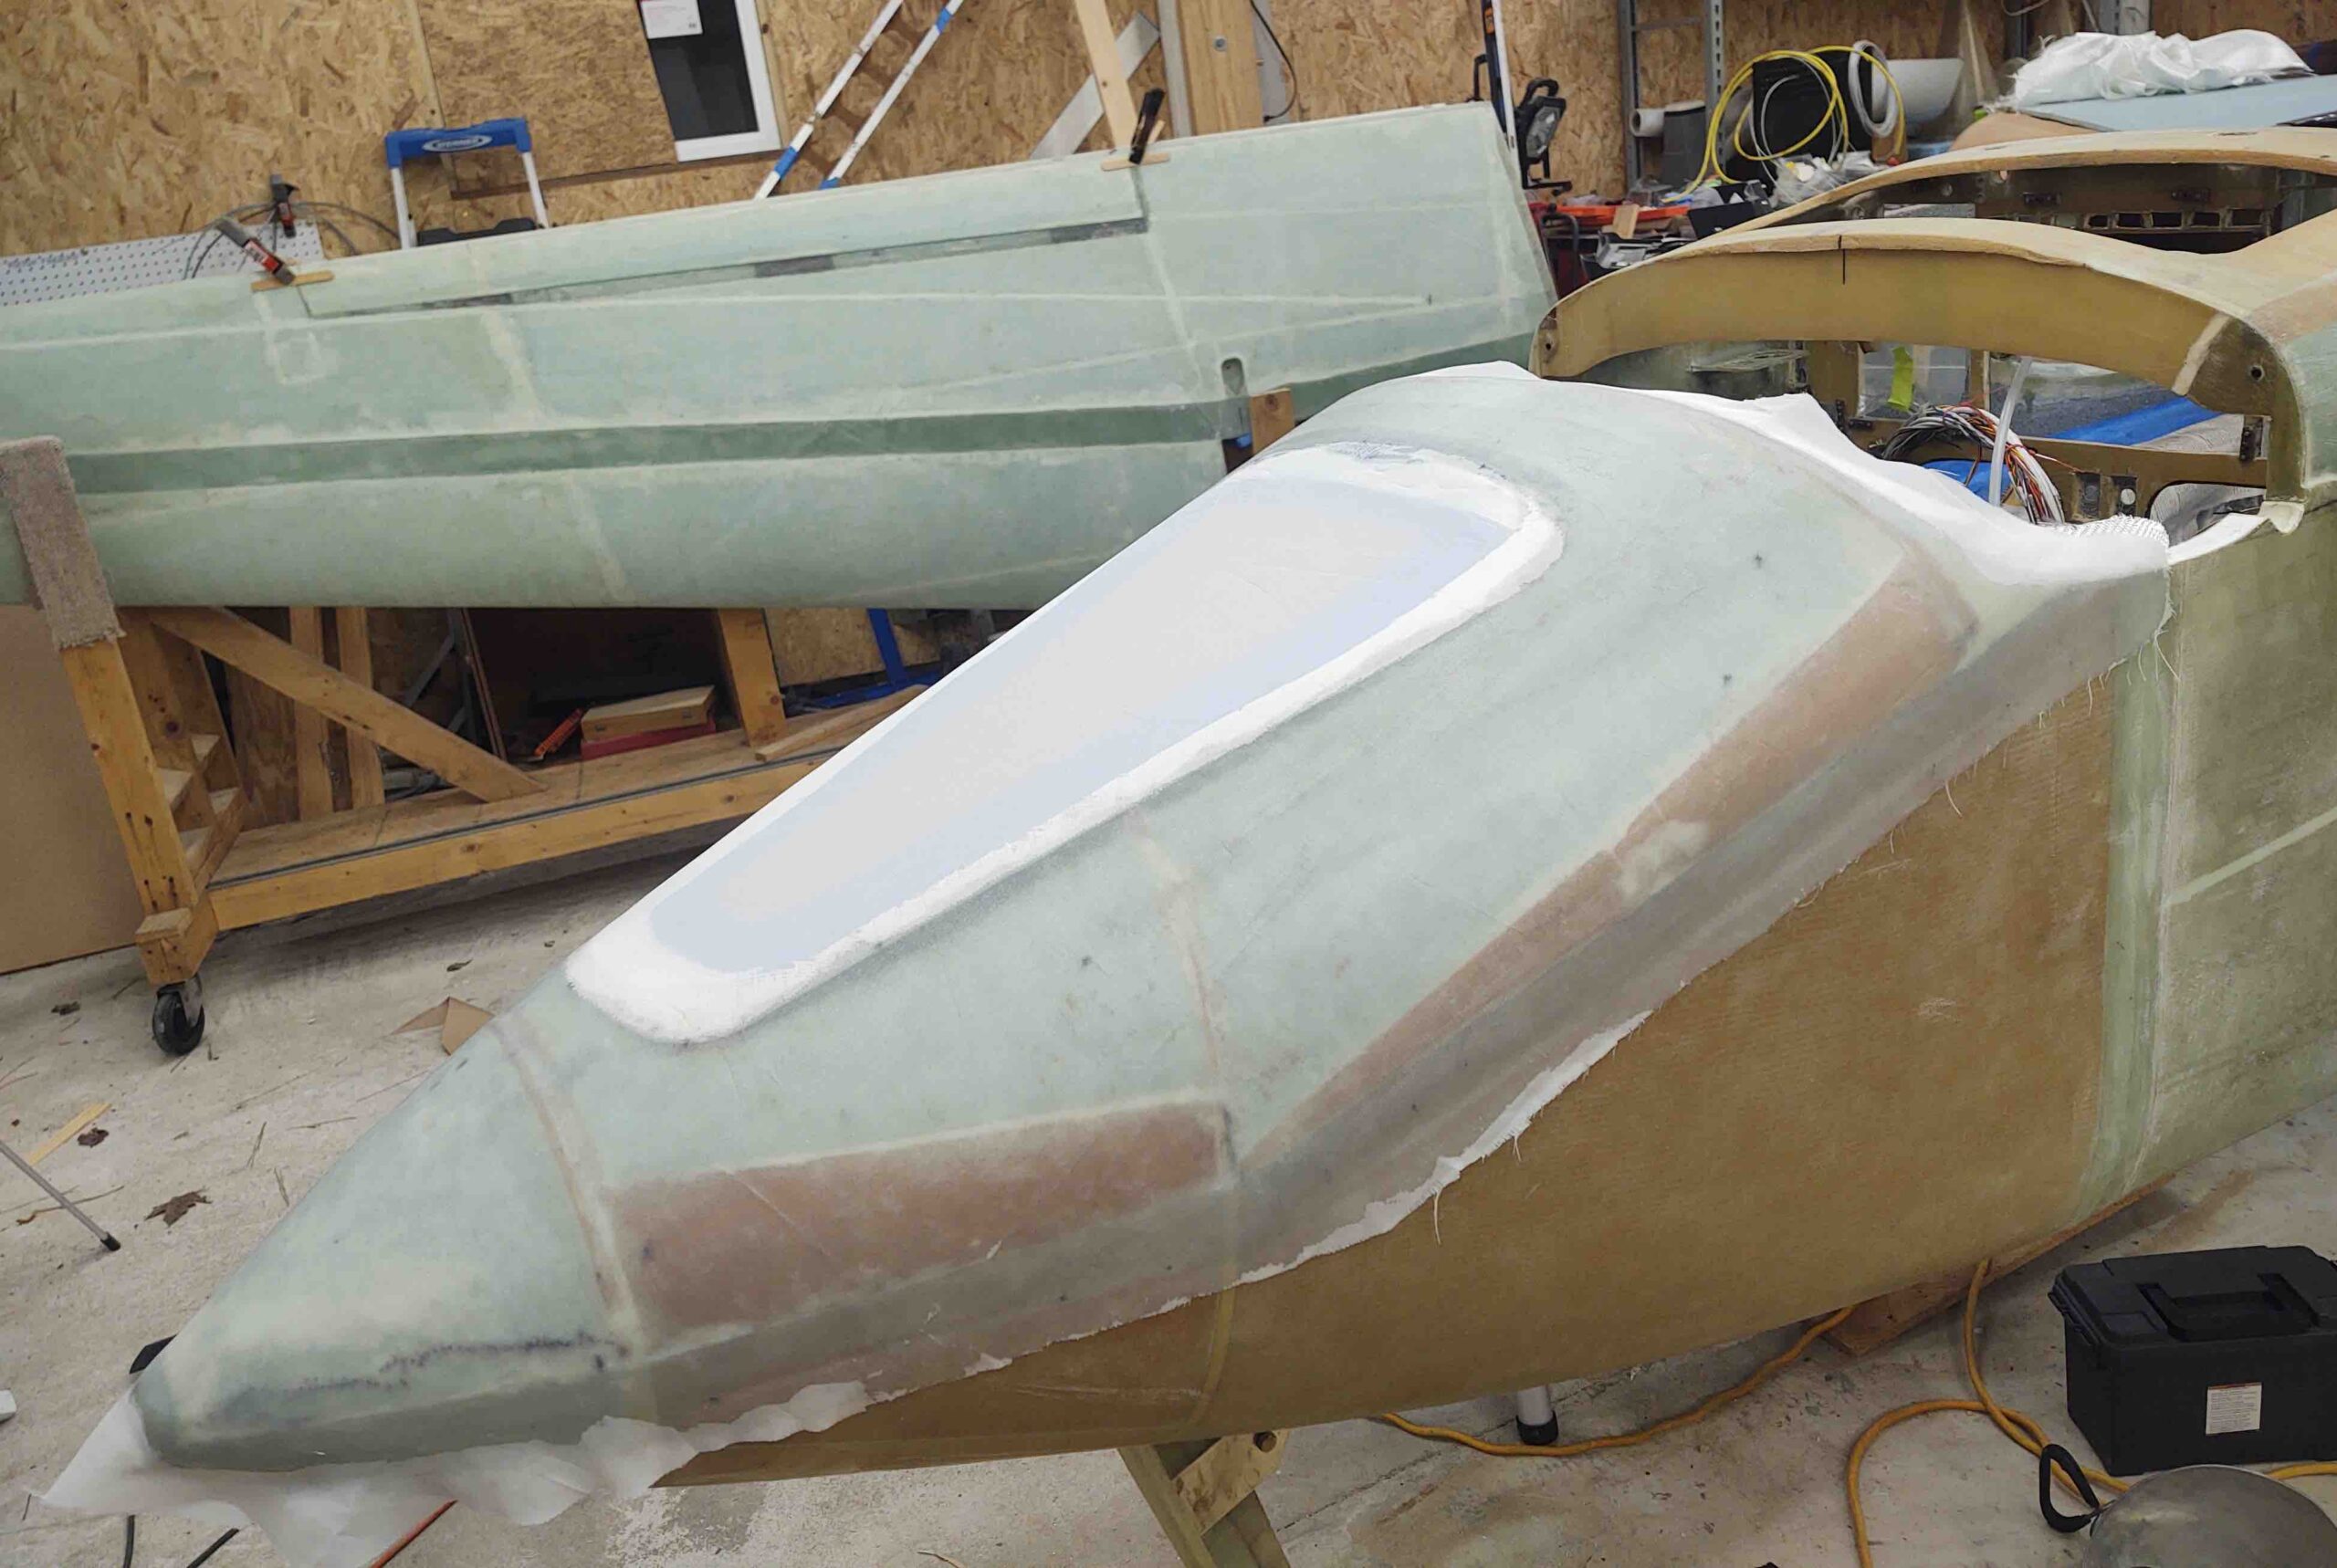
Here’s a final shot of the nose prepped for its final glass.
Before I started prepping the nose for its final glass, I clearly removed the canard to get it out of the way. Well, I wanted the flox corner/edge to cure a fair bit and get firmer –to keep its shape– when I laid up the overlying ply of BID. Since I had a wait time to allow the flox to green a bit, I went ahead and trimmed down the interior edges of the elevators 1.5″ for the upcoming inboard elevator fairing on the nose (1.5″ as per the Roncz canard plans suggested fairing width).
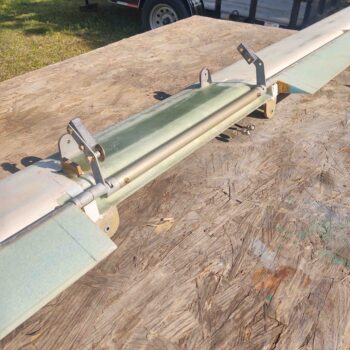
Here’s a closer shot.
I had marked the lines a few months ago, but today was the day to take the plunge.
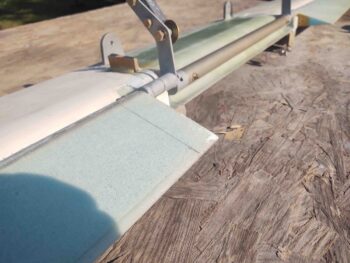
Literally. I grabbed my ever-faithful Fein saw and trimmed the bottom line of the left elevator.
And then did the same for the right elevator.
I then did the top sides as well. Clearly I can’t get all the way around the elevator tube with the elevators attached, but my immediate goal here is to get the aft nose/avionics cover completed before I flip the bird to finish glassing the strake bottom skins.
And at this point I was able to remove all but a small patch of glass on the front sides of the elevator tubes… good enough for creating the elevator root fairings on the aft nose/ avionics cover. I’ll remove the elevators later and remove/clean off that (now) excess glass.
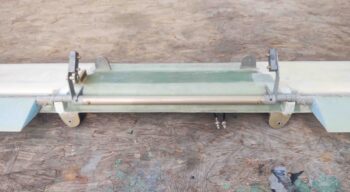
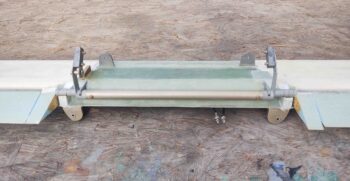
With my flox now in a nice gummy state, I commenced with the task of laying up the final glass on the nose.
[Note the right wing aileron clamped in place in the background].
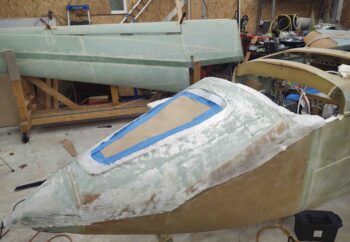
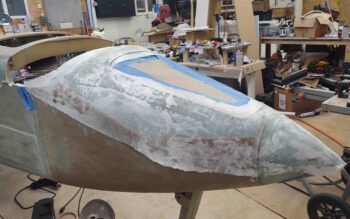
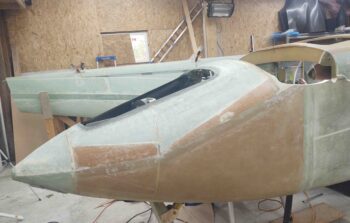
Yes, with MGS epoxy it’s hard to tell anything is different after the glass is wetted out, but here is the nose with another few plies of glass, including the final big ply of BID.

There was a bit of bump on the nose bridge right above the nose hatch opening. To be honest I had never really noticed it but Marco felt it during one of his visits. I configured the added, underlying plies of BID and UNI to fill in this slight depression (forward side of nose bridge). I failed in getting a BEFORE pic, but the important thing is that the depression is gone, removing the bump it caused going aft.
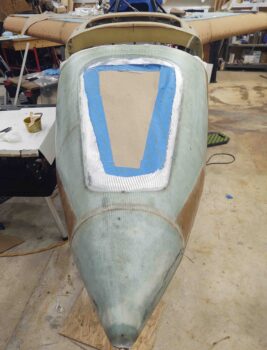
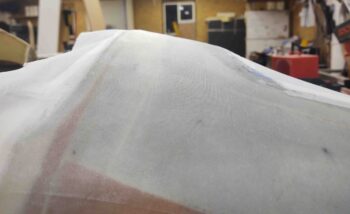
Another couple shots of the final nose glass.
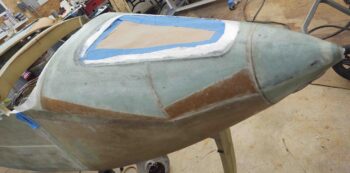
I was a bit surprised at how comparatively little epoxy this layup used. At the end I was left with a decent amount still in my epoxy cup. I had planned on peel plying just the edges of the final nose skin layup, but with the relatively copious amount of epoxy left over due to my miscalculation, I decided to peel ply the entire nose layup. And as is easy as the peel ply went on –this time!!– I’m actually glad I did make up too much epoxy.
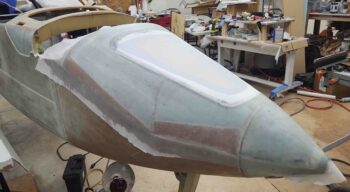
Again, a final shot of the nose bridge bump (that you probably knew nothing about) that was eliminated during this layup.
This final layup on the nose technically completes Chapter 13. However, since I lumped in the aft nose/avionics cover into Chapter 13 (vs Chapter 18 – Canopy), I still have a bit more work to do before I consider Chapter 13 closed for good.