
I started out today by cleaning up the final nose layup. I first pulled all the peel ply and then cleaned up the remaining peel ply boogers left along the edges.
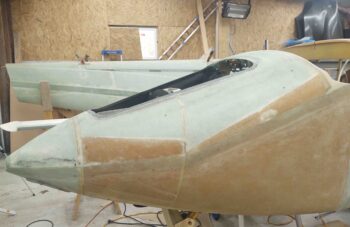
I then knife trimmed all the edges, including a good half hour alone just carefully trimming the glass away from and around the nose hatch opening.
I have to say I’m very pleased for the most part with this final nose glassing… it appears to have cleaned up a lot of the minor surface issues.
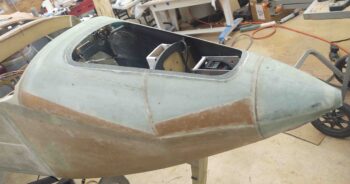
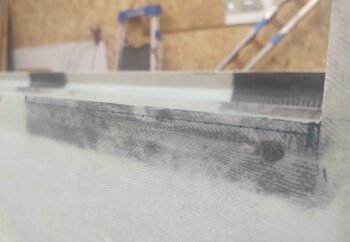
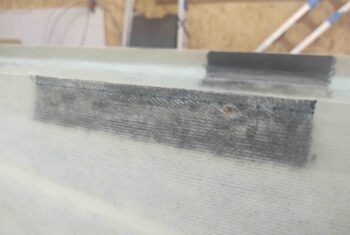
I then spent another good half hour to 45 minutes dialing in the interface of the nose hatch and the new higher surrounding lip around the nose hatch opening flange…. simply induced by adding 2 plies of BID around the edge of the nose hatch.
A fair bit of judicious sanding both on the new glass edge bordering the flange and on the edge of the nose hatch door allowed me to get the nose hatch door to settle fairly well onto/into the nose hatch flange and opening. I’m sure some future minor tweaks will need to be made.
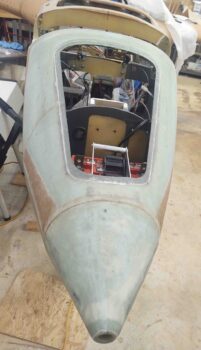
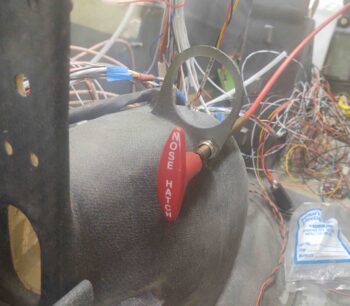
While I was rooting around with the nose hatch flange, I decided it was finally time to upgrade my rather lacking cable pull for the nose hatch latch. The current cable and handle are a rather cheap one that can be had at nearly any auto parts store. I decided to go with an aircraft grade cable, with a handle I had already labeled and clear coated years ago.
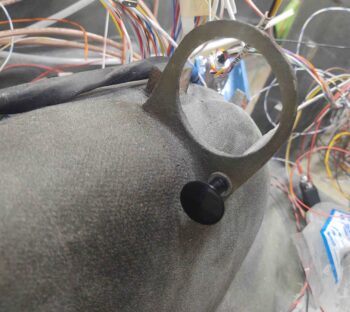
In my mind I was going to need to drill out the mounting hole and the cable was just so much significantly bigger, etc. But that was not the case. The “new” (old) cable fit right into the mounting hole. It did take a bit of time to trim both the outer sheath and pull cable to fit. I will also need some more -4 Adel clamps to really secure this new, thicker, cable in place.
In addition, since I had to mess with the nose hatch latch, I replaced the spring with a new one I had on hand, but alas, I still need to dial it in with yet a shorter spring.
Finally, since the latch body has threaded mounting holes, I haven’t been able to use regular AN3 bolts to mount it since they are only threaded at the tip. Thus, I took two AN3 bolts and tapped threads on them as close to the head as I could get. This did the trick. (sorry, no pics for these last 2 tasks).
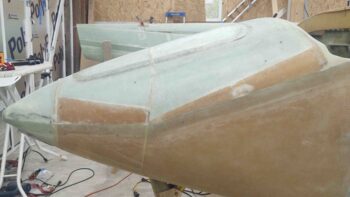
I then got busy working on the right aileron install to the wing. My first task, which admittedly is out of order from the plans (which turned out to be a good thing), was to mark the aileron hinge notches on the wings.
Now, since there is about a 0.1″ gap between the wing and the inboard aileron edge, if I had followed the plans I would have cut the inboard notch starting right at the inboard corner. But with the inboard edge of the hinge aligned with the inboard edge of the aileron, given the gap the hinge actually needs to be mounted just a hair (~0.1″) outboard of the wing hinge slot . . . and clearly that’s what I did.
My advice for anybody installing these ailerons is to get your ailerons “fitted” with at least initial approximate gaps on each end before finalizing your hinge placement. Then cut the hinge mounting notches.
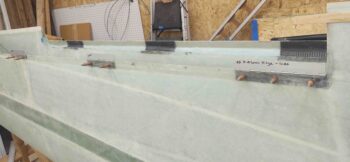
Here’s the middle hinge notch marked for cutout.
A bit later, after cutting the hinge notches in the wings with the Fein saw, I then fitted, aligned, drilled and clecoed the aileron hinges into place.
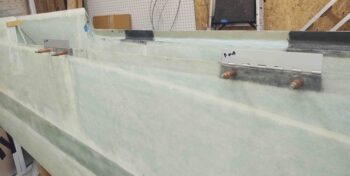
A bit closer shot of the middle and outboard right aileron hinges.
It was late in the evening and decided to do a bit more research on the next step of setting and attaching the aileron-side of the hinges to the ailerons temporarily to get the appropriate alignment required before floxing and riveting the hinges to the ailerons.