
I started out today with a few trial and error attempts to use hot glue to temporarily secure the aileron hinges to the front face of the ailerons. I’m not sure if it was the type of glue stick I was using, but for me it just didn’t work. So emphasis here was on error. I ended up punting and simply going with the tried and true 5-minute glue. What I definitely wanted to stay away from was Bondo…. it’s such a pain to get all of it off a glassed surface. My experience anyway.
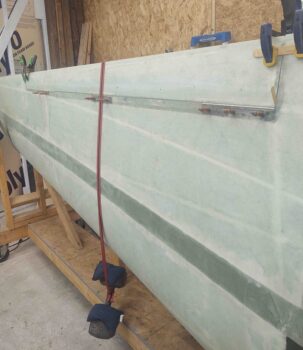
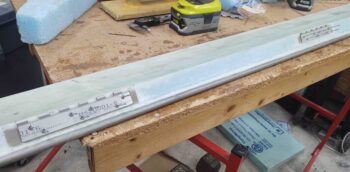
The next issue was the eternal canard builder’s question of how exactly to keep the hinges pressed up tight against the surface of the aileron face? I have of course read about using hacksaw blades, and after 10-15 min of messing around with that, no joy for me. I eventually settled on using about a 1/2″ wide x 2.x” tall x ~3″ wide piece of high end packing foam… the good stuff. It definitely can hold its own shape, but then has enough spring to it that it will compress. I cut these 3 separate foam pieces a little tall and then to ensure I was getting a good push from the foam from underneath to keep the hinge tight against the aileron face, I simple do what I do best and cheated… by hanging a 25-pound weight over the trailing edge to compress the aileron –and thus hinge plates– down as far they could go against those foam pads.
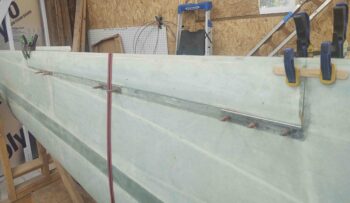
Here’s a shot with the dangling weight as well… I have to say, it really worked a treat.
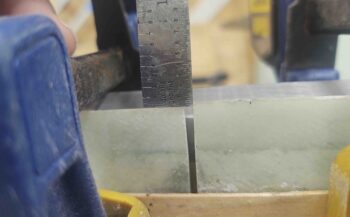
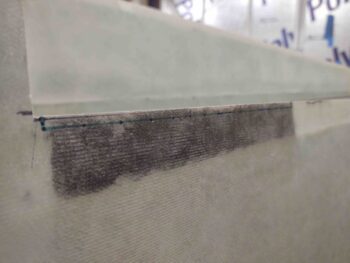
I guess if I had not trimmed the top surface of my aileron back to match the foam core, and instead slathered that entire edge with micro, I might have been able to save the resulting forward shift of my aileron about 0.050″ . . . . hmmm? Well, I still would rather do it the way I did and simply shave a hair off the wing TE inboard of the aileron. Since I had the same issue on the left wing I expect close to the same.
BTW, the outboard end is close enough to not even bother with a pic.
After about 45 minutes cure time I removed the weight and the clecos and pulled the aileron off, with the entire hinges, off the wing. I then pulled the hinge pins and removed the wing-side hinge halves.
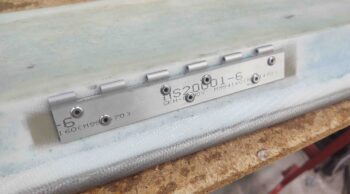
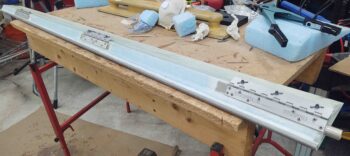
I then marked up the hinges with the rivet positions per plans, and drilled the 24 holes out to accept the MSP-43 pop rivets.
I then removed the hinge plates from the surface of the aileron, cleaned off the 5-min glue from both the hinge pieces and the face of the aileron, and then reset the hinge plates back in place after applying a good amount of decently wet flox.
All went well except I did have one misfire on the far inboard rivet of the middle hinge plate.
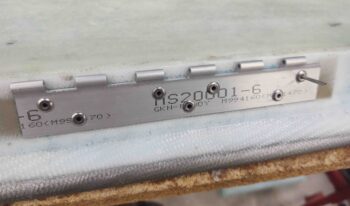
After some contemplation I simple lopped off the rivet as close as possible to the plate using the Dremel’s cutoff wheel, and pushed the nub into the foam. I then scored the remaining rivet face with the Dremel, and finished removing it by drilling it out. That left the original sized hole. I did dump a bit of extra flox in there with that small nub in there, but the new rivet went in and secured just fine.
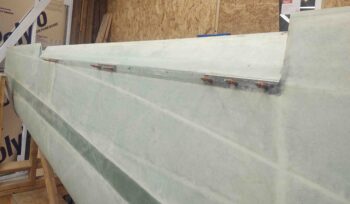
I then worked on some personal stuff for a bit while the hinge plate flox cured. A couple of hours later I did another round of flox cleanup (there wasn’t much) and tested out the fit of the right aileron by mounting it back in place on the wing… securing it again with clecos.
I then tested the aileron travel both up and down…. looks like it is definitely functioning as designed.
I then pulled one cleco from each hinge and drilled it to accept a #10 screw.
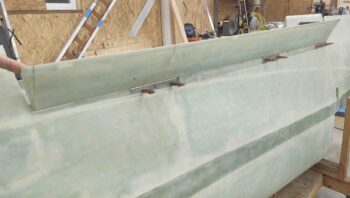
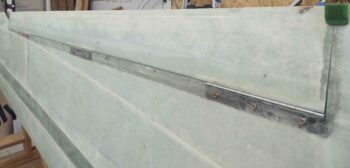
I then installed a K1000-3 nutplate on each hinge and reinstalled the aileron. Once it was secure and all the gaps and tolerances were still good, I then drilled out the remaining cleco holes to #10 size hole.
I then installed the remaining nutplates. I have temporary bolts installed here to secure the aileron hinges… since these bolts have both a phillips and hex head and are very versatile and easy to install and remove quickly. When I finish the top of the wing with micro, I’ll then drill countersink holes to install the Mike Melvill style stainless steel hex head CS screws.
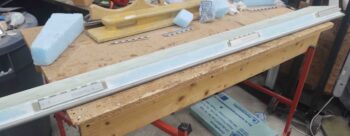
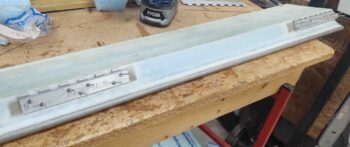
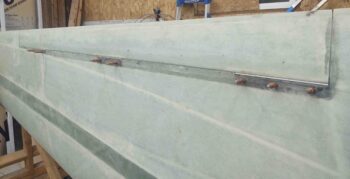
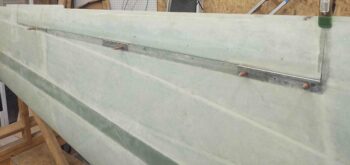
Here’s the right aileron replete with riveted aileron hinges as well as nutplates installed to secure to the wing.
It was getting later in the evening, the right wing aileron install having taken much longer than I would have expected or wanted, but I wanted to at least get the initial aileron install work done on the left wing.
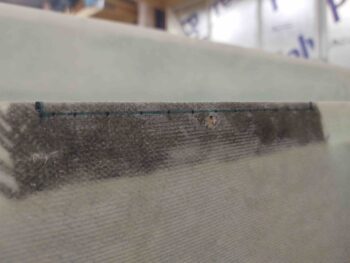
Going off of my aileron hinge locations, I marked the 0.2″ notches for the hinges onto the top aileron edge of the left wing. Here’s the inboard hinge notch.
And here’s the middle hinge notch.
I then cut out all 3 marked aileron hinge notches on the left wing.
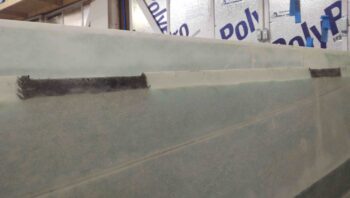
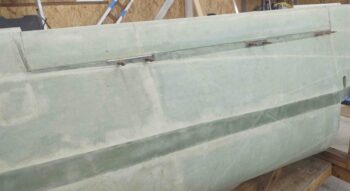
I fitted and aligned the wing-side hinge plates and drilled those out to allow me to secure them with clecos.
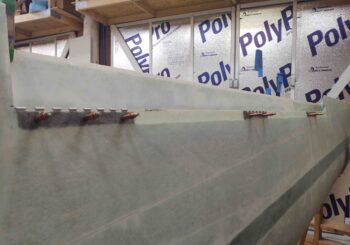
Here’s a closer shot of the middle and outboard aileron hinge pieces secured by clecos.

It was getting pretty late, so I called it a night and will continue with the left aileron install tomorrow.