
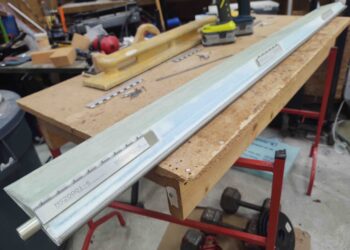
Today I was able to finish up the ailerons with the installation of the left aileron. Yes, I still need to install the control hardware, but the big hurdle of getting both ailerons constructed and installed has been cleared.
I started out by prepping the hinges for temporary attachment to the aileron itself. As per plans the hinges are secured in place inside the wing’s aileron pocket, and then the aileron side of the hinge must get attached –very rigidly– to the face of the aileron. Since this deals with permanent aileron alignment, whatever method used to affix the hinges to the ailerons must be secure, but then allow for removing the hinges for a final application of flox as they then get riveted to the aileron.
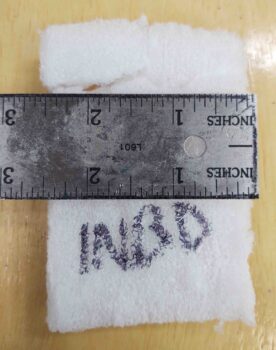
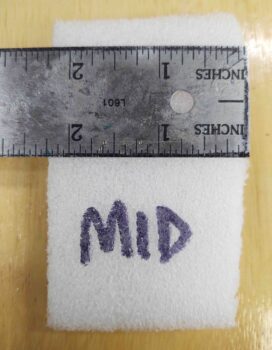
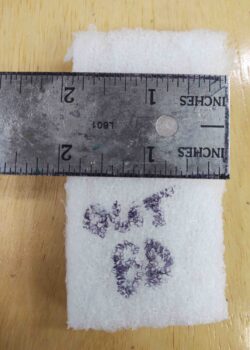
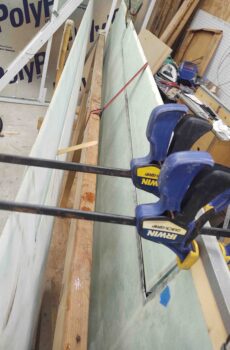
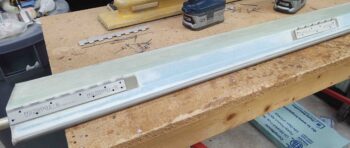
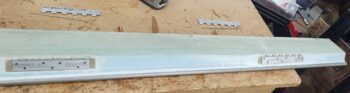
I chose “5-minute” glue (actually 30 min. cure time Gorilla 2-part epoxy) over hot glue or Bondo for my temporary hinge attach method. To keep the hinges pressed firmly up against the face of the aileron, I used packing foam cut about a 1/2″ thick x 3.5″ long. The heights varied (see below) because the wing side aileron trough gets deeper the further inboard in you go.
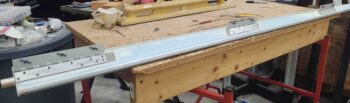
You can see the hinges propped up/open by foam here… I set a sample of the foam mid-pic.
Another shot of the foam “spring” spacers used to hold the aileron hinges up tight against the aileron face.

For those curious about the foam pieces I used for the hinges, here are the heights of those pieces:
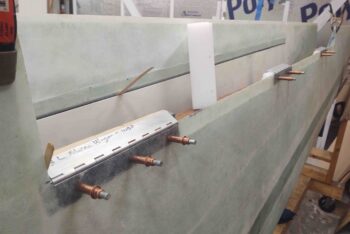
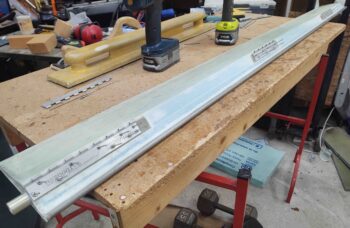
And then, just as I did on the right wing, I hung a 25-pound weight over the aileron trailing edge at the middle hinge to compress the above foam inserts and keep the aileron hinges pressed as tightly up against the aileron front face as possible. This is after I applied dollops of 5-min. glue to the hinges.
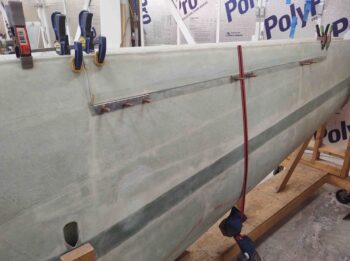
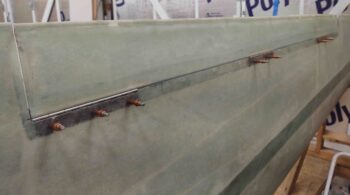
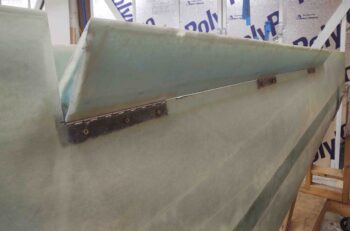
A bottom aileron shot as the 5-min glue cures to secure the hinges to the aileron.
Also, as I did when I did the initial hinge-gluing on the right aileron, I continuously checked the surface alignment between aft wing and aileron surface every few inches and made minor tweaks as required. Both ailerons only required some very minor nudges (this is due to the fact that I dry ran both aileron installs and knew where all my clamps and shims needed to go before I ‘went live’).
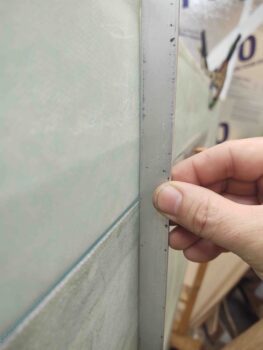
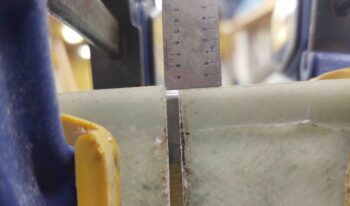
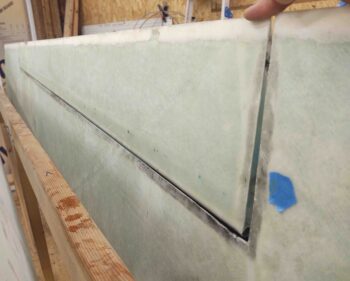
As I suspected, there was a bit of difference between the wing and aileron trailing edges… but the offset here on the left side is even less than the right: under 0.050″.
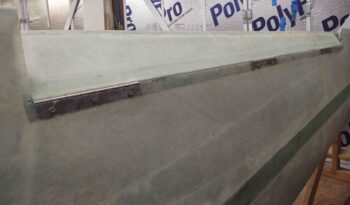
About 45 min. later I popped off all the clamps and removed the clecos. I then removed the hinge pins and wing-side hinge halves. The 5-min glue does a great job of securing the hinge plates to the aileron face, and is not horribly difficult to remove either.
I then marked and drilled all the rivet holes –24 total– as per plans.
And set all the MSP-43 pop rivets in place . . . I then removed all the rivets, popped off the hinge pieces from the aileron, and cleaned off the 5-min. glue from both the hinges and the aileron face.
I then whipped up some fairly wet flox, applied it to the hinge pieces before riveting them to the aileron. I will say I did have yet another misfire on exactly one rivet as I did on the right aileron, but had it removed and replaced in just a few minutes.
After cleaning up the excess flox and letting it cure for a few hours, I then mounted the aileron back onto the wing using clecos.
After checking gap clearances and rotating the aileron up and down to ensure good function (I had some gumming flox that was causing some issues so I had to do another thorough cleaning/de-gunking) I then pulled one cleco from each hinge and drilled it out for a #10 screw.
I eventually got all the clecos removed, holes drilled out to #10 and nutplates installed on the wing-side hinge halves.
I then re-installed the aileron using temporary bolts (again, when the wing surface micro finish is complete, I’ll drill out these holes to accept stainless steel CS screws).
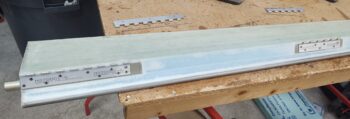
Voila! Left aileron officially installed!
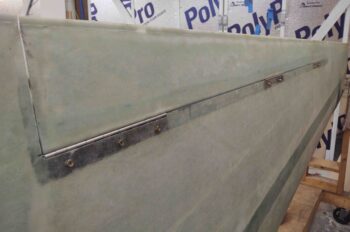
Here’s the bottom side of the aileron. I do have some small layups on both wings to fill in the excess gaps I have from having to trim the ailerons down on the sides to allow free rotation through their respective range of motions.
As shown here… both up and down travel are fine at this point.
It was late, and the entire process of mounting just a single aileron takes a surprisingly long amount of time, but it’s done and in the bag. With both ailerons installed I can move on and focus my attention on the aft nose/avionics cover install.