
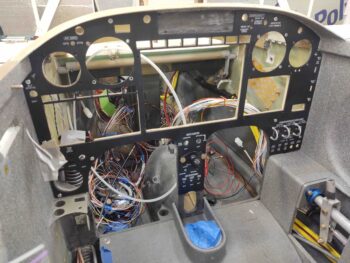
Today was all about trying to finish up those nagging tasks prior to flipping the bird on its back.
To start off, I needed to remove all the avionics, instruments, components, switches, etc. from the panel and then remove the aluminum panel overlay itself. I proceeded to remove everything out of the panel except for the HXr EFIS and the row of Korey indicator lights above the HXr.
I then removed the right 2 Korey lights and taped up the upper right corner of the HXr EFIS to protect it. I filed and sanded the top edge of the right outboard hole to remove about 0.020″ worth of material.
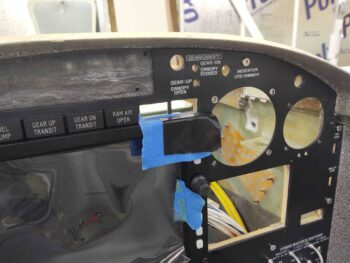
I then tested the rightmost outboard Korey light install, which previously didn’t sit flush with the face of the aluminum panel overlay, and Voila! It fit a treat!
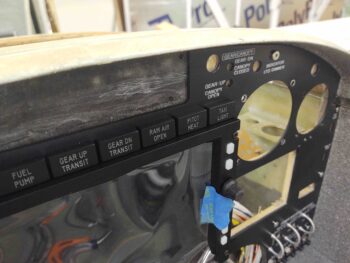
Now the entire row of Korey indicator lights above the HXr fit fine, looking nice and aligned.
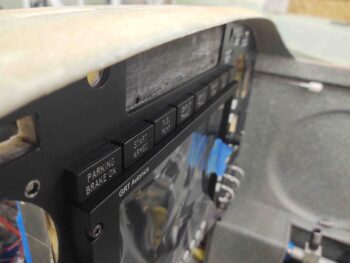
I then grabbed one last shot of the labeled and clear coated aluminum panel overlay before I removed it. The next time it sees the cockpit is when the instruments, avionics, switches, etc. will be getting installed pre-first flight!
I then floxed the right nutplate assembly in place for the elevator fairing screw tab.
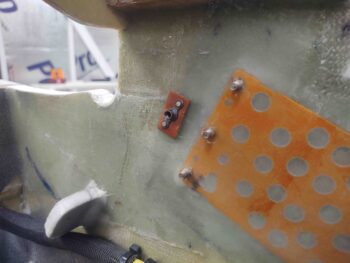
The left elevator fairing screw tab nutplate assembly install is a bit more entailed since it can’t sit on the sidewall inside surface due to interference with the Garmin GNS-480 GPS mounting tube. There’s maybe about 0.2″ clearance, but of course I want to allow for any vibration and flexing that may go on.
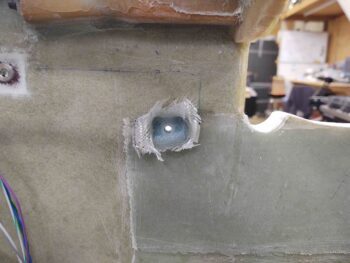
Thus I decided to sink the nutplate assembly into the sidewall a bit. I marked and cut out the perimeter of the nutplate phenolic piece, then used the Fein saw to cut out the sidewall glass. I then created flox corners and laid in 2 plies of BID to add back any inherent strength I might be affecting by an indention here.
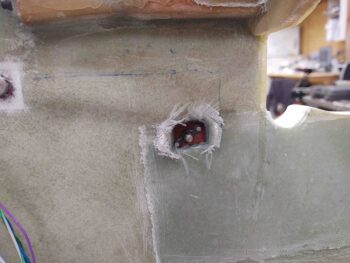
I then applied grease to the end of the securing bolt . . .
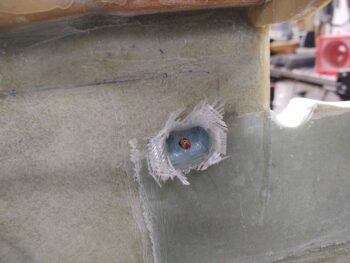
And mounted the nutplate assembly after slathering it with a good amount of flox, and then left it to cure.
I had planned on working on the right half moon structure for flipping the bird, but it’s raining today so all outdoor activities are delayed…. I’ll try to get back on it tomorrow.
To knock some more ancillary tasks that will need to be done before this bird is finished, I went ahead and focused on the foam edges in the aft nose/avionics area sub-structure. I created and filled a flox edge on the top and bottom of the foam edge in the large avionics access hole opening, then laid up 1 continuous ply of BID that overlapped onto itself for a couple of inches.
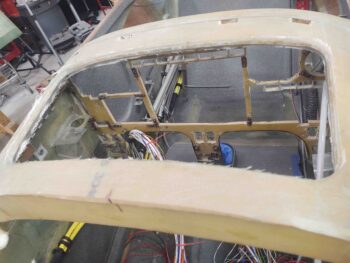
I also dug out the foam on the sides of the interlocking hinge halve slots and the 4 CAMLOC tab slots along the top front of the panel, and filled all the edges with micro. I then left all that to cure overnight.