
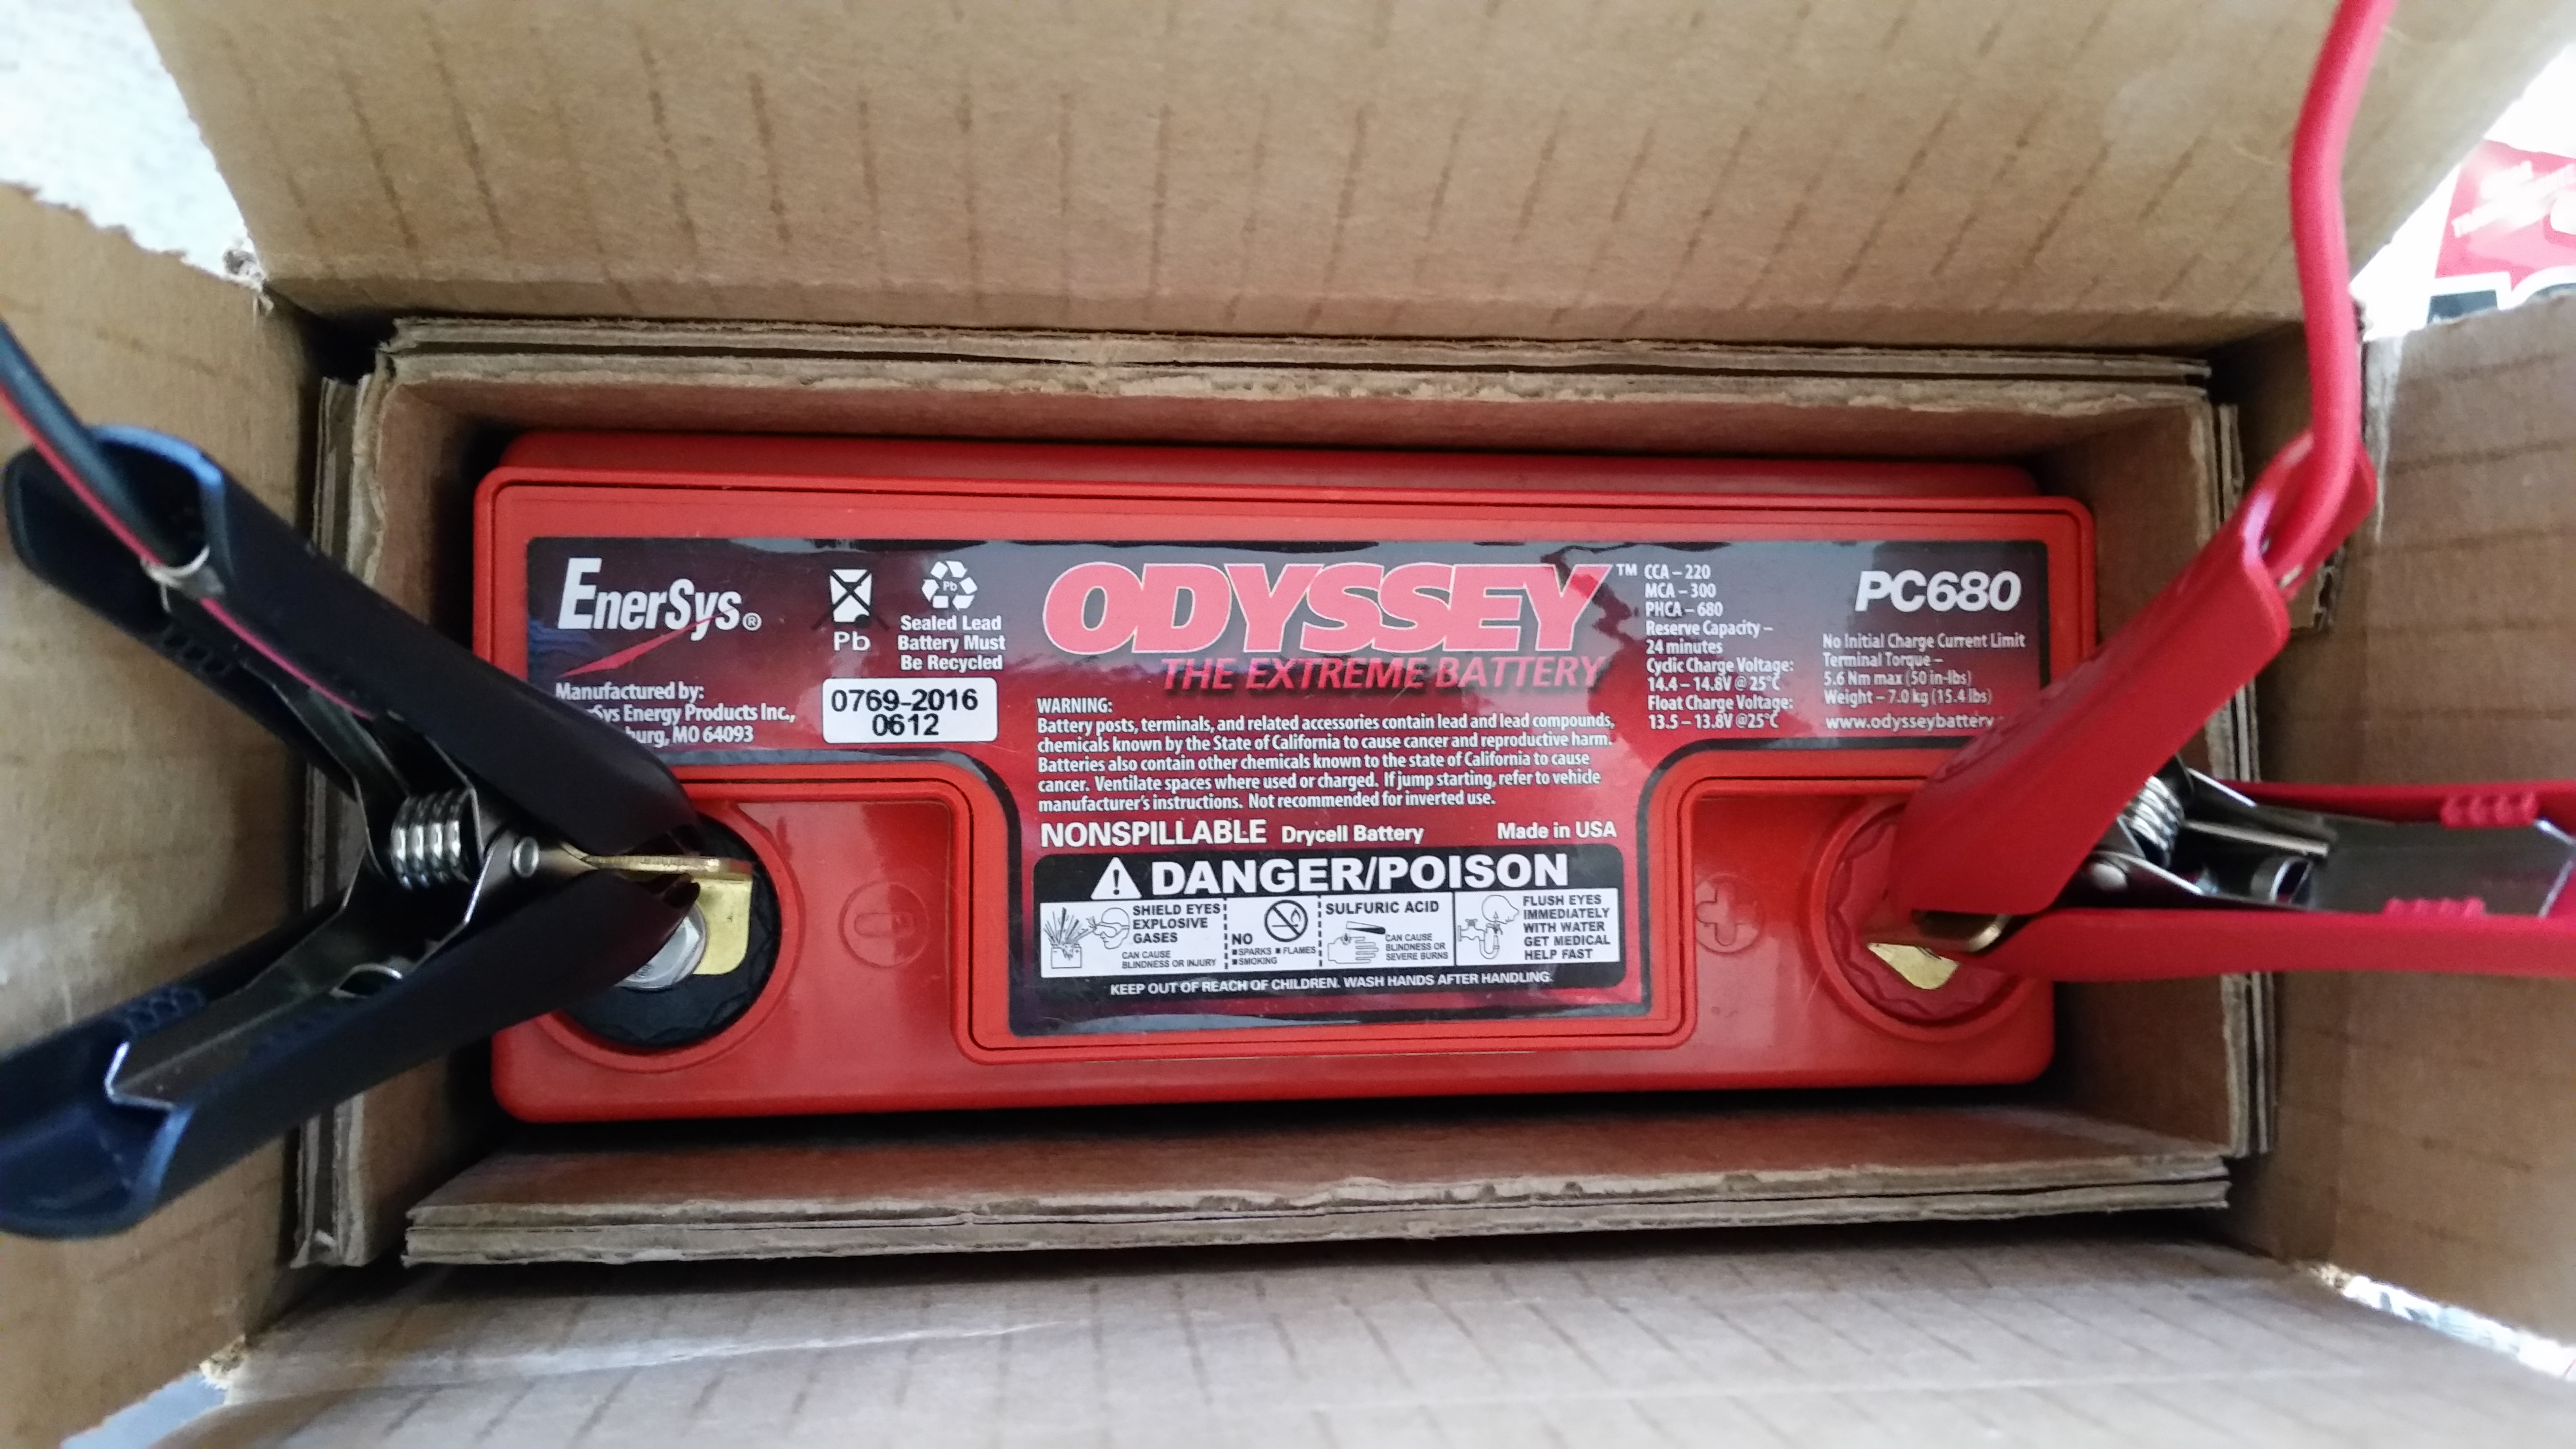
Today the UPS guy showed up with the battery charger I ordered from Amazon last week. I ordered this battery charger because in reading the manual for the Odyssey PC680 battery it stated that if the battery charge fell below 12.65 volts, than it needed to be charged before using it. When I checked the battery the multimeter showed 12.57 volts, clearly below the threshold required to be able to use the battery as per the instructions.
Of course I knew I would need a battery charger eventually since the Odyssey PC680 is an Absorbed Glass Mat (AGM) type that is immune from acid spills and gas venting, and thus has some unique charging requirements to ensure the battery is maintained in an optimized state before it’s actual use in the Long-EZ. An interesting side note to this battery is that it can be mounted in any position.
Currently, the main reason I want to use the battery is to test the nose gear actuator. So when the battery voltage tested low I checked the Odyssey website for approved battery chargers. After assessing a few battery chargers online, I decided on this one and ordered it.
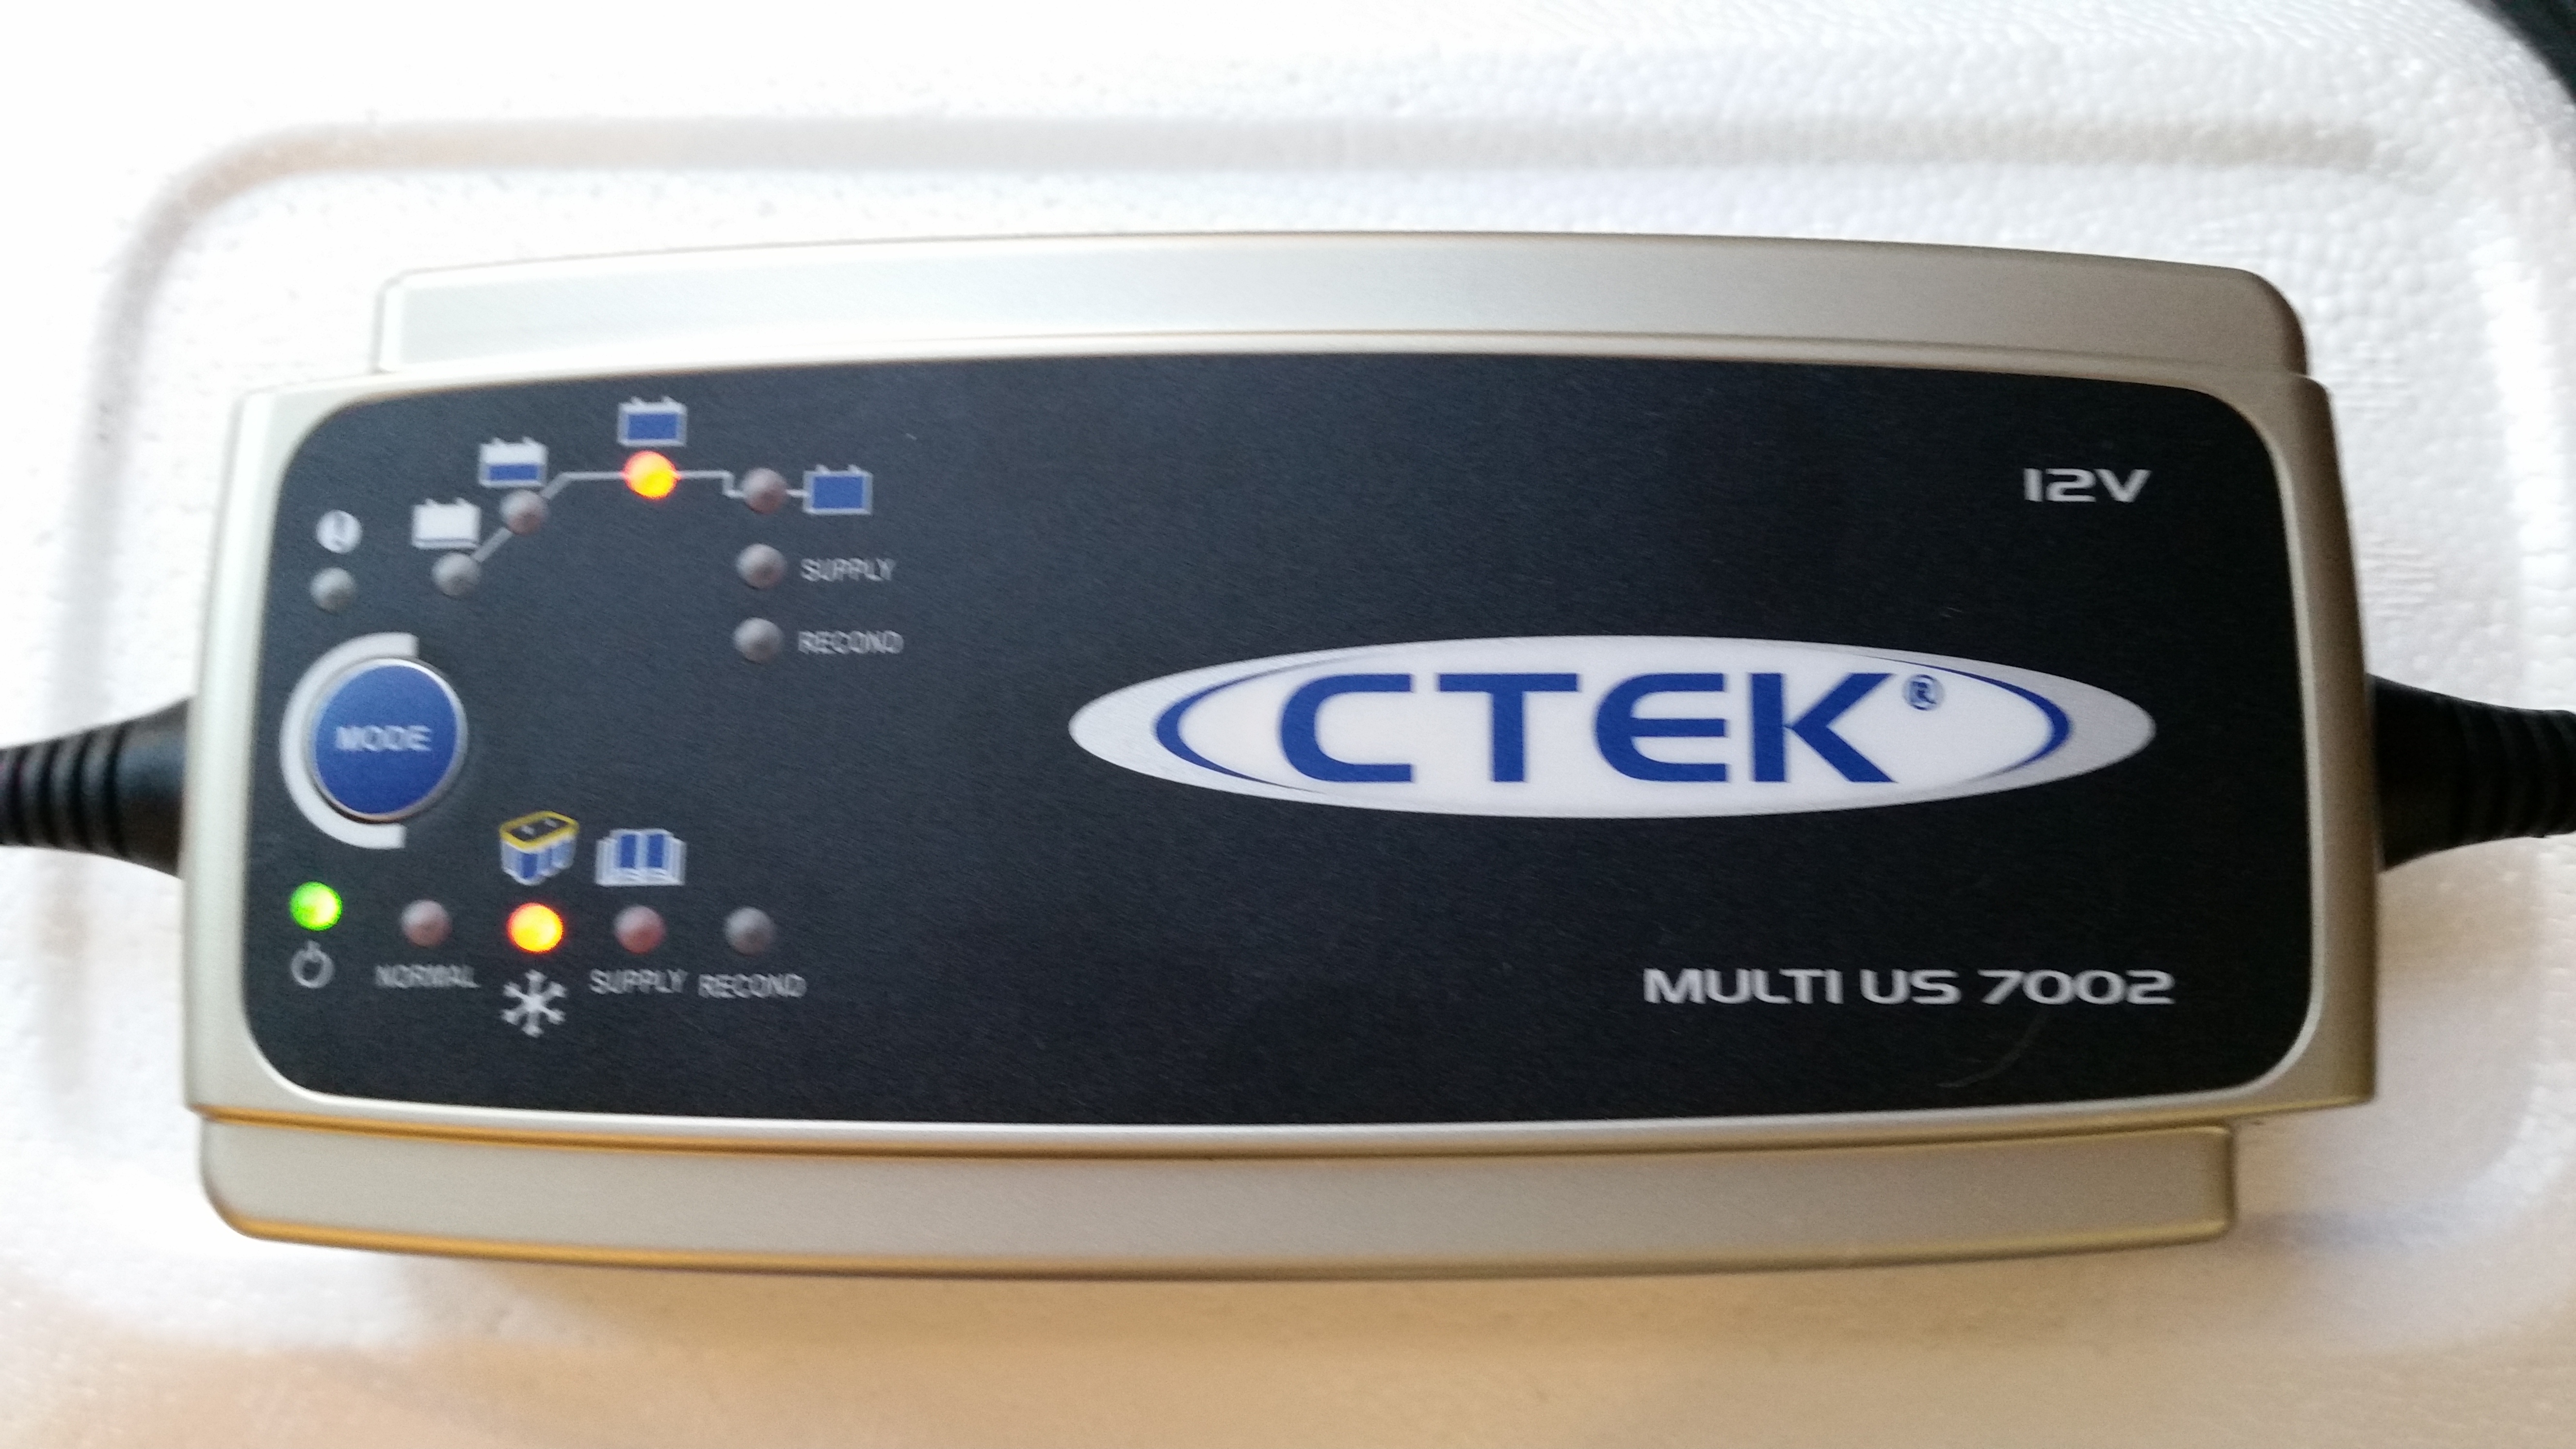
I hooked up the battery to the new charger before heading out to a meeting I had at the office. Before I left for my meeting I went upstairs and changed clothes –about 5 minutes– and when I did a final check before walking out the door the charger had already completed its first 2 phases and was in the basic charging phase. This was a good sign since the initial phases are conditioning cycles that bring a battery back to the point where it can simply be charged in phase 3, where again, my battery was before I even left the house. By the time I returned about 2 hours later, the battery was fully charged and was at 13.87 volts. Not bad!
I’m discussing the battery at this point since the short term use of the battery is to test the nose gear actuator (Chapter 13) while of course the long term use will simply be as the aircraft’s primary power source (Chapter 22).
I then focused on the new elevator build. I pulled the elevator tube out of the vinegar-filled PVC pipe and did a final clean on the tube. I then washed down the elevator tube with Simple Green before taking it outside to Alodine it.
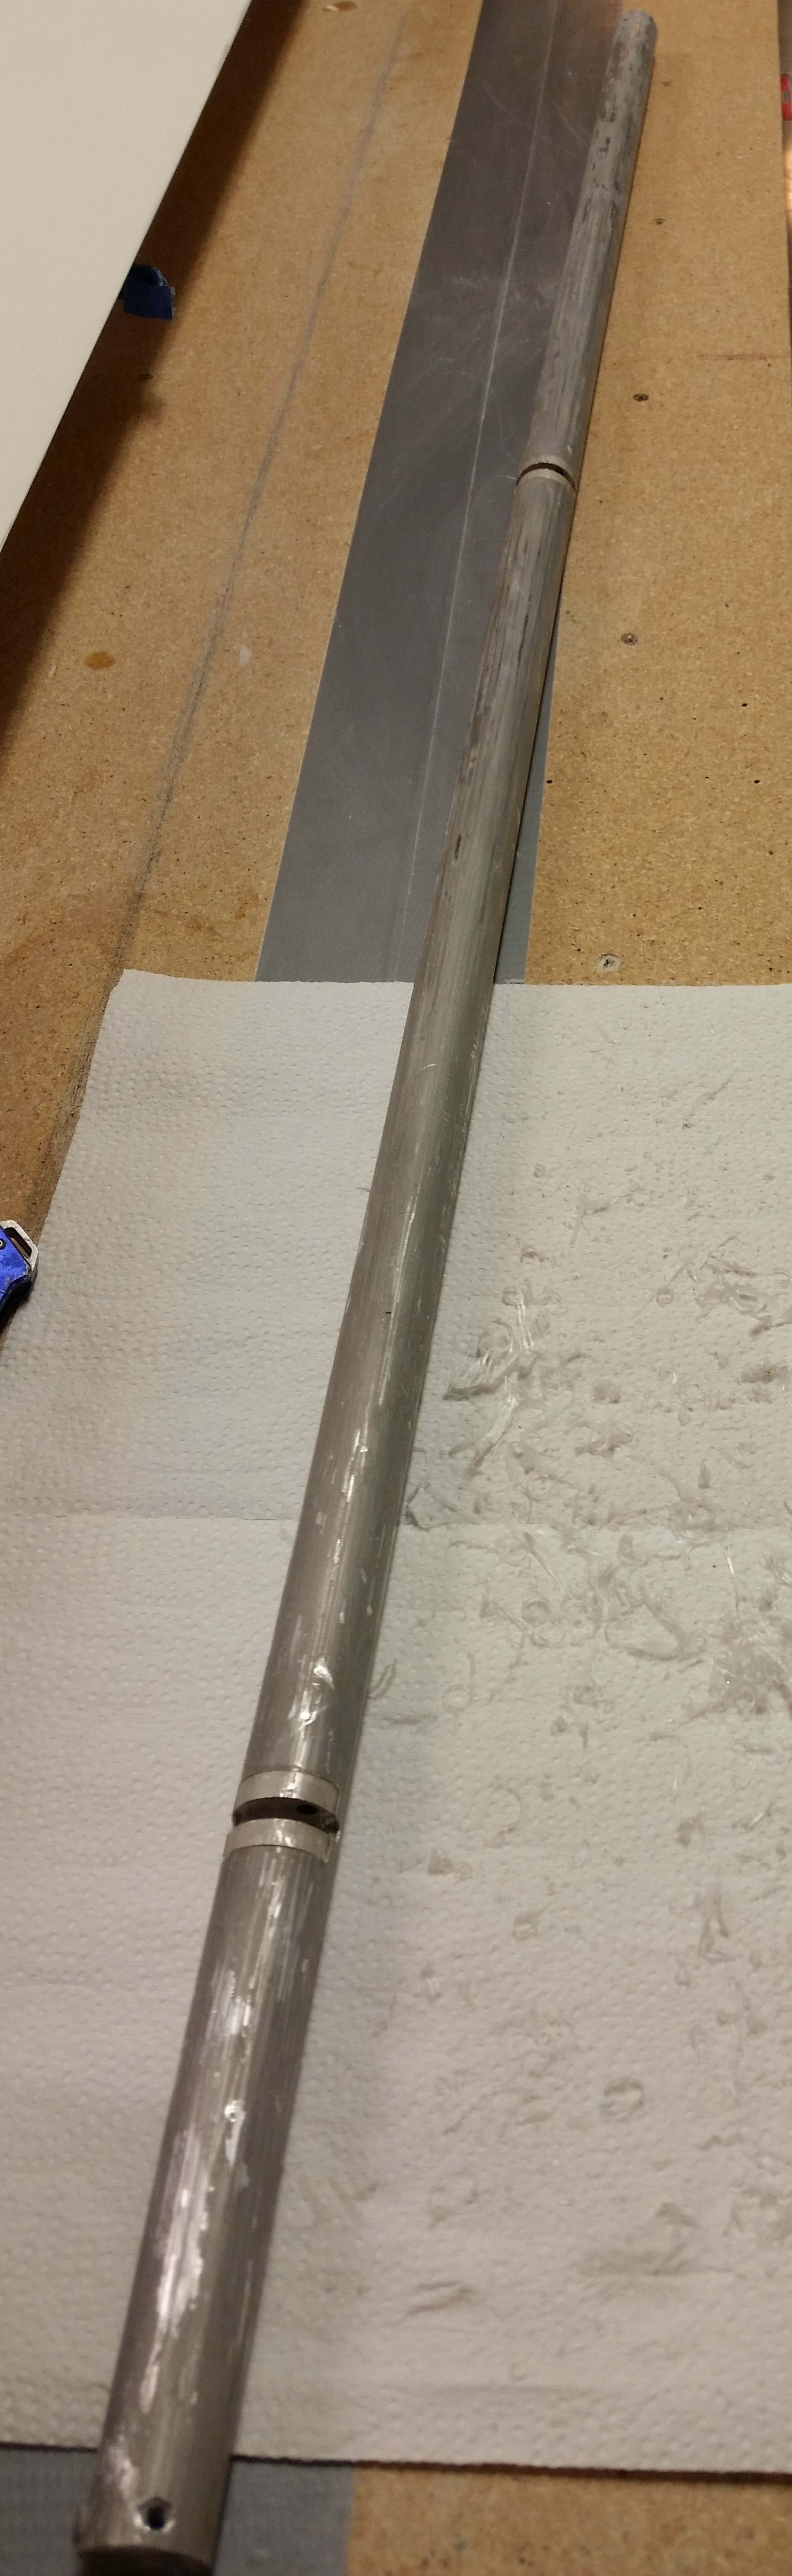

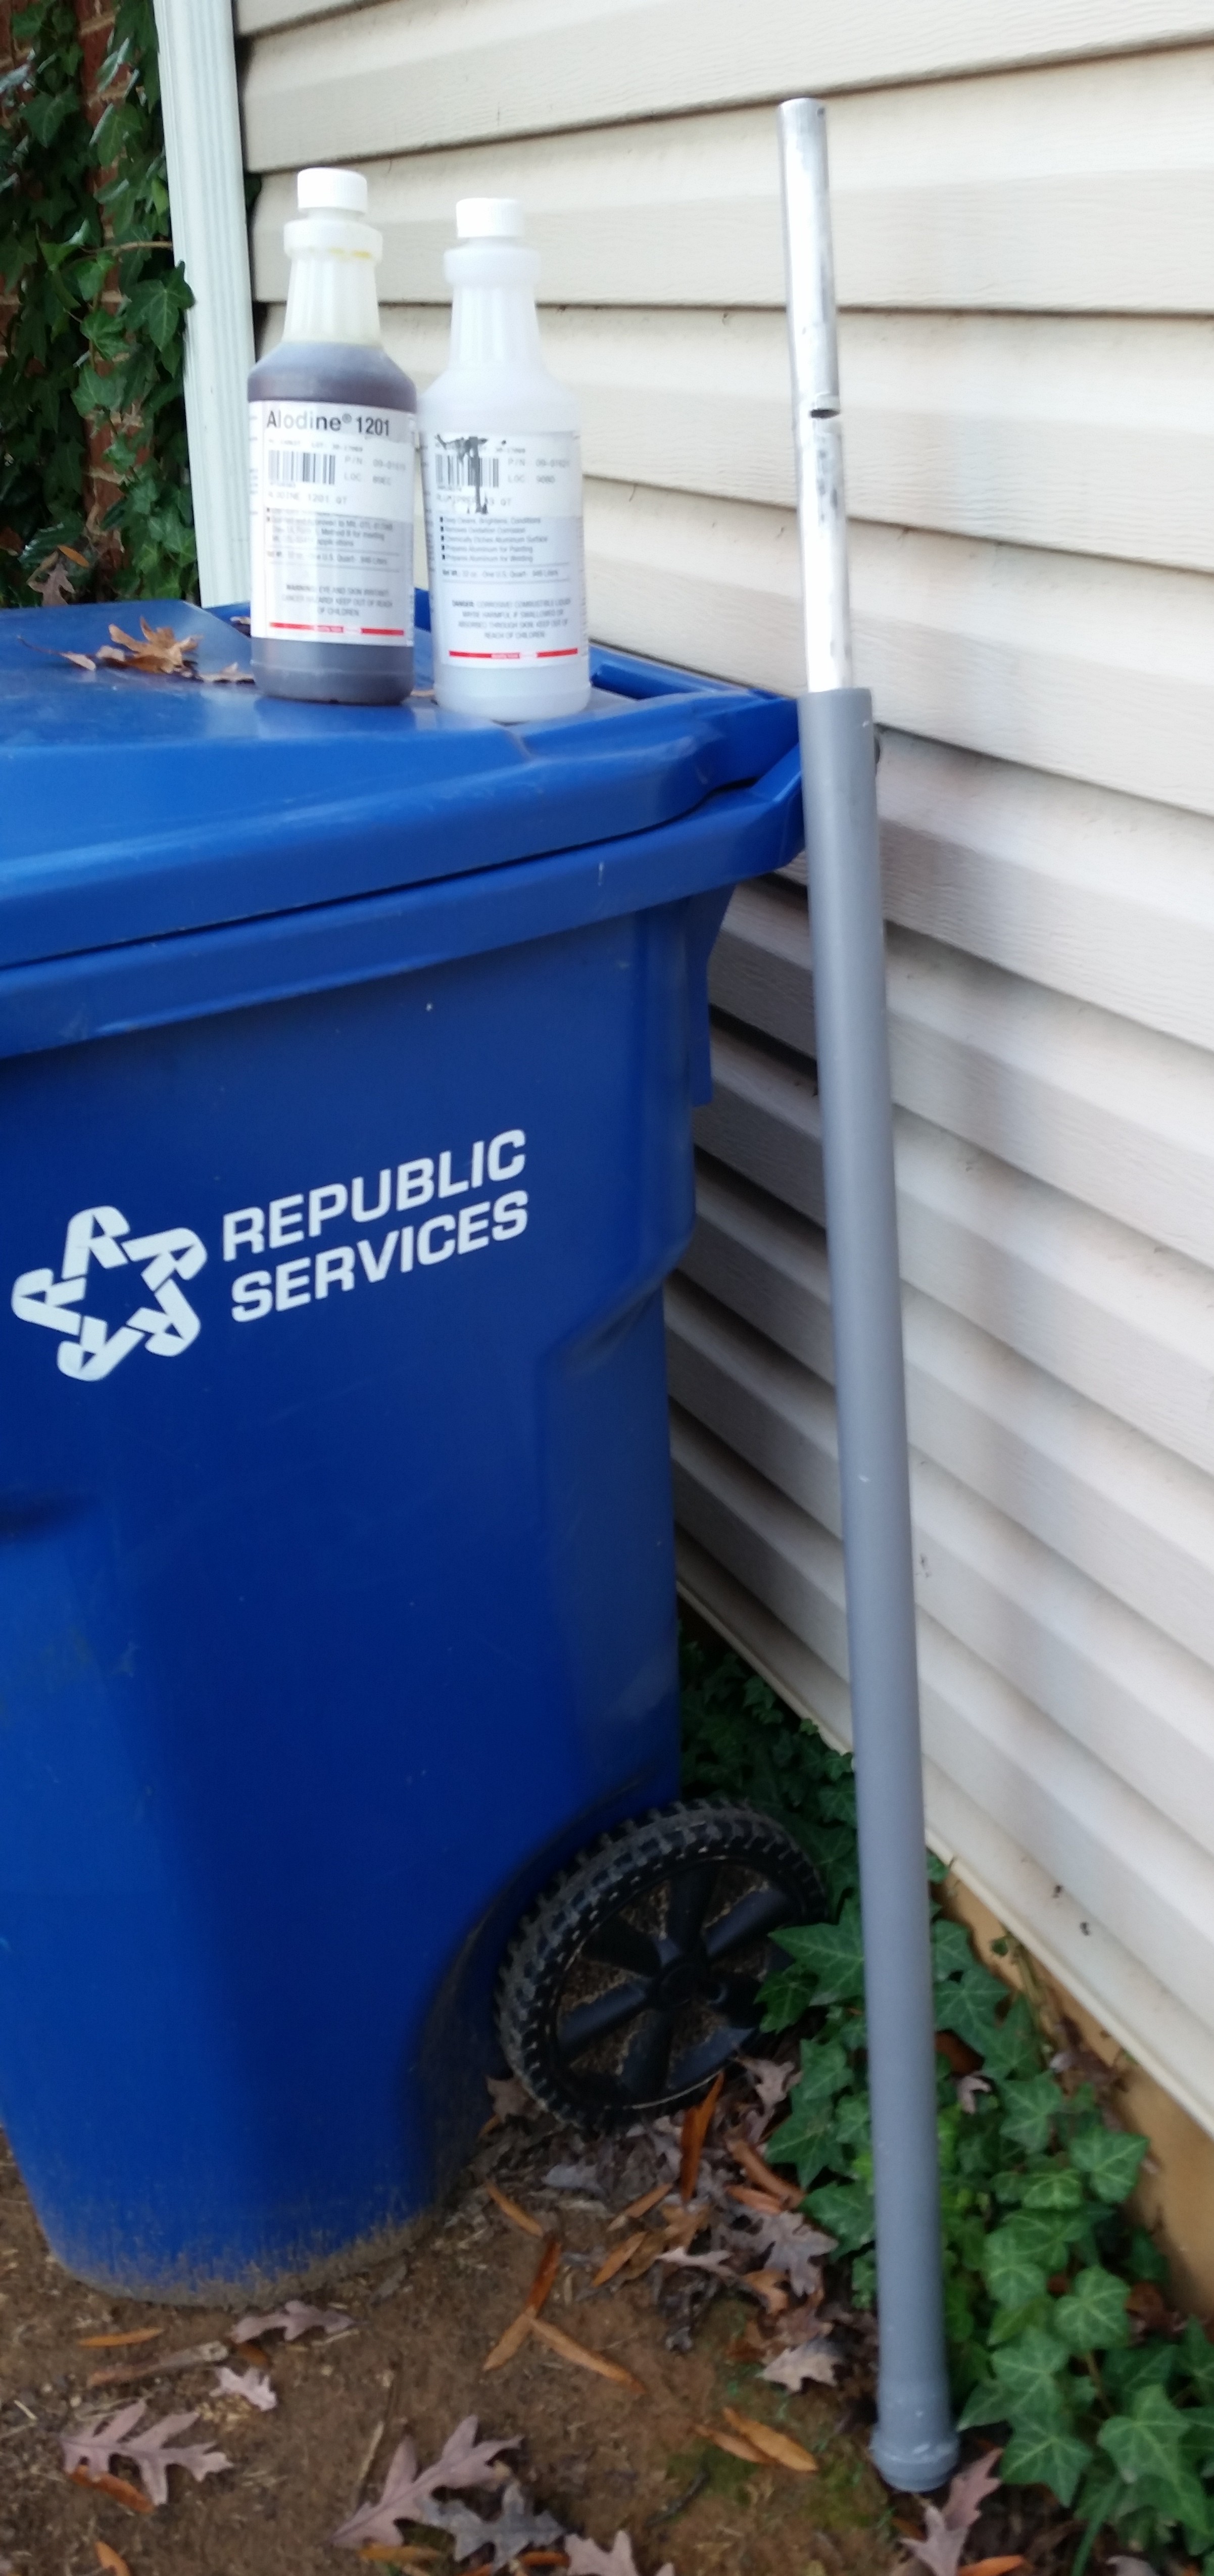
I washed out the PVC pipe, filled it full of Alumaprep, and then submerged all but about 18″ of the elevator tube into the Alumaprep. Since my Alodine chemicals are weak, I left the tube in the Alumaprep for about 8 minutes before taking it out, rinsing it with water and giving it a good scrub. I then put it back into the Alumaprep with the other end in first.
After the Alumaprep wash, I rinsed down the tube and did the same process in PVC pipe #2 filled with Alodine. Again, I left it in there way longer than normal, about 8 minutes per side since the Alodine was weak. After the time had passed, I again gave the whole tube a good rinse with clean water.
I hung the freshly Alodined elevator tube up to dry and then began to prep for micro’ing the elevator foam core to the tube.
Now, I was seconds away from taking a picture of the Alodined elevator tube when my long lost buddy Greg showed up. Unfortunately when I loaded up all my pics at the end of the evening I realized I hadn’t taken the picture, which is unfortunate because I thought the Alodined tube turned out rather well.
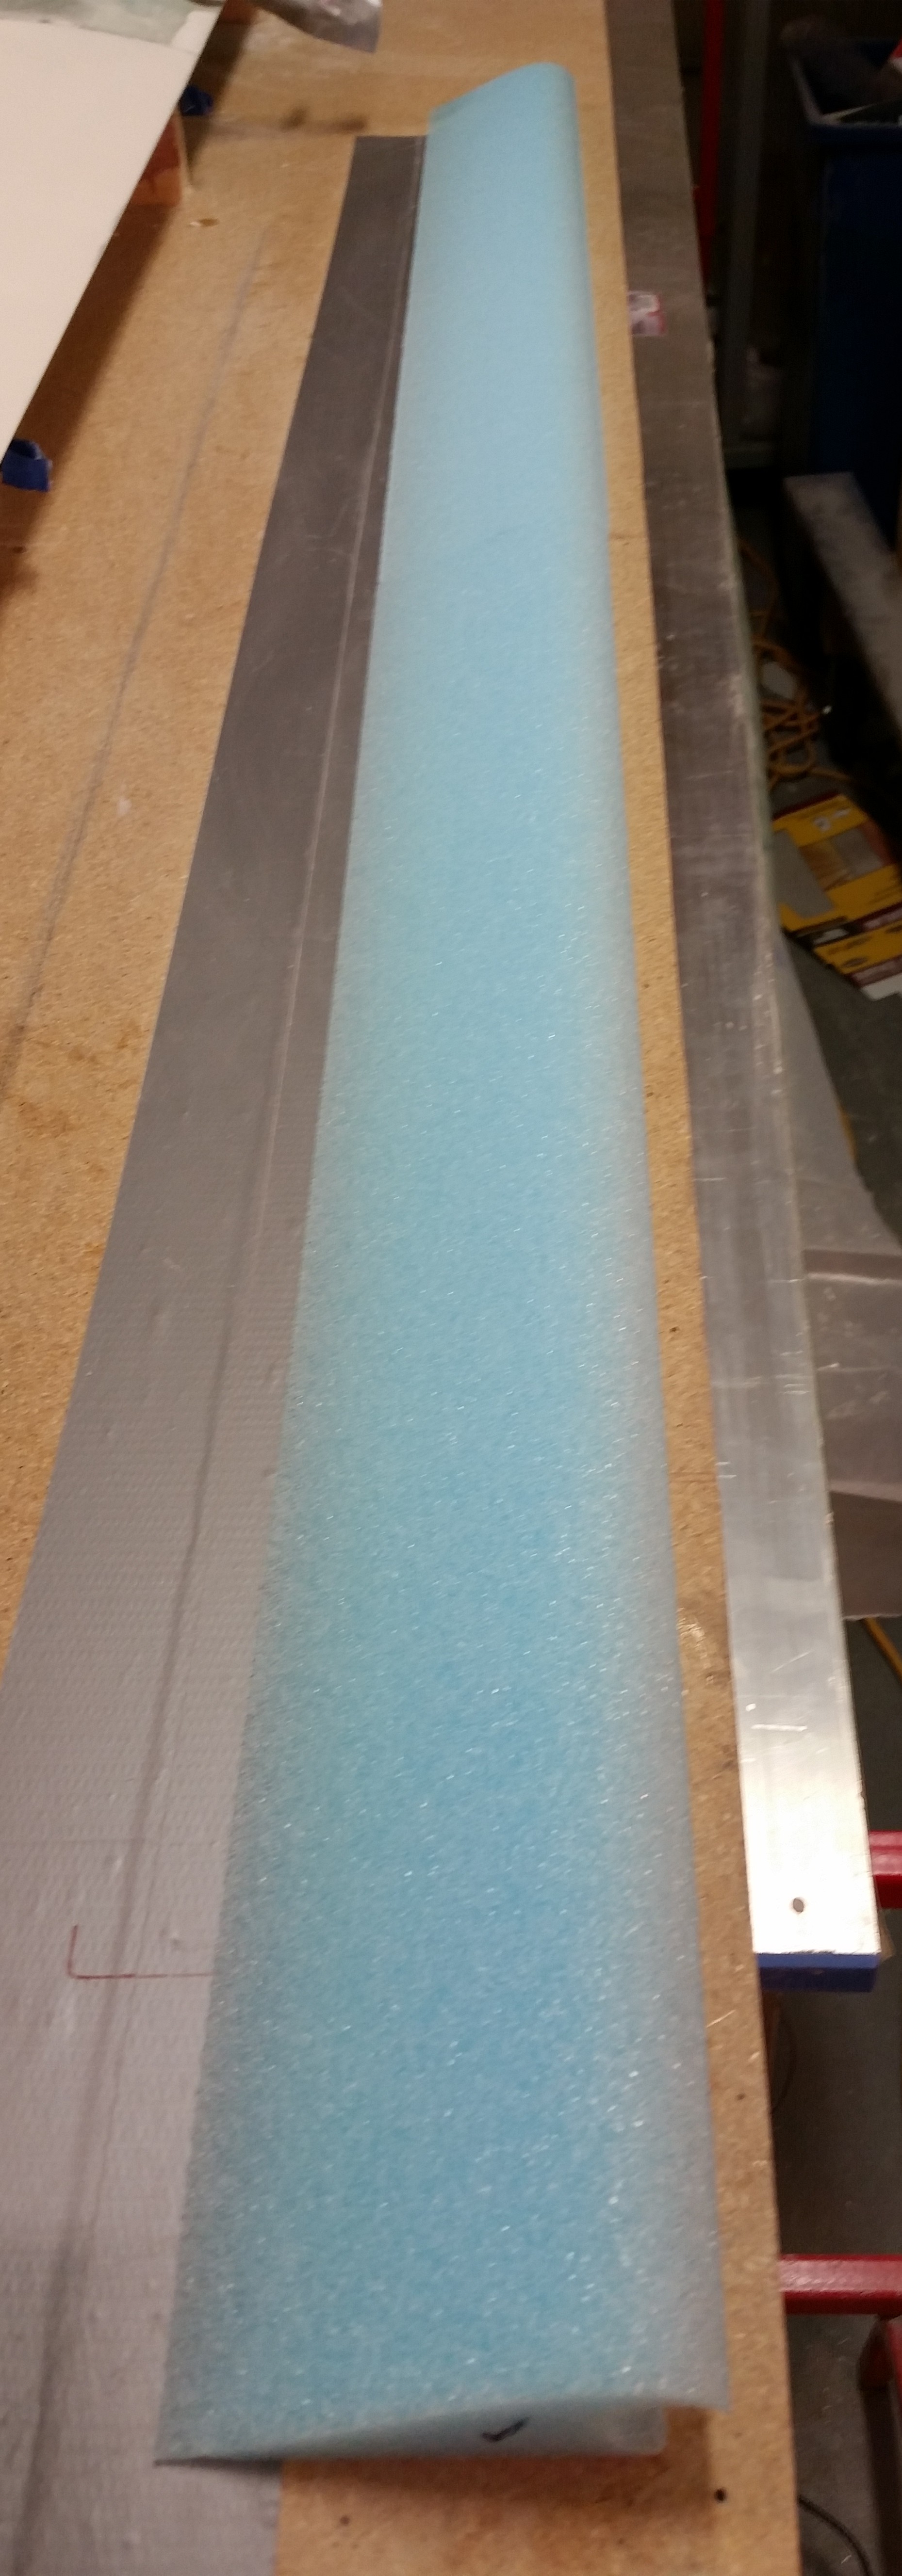
As for the foam cores, since I ordered only the elevator cores from Steve at Eureka CNC, he could only send me the cores cut in half for shipping purposes. The pics below are shots of one elevator core cut in half.


Here are the two halves end to end.
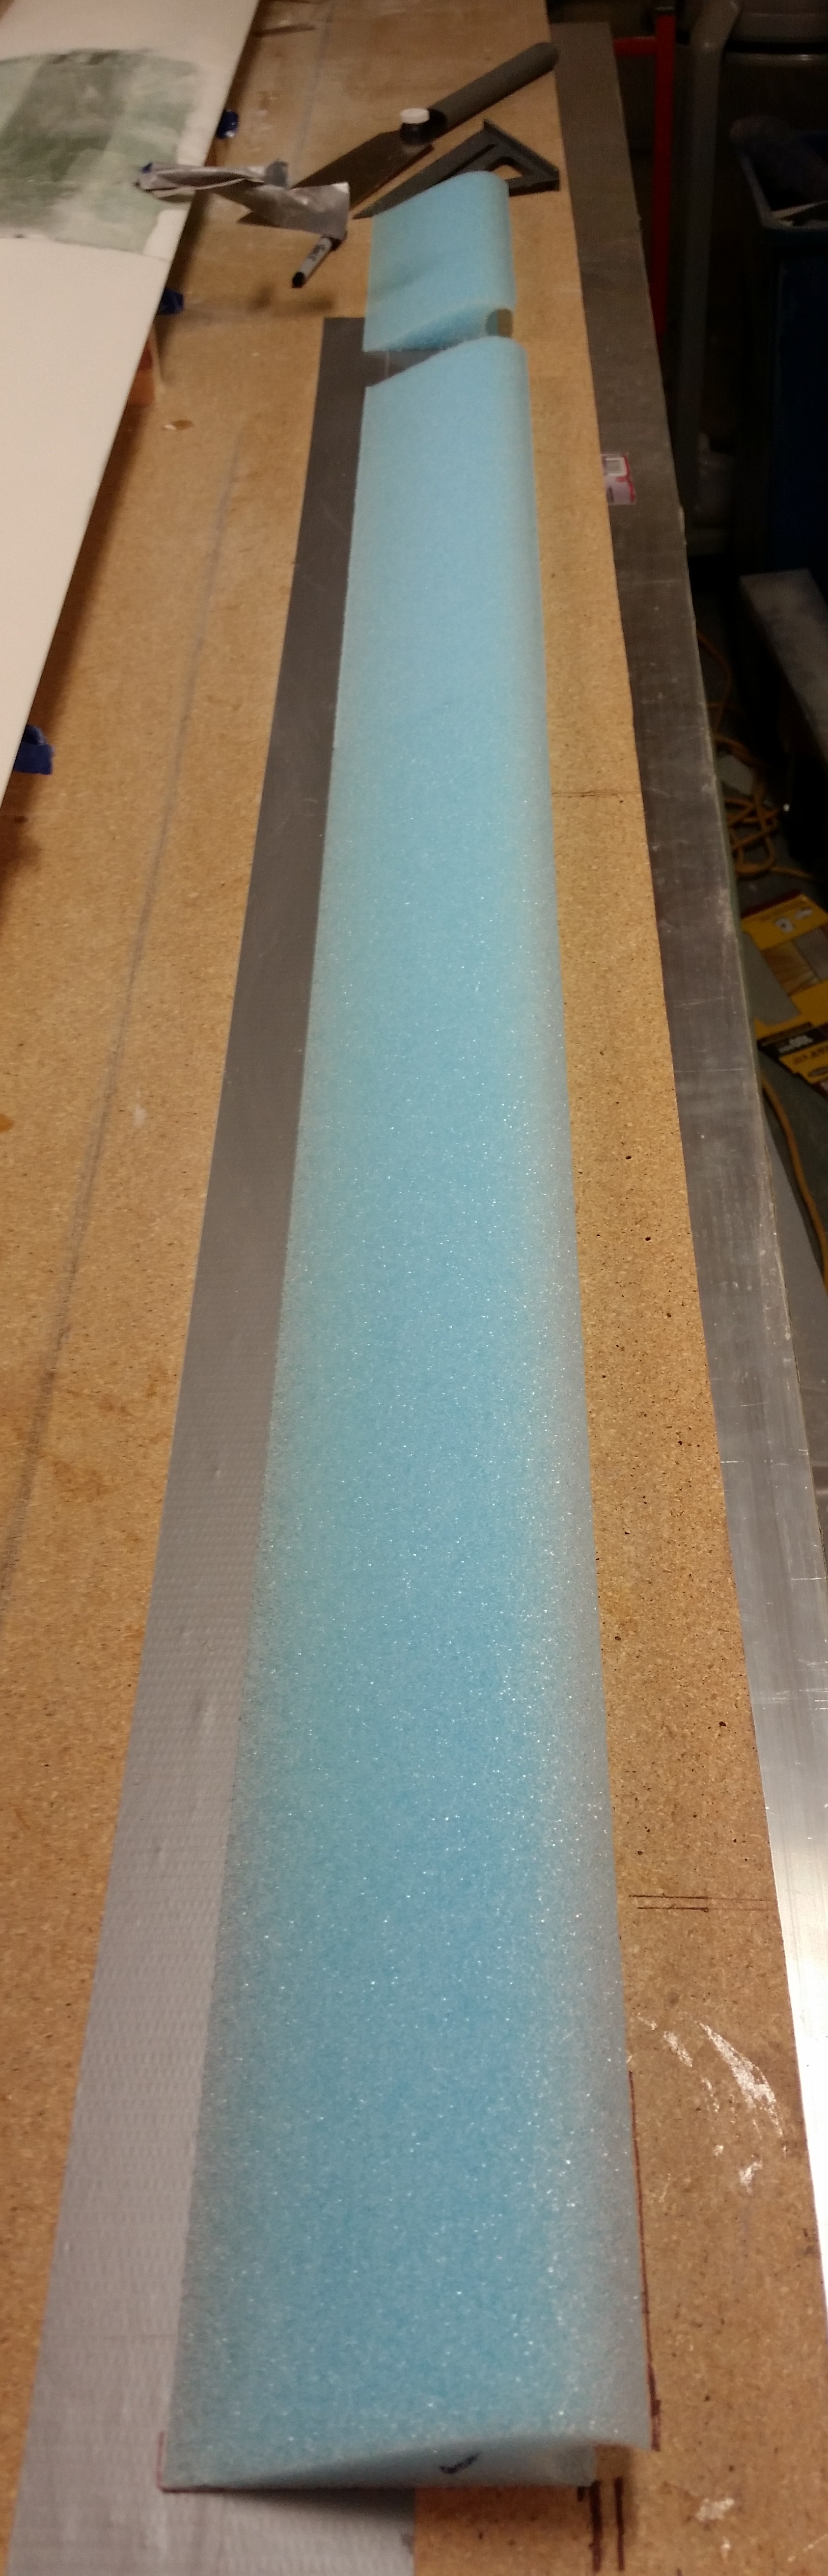
I marked the second elevator foam core piece to cut to length, making the total combined length of these elevator foam core pieces 53″ to match the length of the elevator tube.

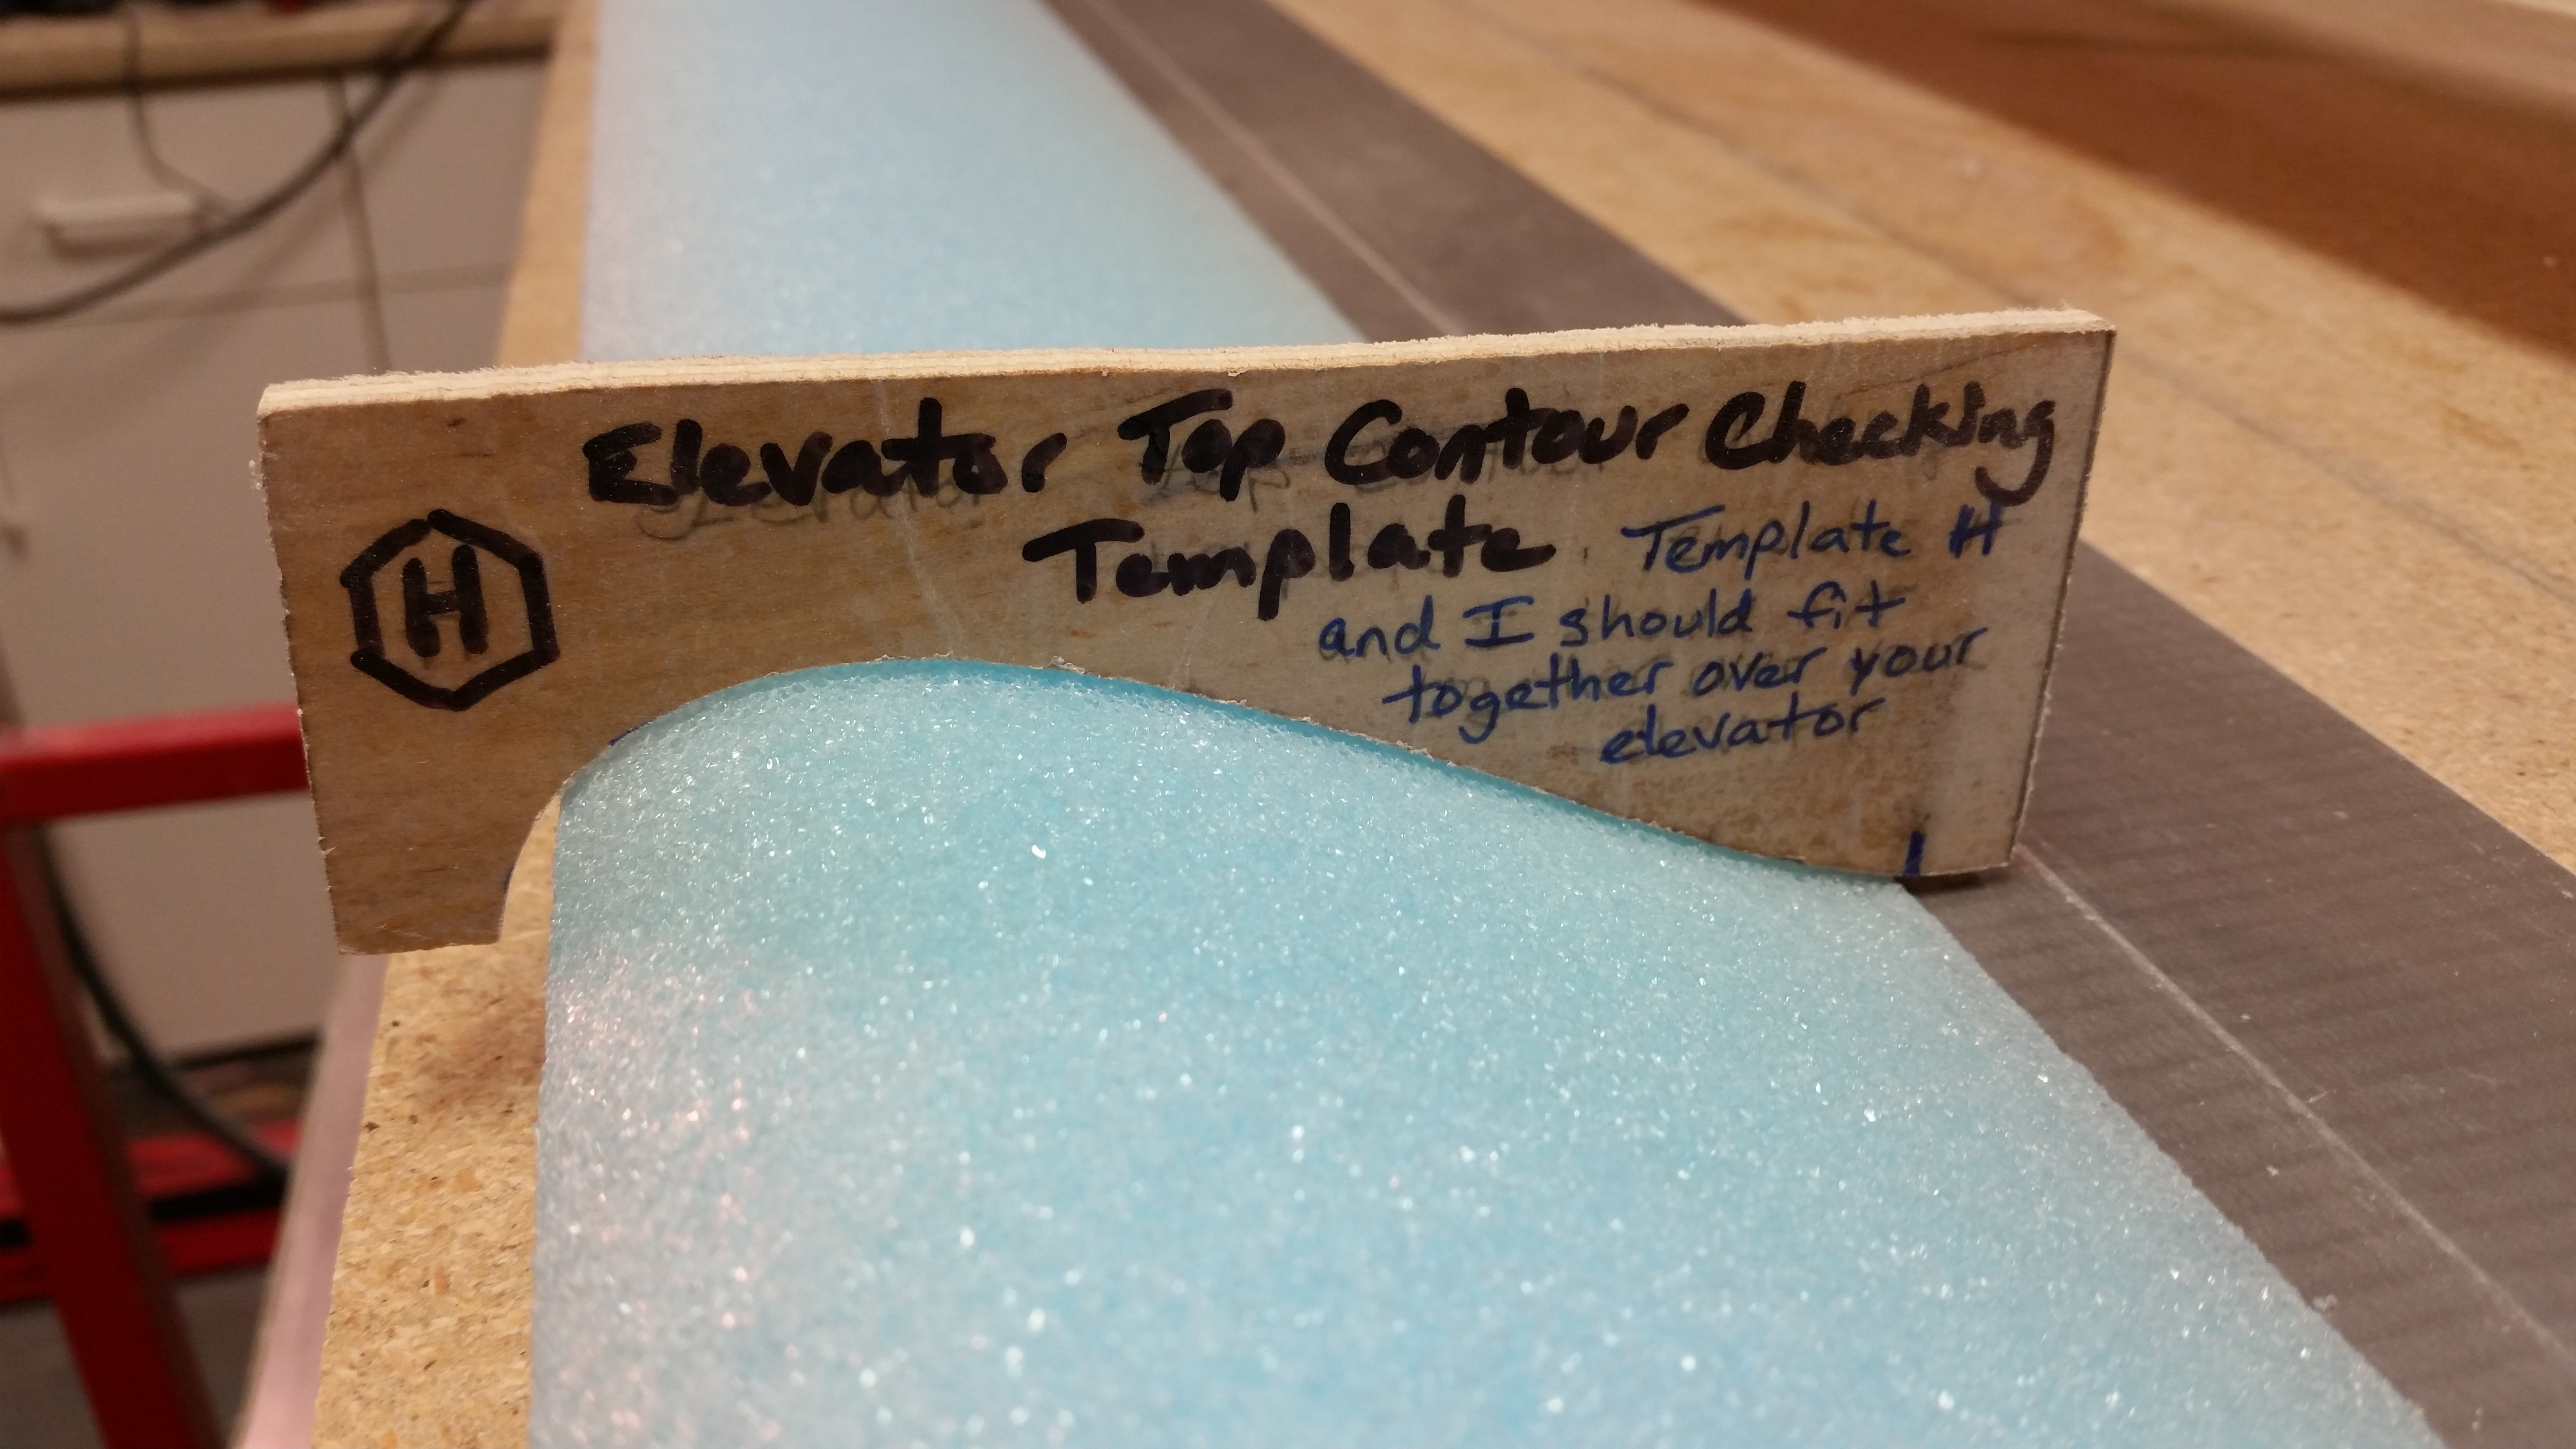
I then did a quick check of the top elevator contour with template “H” and it looked good.
Here’s a pic with the elevator core pieces cut to the proper 53″ length. [Note: these are the correct length of MY elevator cores for this airplane, since I widened the fuselage at all the bulkheads, my F22 & F28 are just a hair wider than the stock plans dimensions. This widened fuselage resulted in slightly shorter elevators.]
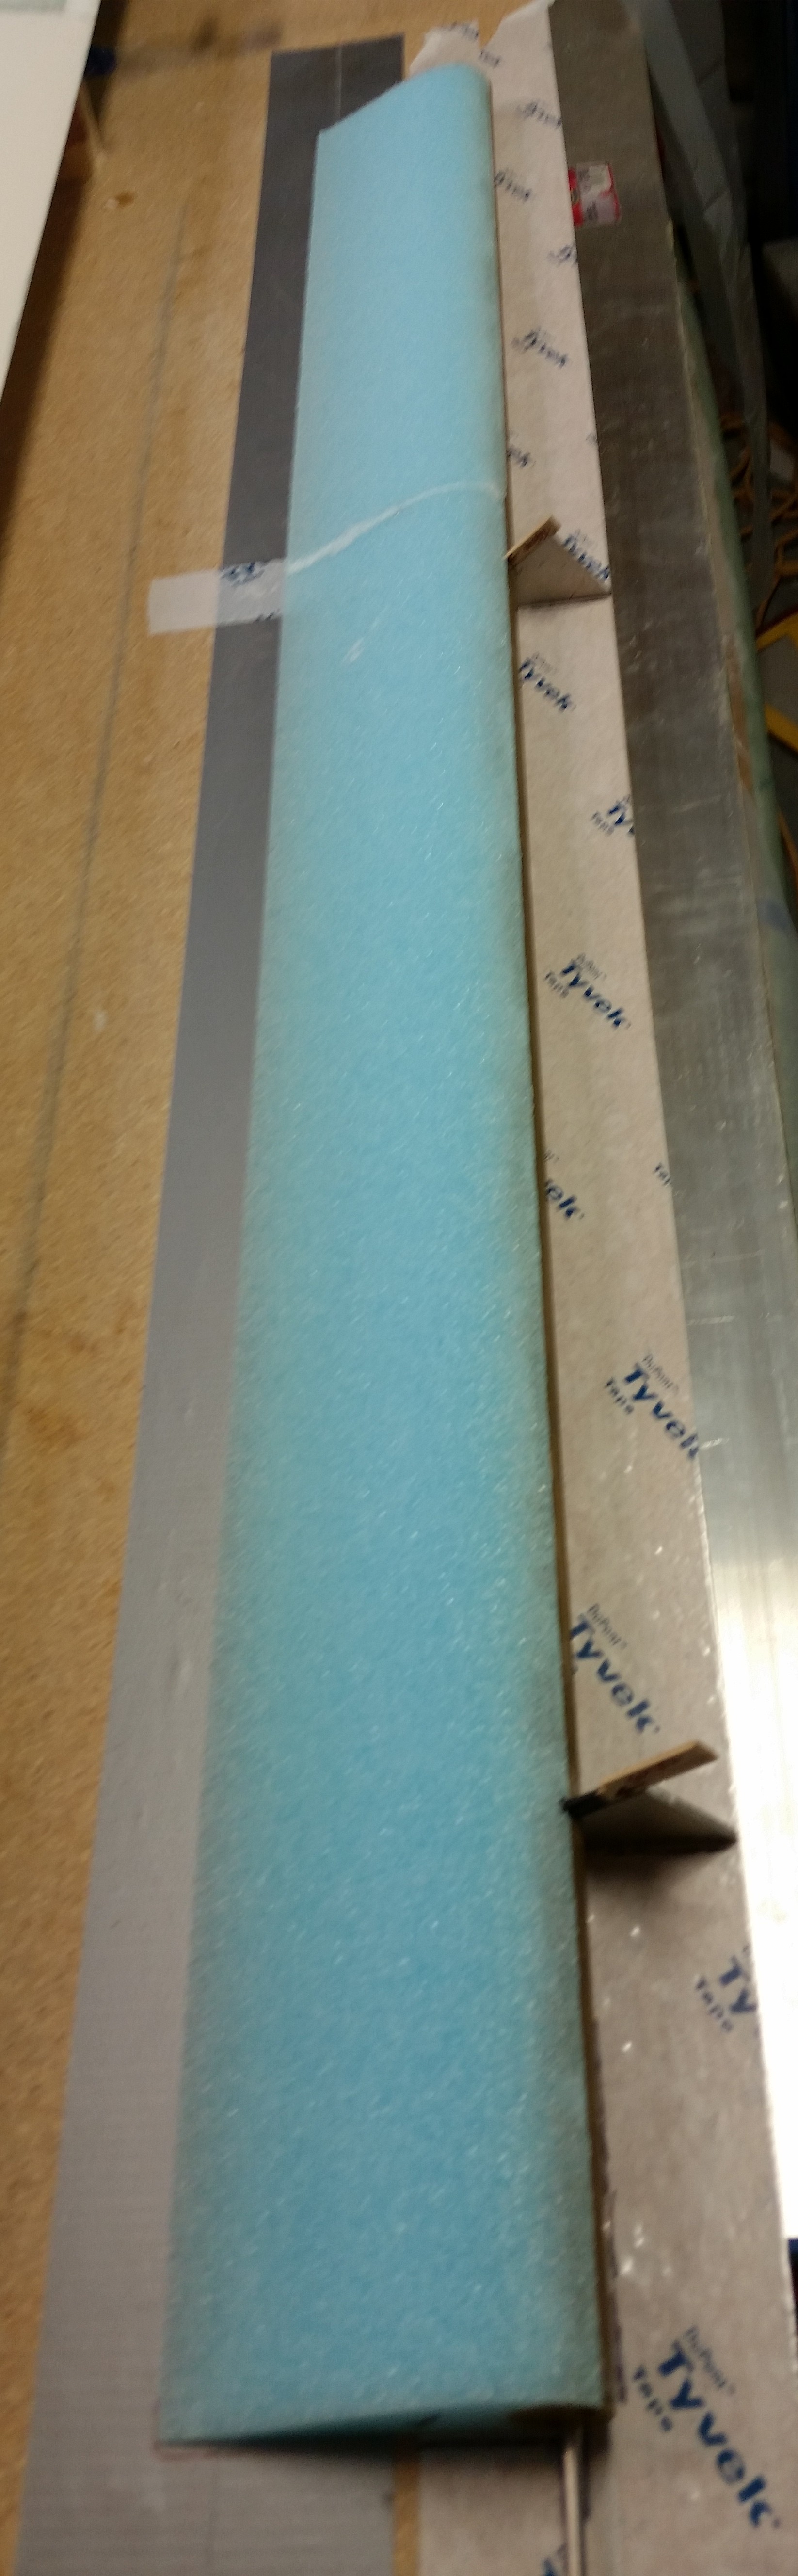
And here’s the two elevator core pieces micro’d to the elevator tube. Yes, the elevator reconstruction is under way!
As per plans I weighed down the elevator core & tube with sandbags to keep them firmly in place.
Tomorrow I plan to glass the bottom skin, and possibly the top skin, of the elevator.