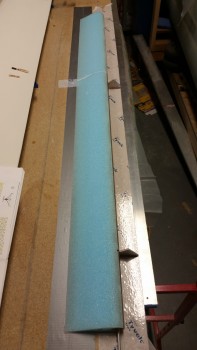
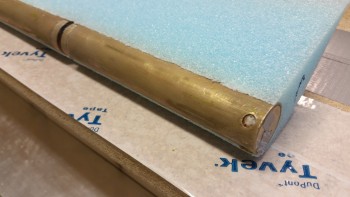
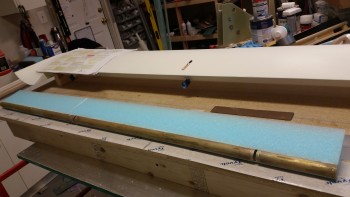
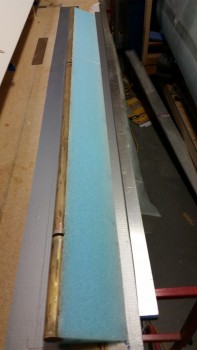
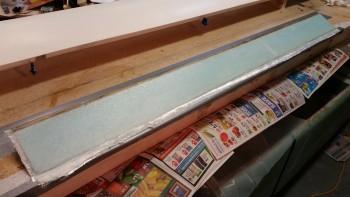
Today I focused entirely on the elevator. Below is the elevator core micro’d to elevator tube.
I prepped the tube by taping up the holes in the hinge pin hard points (NC2s) and the elevator tube end insert (NC6).
Before glassing the bottom skin I lightly sanded the bottom front edge of the foam core where it intersects with the elevator tube. I also cleaned up the micro at the seam between the two elevator foam core pieces.
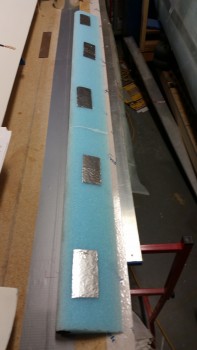
To minimize any damage to the foam surface, and thus minimize backfills to the foam, delams and in turn weight, I applied foil tape to the surface of the elevator top. I figured I would try this method instead of applying 5 minute glue directly to the foam.
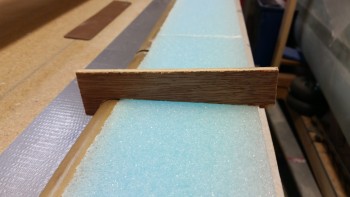
I then quickly checked the bottom contour of the elevator.
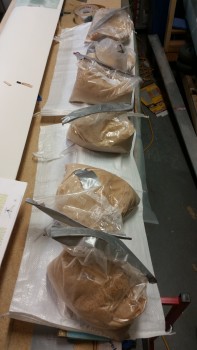
And then mixed up some 5 minute glue, applied a good sized drop to each piece of foil tape, and attached the inverted elevator core to the work bench. I weighed down the TE with sandbags.
After the 5-minute glue cured, I did a final check on the foam before I glassed it.
I also checked the UNI glass to ensure it fit. I then glassed the lower elevator skin 2-ply UNI layup using fast hardener.
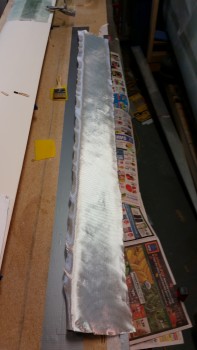
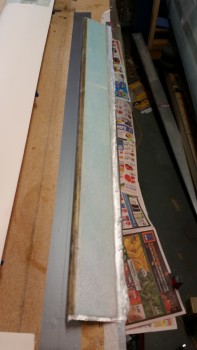
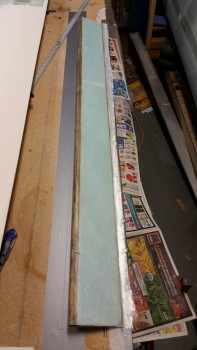
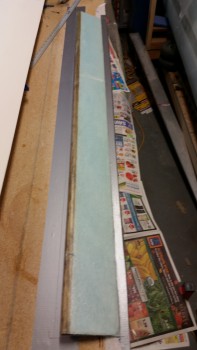
Here’s the (new) glassed bottom of the elevator.
Here are some shots of the finished elevator bottom, in various stages of razor trimmed glass.
I was going to glass the top skin of the elevator as well, but I went out to dinner tonight and it took forever to get our food, so I just didn’t make it back in time to fire up the Dremel tool to trim the TE in order to get good glass-to-glass contact between top & bottom skins.
Tomorrow I’ll prep the elevator & glass the top first thing, and if all works out I’ll actually get the outboard elevator end glassed as well.

