
I got back from my weekend trip a bit earlier than expected, so I was able to get out into the shop in the very late afternoon.
I started by spending a good 45 minutes emptying the water out of the right fuel tank. When it got low enough I just pulled the plug and let the water drain from the main tank exit drain down into the right sump and then out the sump drain hole, which doesn’t have the drain plug installed currently.
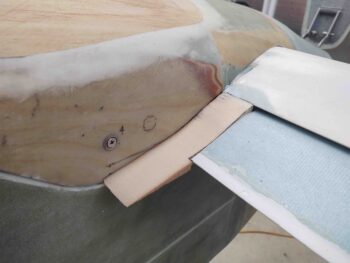
I then got busy designing the elevator root fairings.
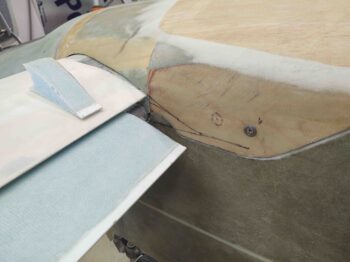
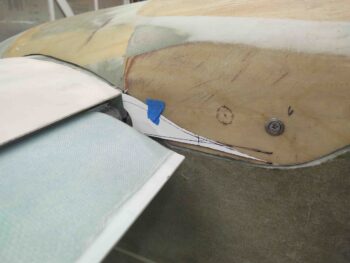
After assessing the inboard elevator area and interface with the aft nose/avionics cover I put my design down on paper.
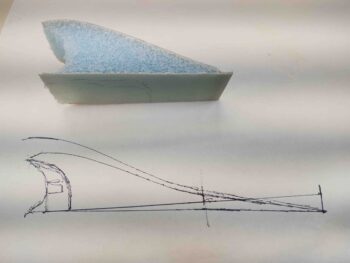
After a few iterations I narrowed down my fairing profile on paper and cut it out. I then test fit it on the aft nose/avionics cover. So far so good at this point.
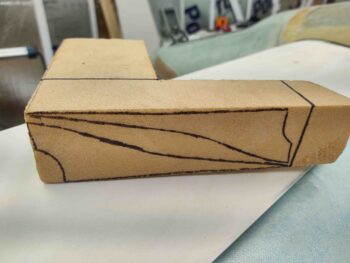
I then rounded up my piece of PVC foam and taped my fairing profile to it.
I then traced out the template to create 2 fairings.

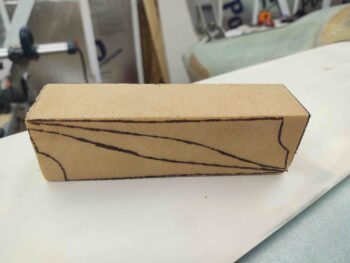
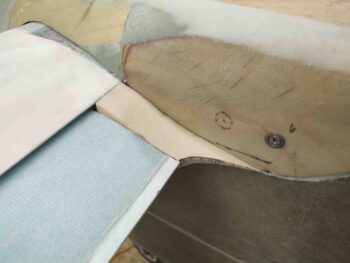
I marked the excess foam to be removed . . .
And cut it off with my mini-hack saw.
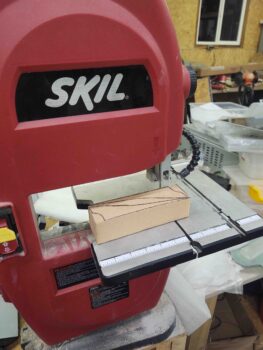
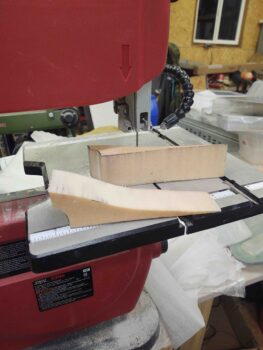
Because the block of foam was so thick, I used my small band saw to cut out the fairing blocks.
Voila! Initial foam fairing blocks shaped.
Another shot of the foam fairing pieces.
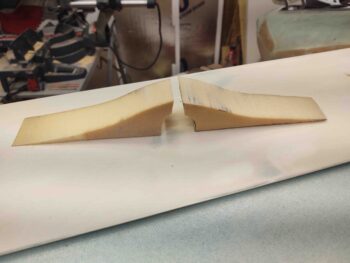
Clearly a bit of trimming still required at this point.
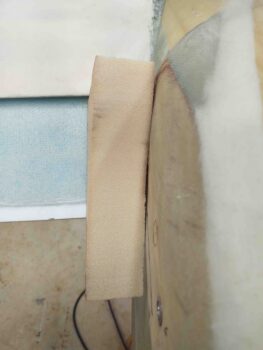
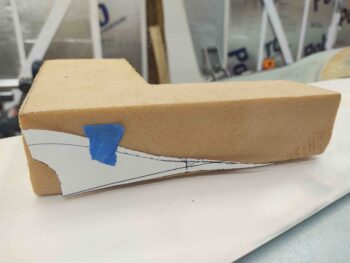
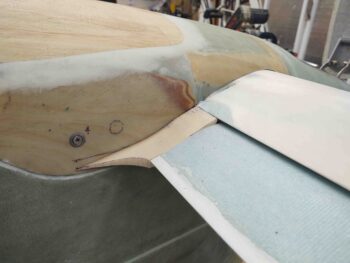
I marked up the left foam fairing block for trimming and shaping.
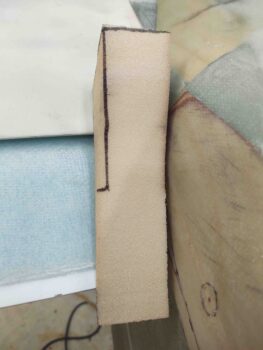
And worked both sides to get the foam fairing blocks to fit.
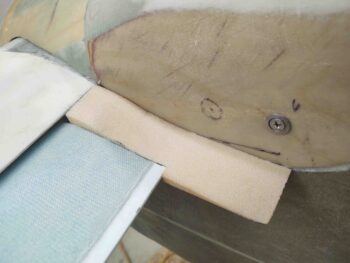
I then made the radius cut on the aft side of each foam fairing block.
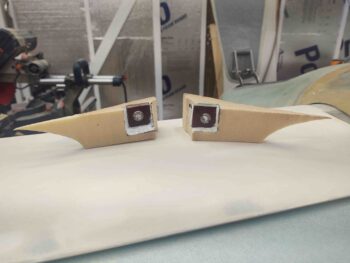
With the initial fit of the foam fairing blocks good, I then got busy on working stuff for the #2 purpose of these fairings: to help secure the aft nose/avionics cover to the fuselage via CAMLOC hard points.
To do this I’m going to embed a threaded CAMLOC (SkyBolt) receptacle phenolic block into a bottom-side notch on each fairing. That will lock to a floxed and glassed G10 phenolic nub protruding out of the fuselage sidewall approximately 1″.
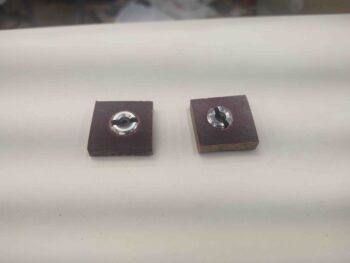
I first cut a couple squares out of my 1/4″ phenolic stock.
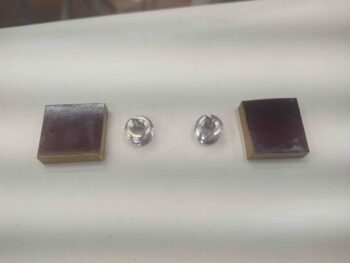
I then drilled and tapped the phenolic blocks . . .
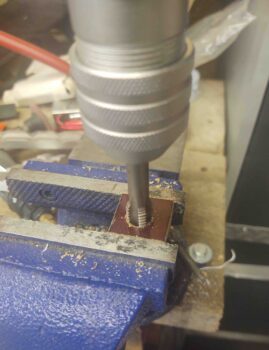
to mount the threaded CAMLOC receptacles into.
After stuffing the threaded CAMLOC receptacles with plastic saran to protect the insides, I the micro’d the blocks into place into their respective fairing notches.
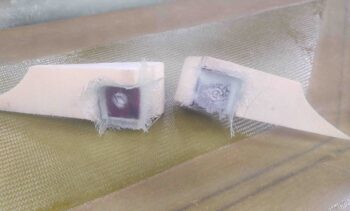
A bit later I laid up 3 plies of BID over each phenolic CAMLOC receptacle block to secure it to the foam fairing block. As you can see, the right fairing block layup turned out fine, whereas I’m definitely going to have to clean up and redo the left one tomorrow.
It was quite late so I called it a night and will hit it hard tomorrow!