
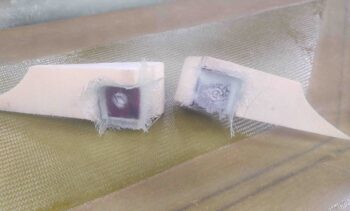
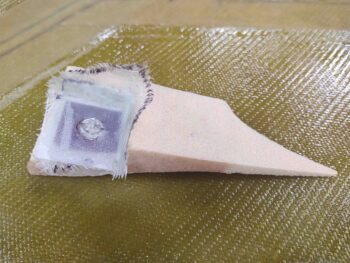
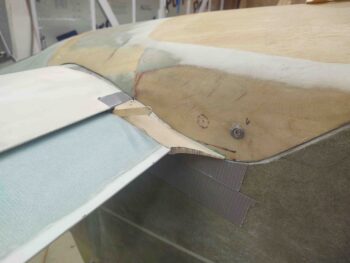
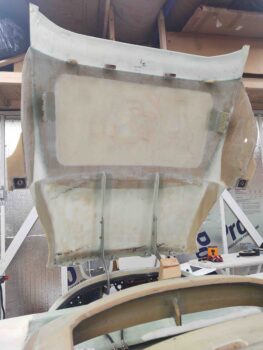
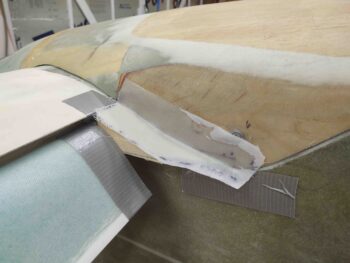
As a reminder, as of last night this is what the threaded CAMLOC receptacle blocks looked like glassed into the bottom-side notches on the elevator fairings.
Clearly the left side layup is having some issues.
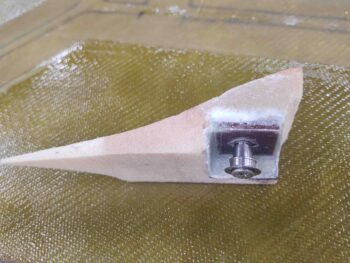
I cleaned up the right fairing layup and it looked great… then I cleaned the plastic out of the threaded CAMLOC receptacle.
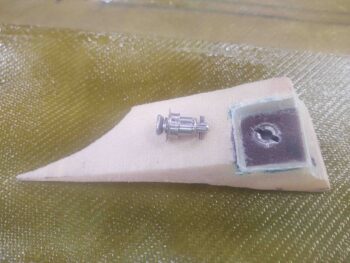
And ops checked a CAMLOC stud fastening into the embedded receptacle. All good.
I then focused on the left fairing’s embedded CAMLOC receptacle block. I stripped the majority of glass off and sanded it in prep for new glass.
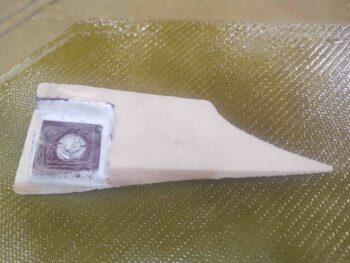
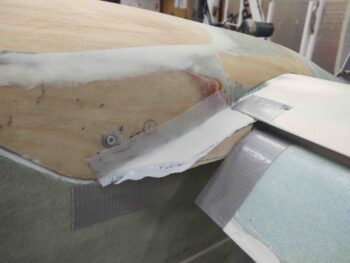
I then laid up 2 new plies of BID over and around the embedded CAMLOC receptacle block. I then peel plied just the face of the phenolic block.
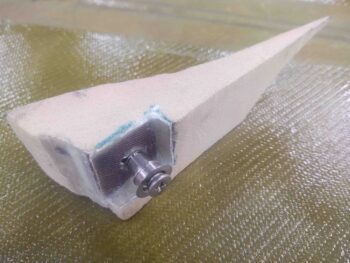
A few hours later I pulled the peel ply, razor trimmed and cleaned up the layup. A huge improvement over the previous nasty layup.
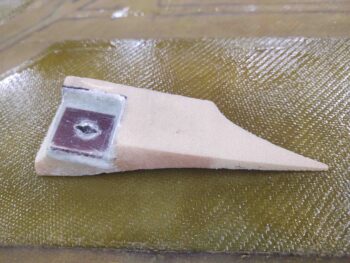
Again, I dug out the plastic from the threaded CAMLOC receptacle and then ops checked a CAMLOC stud. Again, all good.
I actually attached the right elevator fairing to the aft nose/avionics cover with micro while the left aileron fairing’s embedded CAMLOC receptacle block reglassing cured.
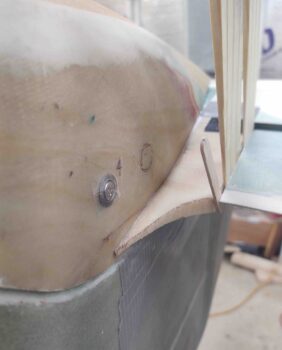
After I gave the left elevator fairing’s embedded CAMLOC receptacle block glass a GO, I then micro’d it in place as well.
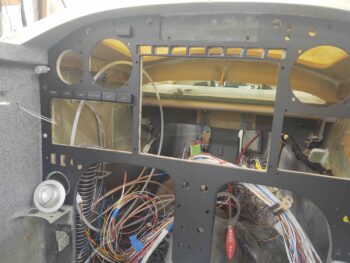
While the attached elevator fairings’ micro cured, I then got to work on the panel. This is actually the first time (IIRC) that I’ve had the black panel inside the plane. I really like how it looks.
I then spent about 2 hours trimming the glass and foam away on the composite panel structure to all me to install the Garmin GNS-480 Korey indicator lights (look mid-left). I also trimmed the hole for the N-# Korey light at top left so that it would fit as well.
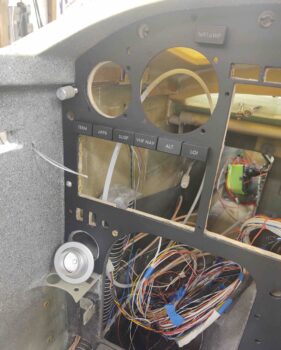
Here’s a closer up look at what I was working on.
BTW, what DID NOT fit was the new silver Aveo air vent. I must have ordered the wrong one or they sent me the wrong one because it is not a direct replacement for the black vent that I stole to use for the strake leading edge vent. I’ll have to do some research and make some decisions on this vent.
I then took the shims off the right elevator and could tell it was secured onto the aft nose/avionics cover very well.
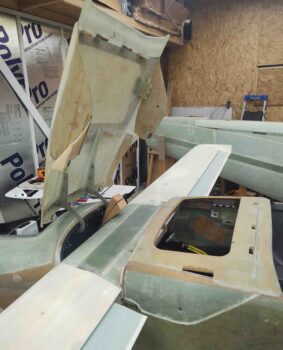
After the left side cured, I then opened up the aft nose/avionics cover… here’s a shot of the elevator fairings with the cover open.
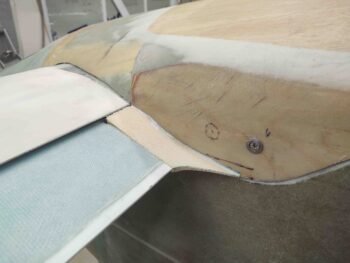
And a side view of the left elevator fairing when the cover is opened.
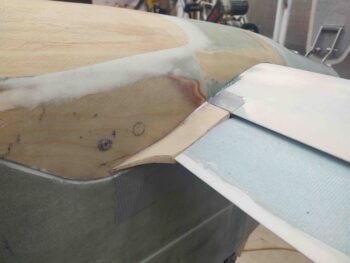
I then sanded, shaped, and prepped both elevator fairings for glass.
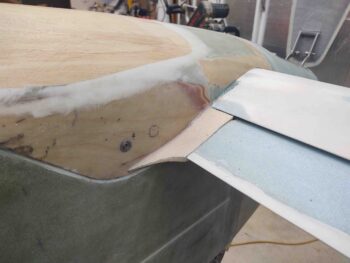
And then laid up 2 plies of BID on each elevator fairing, overlapping onto the aft nose/avionics cover. I then peel plied the layups.
Tomorrow I’ll continue to work on both the elevator fairings and the instrument panel.