
I didn’t get a whole lot done today since I relaxed a bit and watched some football, and also ran a few errands.
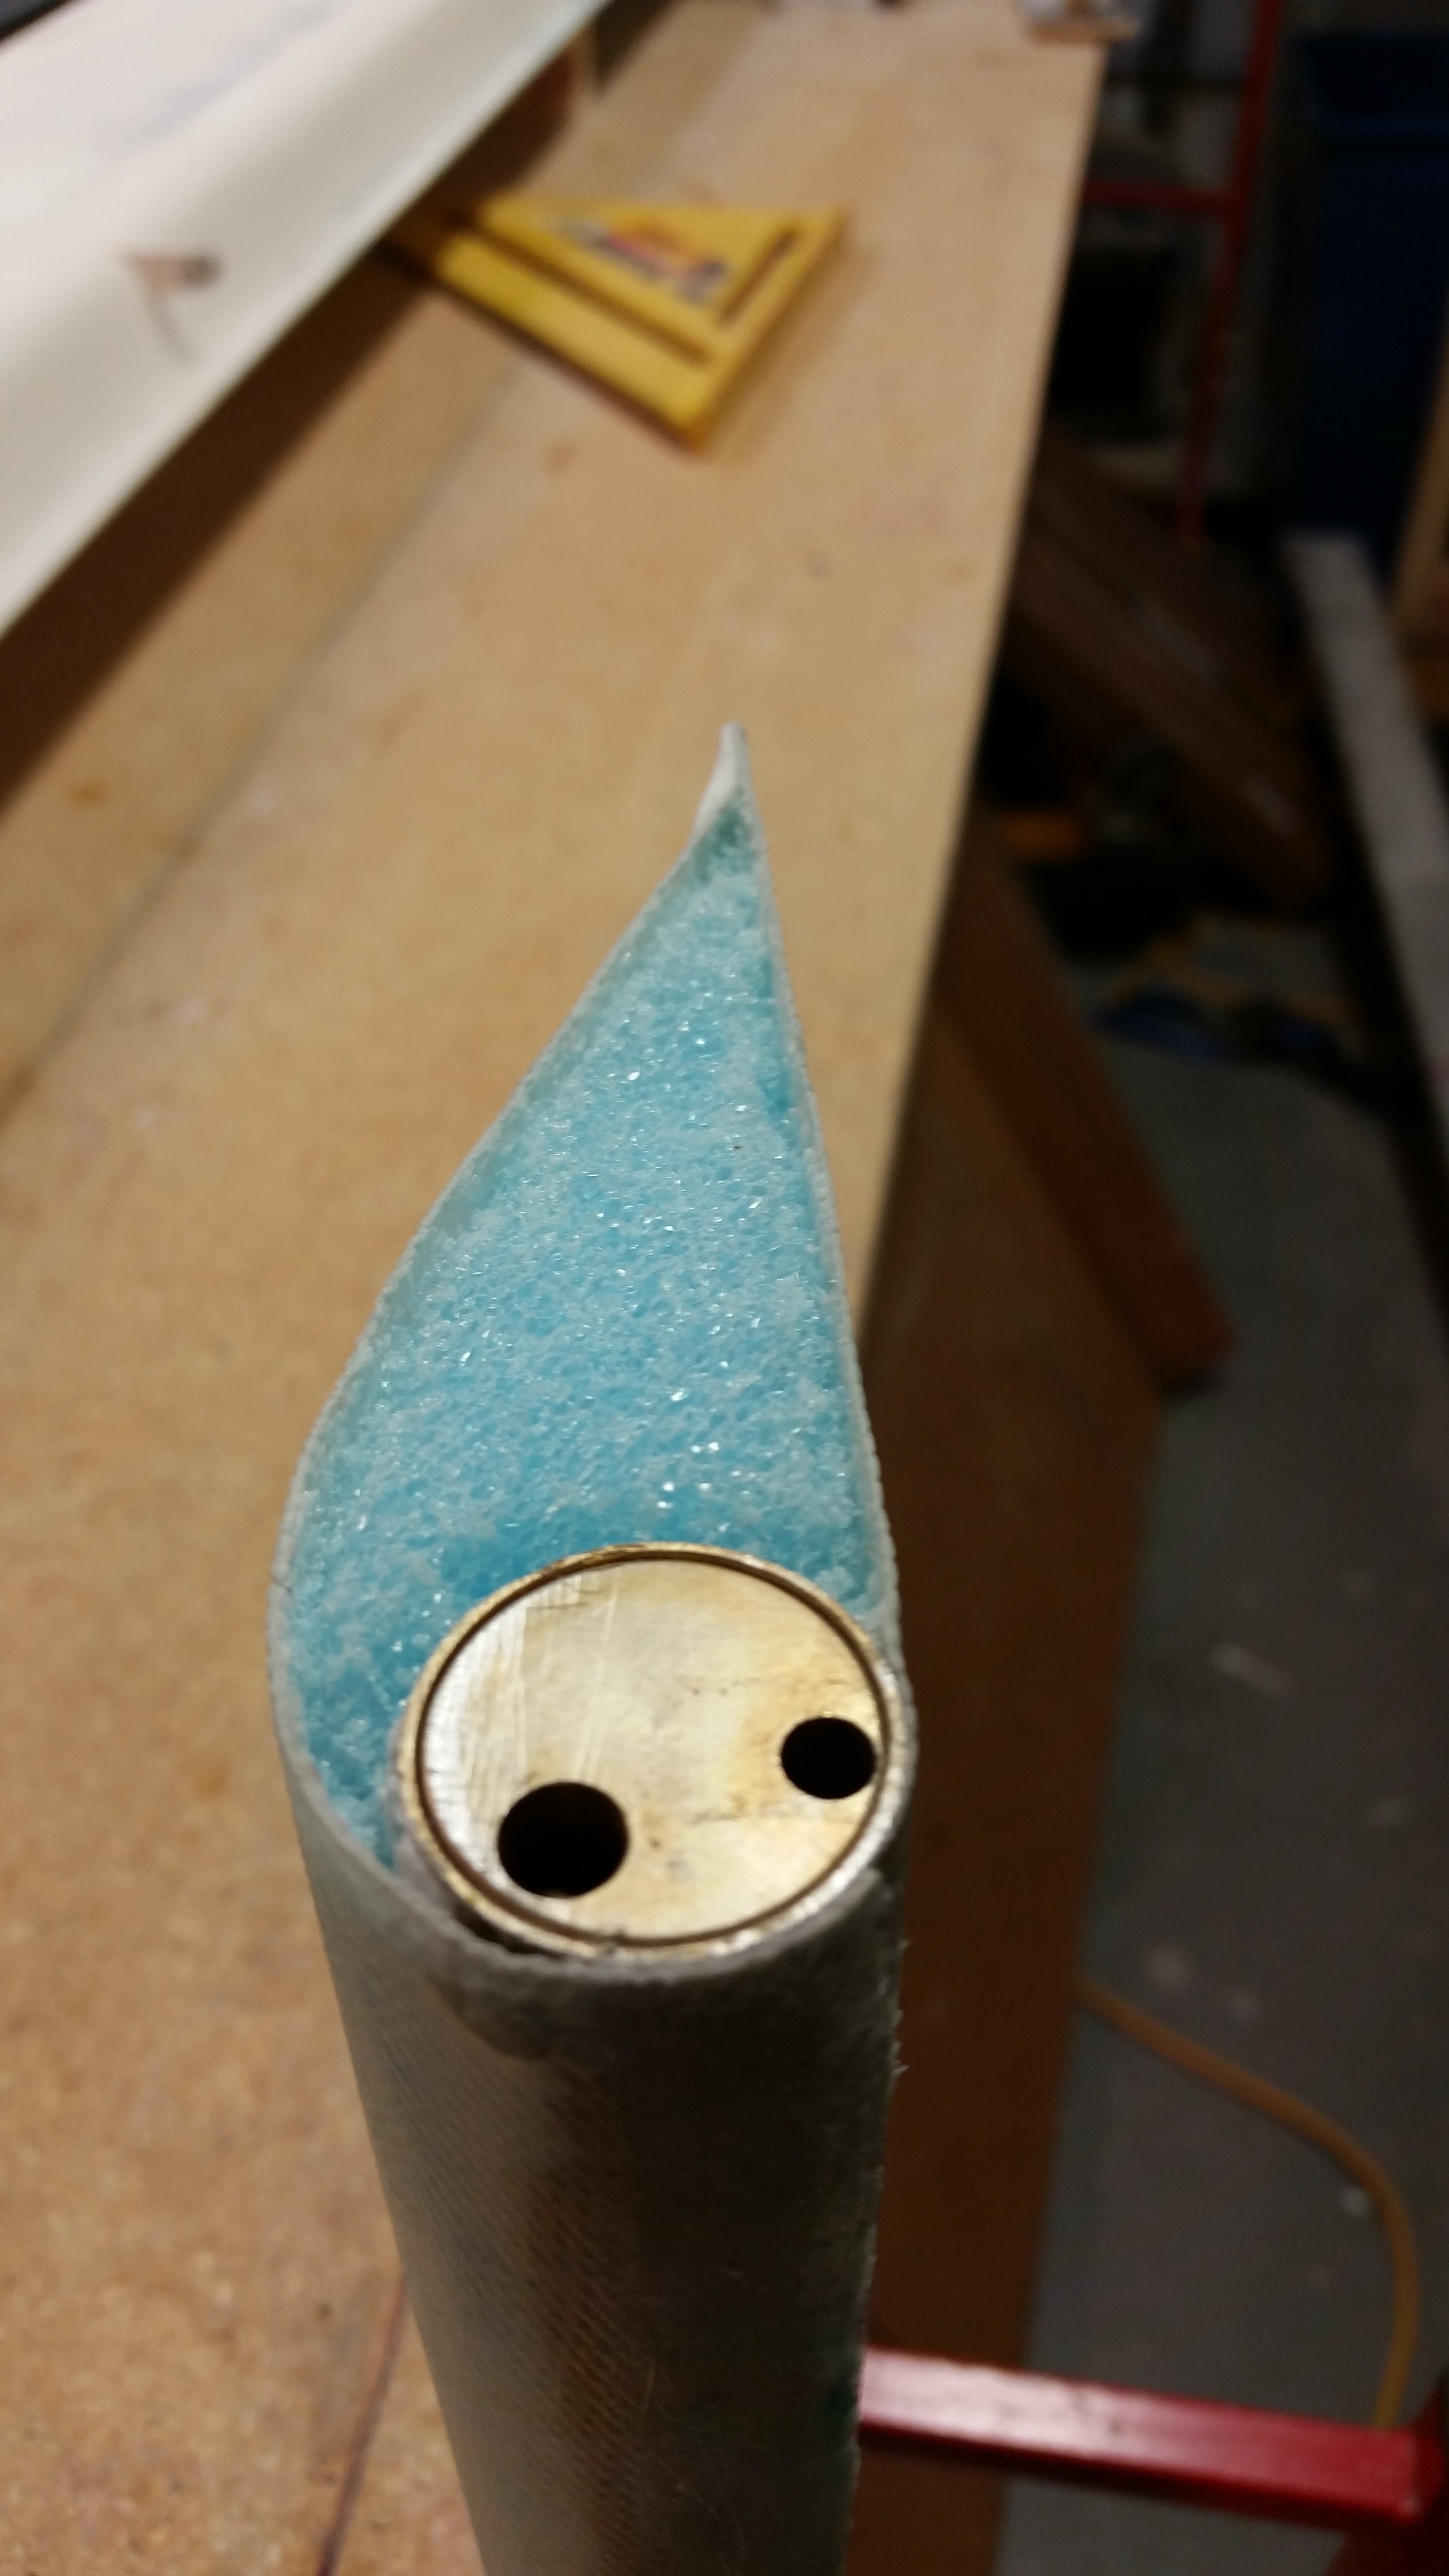
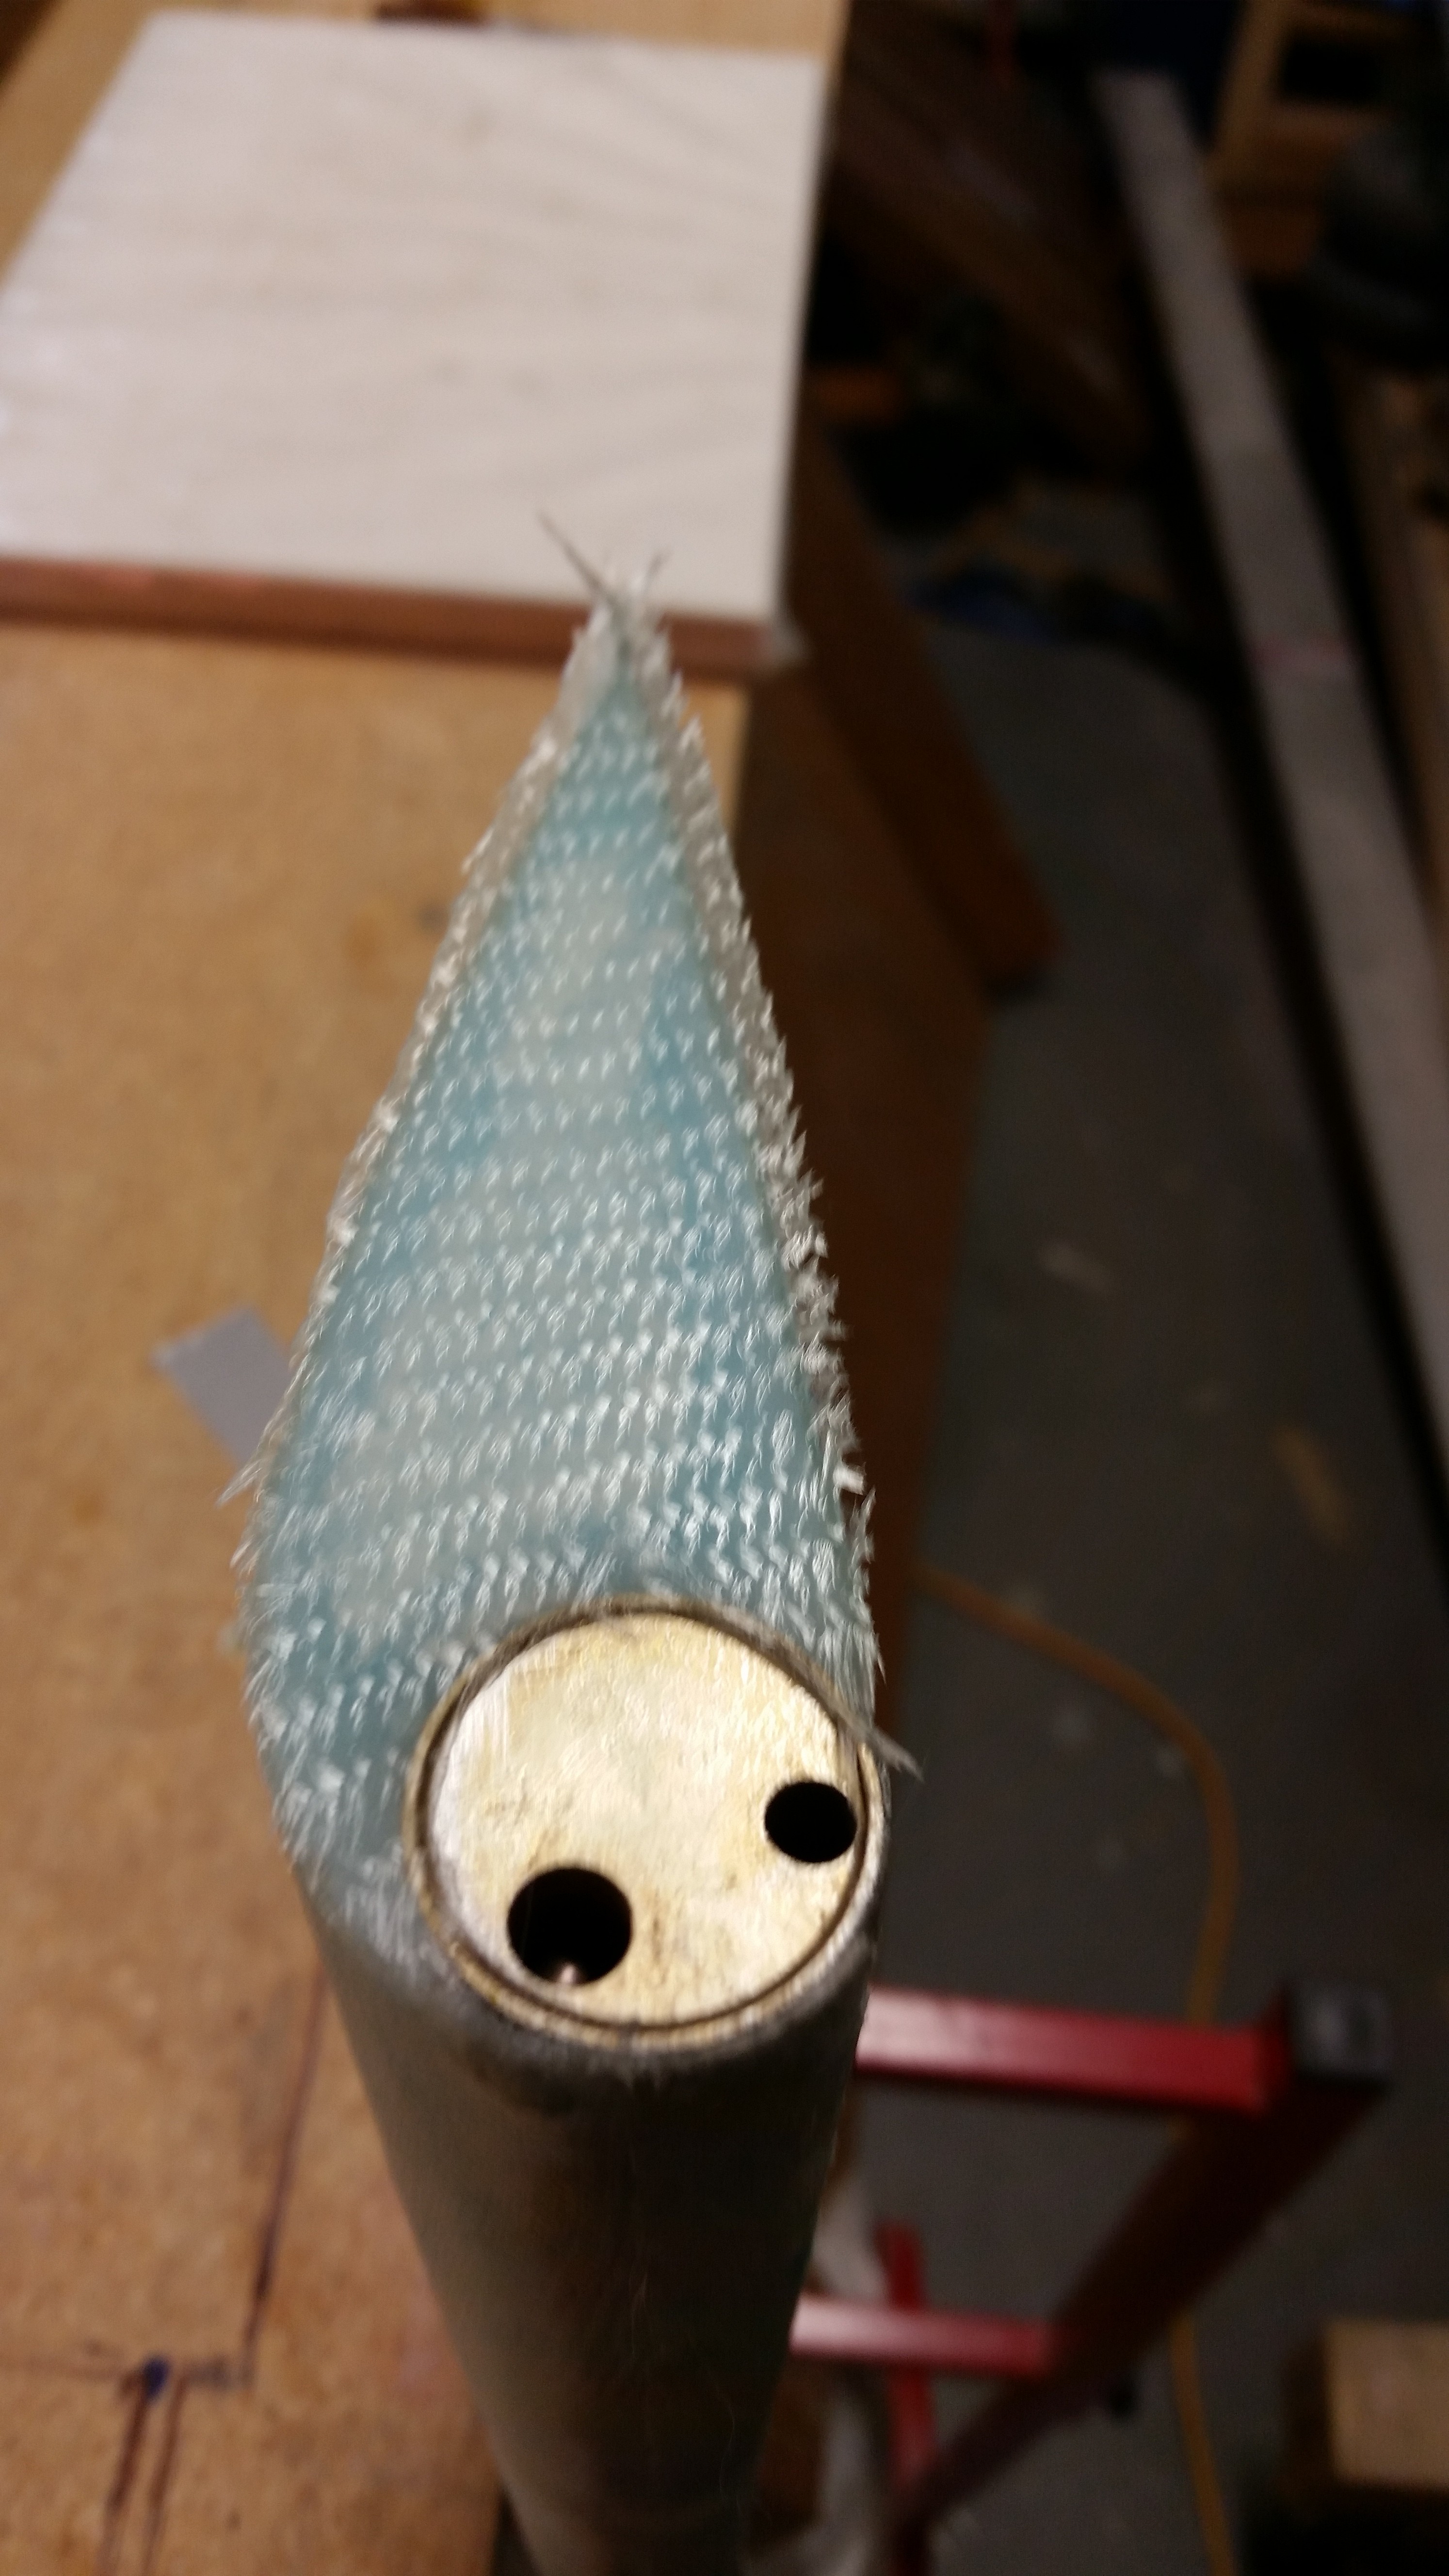
I did get a little bit of work accomplished today though. I started out by trimming the foam around the inside edges of the glass skin on the outboard end of the elevator. This foam removal is to allow for flox to be applied to replace the foam in the areas around the perimeter and thus create a “flox corner” for strength.
Unlike the other side, where I taped up the NC6 and then worked a fair amount to get the cured glass off of it, this time I simply cut the glass out ahead of time using a 1″ round tube as a template on a pre-pregged ply of BID.
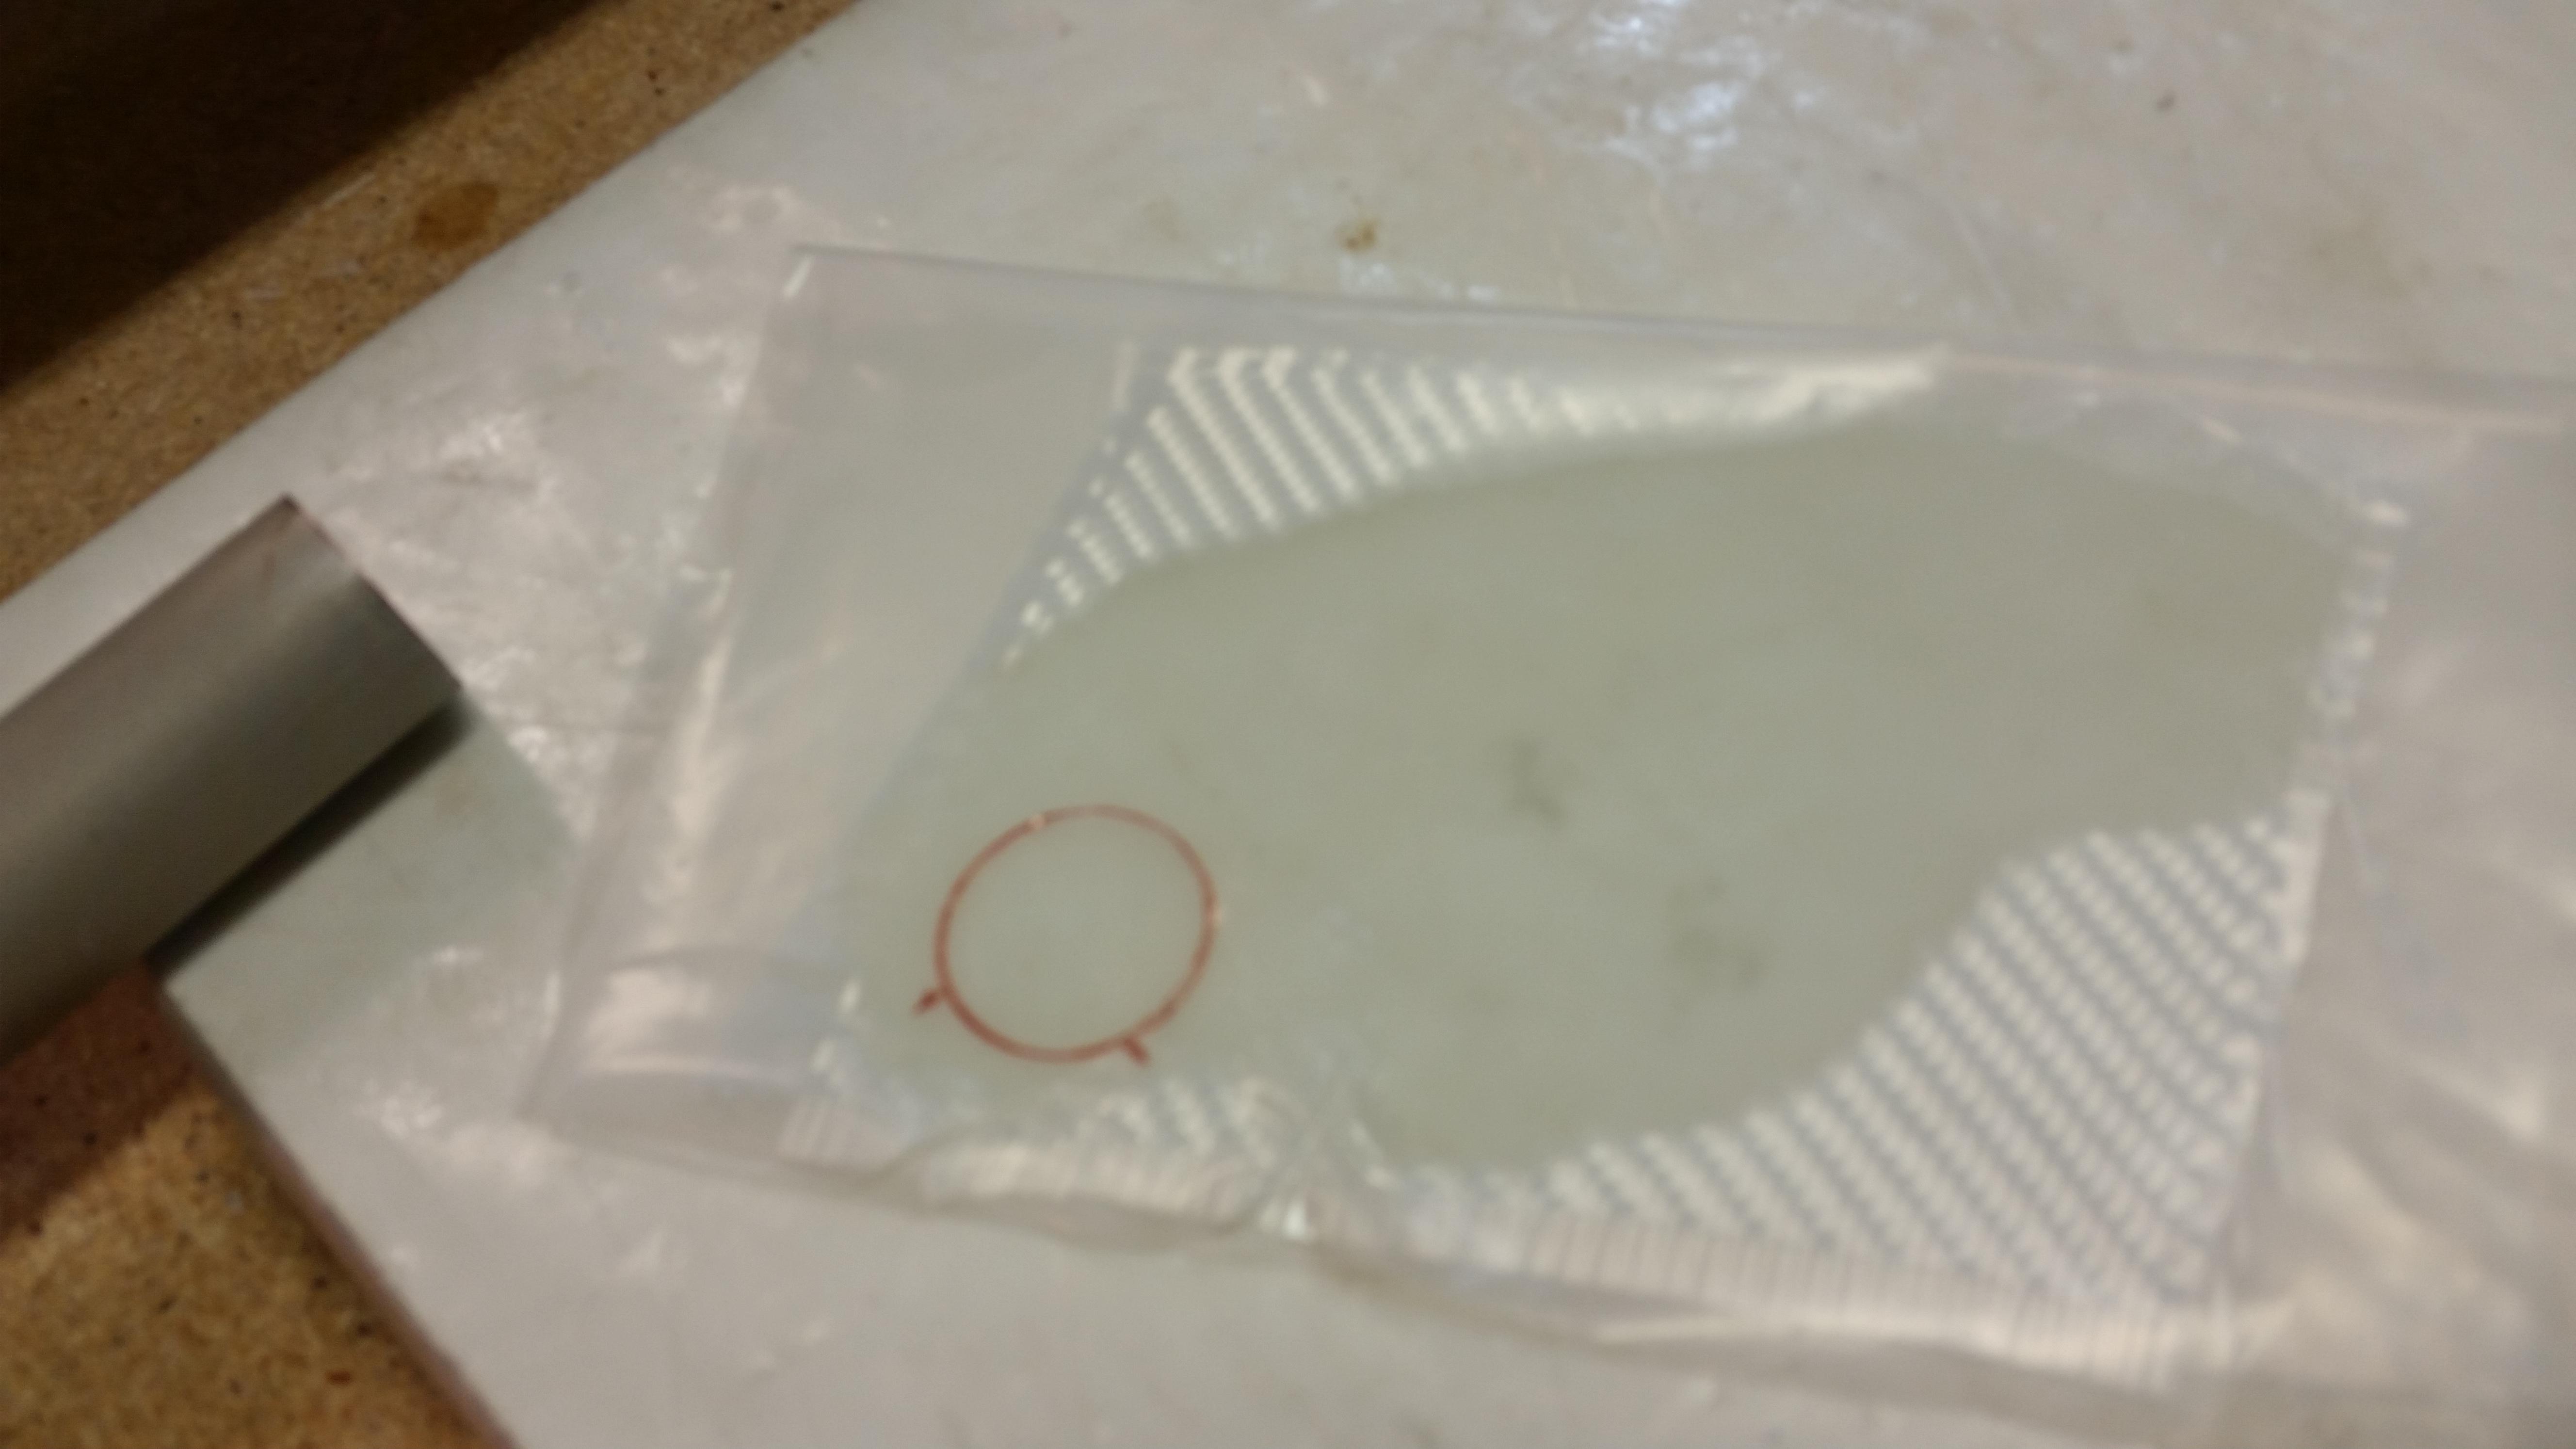
Here’s the prepreg after I cut out the 1″ circle.
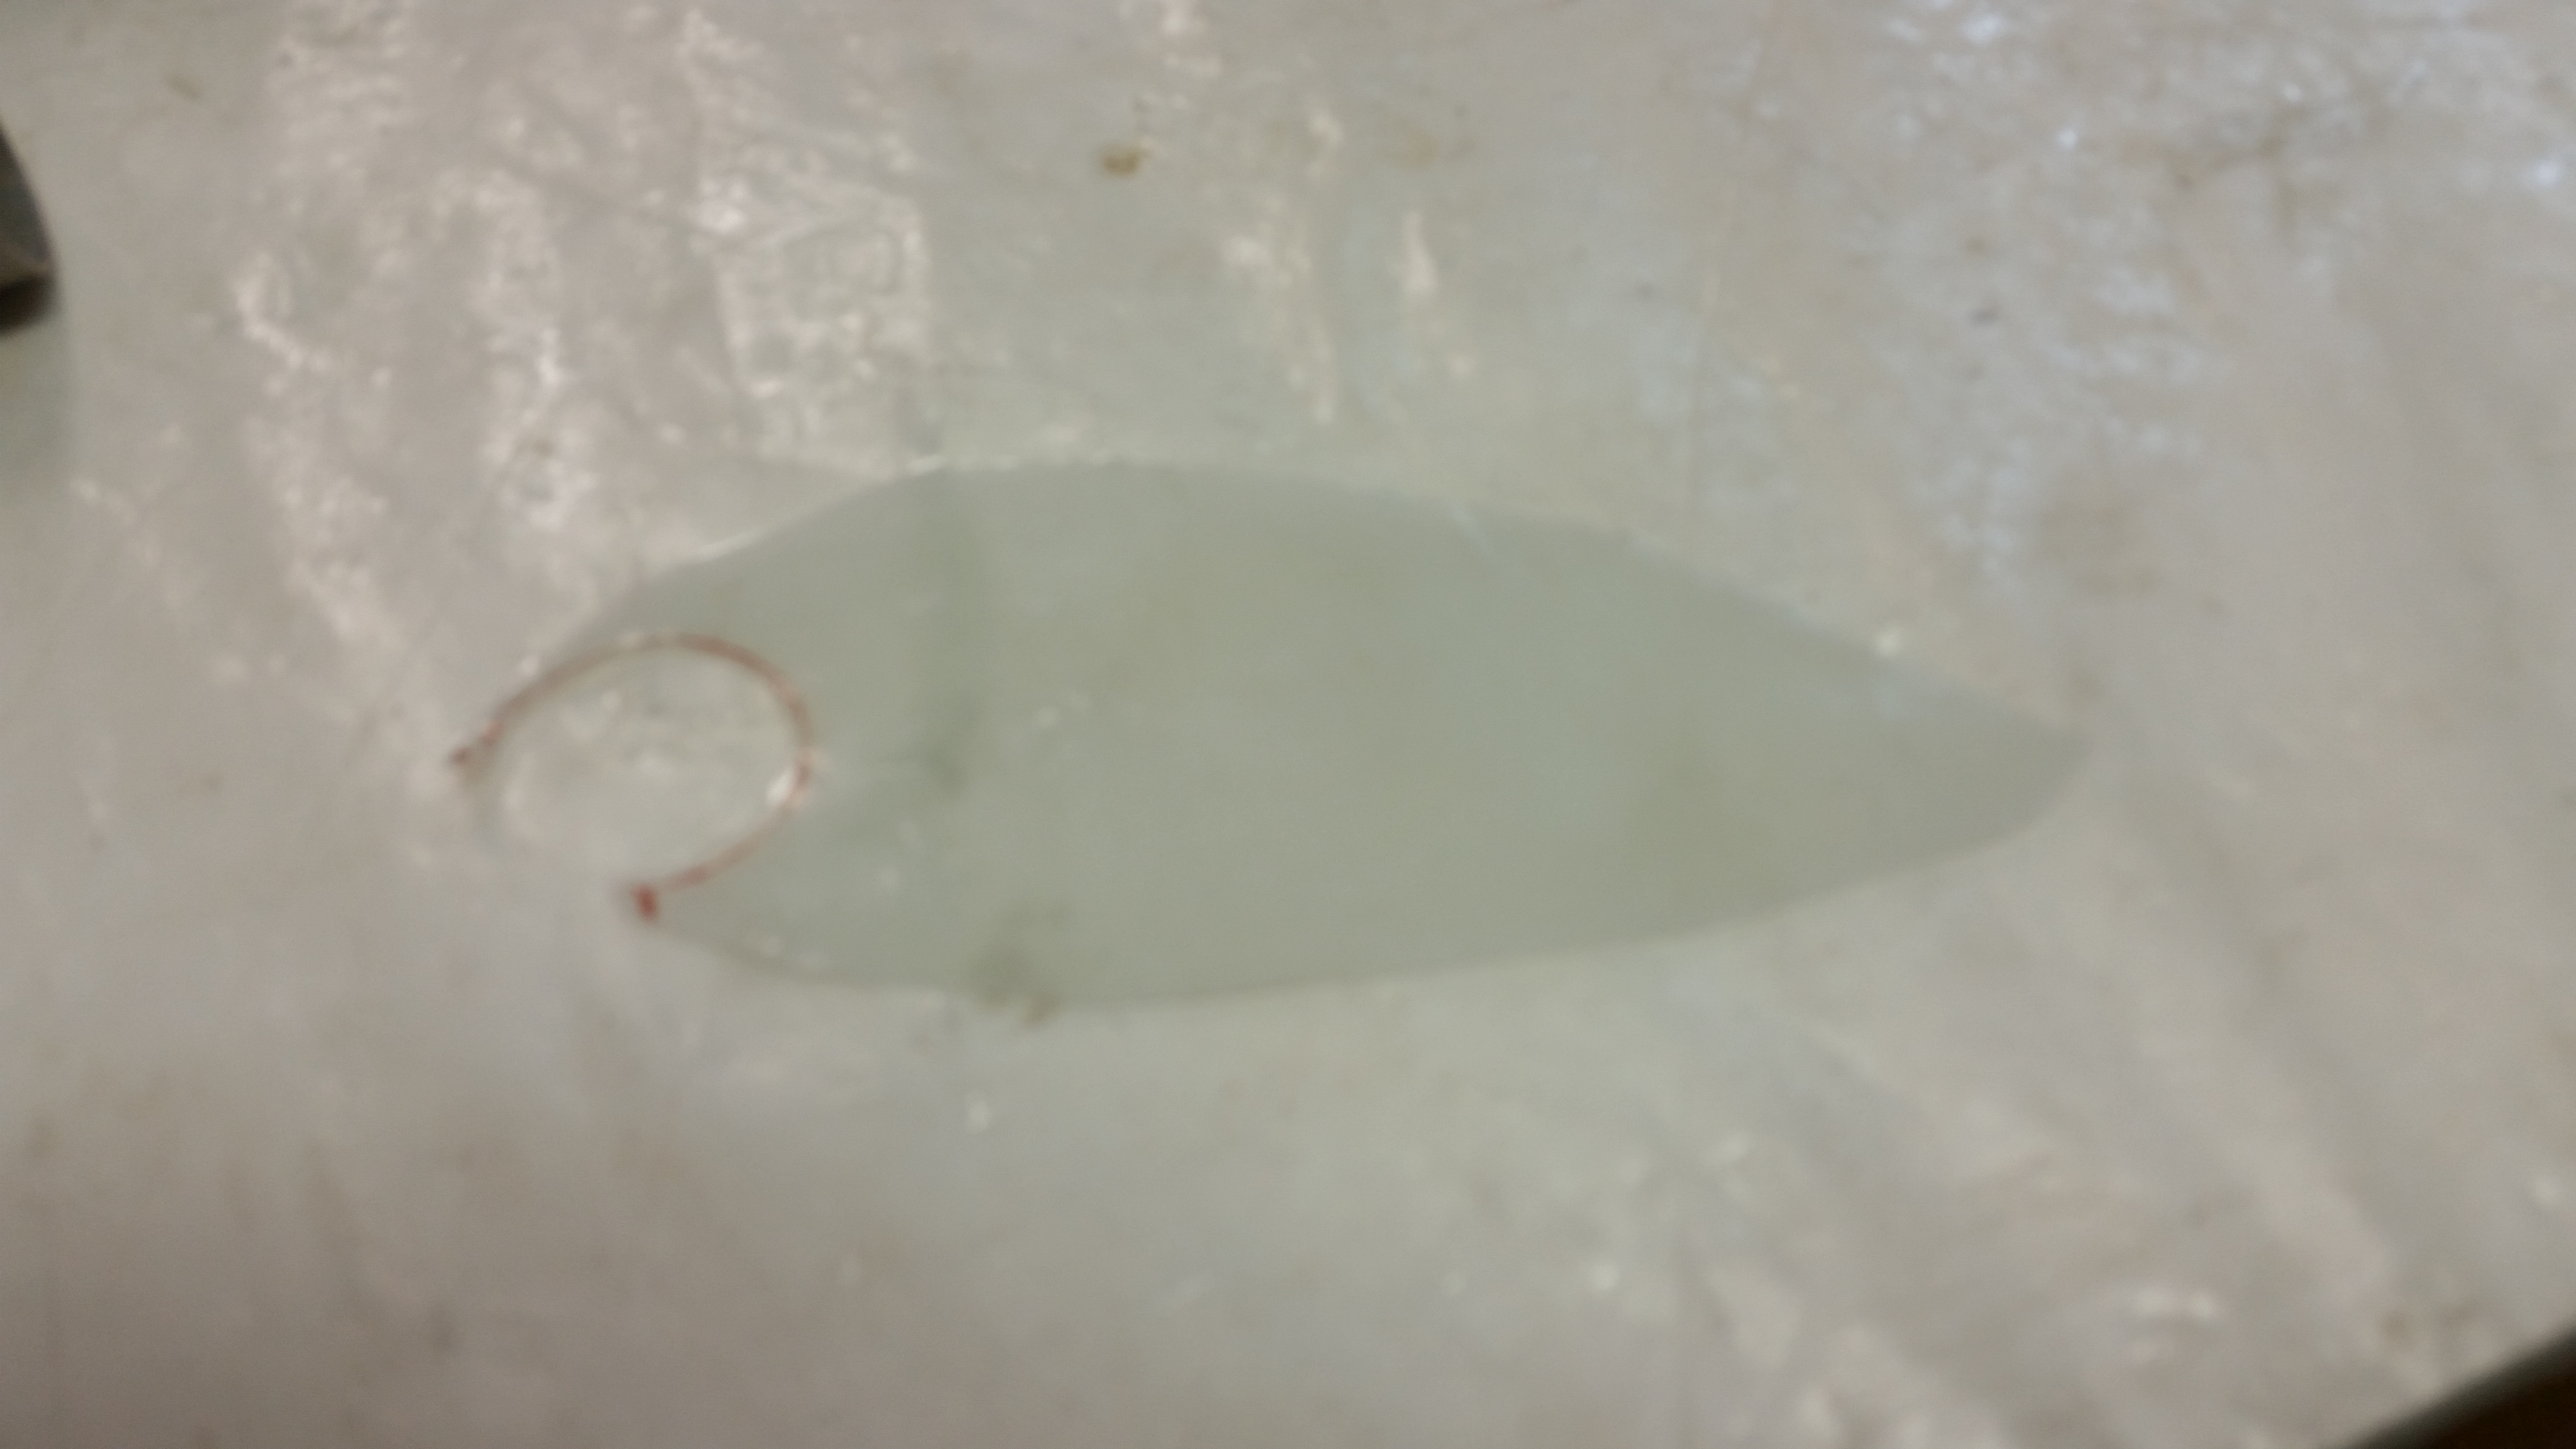
And here’s the layup with the top piece of prepreg plastic still in place.
Here’s the layup set to cure.
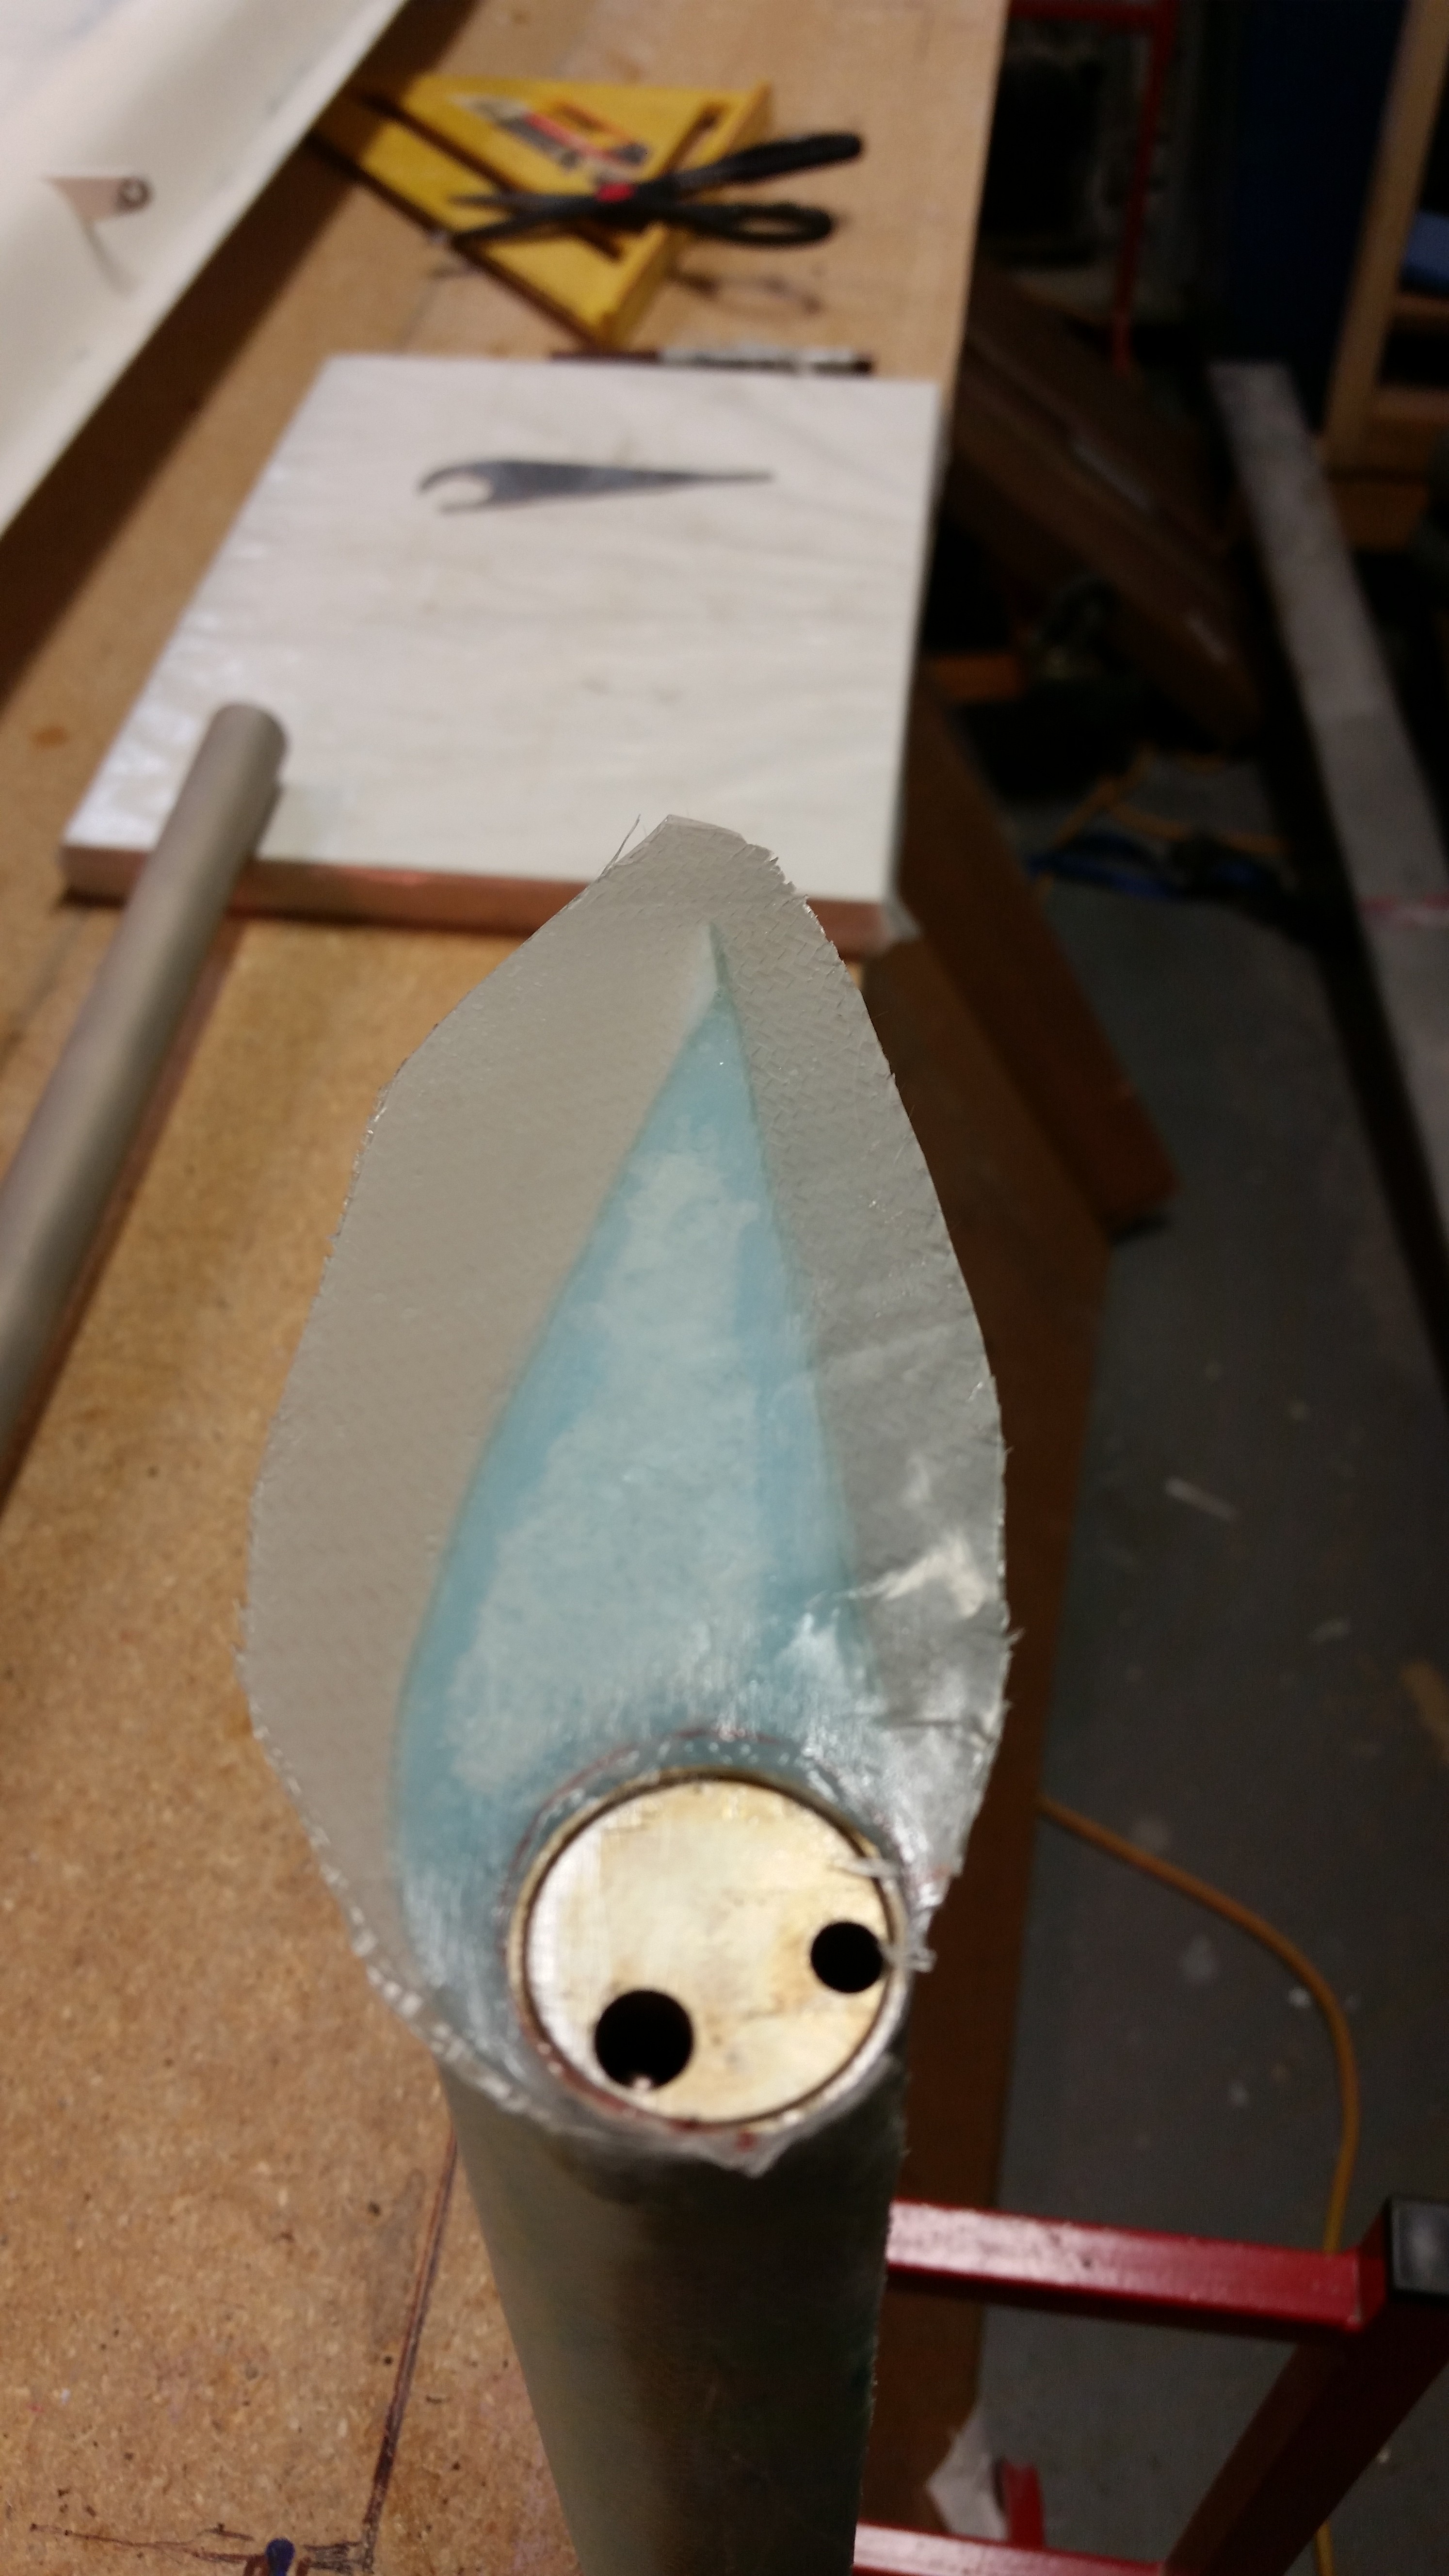
Quite a few hours later I returned and razor edged the elevator end layup. Since it was pretty much cured, I sanded the corners of the layup to smooth everything out.
I don’t have a pic of it, but I did spend a little time removing all the protective tape from the various holes in the elevator I cut the glass covering the hinge tab slots, and then drilled out the holes on each end: one for the set screw and the other for the torque offset bolt, respectively. I also sanded the LE a bit to get everything smooth & even.
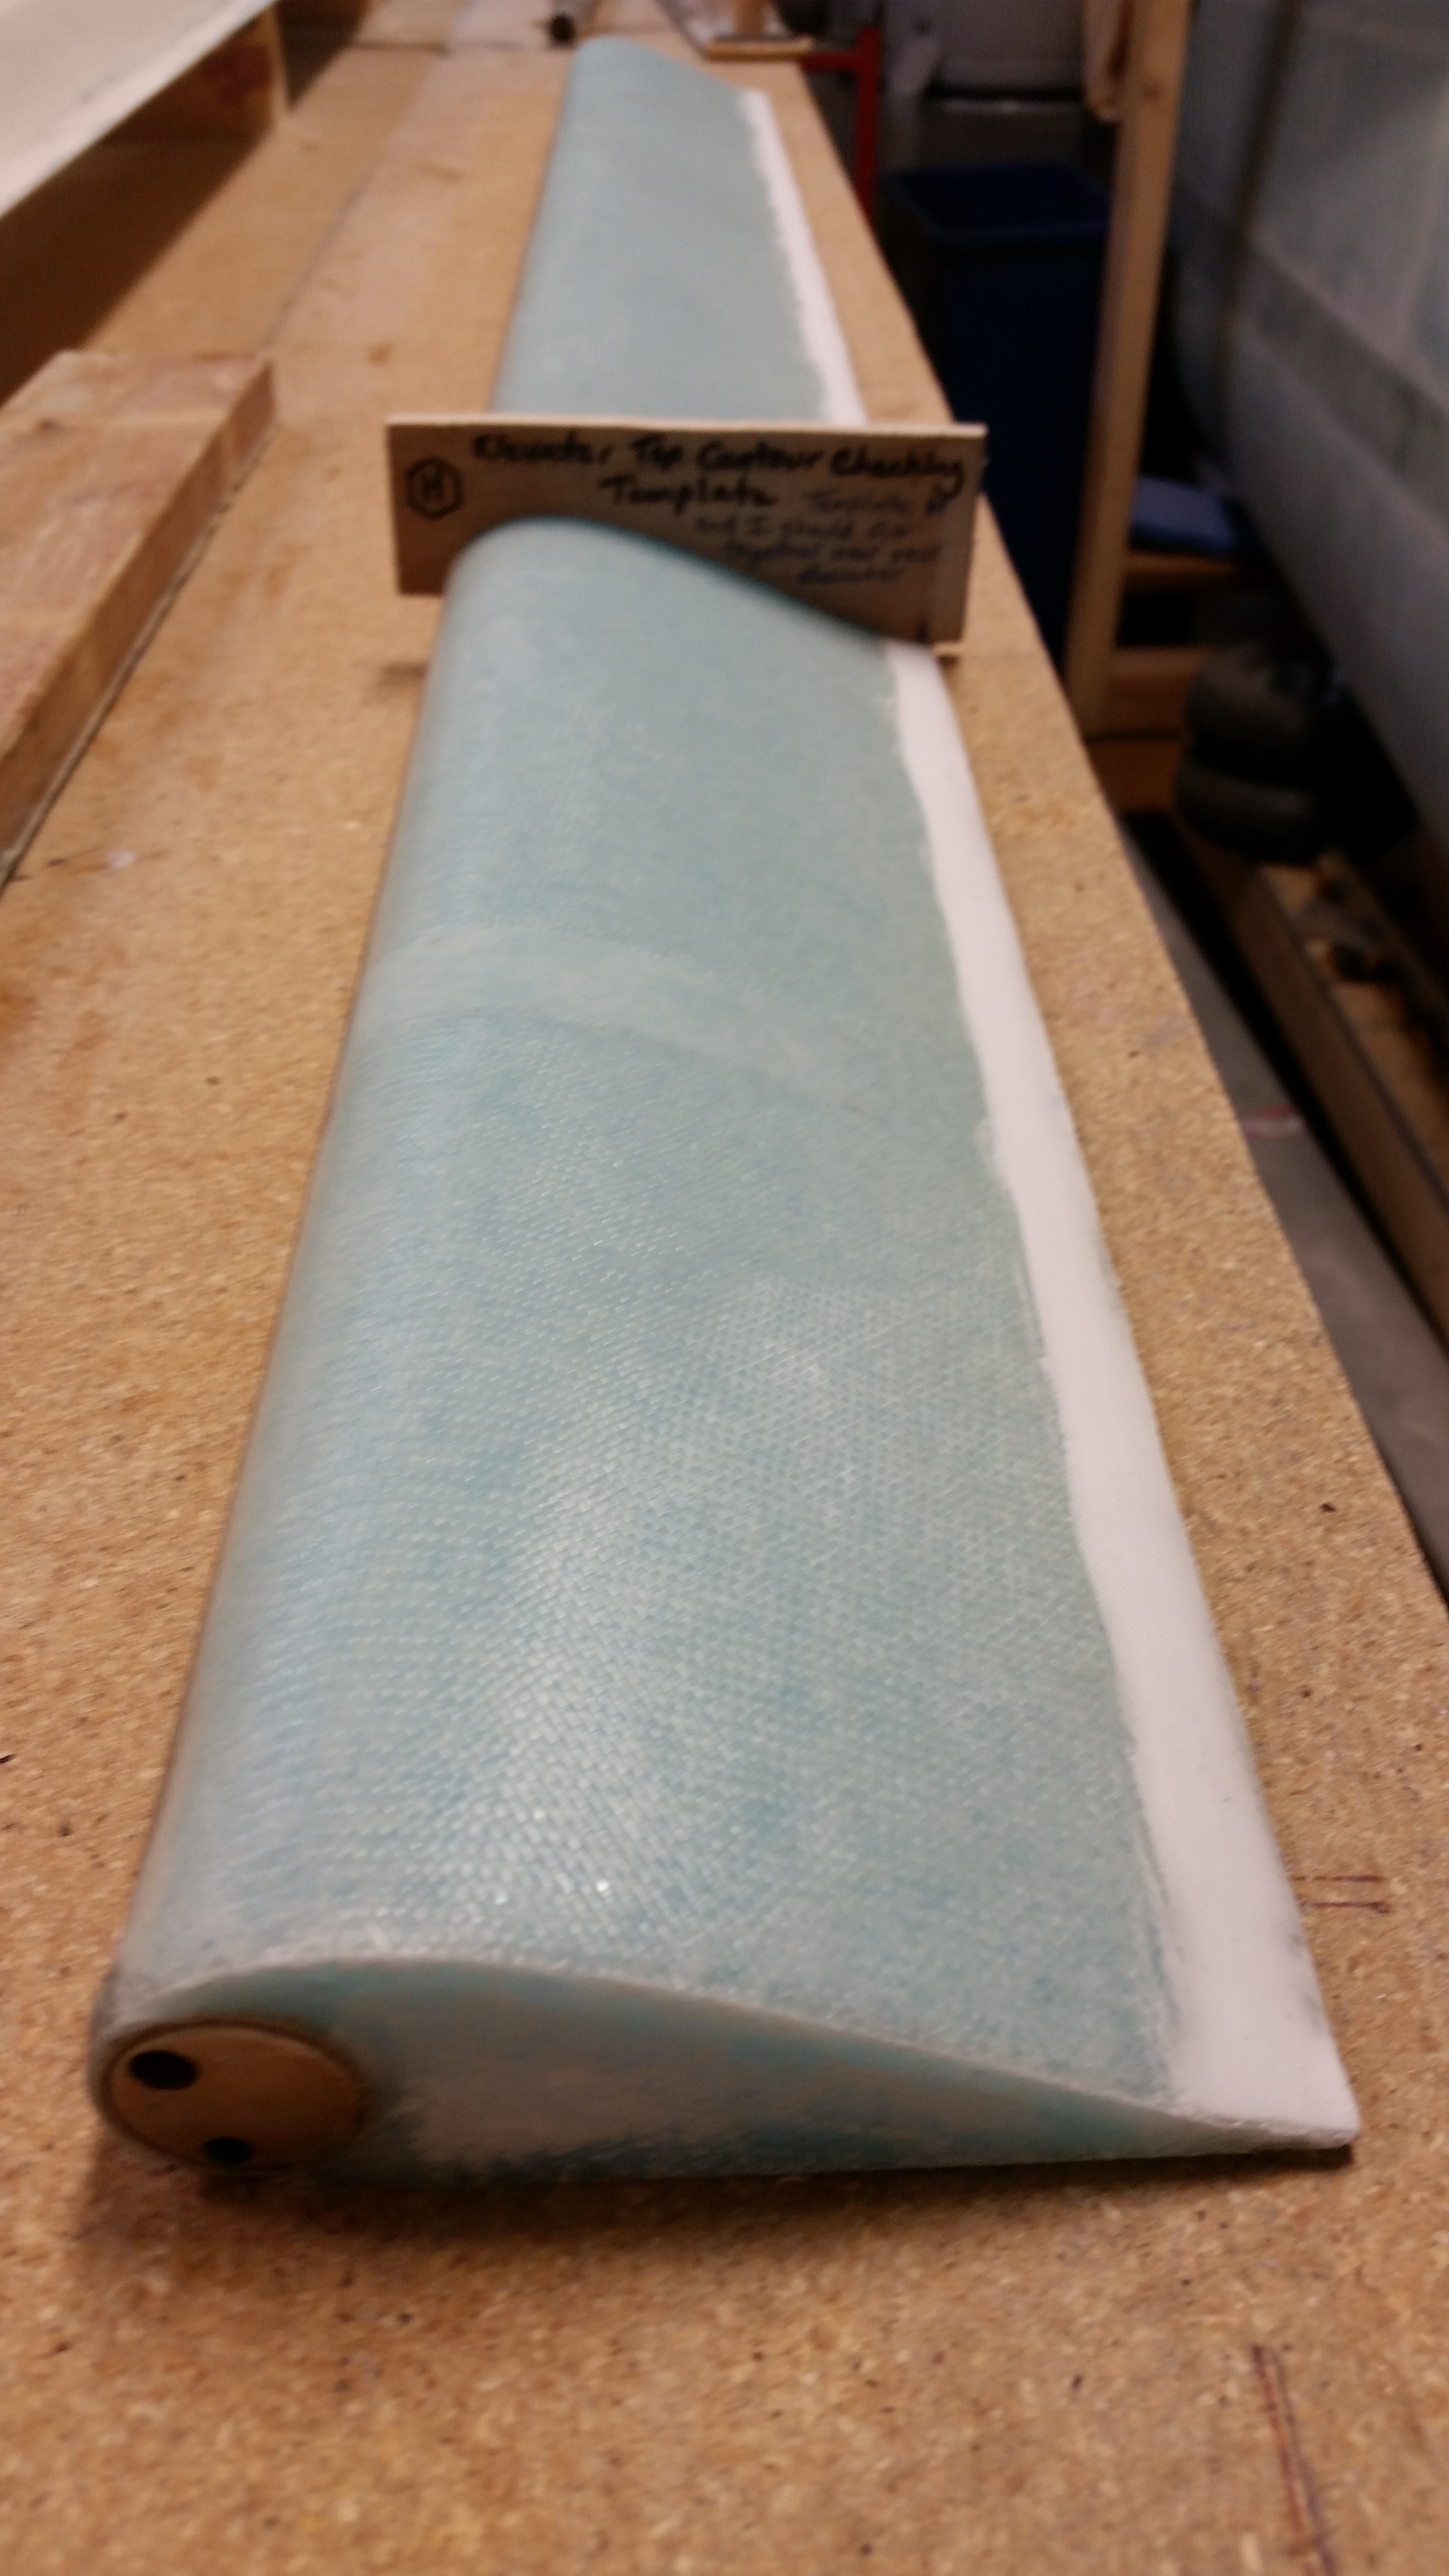
Here’s a shot of the end of the elevator, and the contour template in place as well.
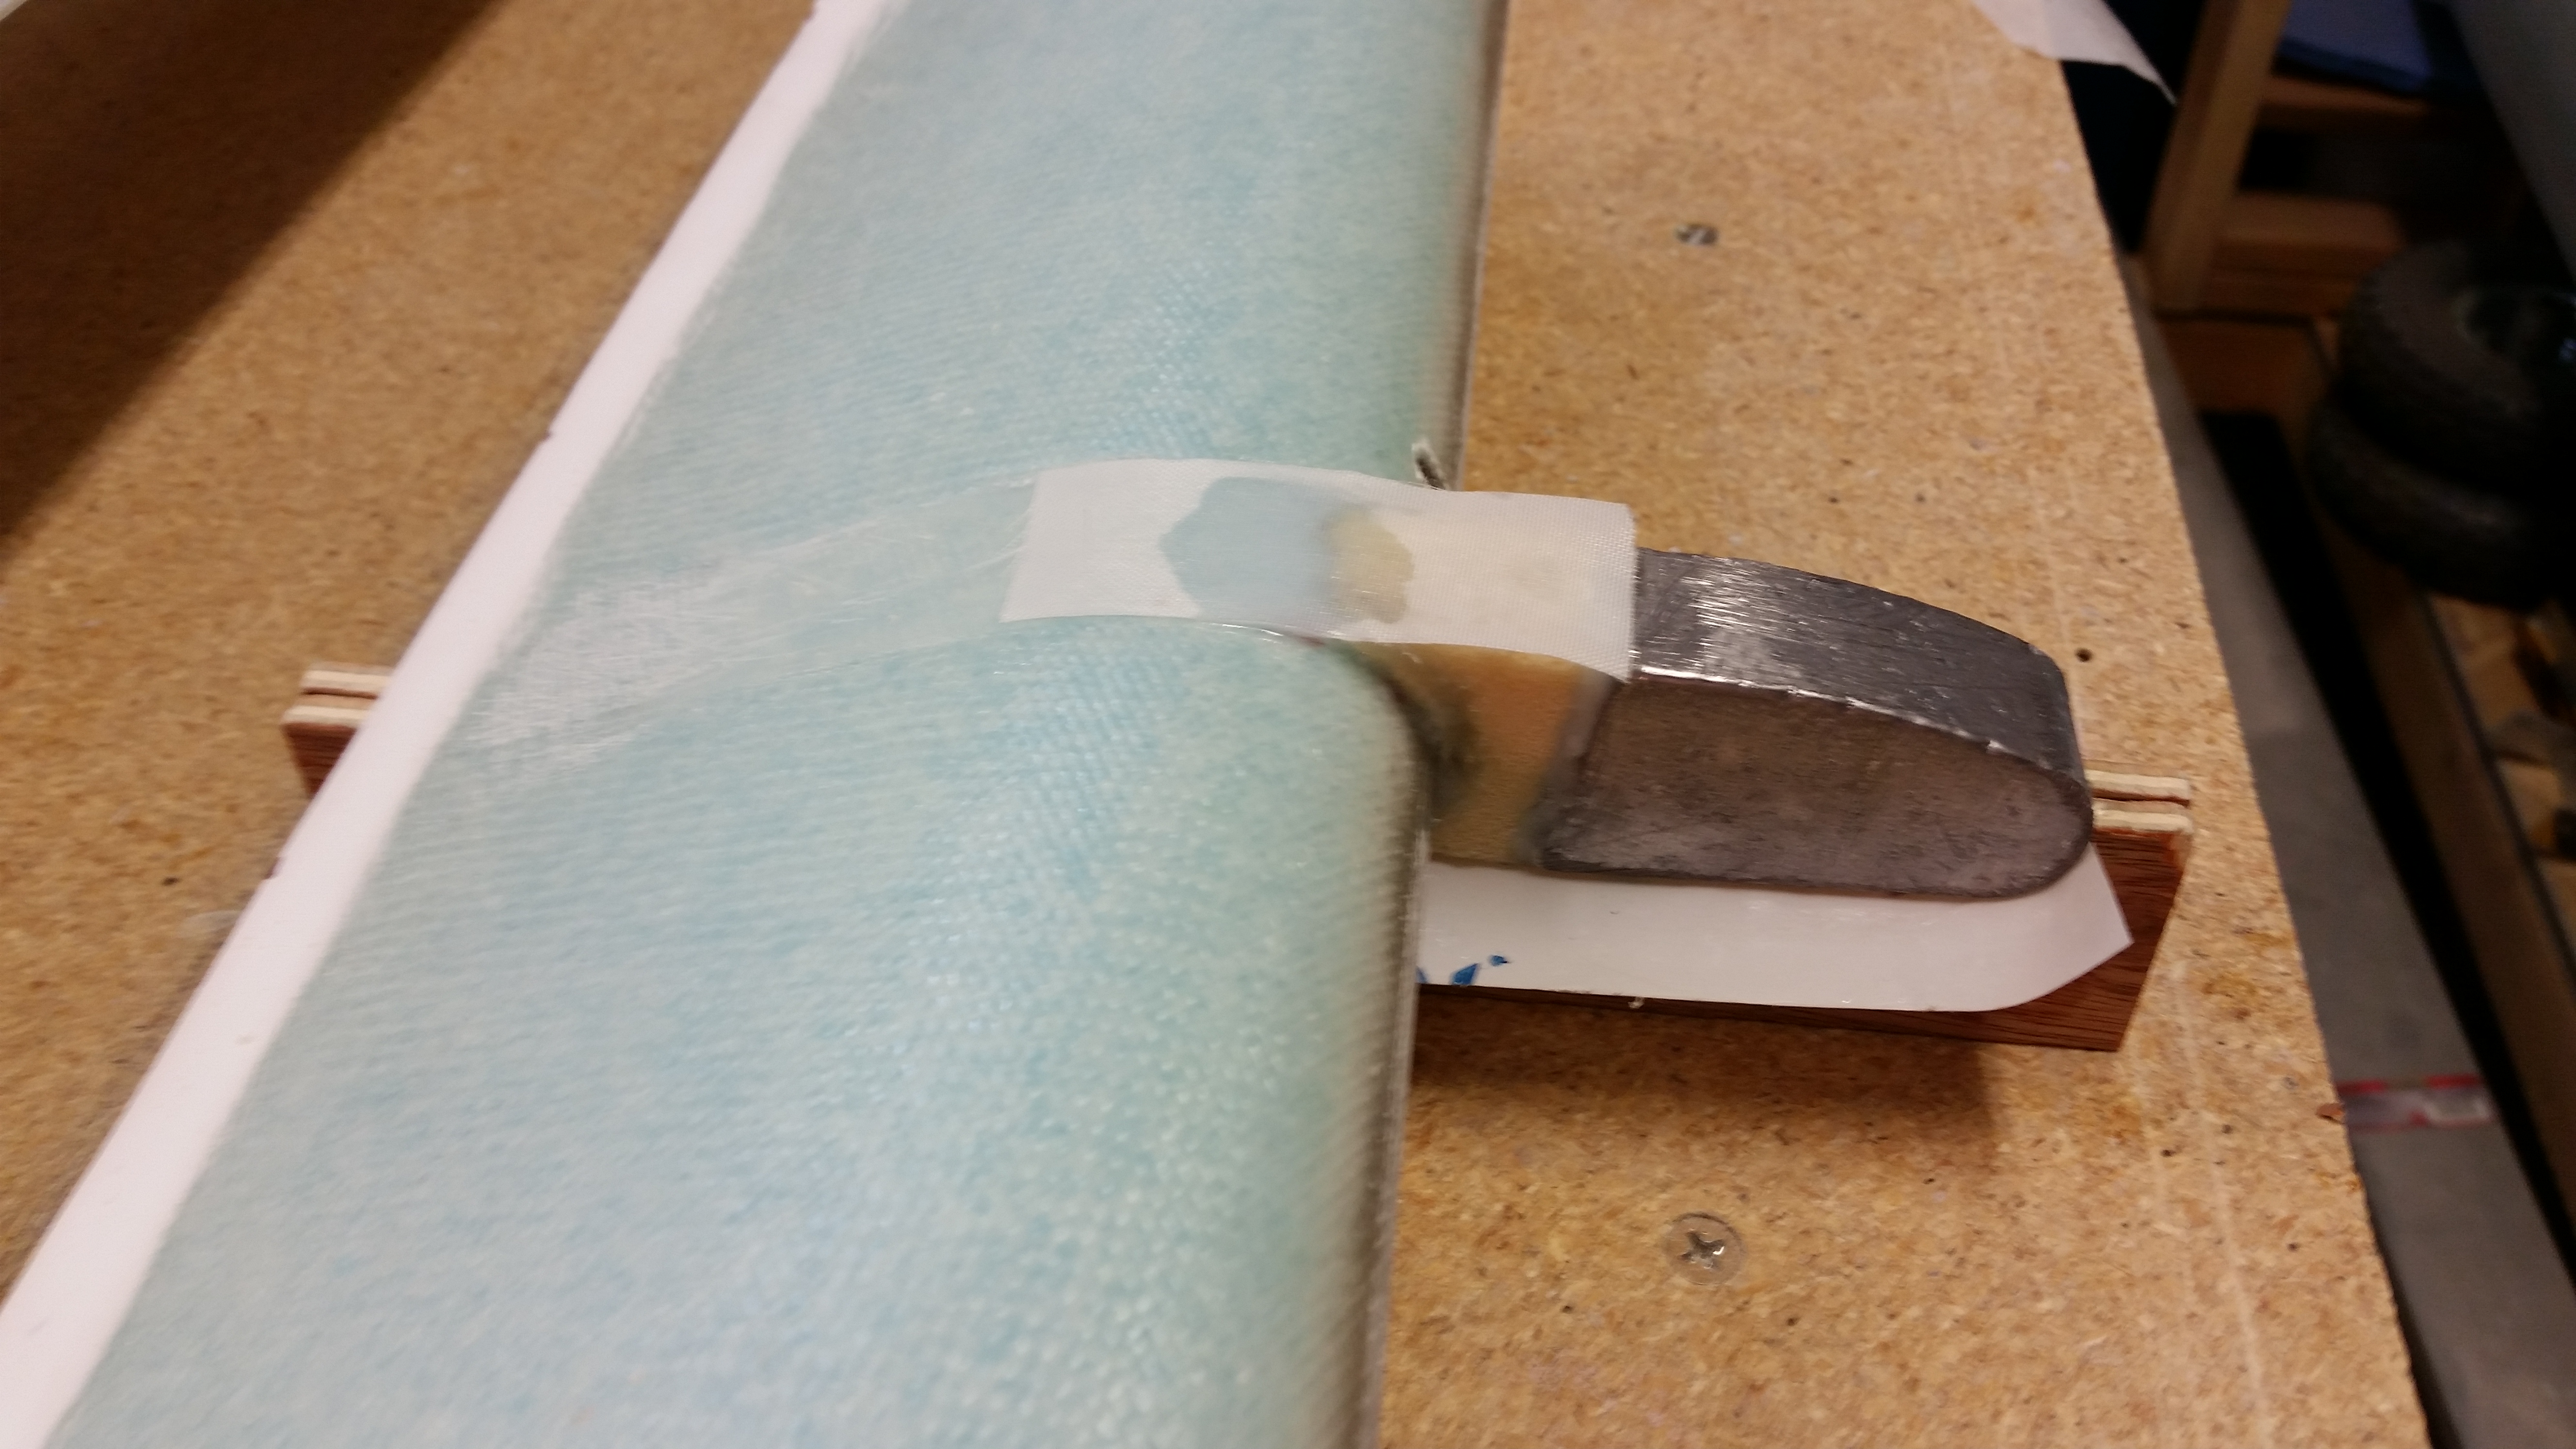
My last act of the evening (besides some research) was to re-attach the outboard elevator weight with flox. On this side the foam wasn’t too bad off, so I reused it. I did add a small crescent moon shaped foam spacer to help fill in a gap where it met the LE. I mounted it to the elevator with flox made with fast hardener.
Tomorrow I should get around to covering the outboard weight with 2 plies of UNI. I’ll also be working to sand down the TE on both elevators to dial in the correct width.