
For the right elevator at least.
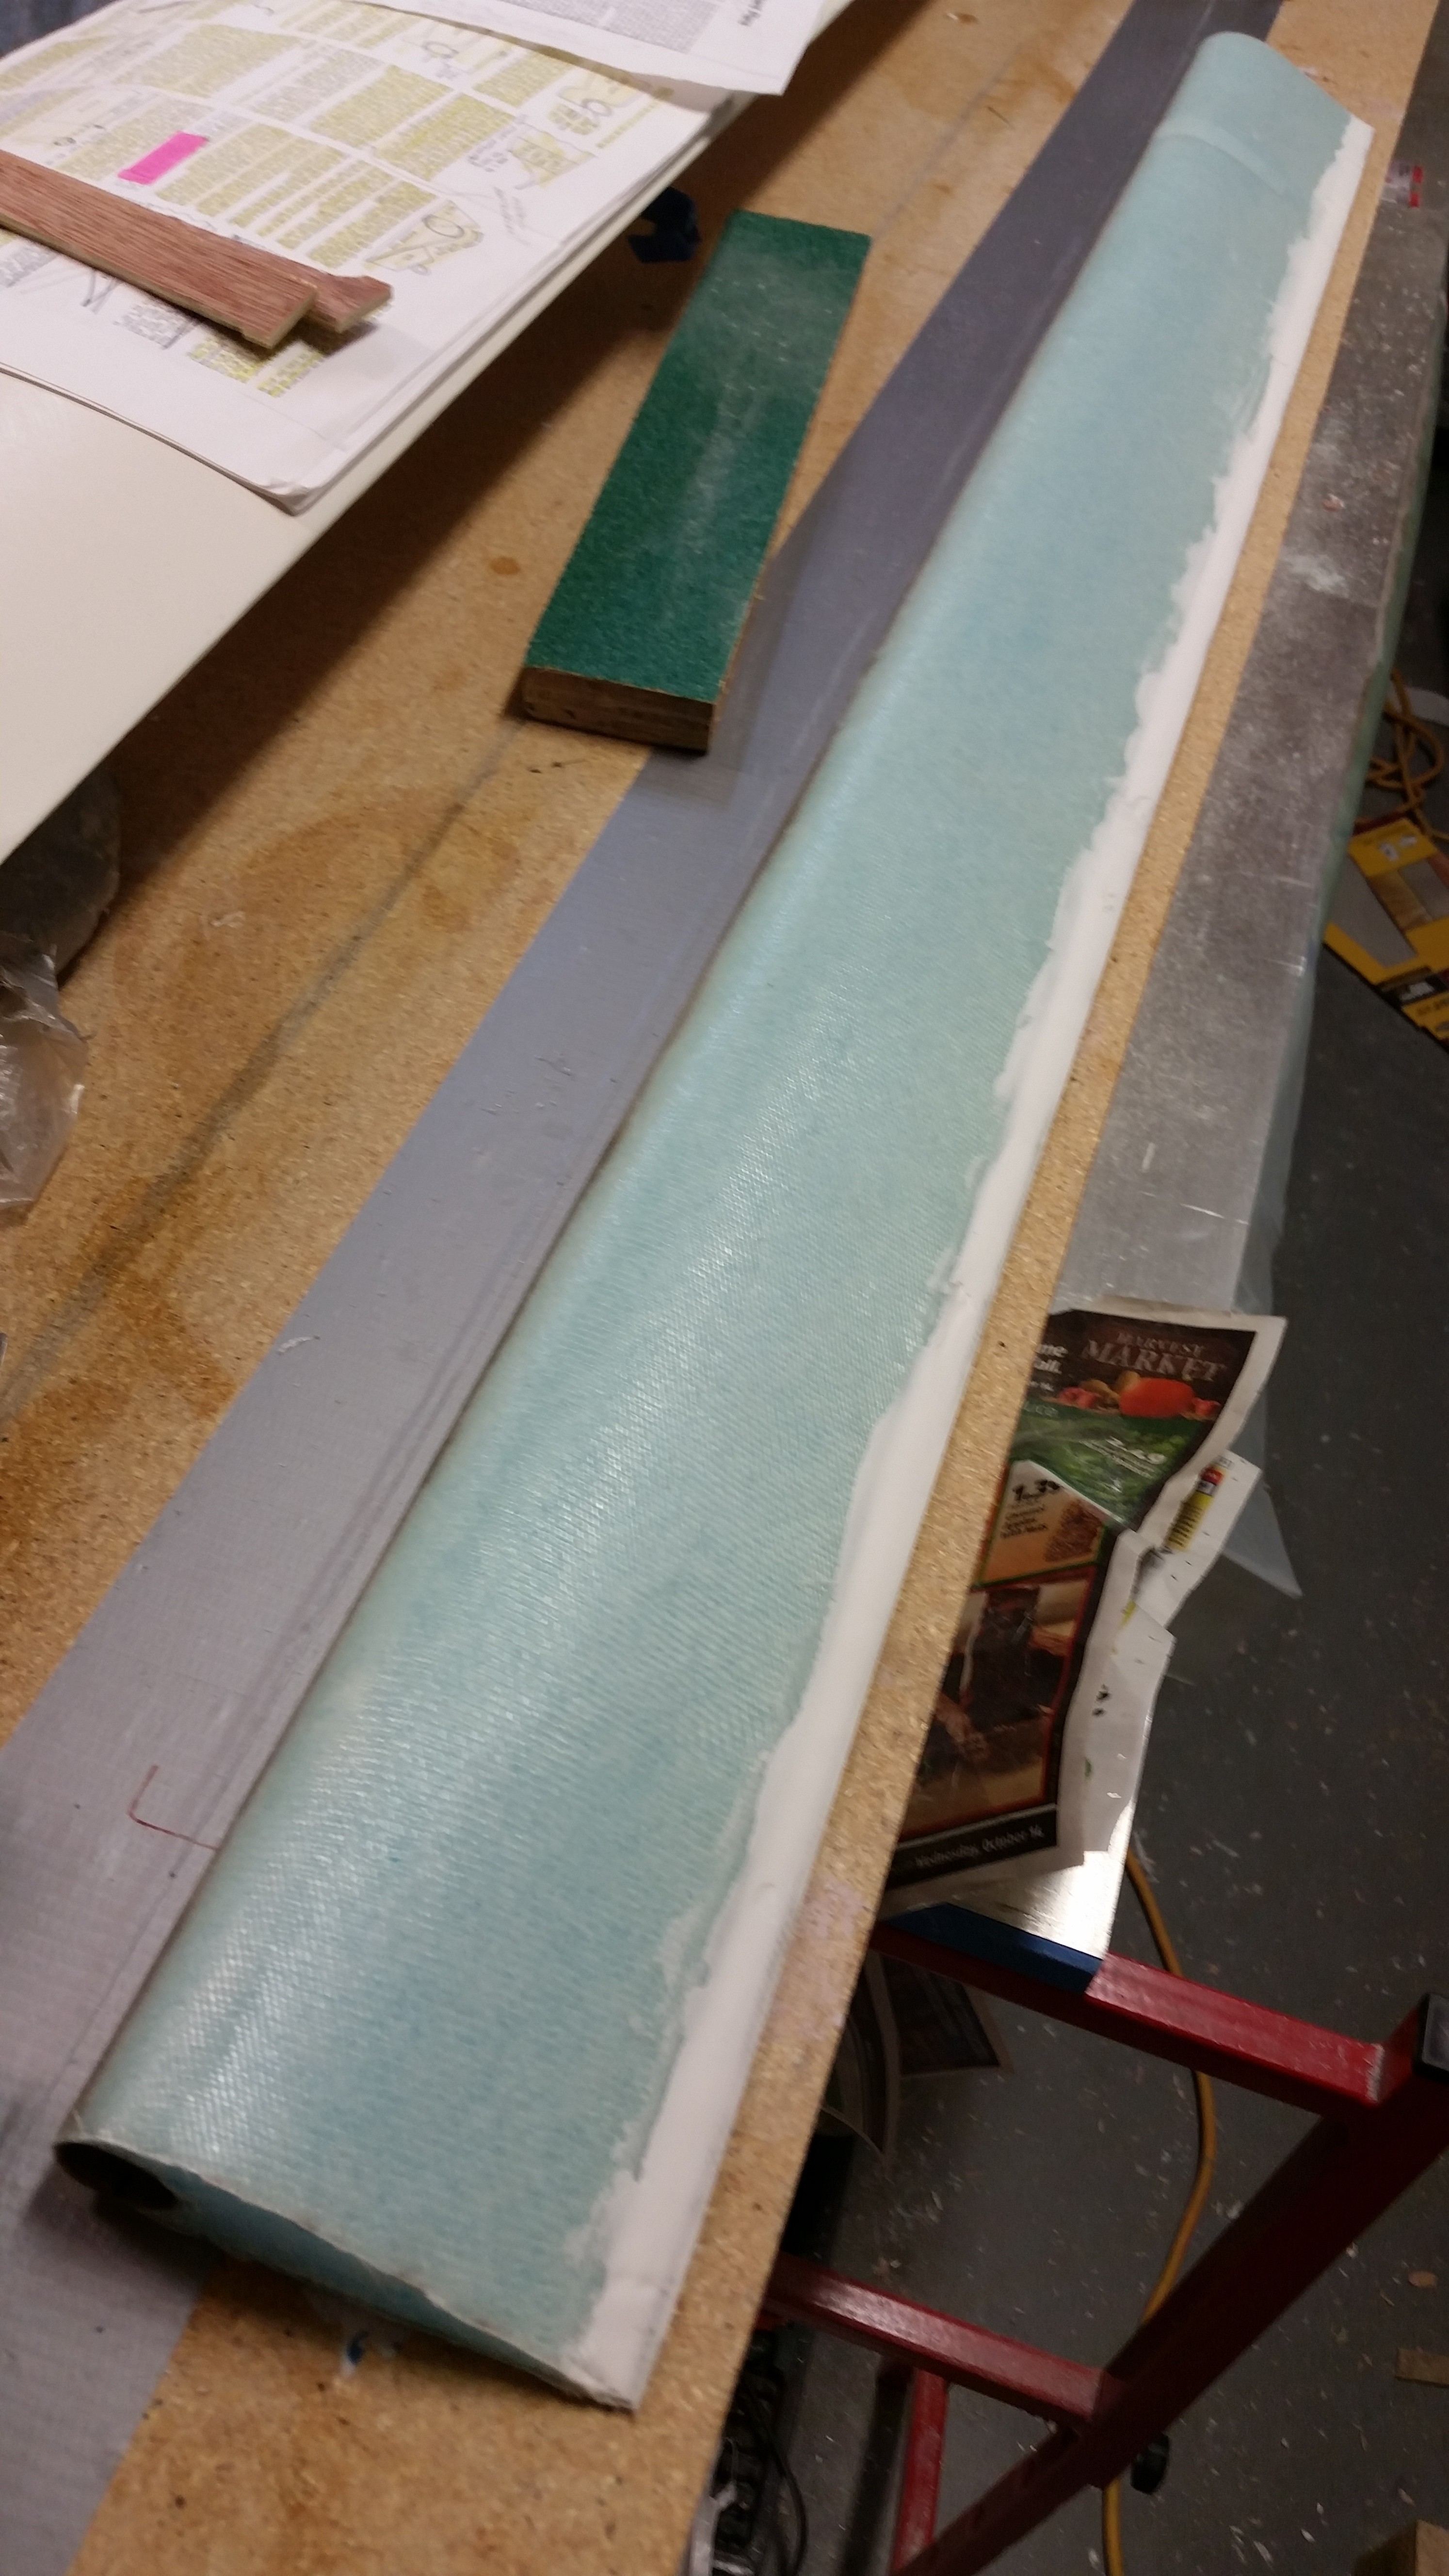
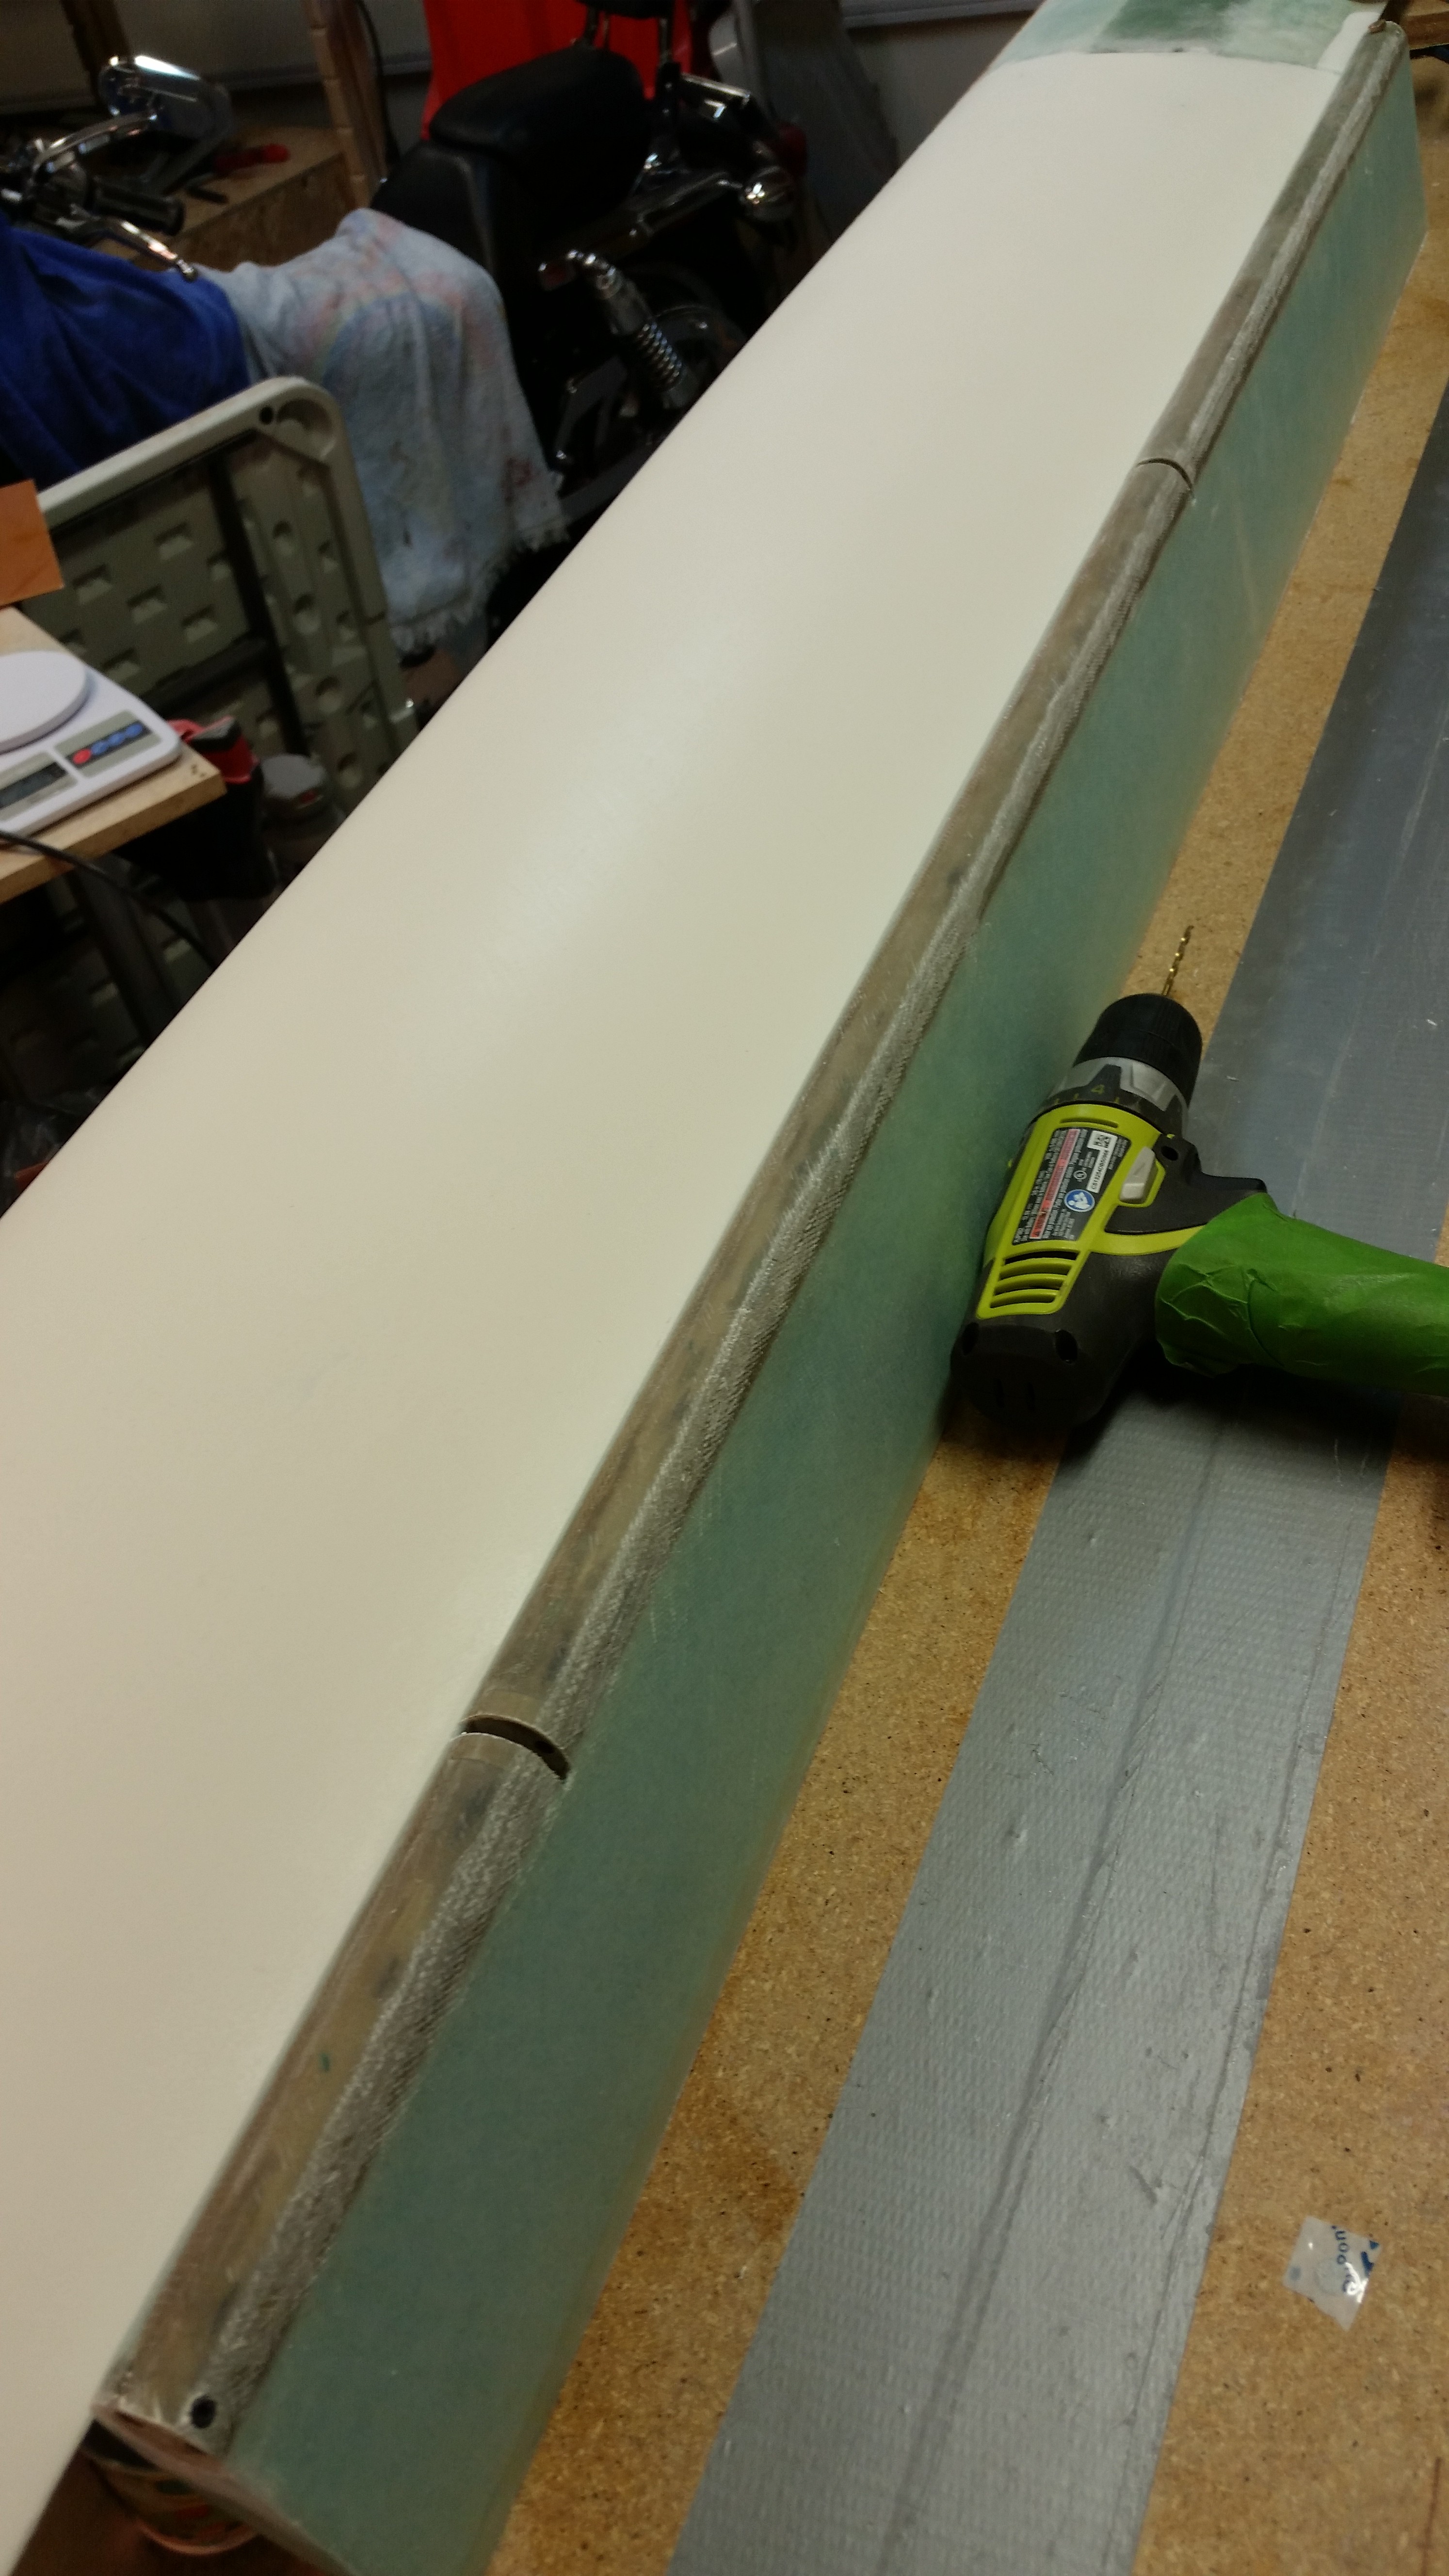
I started off today by trimming the elevator 1-ply BID glass that I laid up last night. I never made it back down to razor trim, so thank goodness it’s only one ply. I then sanded the edges flush with the surrounding top & bottom skins. I also had to cut out the glass over the NC-6 insert, and while doing so thought I should have stepped out of my paradigm and just glassed over all of it. Oh, well, a few more minutes and I had what you see below.
I then turned my sights first on sanding the rough spots of the LE, and I then pulled the peel ply and sanded the TE.
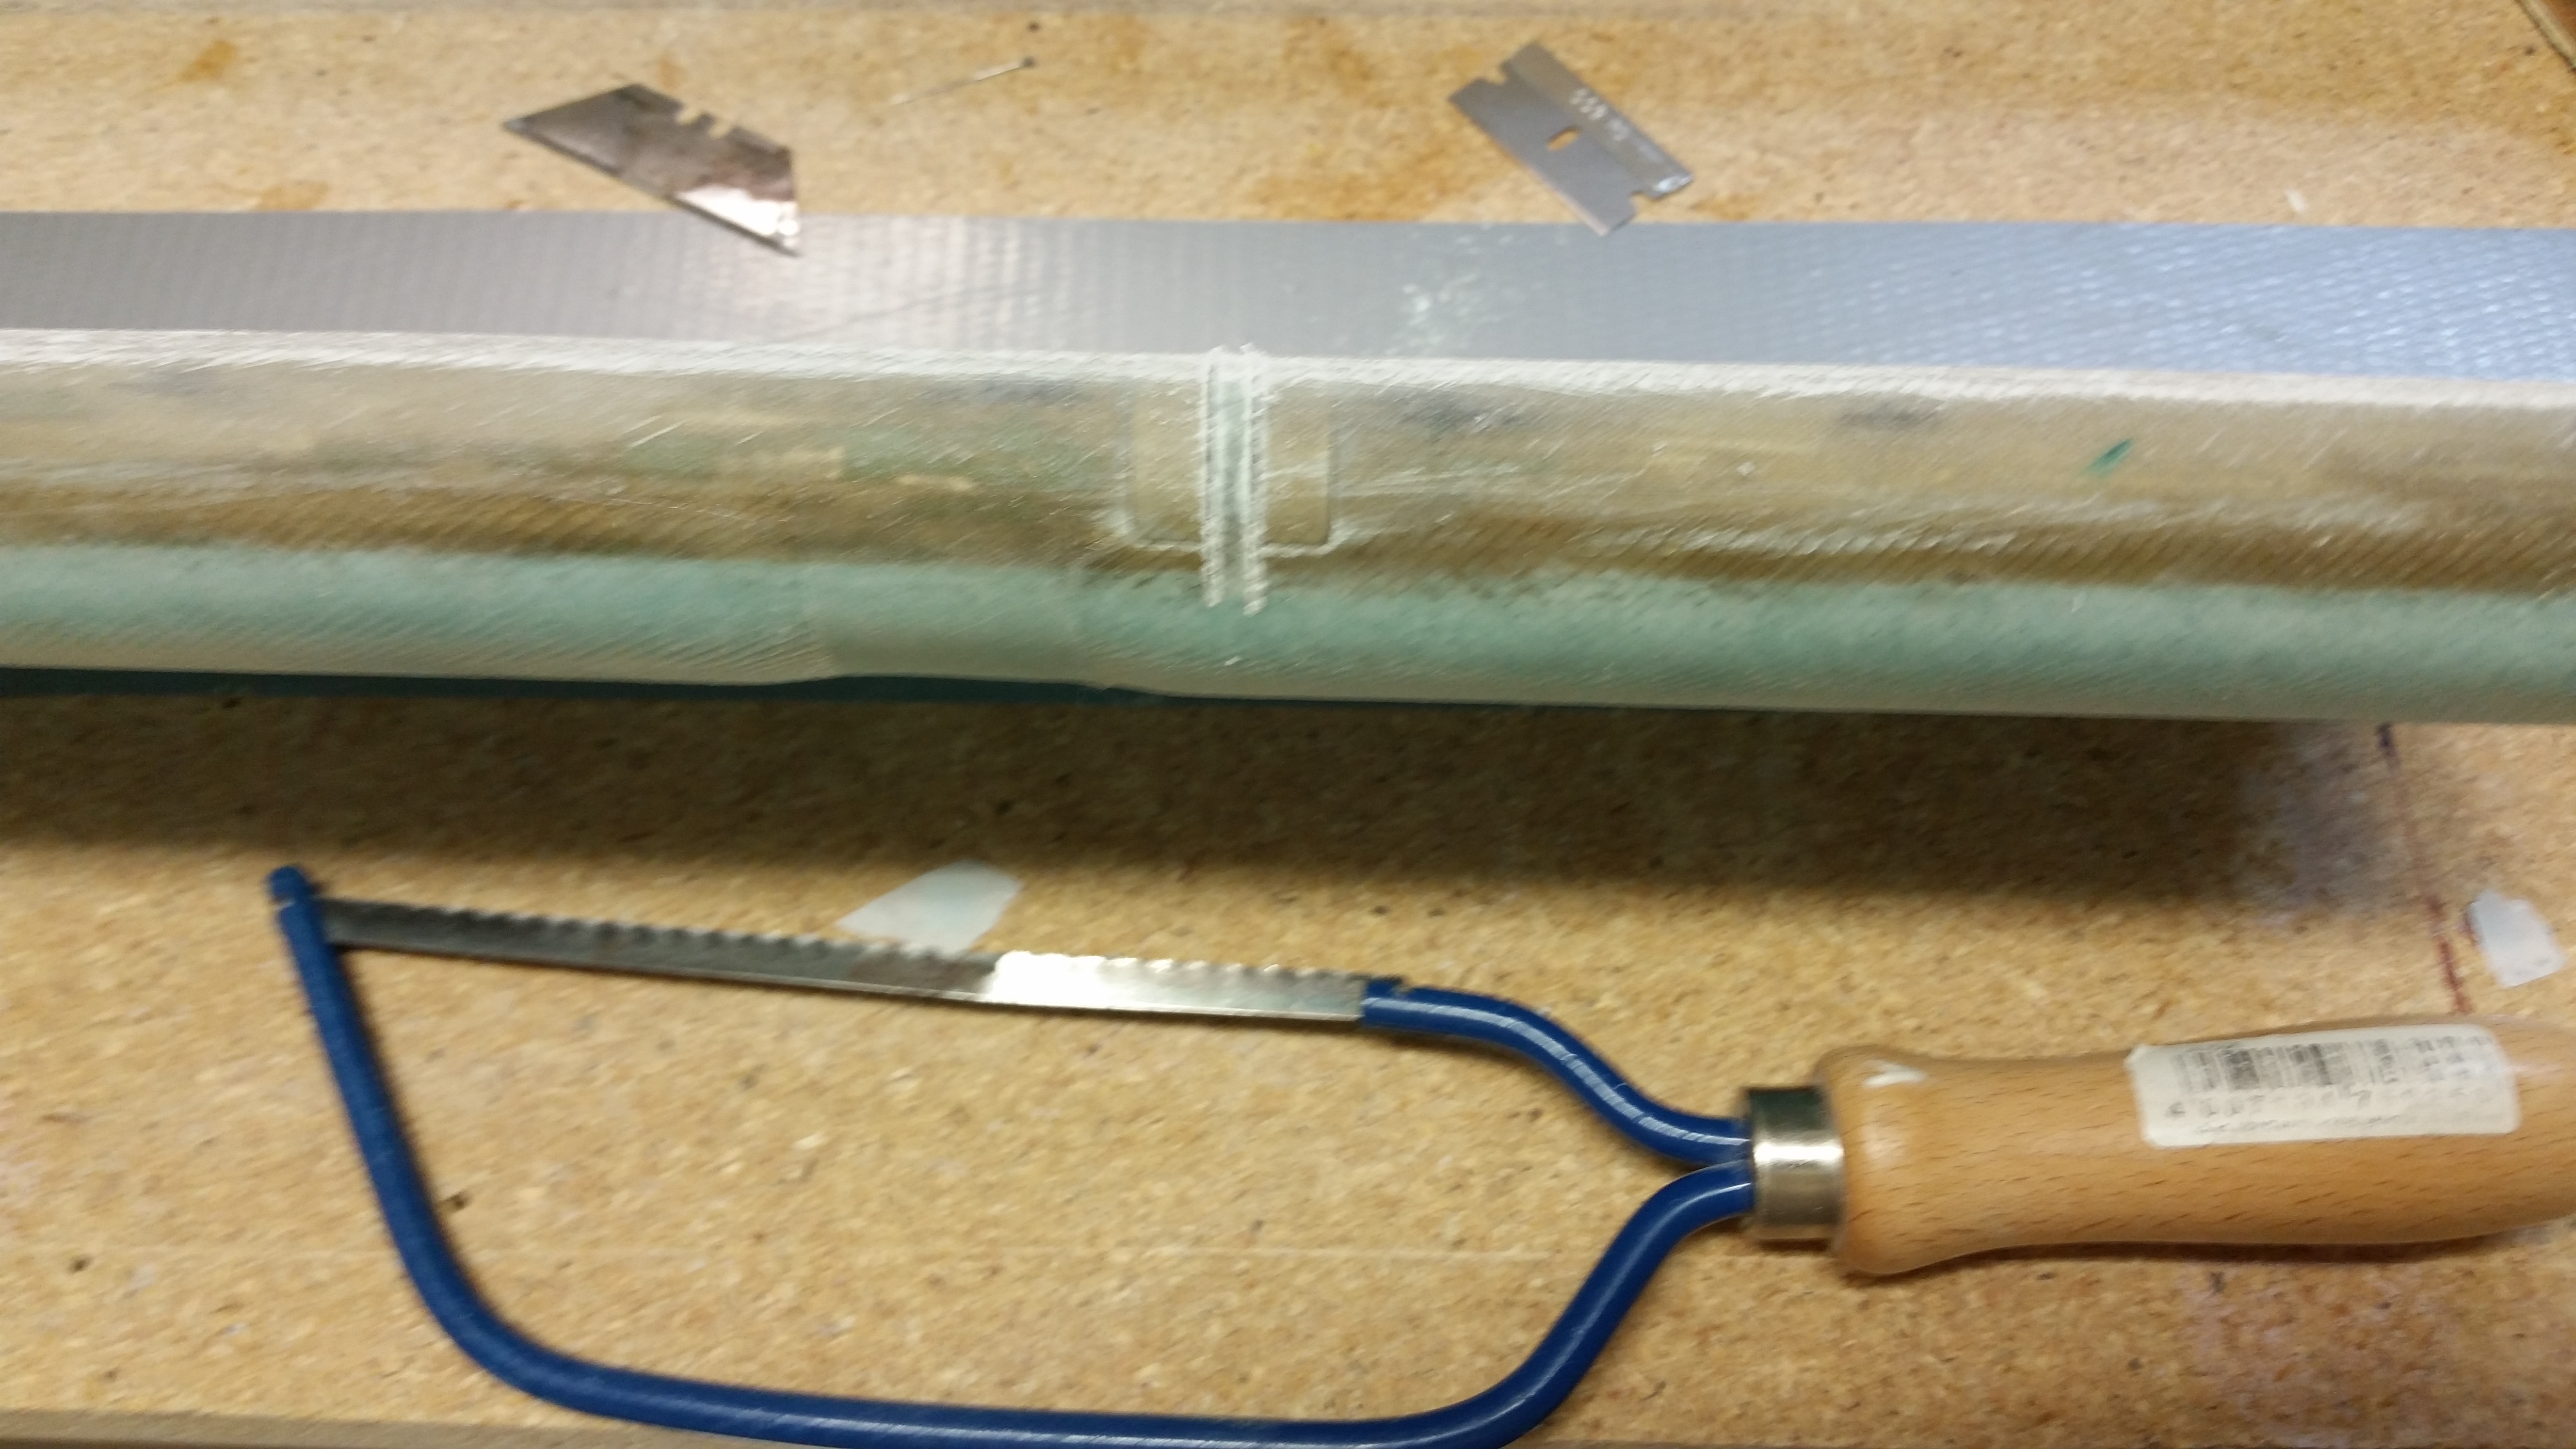
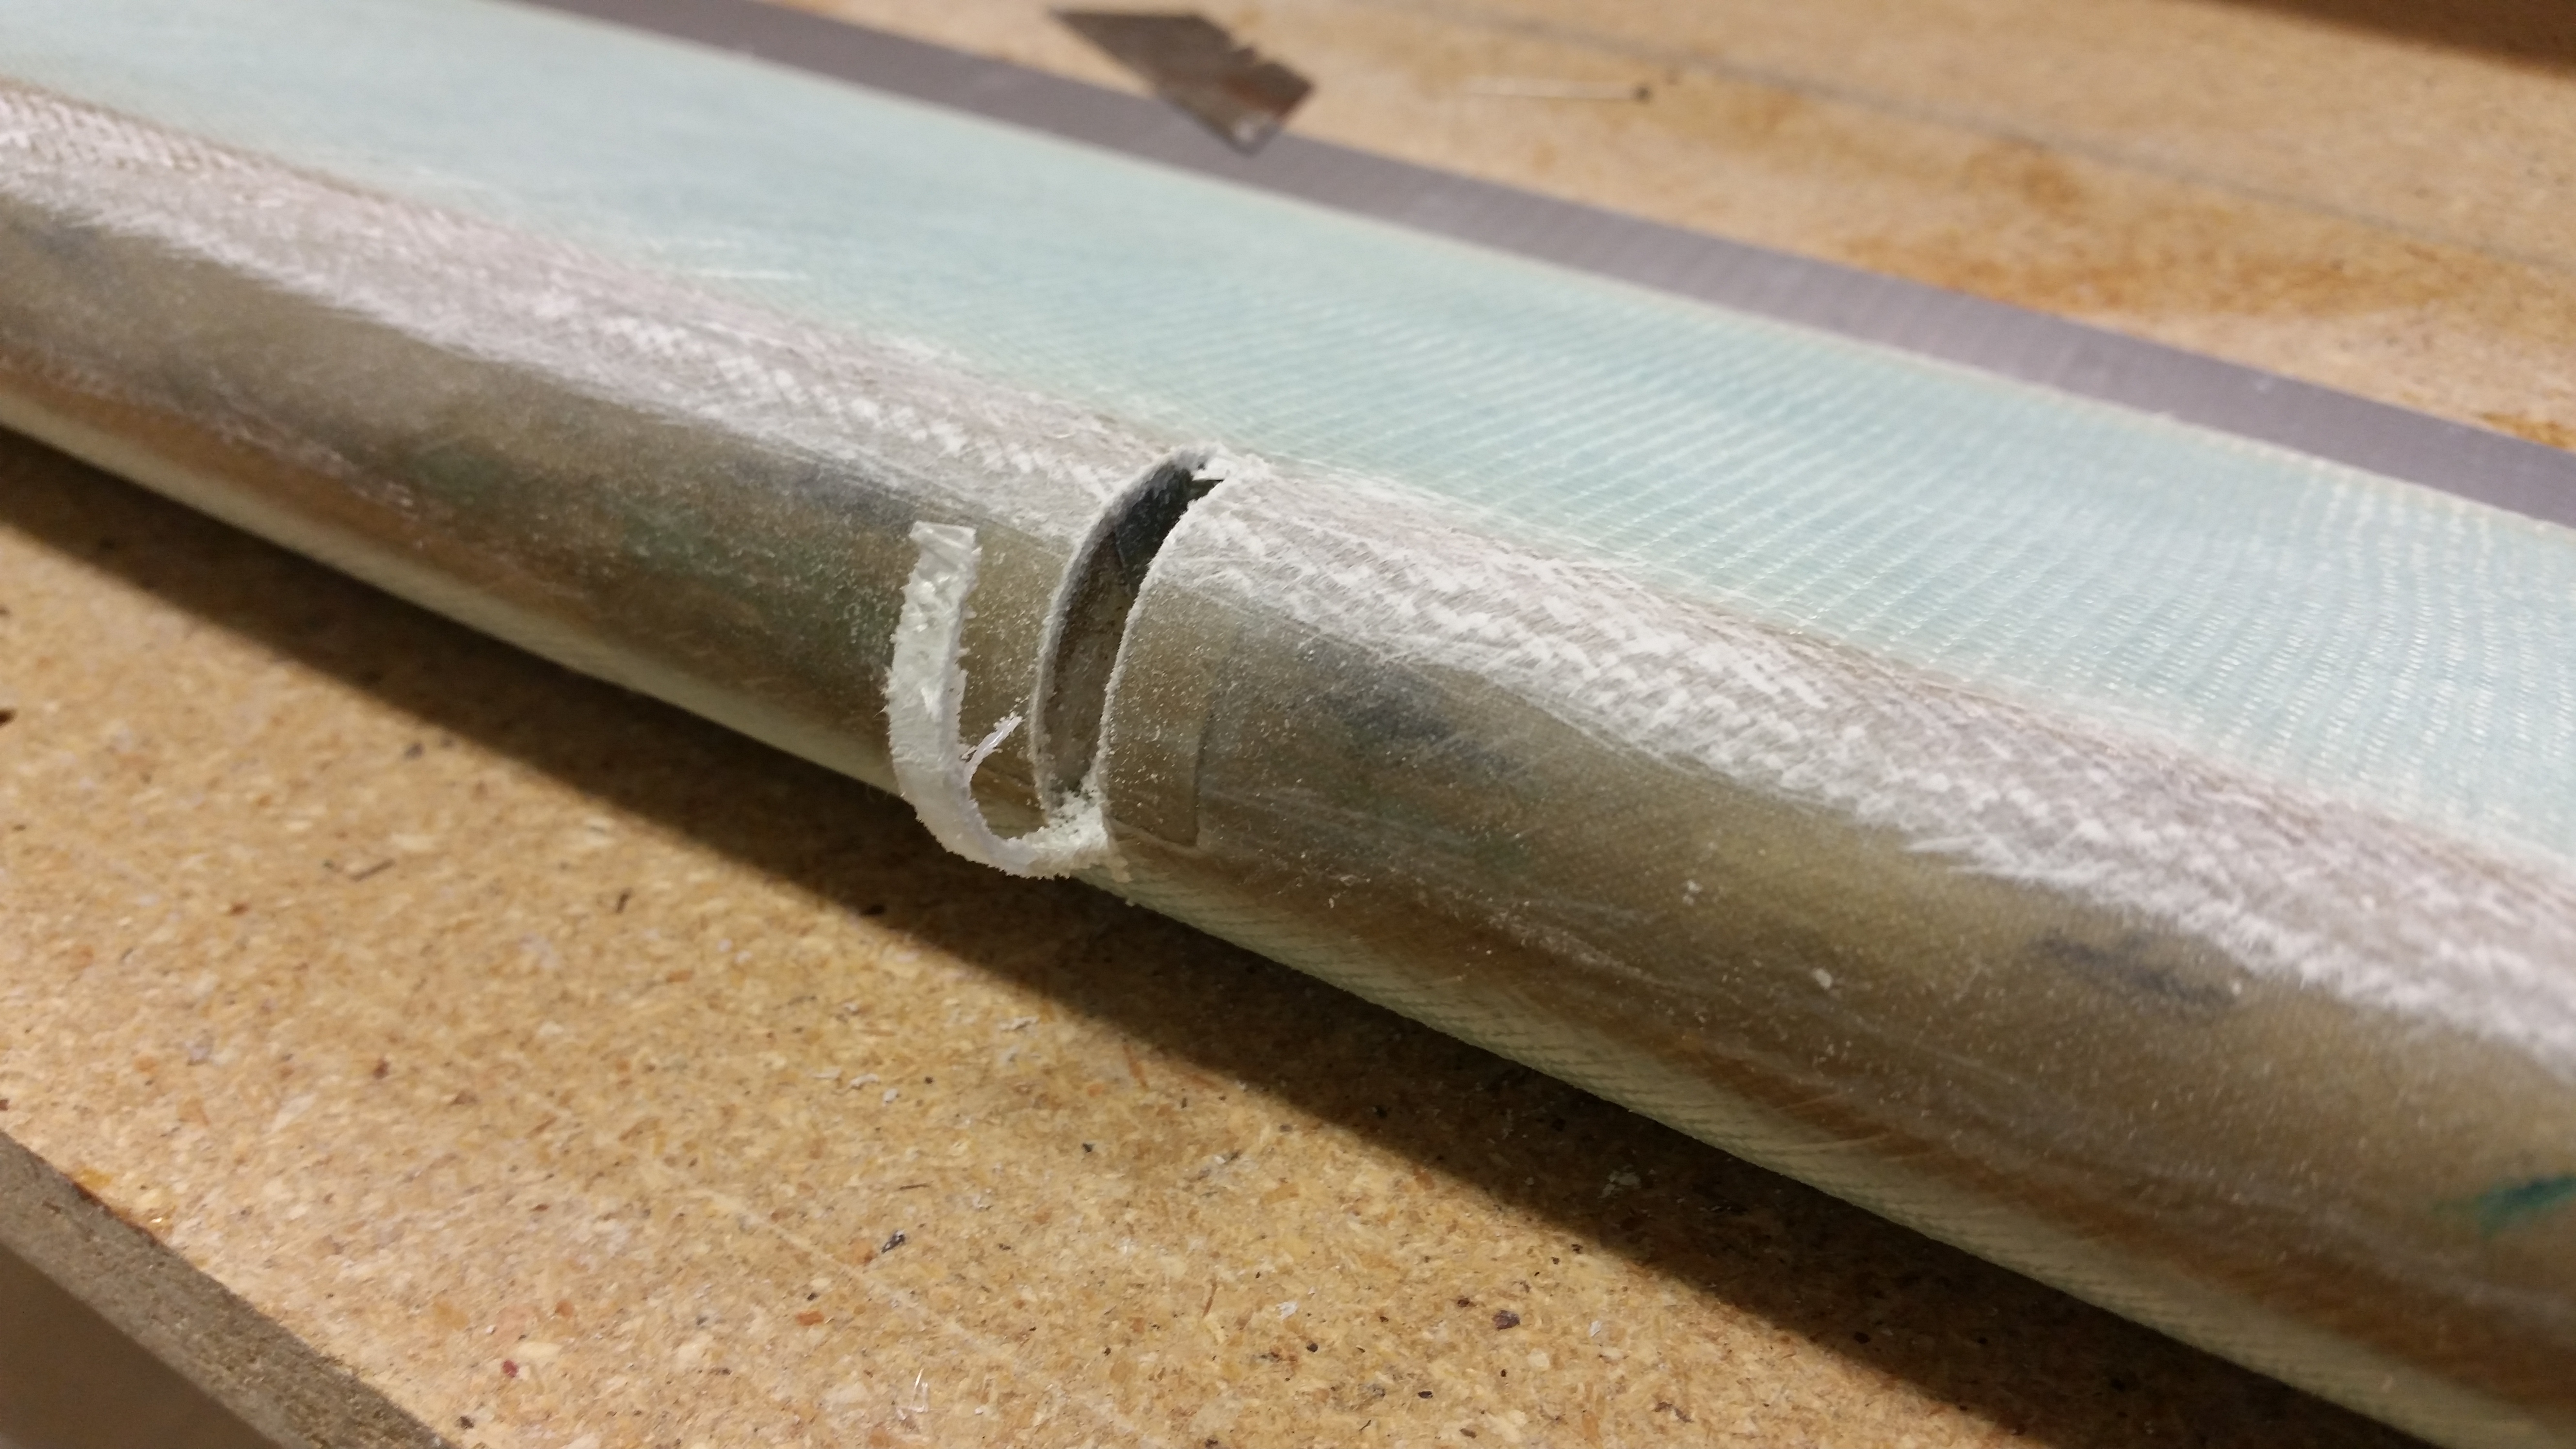
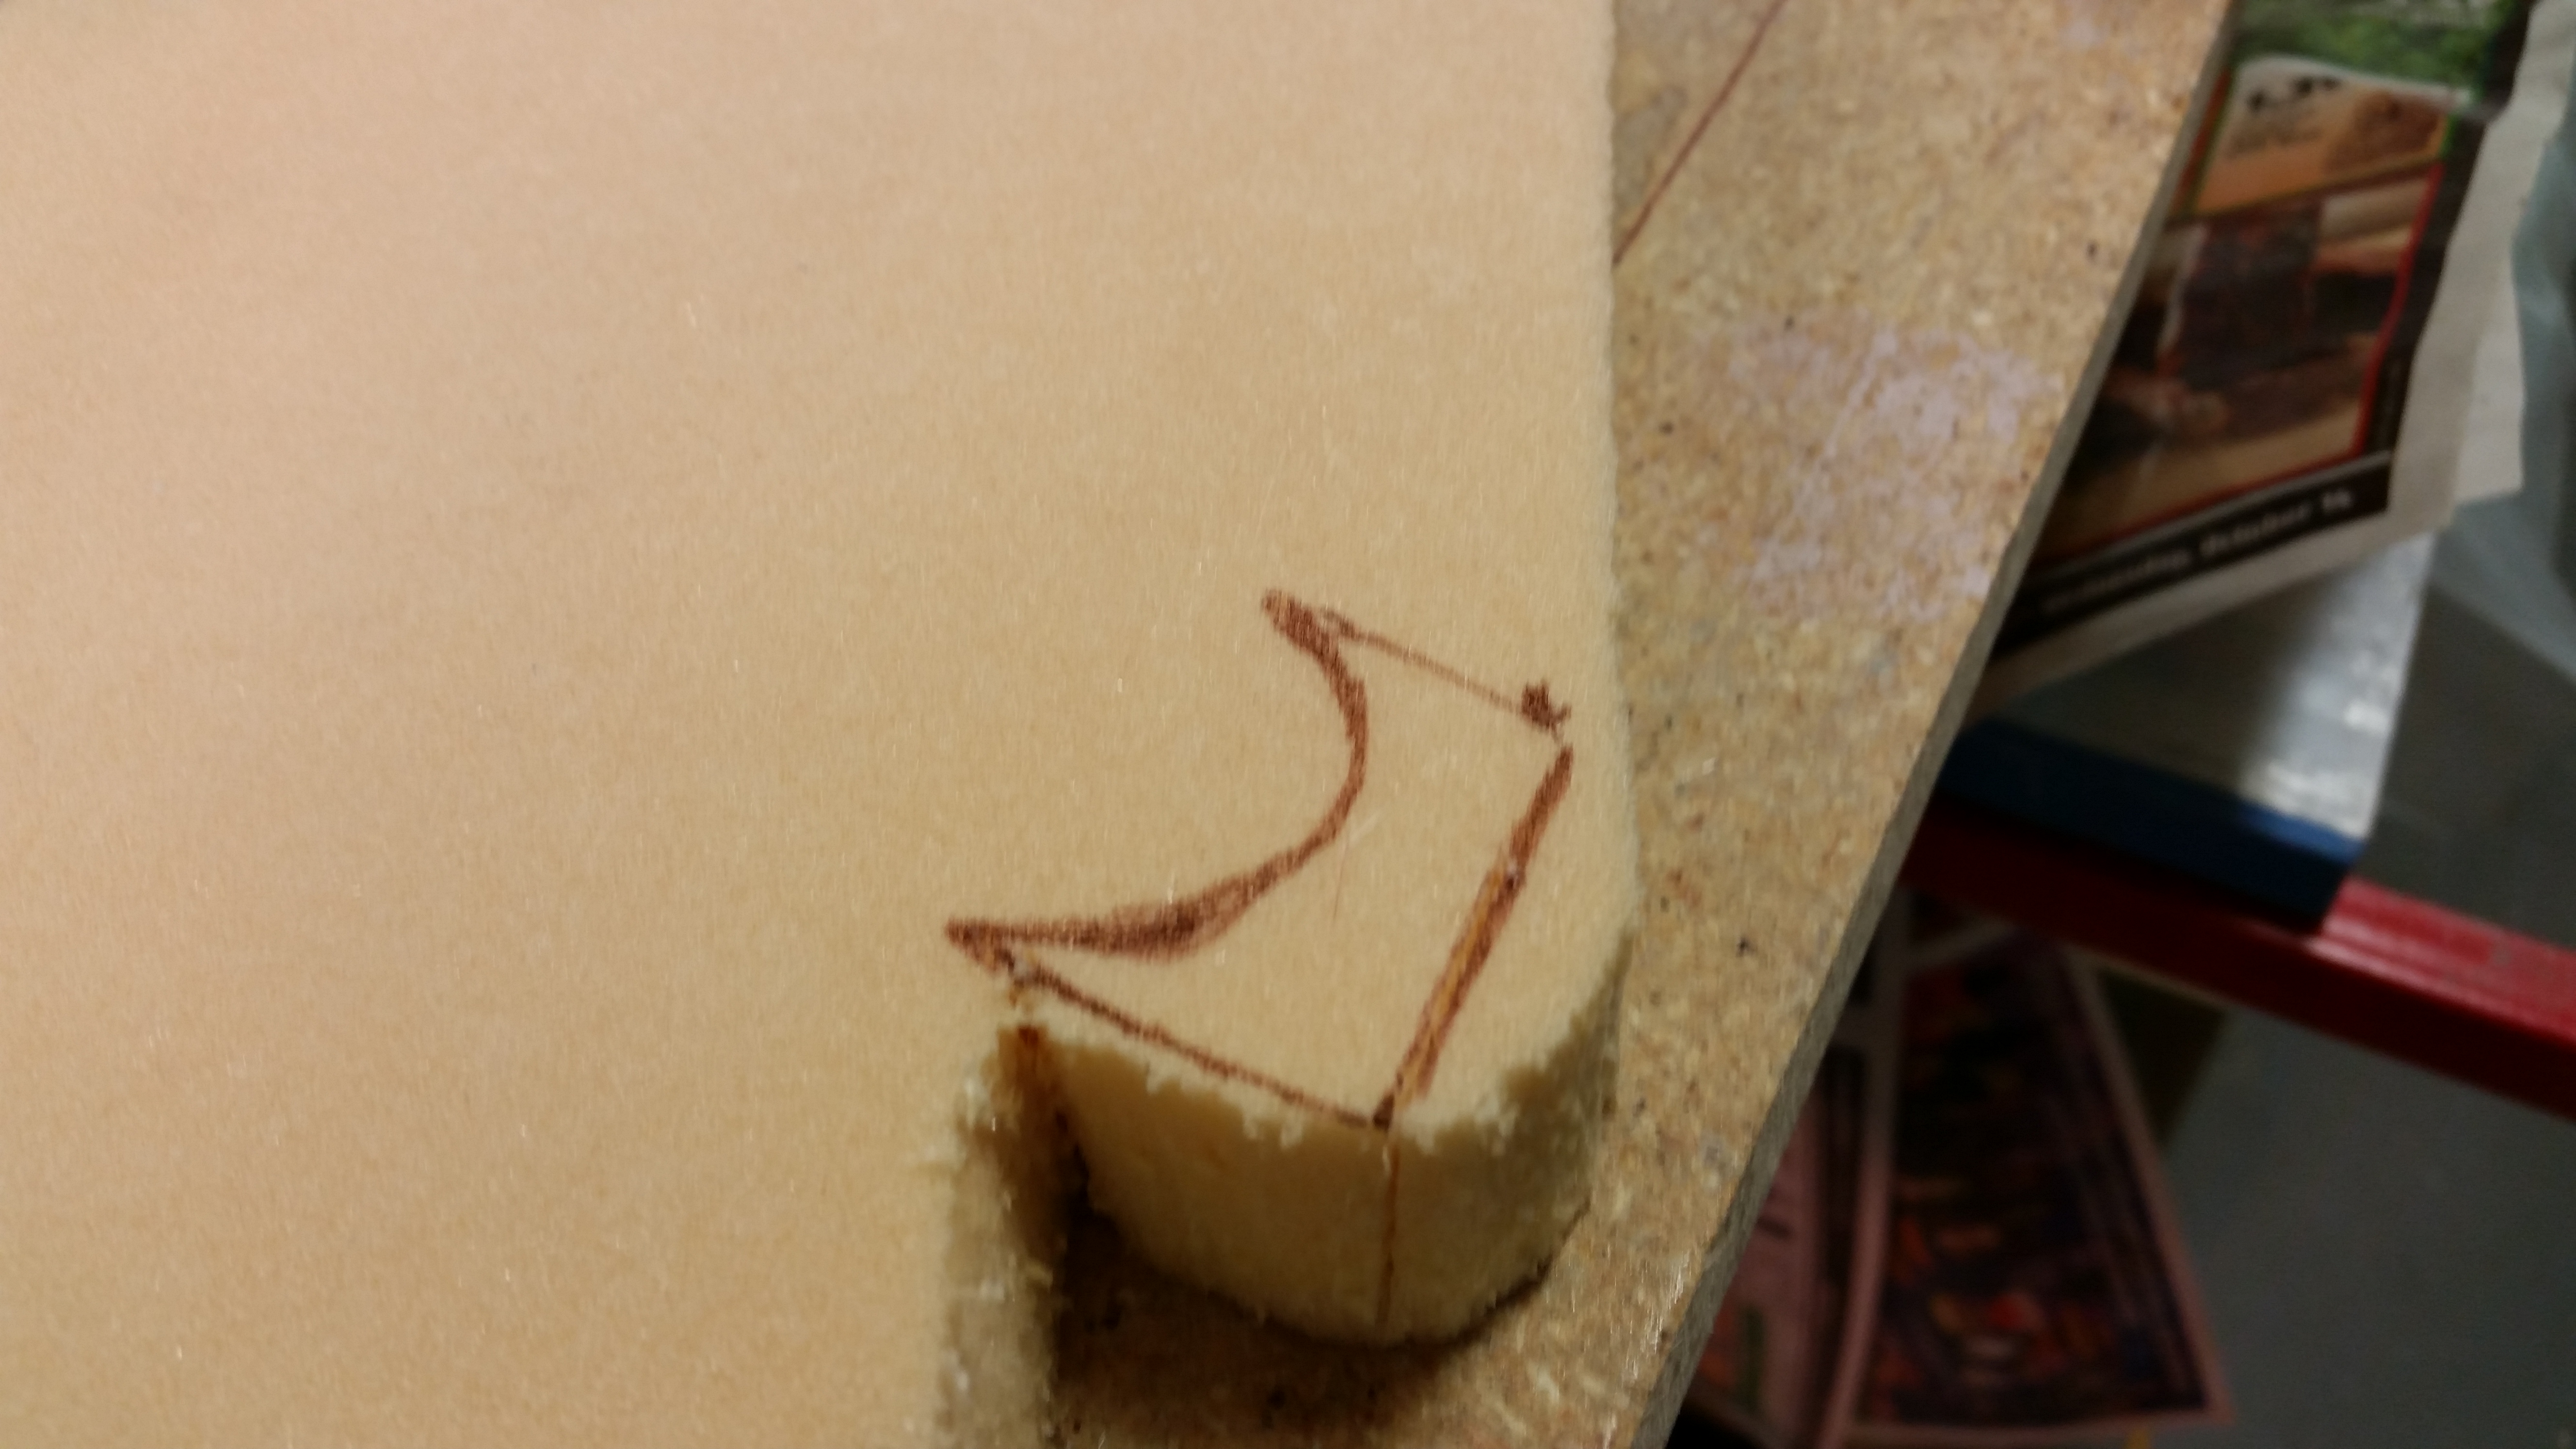
I took my German Praktiker special hand saw and cut the channels for the hinges. After the major cut, I cleaned up the channels with a razor blade and removed the duct tape over the hinge pin holes.
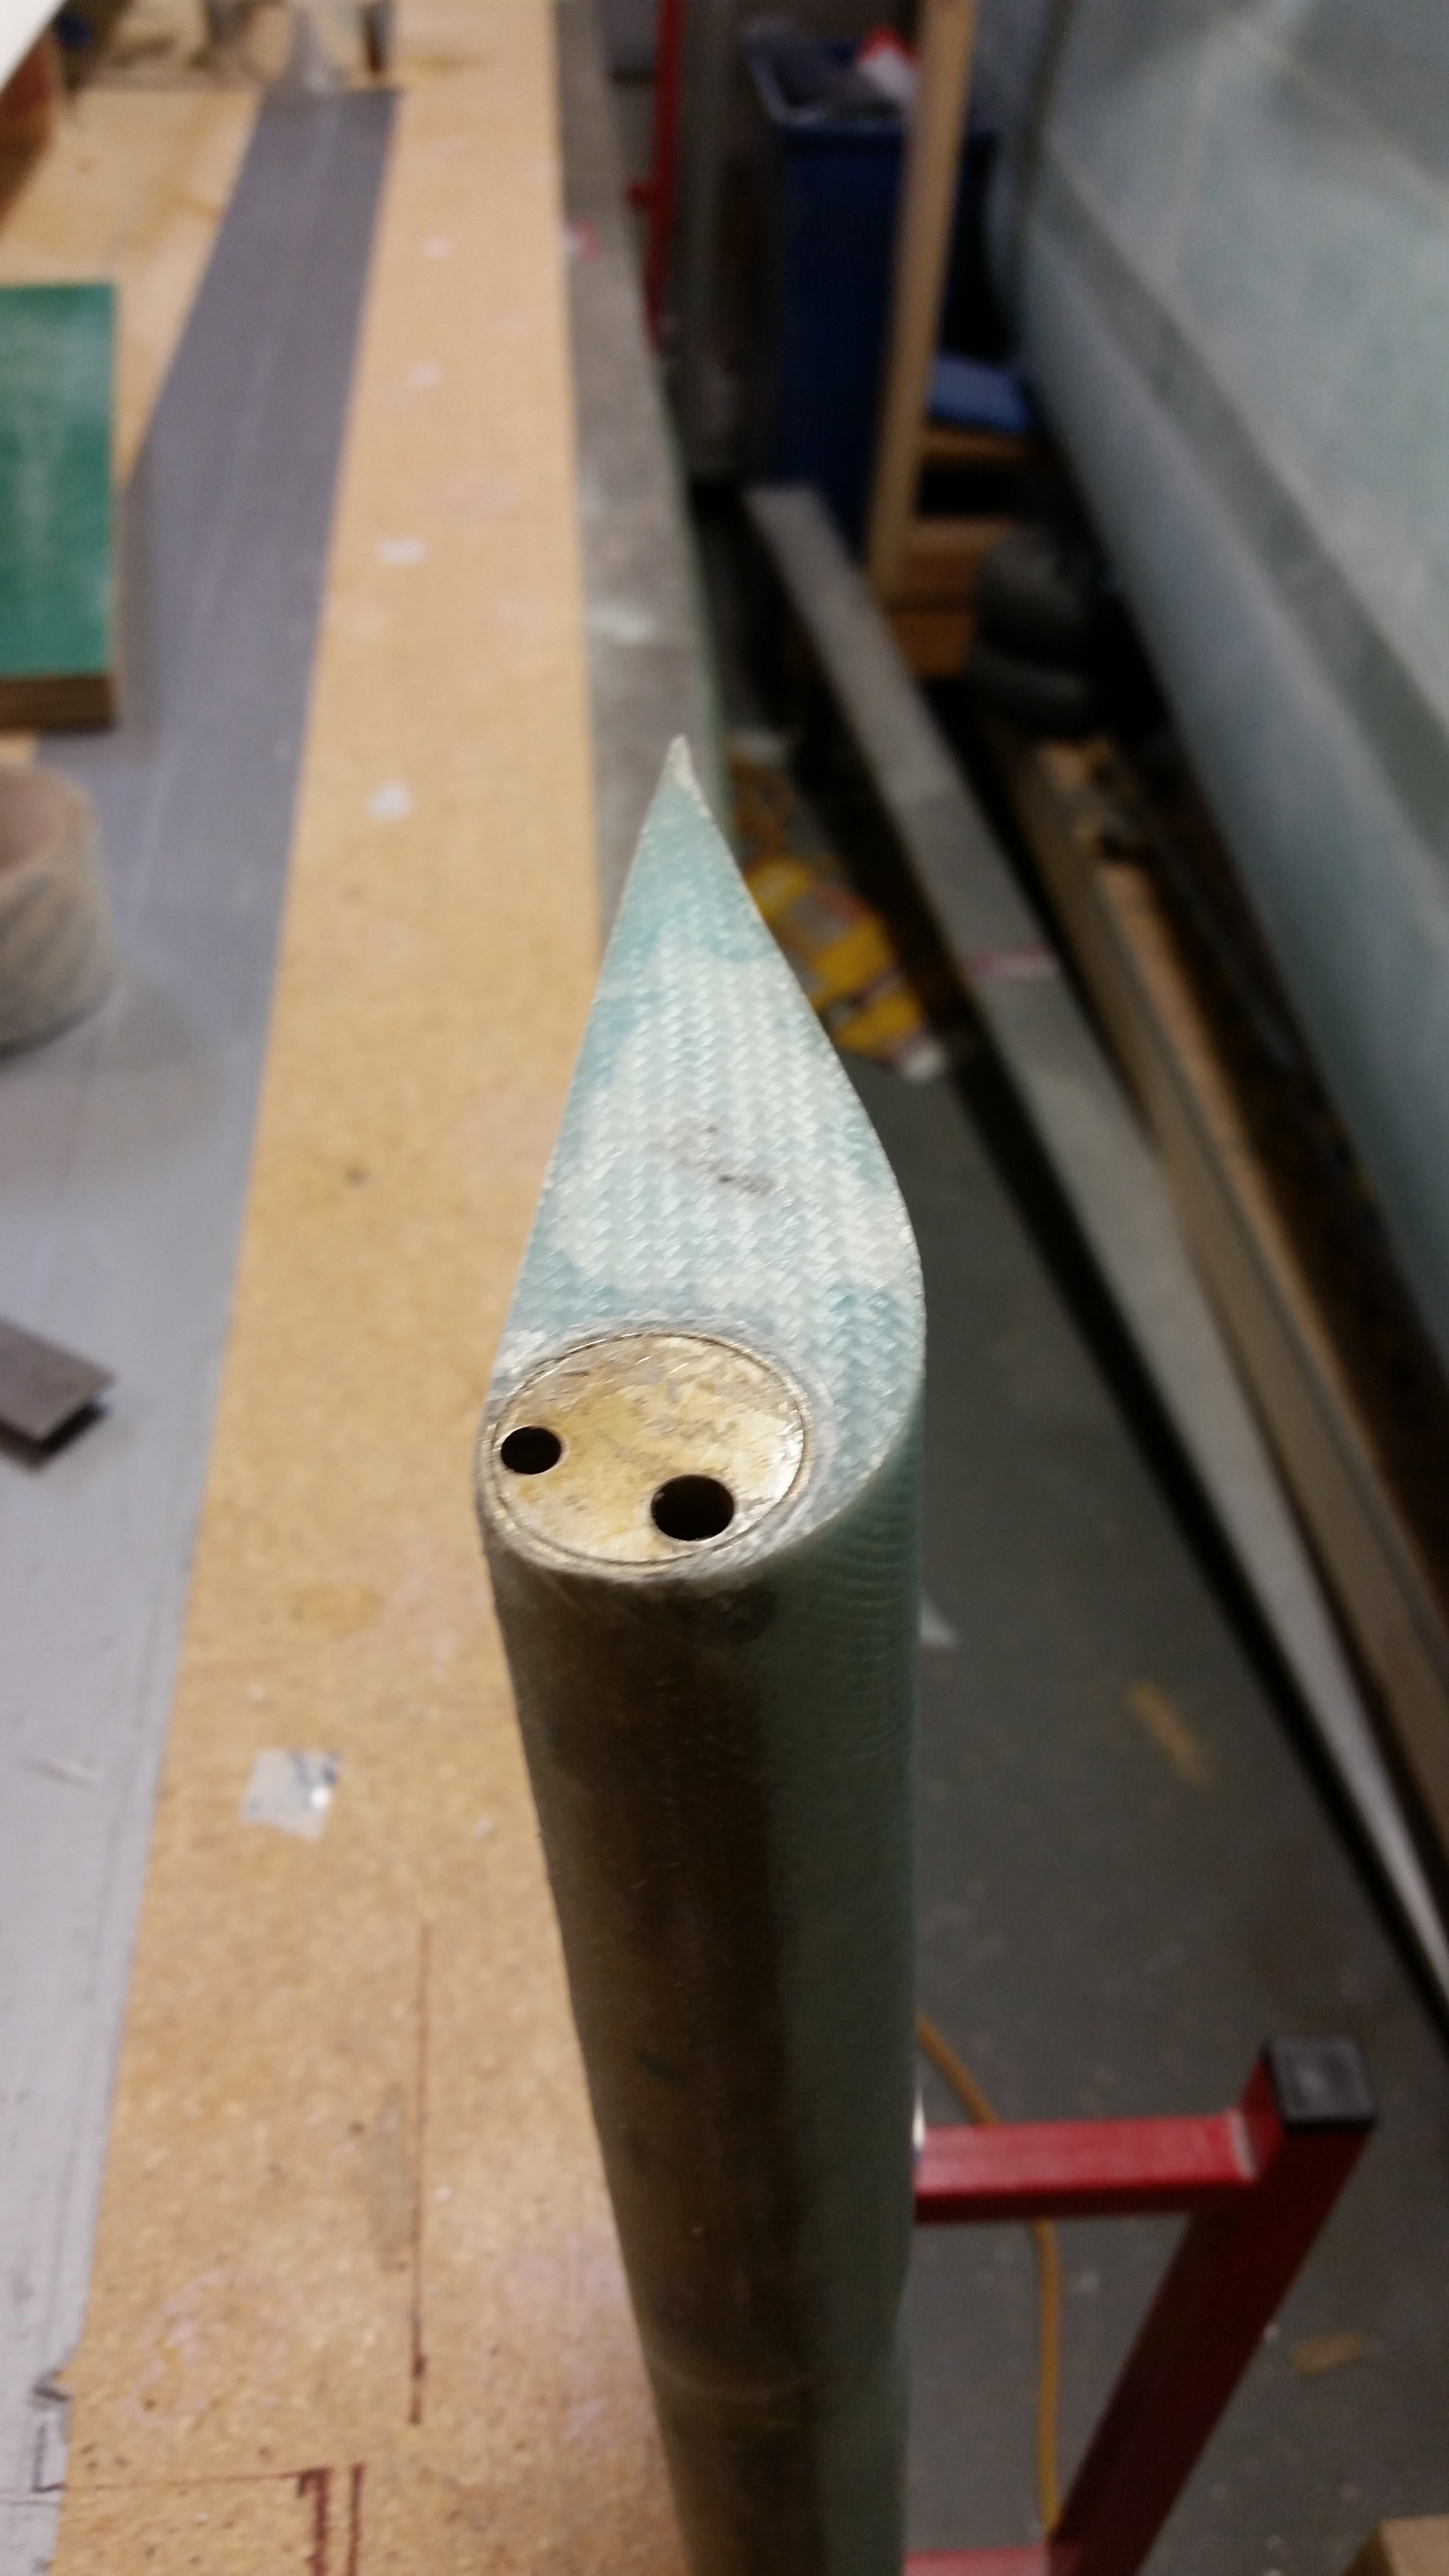
Below is a shot of the ancillary clean up, including the two hinge channels, the set screw hole at the close end and the torque office attach bolt hole at the opposite end.
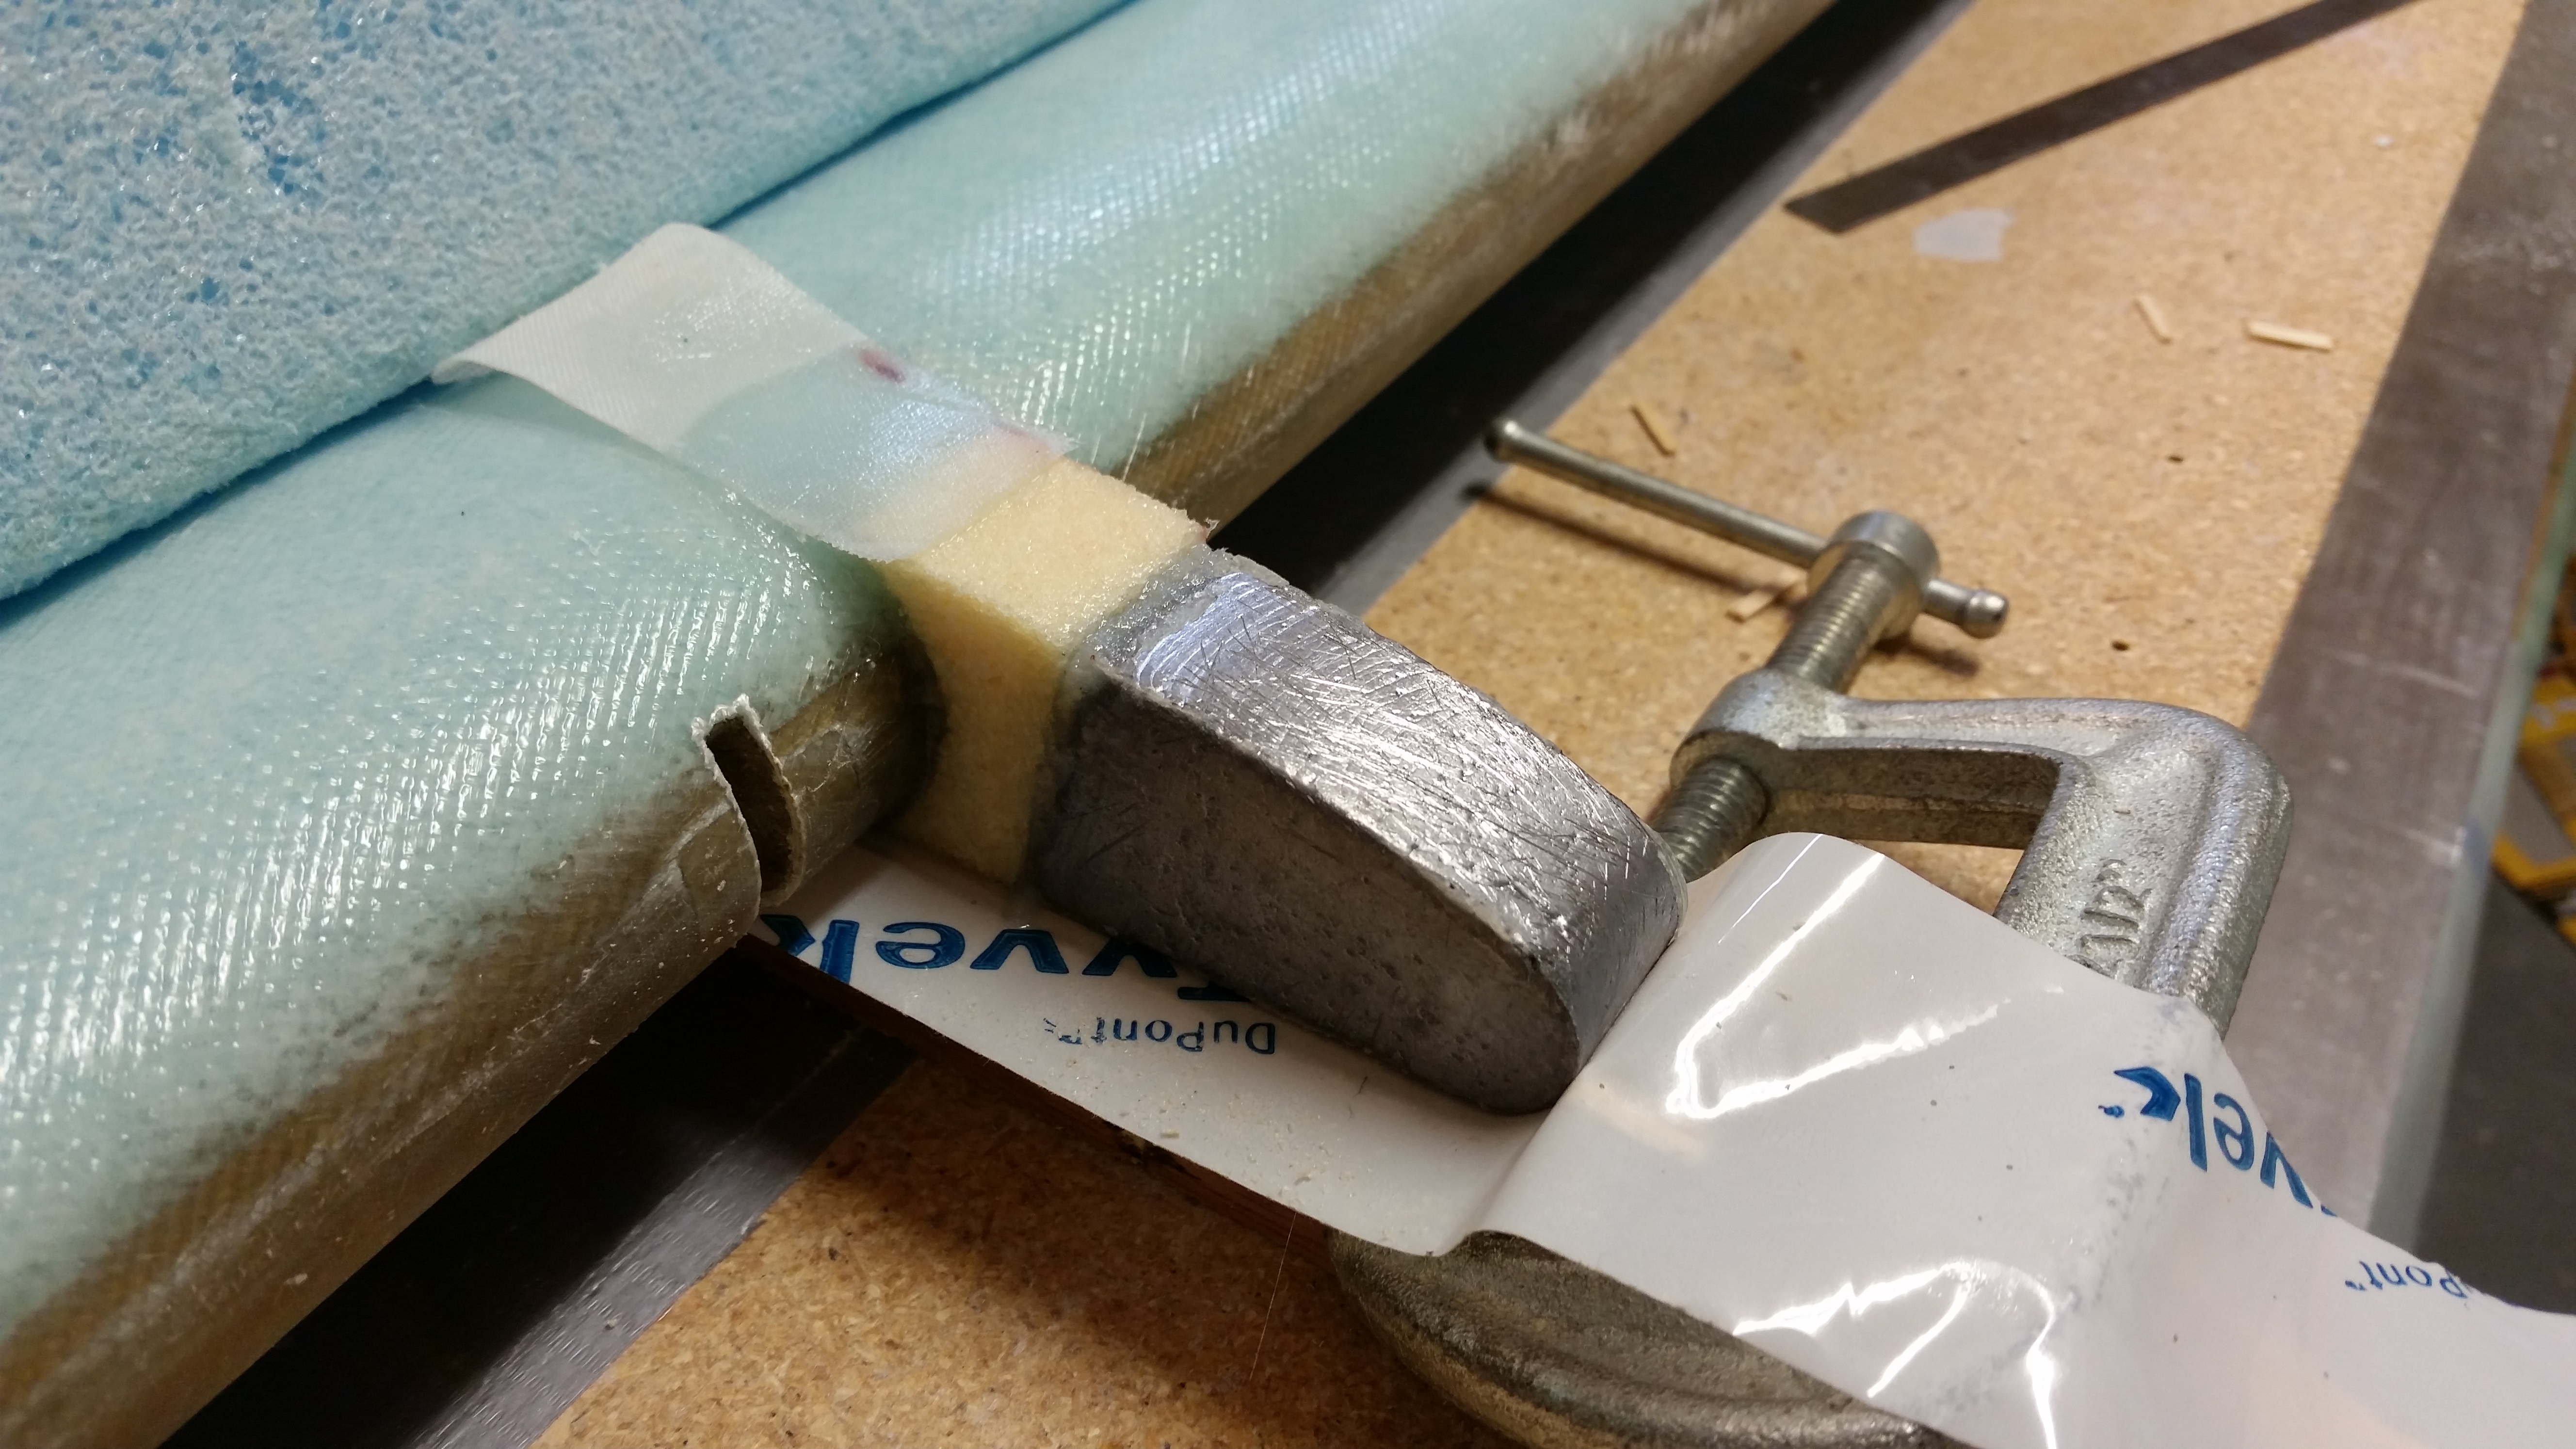
With the elevator pretty much completed, I turned my sights on the outboard elevator weight. I marked up a new foam spacer on the H100 foam piece I have on hand. I then cut it out and shaped it with 36 grit sandpaper.
I worked for about 10-15 minutes to get the foam spacer shaped properly, and then floxed the weight & foam spacer in place using the templates. Now, interestingly enough the plans say that you can use 5-minute glue, but of course I didn’t think of this until I had a batch of flox mixed up and of course I just bought some last week.
Oh, well, I just had to wait a little bit longer to glass it with 2 plies of UNI.
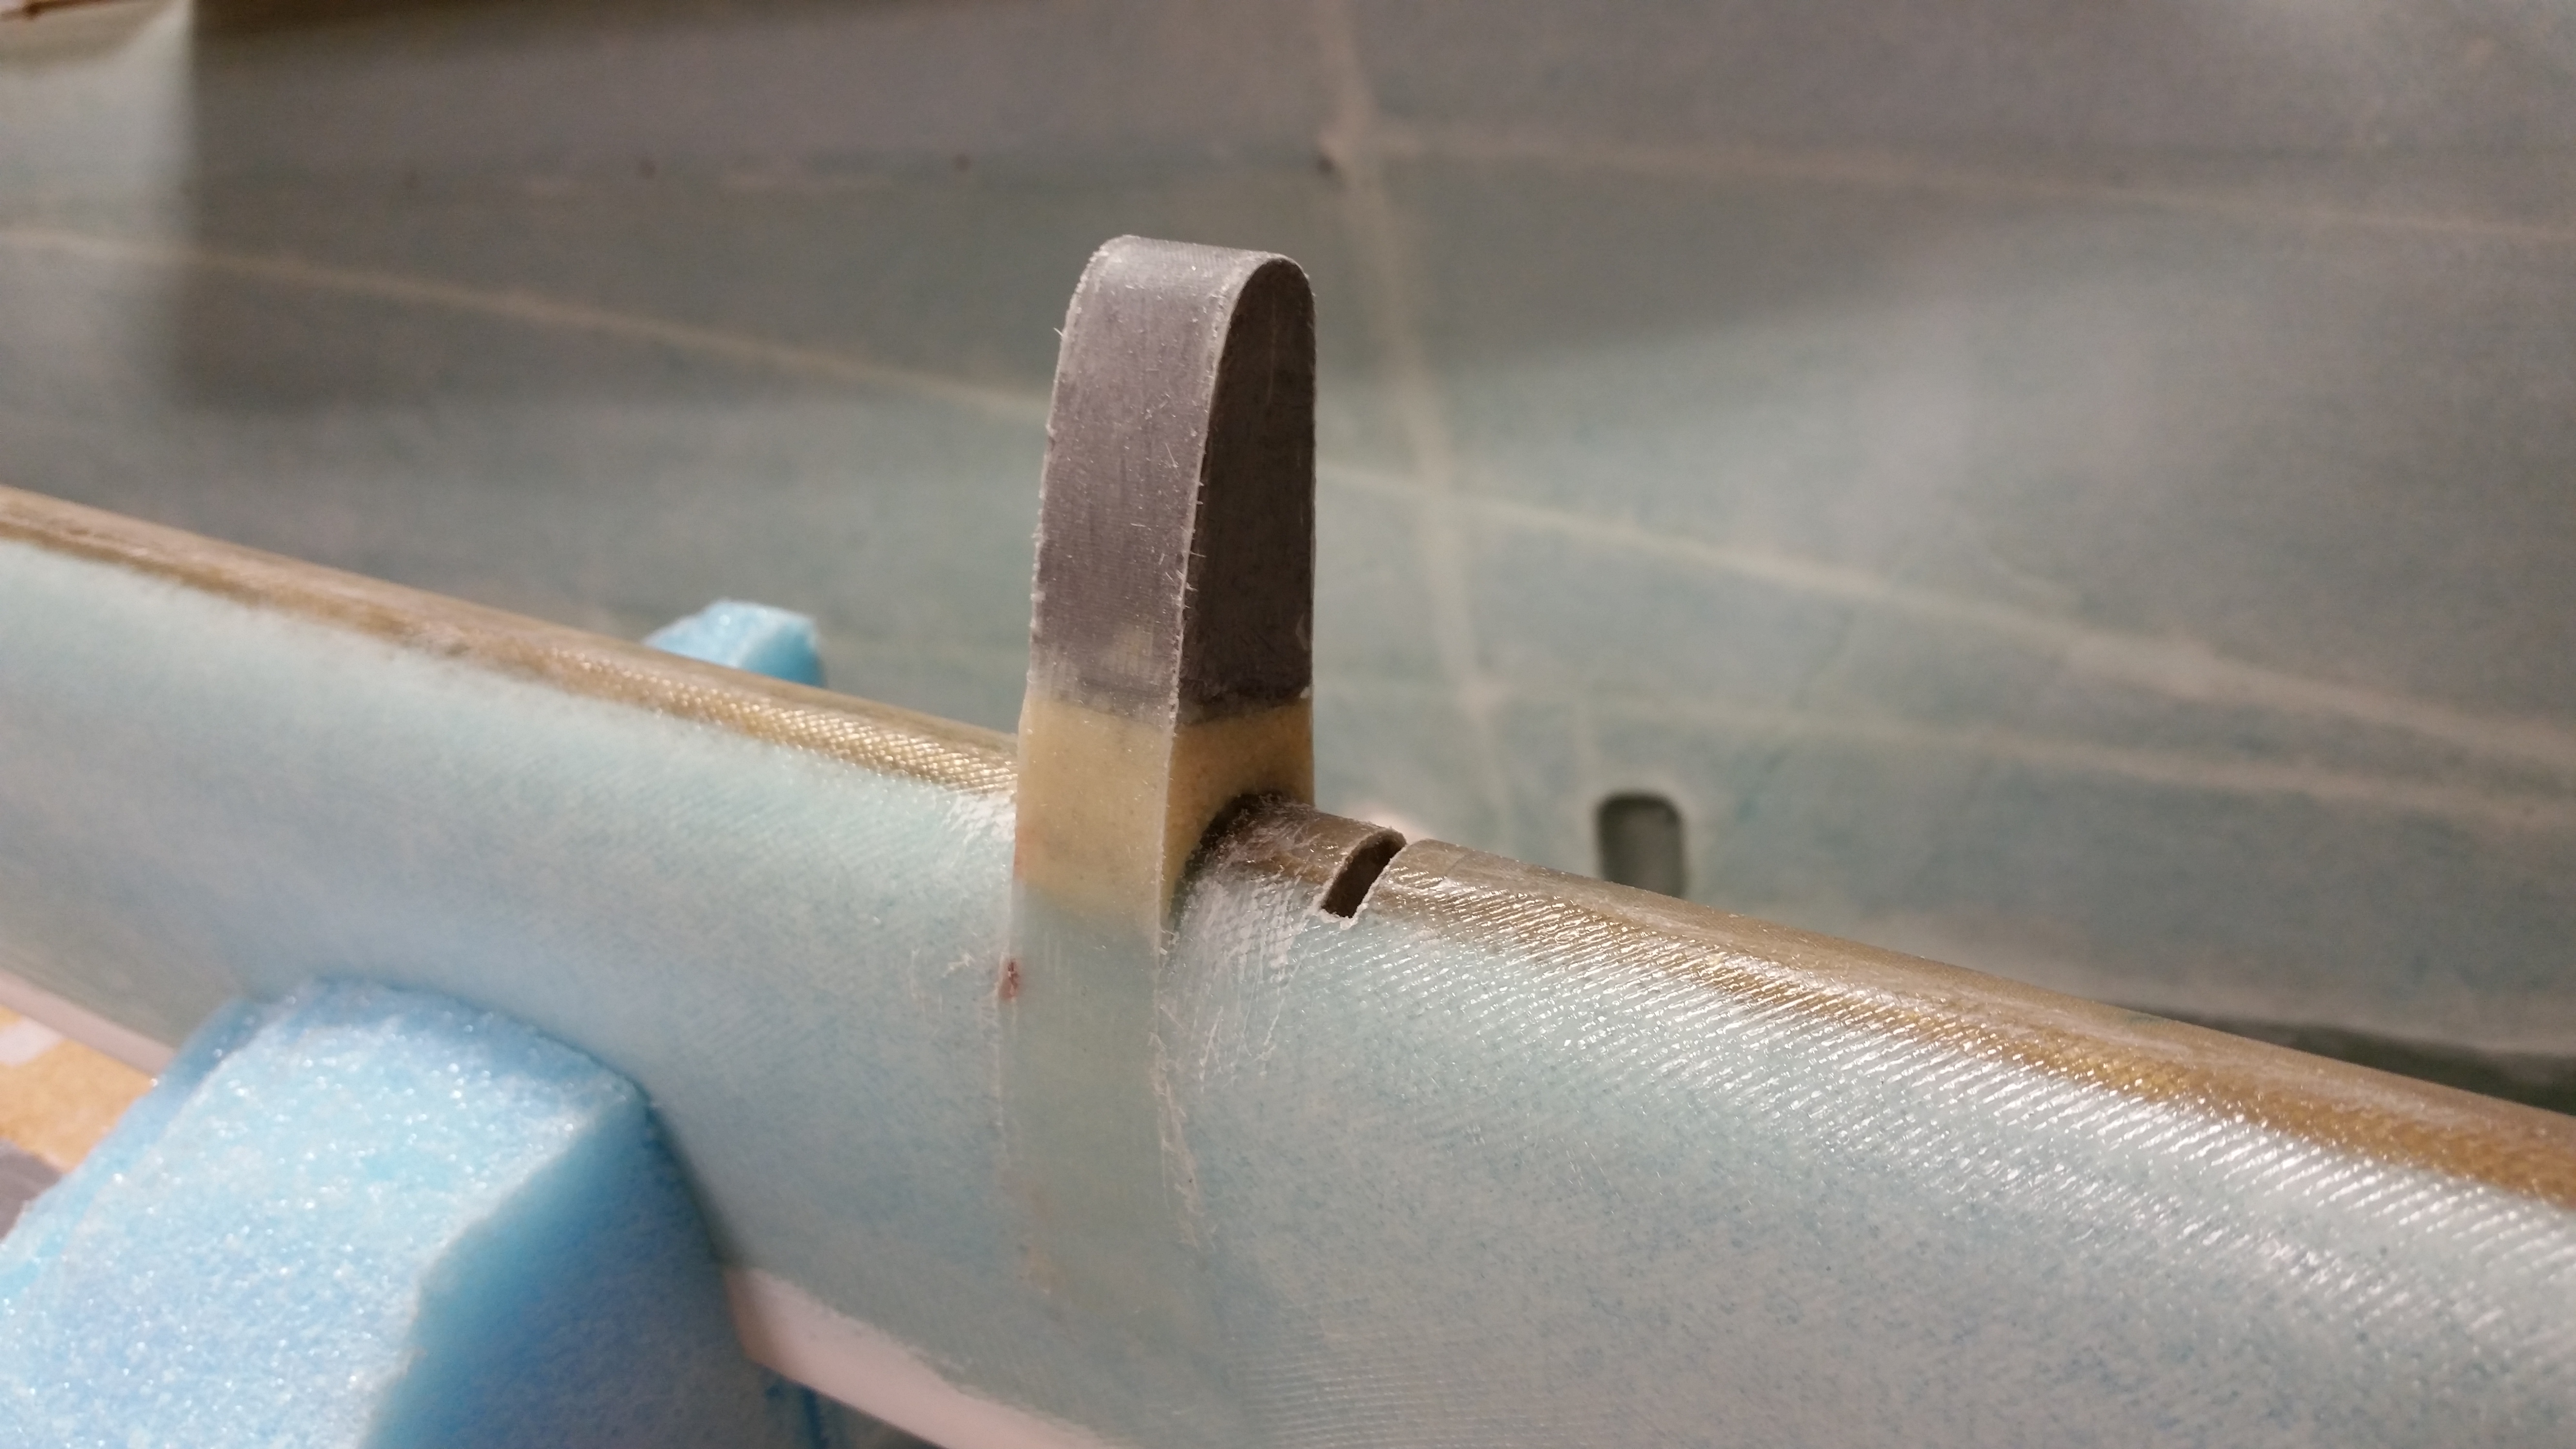
A few hours later I cut out 2 strips of UNI and laid them up around the outboard elevator weight as per plans. I then peel plied the layup before heading out for the evening.

When I returned everything looked good & cured. I pulled the peel ply, razor cut the glass, and then hit the edges very briefly with sandpaper. Here’s the end result.
And with that folks, I’m calling the right elevator rebuild complete!