
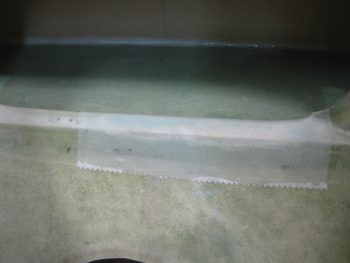
Ahh, and the proverbial one step back! Although I only got about 5 hours of sleep today, strange things were afoot in the shop as I slumbered. The last thing I did before going to bed was I checked this layup, and it looked it great. It was a bit chilly last night so I left a heat lamp on the layup so as not to have to turn on the heat in the garage for a layup that was essentially cured (or so I thought).
Wanting to check out my masterpiece this morning I was of course taken aback when I saw a HUGE delam bubble running down the face of it. Wow! The only thing I can guess is that perhaps the pour foam was still off-gassing just a tad and over the hours it created a bubble. Or maybe I just need to stop my shenanigans of combining heat lamps with fast hardener… might be just a bit too much for these layups to handle. I’m going to try a mini experiment with that and not use heat lamps on fast hardener layups for a while and see if there’s a difference.

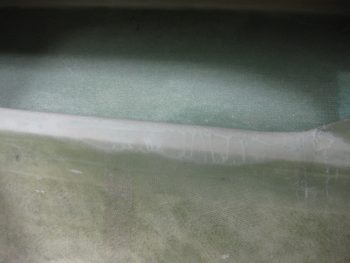
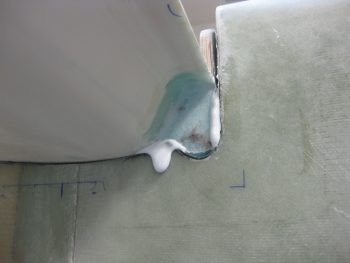
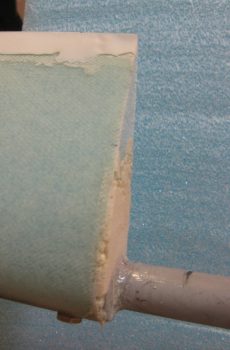
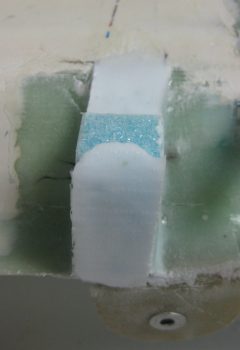
Ok, so here’s this hideous monstrosity of a delam . . . Boo! Hiss! Argh!
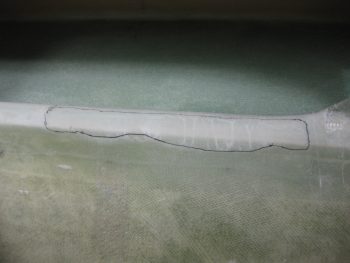
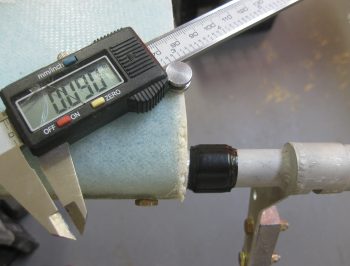
It was a few hours before I got around to working on it, or even taking these pics and I swear it GREW! Stand back folks, this ain’t your garden variety delam… this here is a Mojamma delam, and it requires extrication! So I marked off the area for surgery.
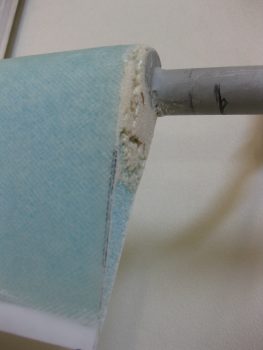
And cut it out with my Fein saw….
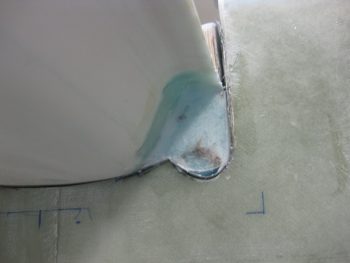
This is what a close view of sheer disgust looks like!
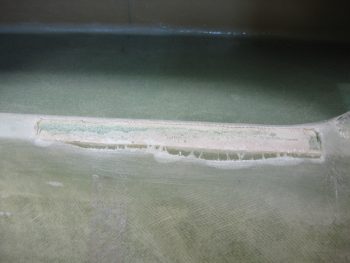
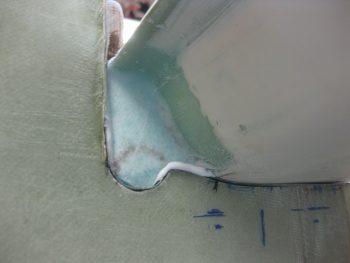
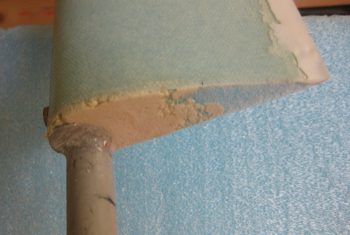
So of course I had to cover it up… with 1-ply of BID of course. That’s after sanding it and floxing the transitions. I also injected a couple of smaller bubbles with pure epoxy off to the left (in the pic) of this delam,..where you may note the vampire bite marks.
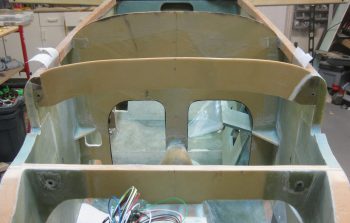
With the freak show out of the way, I then turned my sights on getting the canard install much further along. I taped up the edges of the canard “shelf” on the fuselage sides to protect it from micro.
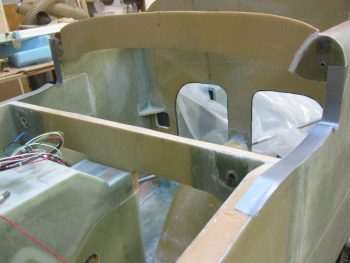
I then whipped up thick micro and slathered the edges of each canard filler piece on the canard . . .(always gotta have at least one blurry pic!)
. . . and then mounted the canard on the fuselage. As you can see with the right side below, the taped fuselage edge is pushing the micro into the blue foam edge of the canard filler pieces. I wiped away the excess micro oozing out.
Here’s a shot of the left side with excess micro oozing out as well.
I cleaned that up. Then I left the canard alone all evening to let the micro cure.
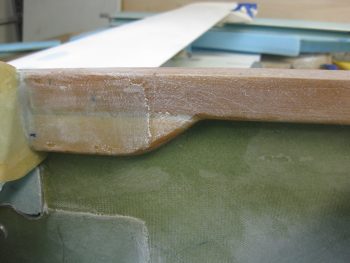
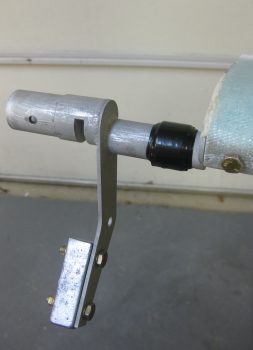
While the micro cured on the canard, I tackled an item that’s been on my Canard To-Do Sheet for quite some time. I’ll be adding a piece of Spruce just aft of each longeron doubler to both strengthen it & to square it off to allow for a long AN3 bolt to get mounted through the longeron doubler & out F28 to hold the canard upper alignment tabs in place.
This mod seems to be quite common in the Cozy world, and I decided to do it for certain after assessing the geometry of how my canard is mounted. You see, the stock plans elevator tubes has you cut out the notch for the elevator tube mainly aft & horizontally of the canard, which means the canard simply slides in forward to aft when mounting. Perfect for the use of the alignment pins sticking out of the F28 & longeron doubler.
But with my offsets –at least the way I have mine configured– the canard slides in from front to back, but because the way my fuselage sidewall is cut the canard goes over a bump and has a significant vertical motion that occurs when I’m installing it. That’s why I currently have to completely remove the alignment pins and then reinsert them every time I take the canard on/off.
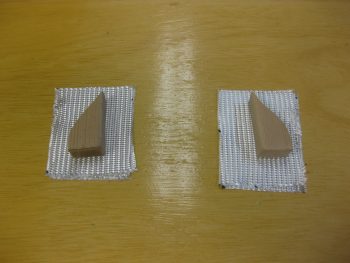
So I made 2 Spruce longeron doubler extension pieces, cutting them with my hand held jig saw.
I then cut 2-plies of glass to cover each one of these guys.
I sanded and prepped both sides.
I then applied a liberal amount of flox to ensure their was grip between flox and the right side longeron doubler extension. I then laid up the right side 2-plies of BID & peel plied it (but no heat lamp!).
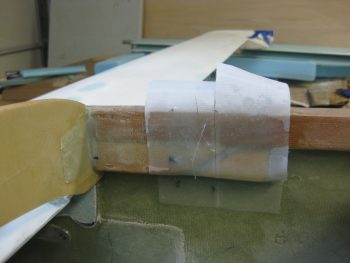
I then laid up the left side as well.

I then focused my efforts on prepping the elevators for mounting them back onto the canard. I did a quick sanding & cleanup of the pour foam on the right inboard elevator edge.
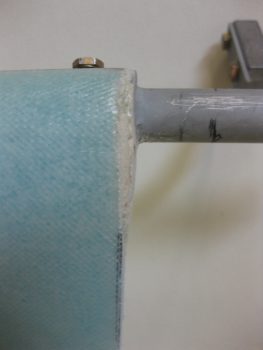
I then wrapped 0.090″ of black electrical tape on the portion of the elevator torque tube offset that will traverse the fuselage sidewall. The tape is for when I embed the torque tube offset FIRST into the bottom side of the canard filler piece. Then, when that cures, I’ll do the same thing on the fuselage side. These two new micro channels around the torque tube assembly will essentially act as a clamshell and close around the torque tube offset when the canard is mounted. And with only about a 0.090″ gap, it should definitely help keep the cold air out!
Again, I did a quick sanding & cleanup of the pour foam on the left inboard elevator edge.
And did the Cozy Girrrls’ tape trick on the left side as well.
Once I got done prepping the elevators for tomorrow’s festivities, I then started cleaning up & got ready to close shop for the evening. With my original micro of the evening cured, I pulled off the canard to reveal the new mating edges of the canard-mounted filler pieces.
I then pulled the tape off the fuselage and was pleased that I had no major issues with dried micro stuck somewhere that it’s not supposed to be!
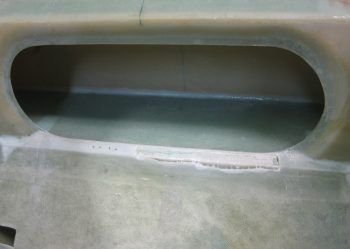
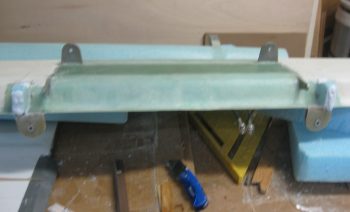
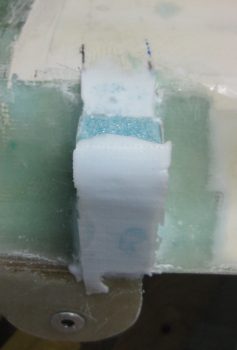
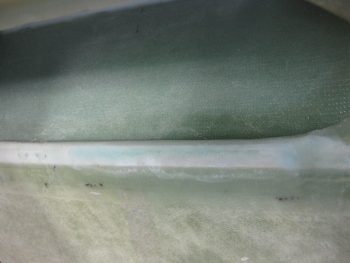
I then checked the layup on the GIB seat/CS spar. It looked good & quite well cured, so I pulled the peel ply to get a good look.
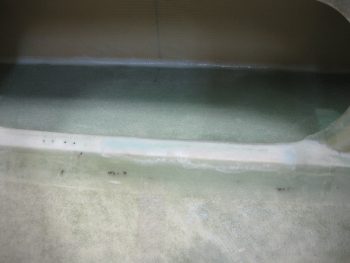
it honestly looks really good! It may seem like it still has jagged edges and all, but as I’ve said before, that’s the blessing & curse of MGS, you can see everything. So it may still look a bit delam’d, etc. but the new layup is fine.
Tomorrow I’ll continue with my canard & elevator antics. Specifically, I’ll clean up the micro on the filler pieces, and add some BID here & there. My goal is to get the canard & elevator install knocked out over the next few days.