
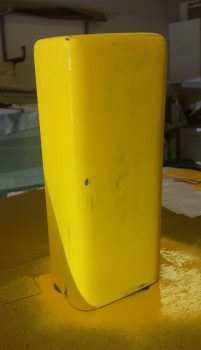
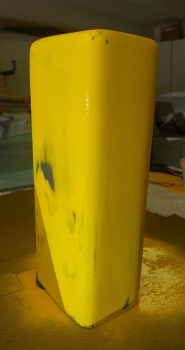
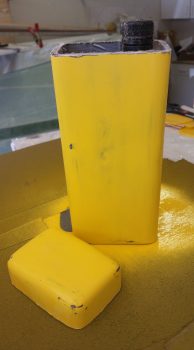
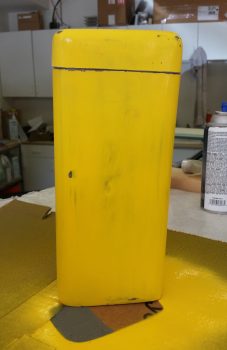
I kicked off the day spending a little over an hour on the yellow Oil “Tower” Box in its continuing evolution. I started by wet sanding the yellow paint to make the surface even more uniform than it had been before. Although I’m not naturally a patient dude, that’s exactly what is called for when finishing parts that don’t start out nice and uniform in shape to begin with.
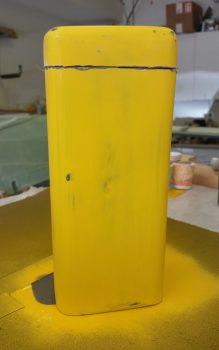
After a good wet sanding I then marked the cut line that will separate the box into the lower quart oil bottle (and shop rag) storage part and the lid top, which will have a hinge mounted on one narrow side with a twist-lockable clasp on the opposite narrow side.
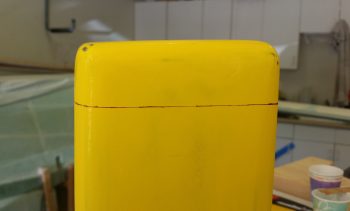
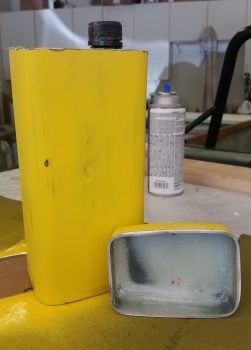
I then used my Fein saw to carefully cut the lid top off.
Here’s the lid off the top with just the tip top of the oil bottle peeking out and another shot showing the foam plug that I used to create the rounded edges & corners of the lid top.

I then removed the lid top’s foam plug and tape and quickly rough-sanded the inside to knock down some “gotchas” ready to devour unprotected flesh.
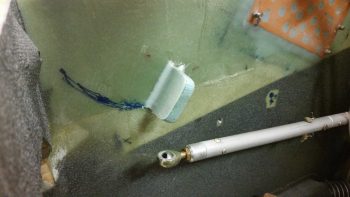
I then spent a good 20+ minutes extracting the empty quart oil bottle and associated cardboard and tape that served to make up the plug for the oil “tower” box.
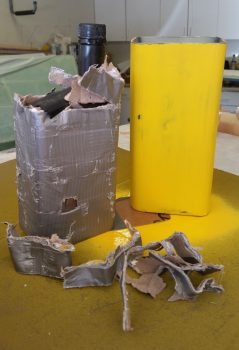
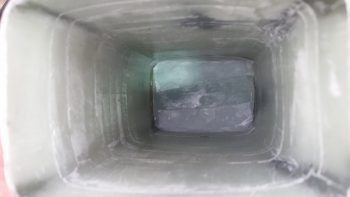
Here’s the inside view of the oil “tower” box.

I had to cut 3 sides of the top part of the oil bottle to get it and the tape removed from the inside of the box, so I taped the bottle back together for a quick test fit… which I was very pleased with since the oil bottle fit is like a hand in a glove. Ever so slightly snug just to keep the oil bottle from any inadvertent movement.
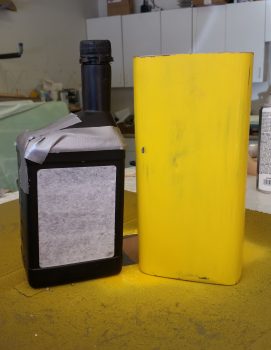
Then, just a quick double check on upper clearance –and for my own satisfaction– I placed the lid back in place on top.
I then prepped some BID, whipped up some epoxy and laid up some internal corner plies of glass in the long side corners of the Oil “Tower” Box. I then peel plied the layups.
I also had prepregged 1 ply of BID and 1 ply of UNI to layup on the forward side of the elevator up travel control stop. I decided that this would be strong enough with just the foam tab piece sticking out 90° from the sidewall and scrapped glassing in the perpendicular triangular piece that I had cut for this setup. I then of course peel plied the lay up.
To keep the blog on track topic wise I’ll fast forward a few hours and show you the forward layup on the elevator up travel control stop, where I’ve pulled the peel ply and trimmed up the edges. Nice and simple, and strong, and it works a treat!
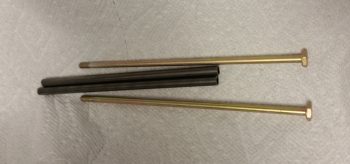
I then gathered up my two long (and quite expensive) AN3-62A canard upper mounting tab bolts along with their associated thin-walled 4130 tube sleeves.
I ran a long 1/4″ drill bit through the holes to ensure they were nice and clean with a good diameter to fit the sleeves, at which I point I used straight epoxy and very wet flox to install the bolt sleeves into the holes through the F28 longeron doubler and the squared-off extensions I added.
Here’s the final install of the right bolt sleeve into the right F28 longeron doubler and the squared-off extension. The left was the same as this.
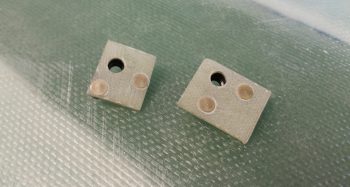
While the canard upper mounting tab bolt sleeves cured in their new longeron doubler locations, I then whipped up some K1000-3 90° nutplate assemblies using spare G10 Garolite pieces I had on hand –which I didn’t even have to cut! (How’s that for being laz… er, efficient?!)
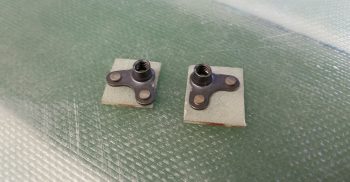
BTW, I didn’t make them match in size because I prefer the larger sized one with bigger surface area to grip the flox, but the smaller one would of course work as well.
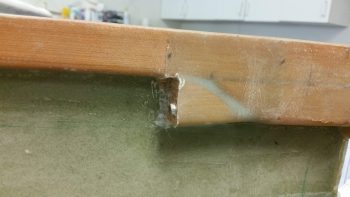
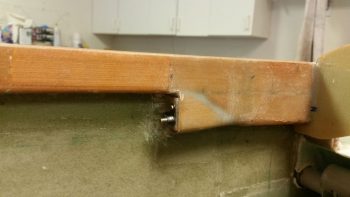
When I did a final fit with the canard in place, I must have been off a hair in my initial measurements with the bolts, since after install their would be no thread showing on either side. Hmmm…. clearly the longeron doubler would need to be trimmed because I wasn’t forking out even more cash for longer bolts. I just wish that I had figured this out prior to installing the 4130 sleeves!
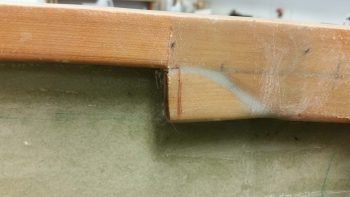
Once I set myself to the task it really wasn’t that big of a deal. I started by drilled a small series of holes just a few millimeters apart. Then used the Fien saw with a straight blade and narrow wood chisel to remove the wood and glass from around the protruding 4130 tube, respectively for each side of course.
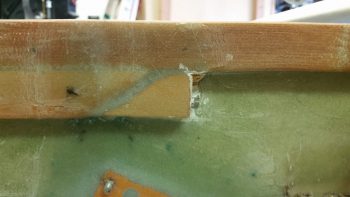
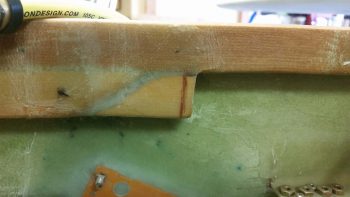
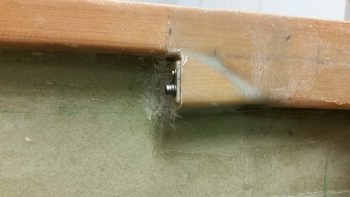
I then used a cutoff wheel on my Dremel to make quick work of trimming down the protruding thin-walled 4130 steel tube sleeve on each side.
I then test fit both sides and it looked as if my trim job had done the trick to provide me with enough thread exposure to ensure a good bolt fit.
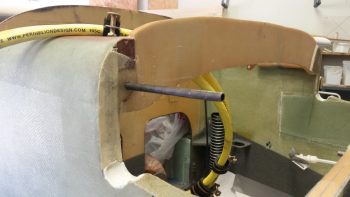
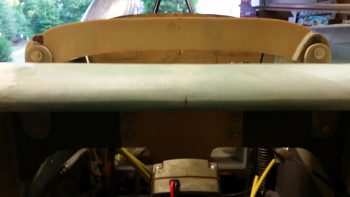
I then technically mounted the canard for the first time ever! (In regards to its final configuration… <grin>)
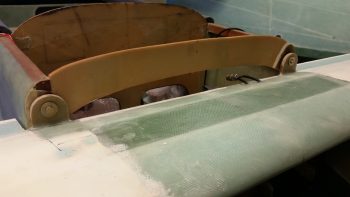
It was hard to get both top and bottom canard mounting bolts showing with the lighting, but here’s my attempt.
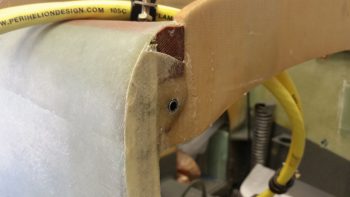
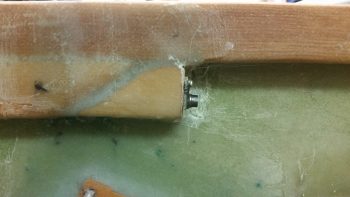
And here are the canard upper mounting tab bolts’ nutplate assemblies floxed into place on the aft end of the (trimmed) F28 longeron doubler extensions. Admittedly, I got a bit more thread on the left side than I was looking for, but as long as the bolt isn’t bottoming out on the thread shoulder before it’s secure (and at first appearances it is not) than all is good!
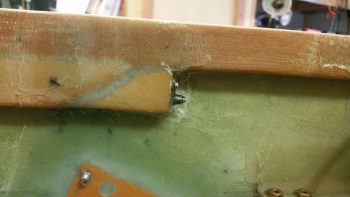
I’ll add just a bit more flox around the top and outboard edges of the nutplate assemblies to ensure that they are secure since the process of getting the long thin bolts installed along with the lower bolts requires a slight bit of coercion and I wouldn’t want the nutplate to pop off into the bowels of the closed up avionics area as I’m trying to mount the canard.
Tomorrow I’ll actually start with DIRECT PREP for the nose and canopy build, while these associated prerequisite tasks will be relegated to secondary sideline tasks.