
Ok, so I admittedly spent a few hours today on the Oil “Tower” Box, so prepare yourself for a number of pics of it.
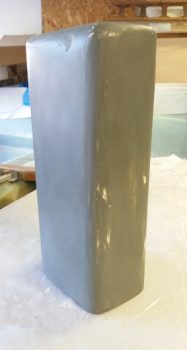
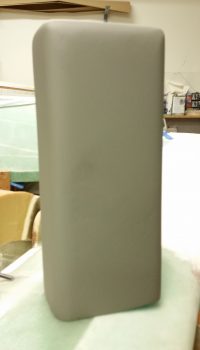
I started out by giving the primed Oil “Tower” Box a very thorough sanding down.
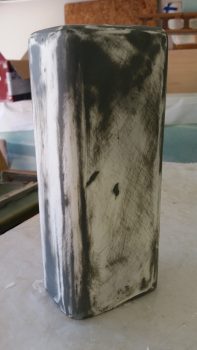
I then hit it with another few coats of primer before heading out to run some errands.
When I returned I again sanded the primer, only this time I wet sanded it.
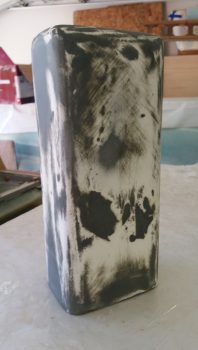
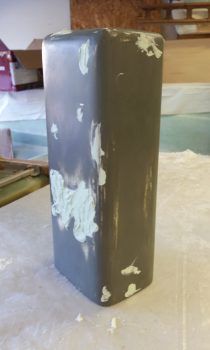
With a solid base of primer in place I then set about to rid myself of the numerous divots I had in the surface of the Oil “Tower” box. I would be using EverCoat’s Metal Glaze for the aforementioned ridding of divots.
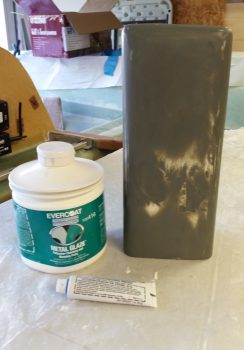
I then slathered up the oil “tower” box with Metal Glaze and let it cure.
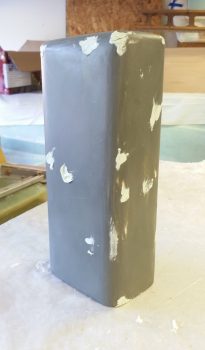
I then took the box outside and knocked down all the high points of the cured Metal Glaze with a hard sanding block. I then brought it back inside and wet sanded it to get the final feathered finish between filler and pre-existing box surface.
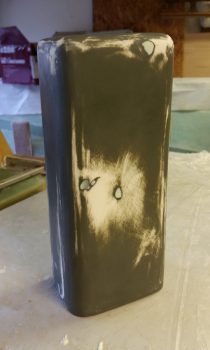
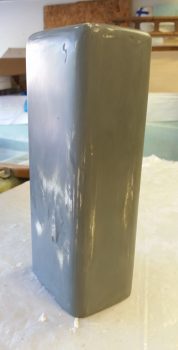
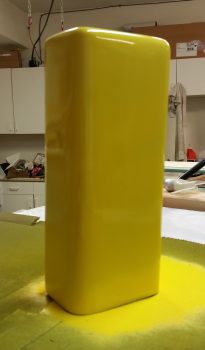
I then shot it with a couple coats of primer one last time.
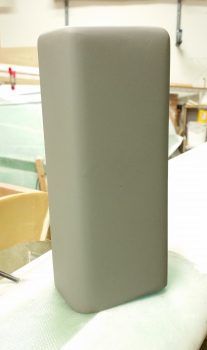
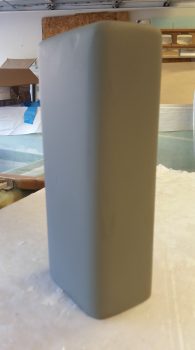
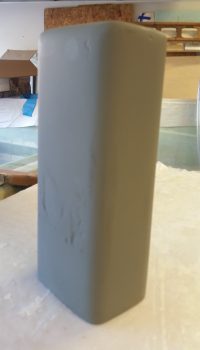
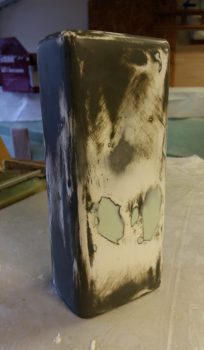
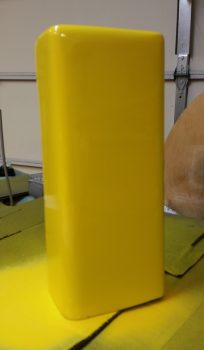
I then very lightly wet sanded the Oil “Tower” box before taking it outside and hitting it with 3 coats of yellow paint. Tomorrow, this paint will get sanded and then I’ll cut the top of the box off, at which point the separate pieces will then get another 1-2 coats of yellow paint.
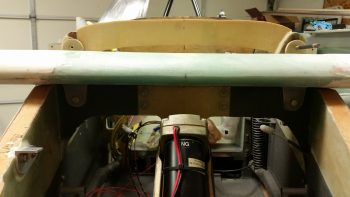
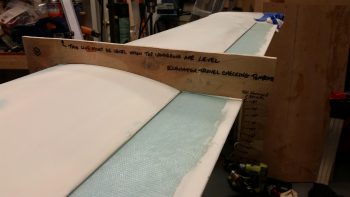
While the yellow paint cured on the Oil “Tower” box I reorganized the fuselage in the shop to allow me to mount the canard. I then got the canard down off its perch and mounted it to the fuselage. The mounted canard will provide some data on the final nose build and also facilitate finishing some prerequisite nose tasks before starting in on the nose and canopy builds proper.
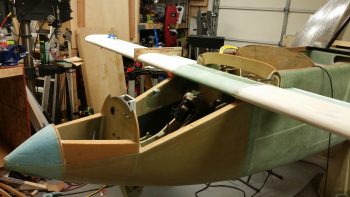
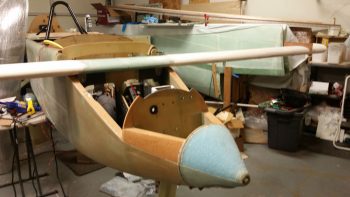
Although still a bit tight with just a tad bit of finagling required, I was quite happy with the fit of the canard and the “ease” of getting the canard mounting bolts installed.
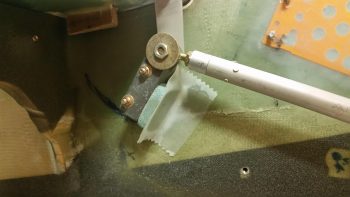
I also tested out my new 5/8″ elevator control rod that appropriately enough only has ONE hole for the pitch trim servo arm attach (Just say NO to extra holes!).
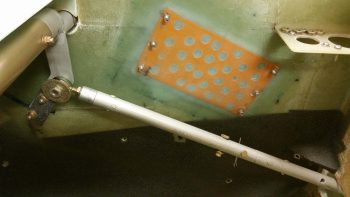
I then rounded up some scrap 3/8″ PVC foam that had a ply of BID glassed to each side and used it as the elevator up-travel control stop. I whipped up a small amount of flox with fast hardener and also used a small dab of 5-minute glue to secure the control stop to the right fuselage side wall. As you can see, I used the actual elevator control arm as a sort of jig.
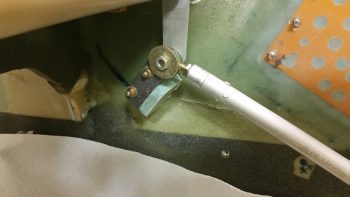
The way I knew the elevator control arm was in the right position was by using the elevator angle template to ensure I was at the max 15° elevator up travel. I’m actually just a hair lower than I can get the elevator to travel, but any higher up and it starts to contact the canard TE, so this is a good position for the elevator control stop.
Since I had access to the aft side of elevator control up-travel stop, I laid up a ply of BID with the requisite flox fillet. Tomorrow I’ll layup a ply of BID on the front side and also glass in a small triangular piece perpendicular to the current glassed in tab.
I’m drawing near to being finished with the internal prerequisite tasks for prepping the nose and avionics area for the nose and canopy builds. I estimate that tomorrow should be the last full day I spend on any prerequisite tasks for the nose and canopy build.