Today was all about finishing up a bunch of electric tasks that are just a few that I have on a fairly long list. Since my workshop is in a very cold state, to save money I just decided to knock out what I can on the electrical system and other non-shop –or at least heated shop– build tasks. I figure this stuff has to be done at some point anyways, so might as well try to optimize time and money and get it done while the shop is harder to heat. Still, when I get back from my Christmas break I plan to fire up the heaters in the shop and get some real shop work done then.
One reason I needed to knock out some electrical stuff was simply to get the area around my instrument panel cleaned up and organized. I have dozens upon dozens of wire shrink labels that need to be attached to the wires, so that’s what I started out with. I attached 5 labels, which is much more of a pain when the wires are attached into a D-Sub connector or something analogous and must be removed to attach the label.
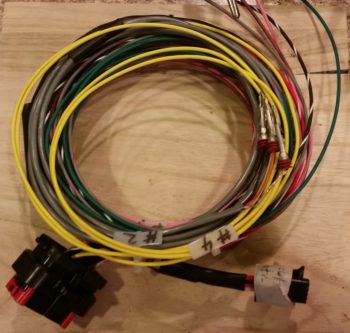
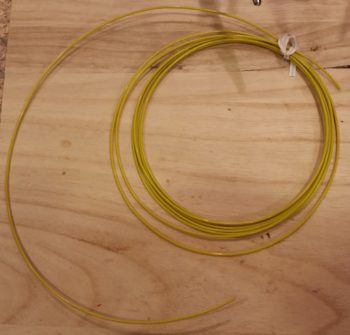
I then got to work on solder splicing a length of 20 AWG yellow wire to an existing yellow lead on the Electroair electronic ignition control head wiring harness (below).
This yellow lead is the one that attaches to the EI “mag” switch for ON/OFF control of the Electroair EI.
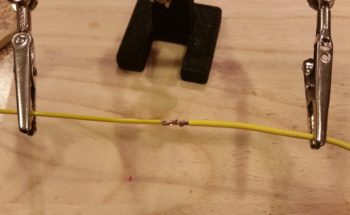
I spliced the wires together then soldered it up (I didn’t realize both pics I had of the next steps were blurry until I uploaded them). I then labeled the wire, wound it back up and put the wiring harness away for later.
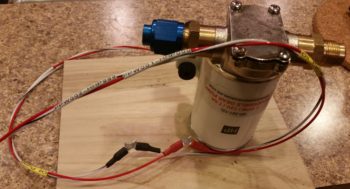
After a good hour of labeling and adding a couple of long wires to the oil heat PWM control and the heat seat relays, I then got to work on configuring the oil heat pump power leads.
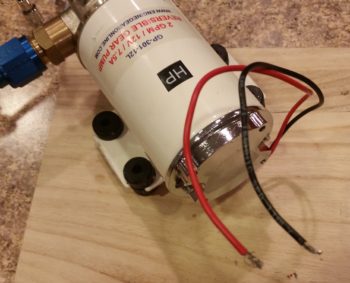
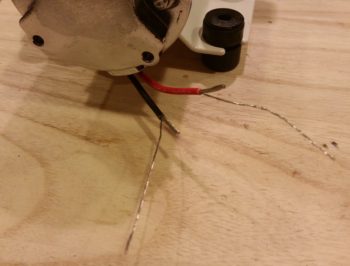
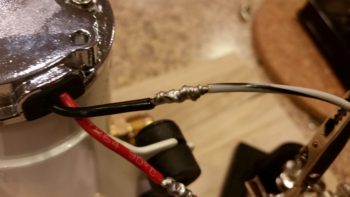
Since the wire on oil pump’s leads aren’t Tefzel, I trimmed them back fairly short and prepped them for getting solder spliced to longer 16 AWG Tefzel leads.
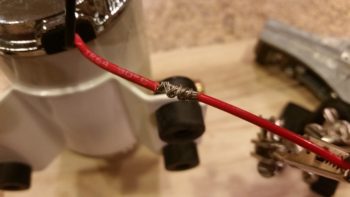
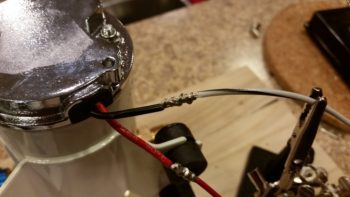
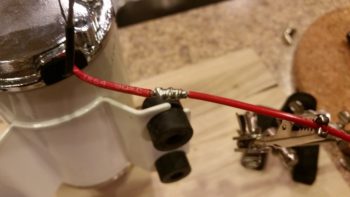
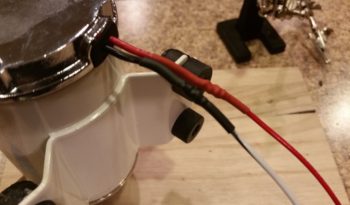
Below you can see the raw splices and the soldered splices for both of the oil heat pump’s power leads: the positive lead and ground.
I then heat shrank the solder spliced oil heat pump power leads.
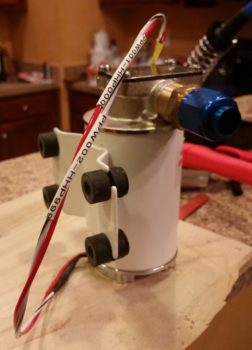
I then slightly twisted the oil heat leads together (as I did the leads coming from the PWM controller) and then labeled the leads.
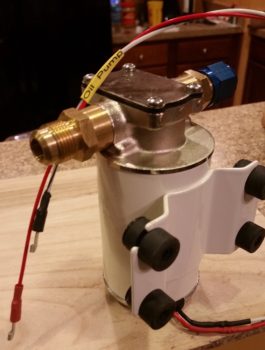
I also terminated the ends of the oil heat pump power & ground leads with knife splice connectors, just as I did the oil heat pump power wires coming from the PWM controller.
Below you can see the knife splice connectors slightly set together for the aft side oil heat pump leads to the power wires coming from PWM controller.
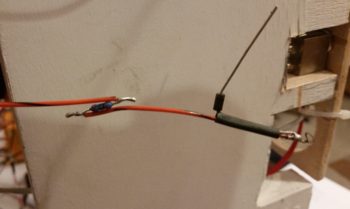
Although I had finalized a couple of the GNS480 annunciator light wires earlier, I decided to document the last one I did for the evening (I still have 2 left to do). I’m adding in 300 Ohm resistors to help clean up the power signal and also take a slight edge off the brightness of these annunciator lights. In addition, to ensure there is no negative power spikes to damage the LEDs, I’m installing a small diode in parallel on each annunciator light for just a bit of added protection . . . just in case.
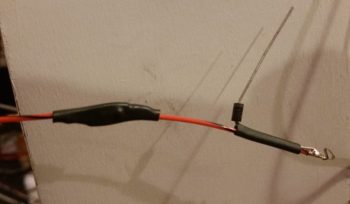
After soldering the 300 Ohm resistor in place (in a Z configuration for added strength), I then covered it with some heat shrink to secure it. You can also see the diode lead sticking up, ready to be attached to the other GNS480 LED annunciator lead. Since these protective diodes are truly optional, I didn’t waste any money on using fresh socket tabs on the end of each wire. Instead, I just tacked the diodes in place with some solder at the base of each crimped on socket tab terminal. I then added some shrink tubing for added strength to the diode lead.
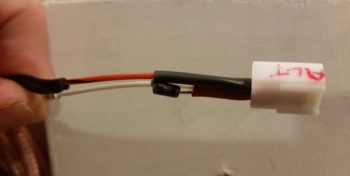
Here’s the finished product for the new configuration on the GNS480 annunciator lights. This is the fourth one I’ve finished out of 6 total. Tomorrow I plan on finishing the other 2 (….as well as use up a bunch more wire labels!)
Tomorrow will be a continuation of getting as many electrical tasks knocked out as I can during the cold season (at least for the next week).

