
Is what I’m now calling the aft nose/avionics bay reinforcement structure. It just flows better.
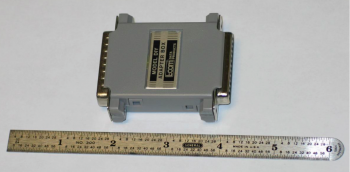
Ok, so today I started out with a couple of orders. First off, I ordered the Trig TT22 Transponder serial connection adapter from GRT Avionics. This adapter allows the HXr EFIS to control the remotely mounted Trig TT22 transponder. With this adapter in hand I now have all the avionics I need to be legal for any initial flying for my 40 hour fly off.
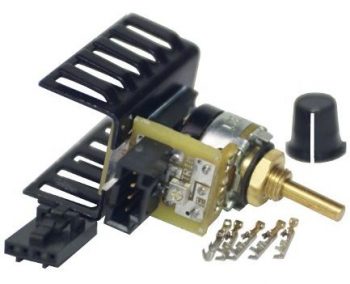
My next purchase was a result of my effort to find a different model LED dimmer as a replacement for the one I fried. After looking around off & on for the past couple of months I just did not find a suitable substitute, so I bit the bullet and pulled the trigger on this one from Stein Air since I was ordering some other stuff anyway.
I then went down to the shop and finalized the cleanup of the Avionics top deck underside layups. Again, these layups won’t win any beauty awards, but they are functional and strong, so I’m going to call that a win…

I then did the same for the underside layup on the glare shield substructure.
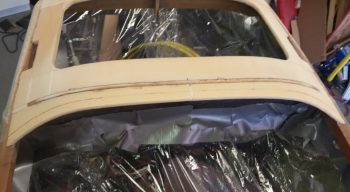
I marked a bevel line 0.6″ forward of the glare shield aft edge, but before I did anything with the glare shield I sanded down the high points on the Avionics top deck reinforcement foam in prep for glassing.

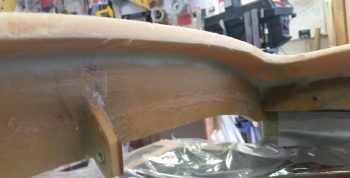
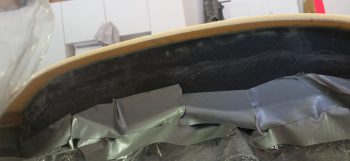
Here we have the bevel line that I marked on the top side of the glare shield 0.6″ forward of the edge.

I then beveled the edge on the glare shield substructure edge and then removed the foam at the edge creating a small “trench” to expose the glass underneath. I then sanded the glass in prep for adding flox in the “trench” to facilitate a better glass-to-glass type bond.
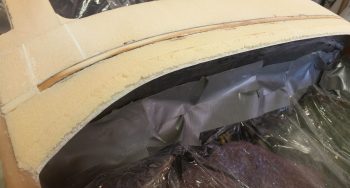
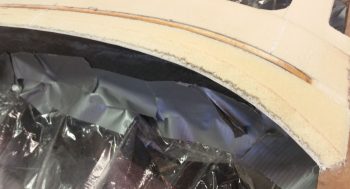
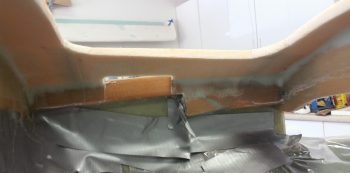
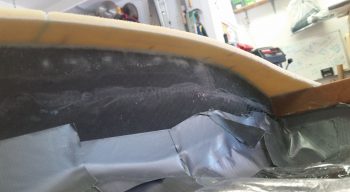
Here’s a better view of the beveled edge & “trench” on the glare shield substructure.

I also created a narrow “trench” on the edge of each fuselage sidewall depression to also increase the strength of the bond at the intersecting glass.
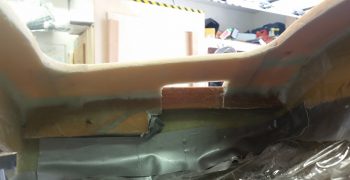
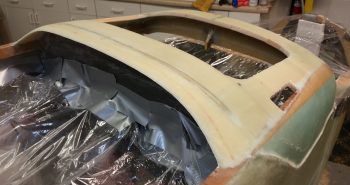
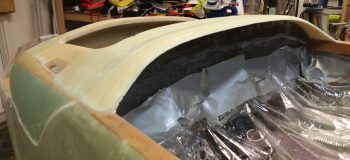
With my avionics top deck foam structure in place, I did a quick final check of my nose profile. I like it!

I then spent a bit of time both determining/finalizing my layup schedule and cutting the glass. The layup schedule sequence starts from the bottom of the pic below with a ply of UNI (lower left) that starts on the front side of the fuselage sidewall depression and travels across the front avionics top deck foam reinforcement and then stops at the opposite fuselage sidewall depression. Then another wider ply of UNI (lower right) was laid up at the aft end of the avionics top deck, essentially across the aft foam reinforcement piece and the instrument panel top edge. It too is laid up from one side of the fuselage sidewall depression to the other.
The next ply –the first full ply of BID– consists of the 4 middle pieces of glass, with the visible fuselage depression-shaped pieces going in and then essentially “cross strap” pieces going across the top. The seam for these pieces is parallel to the aircraft centerline.
Finally, the last (top) ply of BID is the 2 pieces at the top in the pic below. The bottom of the 2 pieces gets laid up on the front side of the avionics top deck, with the top piece getting laid up last, overlapping the front piece by a good inch. The seam for these pieces is perpendicular to the aircraft centerline.

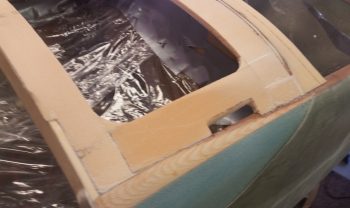
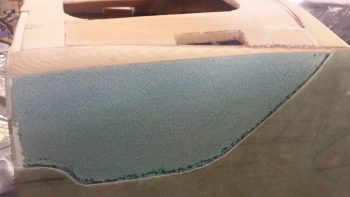
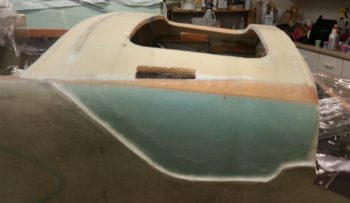
And here’s the Avionics top deck foam reinforcement structure glassed and peel plied.
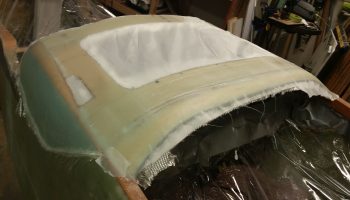
I then ran out and grabbed dinner, beers and a movie with my buddy Rob. When I returned and checked the layup it was ripe for final steps, so I pulled the peel ply and razor trimmed all the edges.
Tomorrow I’ll edge sand all the rough edges, but I of course got the lion’s share of glass trimmed off the layup tonight.

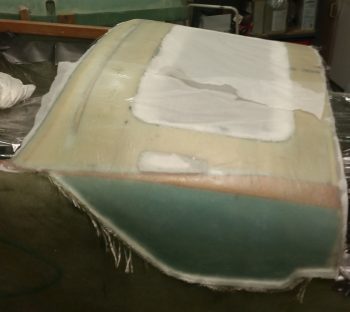
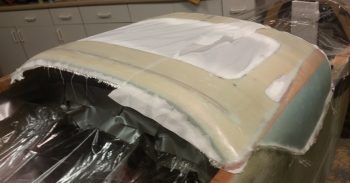
Here’s a couple shots that include the fuselage depressions for the avionics top deck nose cover.

I’m very happy with how this layup turned out, and even more happy that I can finally REALLY start in on the nose and canopy build now with this preliminary task out of the way!
Real quality workmanship and design. Nice.
Thanks Mate!