
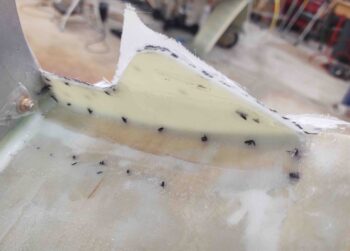
I started today back on the aft nose/avionics cover. With the 1-ply BID layup cured on the left front flange, I took the weights and tape off the top to check out the intersection between the cover and the nose…. not bad at all. Clearly the ply of BID was securing the cover to the profile of the flange, something I was concerned was outside of the job description of 5-minute glue on its own.
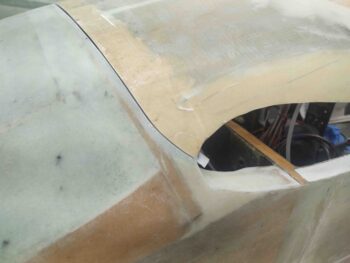
In contrast, the right front corner of the aft nose/avionics cover still needs to have a flange segment created and thus the corner is still raised a bit.
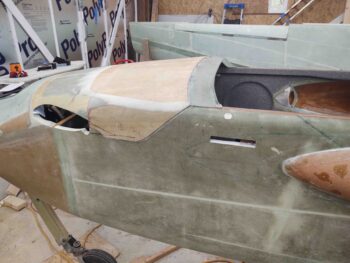
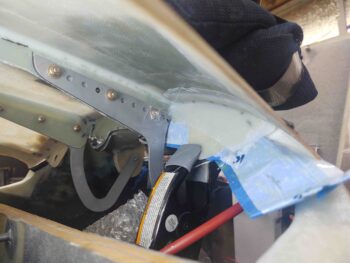
I took this shot showing the 2 of the 3 tasks on the list to complete before the fuselage gets flipped inverted: the aft nose/avionics cover install, the right strake pilot air vent (finished, see below) and the final instrument panel install.
I removed the aft nose/avionics cover and laid up a ply of BID on the front side of the flange, after laying in a flox fillet. I then peel plied the layup.
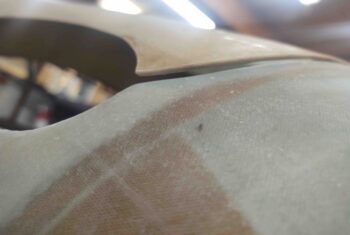
I had previously removed the peel ply from the aft side of the left flange and cleaned up the edges of that layup. The aft side will get one more ply of BID for strength and rigidity.
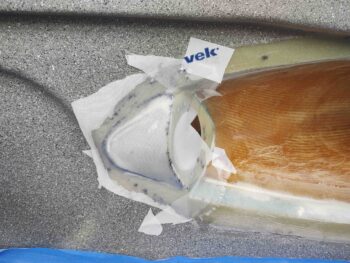
I then got to work on the right strake pilot air vent structure. After knife trimming the glass around the inside edge of the vent hole, I pulled the internal wall cardboard form off the internal 2-ply layup.
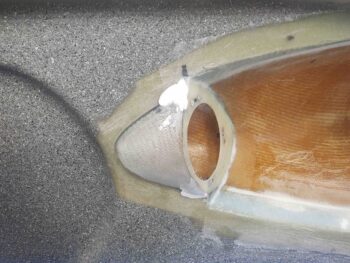
Overall it looked pretty good but I did have some sagging of the glass on the front lower edge. It’s hard to tell in the pic, but the laid up glass was even with or even over-hanging the fuselage sidewall just a hair. I could have slathered in some dry micro for the transition, but I wanted the convergence of the glass at this perimeter edge to flow more smoothly and evenly than adding more to the mix to cover it up.
Thus, like a plastic surgeon, I decided to do some judicious surgery here and remove the offending sagging area…. so I marked it first.
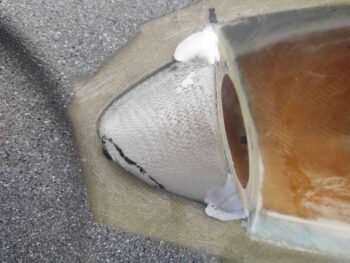
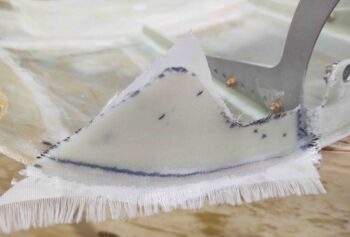
And then cut it out with my Fein saw. I know when I’m creating one-off parts like this that sometimes it’s a very iterative process. With such a small sliver missing, I started by glassing in a patch on the inside of the vent wall. I also added micro and flox to the seams and this patched area about an hour before I laid up the actual glass… again, just to let it get fairly firm.
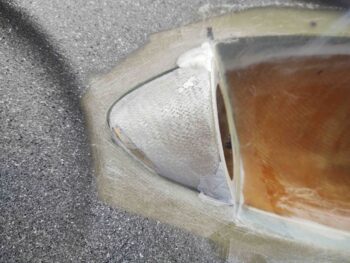
I then laid up 2 plies of BID as an external layup over the existing 2 plies for the internal layup. While both plies overlap onto the fuselage sidewall, only the top ply overlapped onto the aft face of the vent structure (around the opening). I then peel plied the layup.
About 5 hours later I removed the peel ply. Due to all the black lines and white micro it’s a bit hard to tell that the flow is very smooth. Once painted I think it will look really good and have very nice transitions.
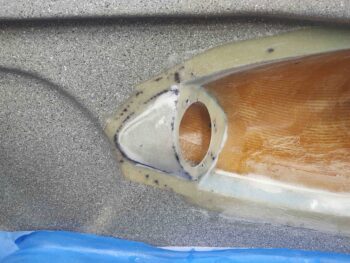
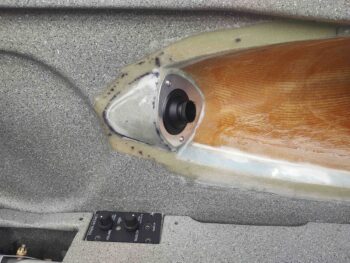
I then installed the actual vent in its mounting plate to check out how it will look and function . . . Voila! I’m very pleased with the outcome of this right side strake pilot air vent.
One reason I want to get these tasks out of the way before I flip the fuselage over is that they tend to be fiddly, in that it takes a lot of trial and error, fits, sanding, filing and refits to get these parts dialed in closely.
The same holds true on the aft nose/avionics cover. I tell people that stop by to check out the plane build that I honestly think the aft nose cover will be one very cool and extremely functional part of the plane when its finished. But man, oh, man is it a time suck to get this thing done. I enjoy the creative process and try to enjoy the construction of it, but the time required to get this thing together is a bit much. Regardless, with the air vent now complete, I only have the aft nose/avionics cover and some remaining instrument panel install stuff left before I flip the bird.
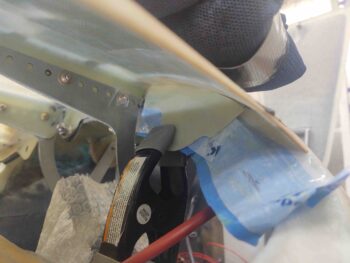
With that said, I spent a good little bit of time creating a cardboard template, then dialing that in to transfer onto my 1/16″ thick stock of G10 phenolic to cut out. I then did some final tweaking on the G10 flange before 5-min. gluing it up under the right side of the aft nose/avionics cover. I clamped it in place while it cured. Note that you can see some weighted shot bags above the flange on the top of the nose cover to wrangle the edge down into a more aligned position with the nose top.
After the 5-min. glue cured I laid up a ply of BID –again, to keep the front right corner of the aft nose/avionics cover aligned with the nose– on the aft side of the right flange and then peel plied it.
(Note the drilled 1/2″ diameter CAMLOC receptacle hole drilled in the left flange)
I then left this layup to cure overnight.